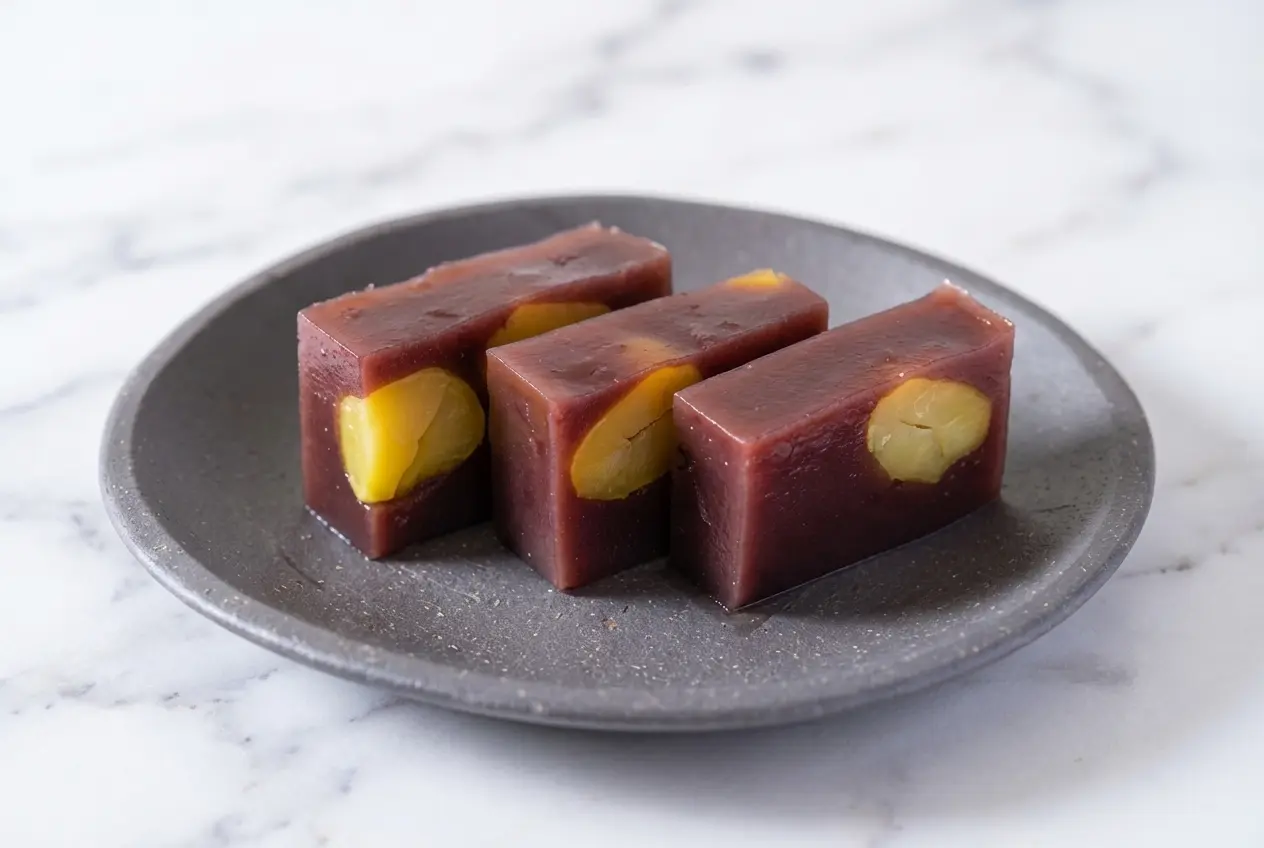
There is something wonderfully quiet about making Wagashi at home. When the kitchen fills with the toasty aroma of tea and warm azuki, this Yokan Jelly Recipe feels less like a project and more like a small ritual, the kind of dessert that slows you down in the best way.
If you have ever wanted a clear, foolproof guide to Japanese sweets, this one is a lovely place to start. I will walk you through a cool, dense, earthy, subtly sweet mizu yokan with a hojicha twist, plus the little bits of kitchen science that make it set beautifully every time.
Why You’ll Love This Recipe
Deep roasted flavor: In my kitchen, steeping the water with hojicha gives this Mizu Yokan a gentle smoky warmth that keeps the sweetness from feeling one-note.
A smarter balance: Traditional yokan can taste a little flat to some American palates, but a tiny touch of flaky sea salt wakes up the red bean paste and makes the roasted tea notes feel even richer.
Beautiful texture: When Kanten is handled properly, the finish is cooling, firm, and clean, not bouncy or gummy, exactly what I want from classic Wagashi.
Elegant but simple: The ingredients are short, the method is straightforward, and anyone who already loves hojicha lattes will recognize that same comforting toasted character here.
Ingredients and Substitutions
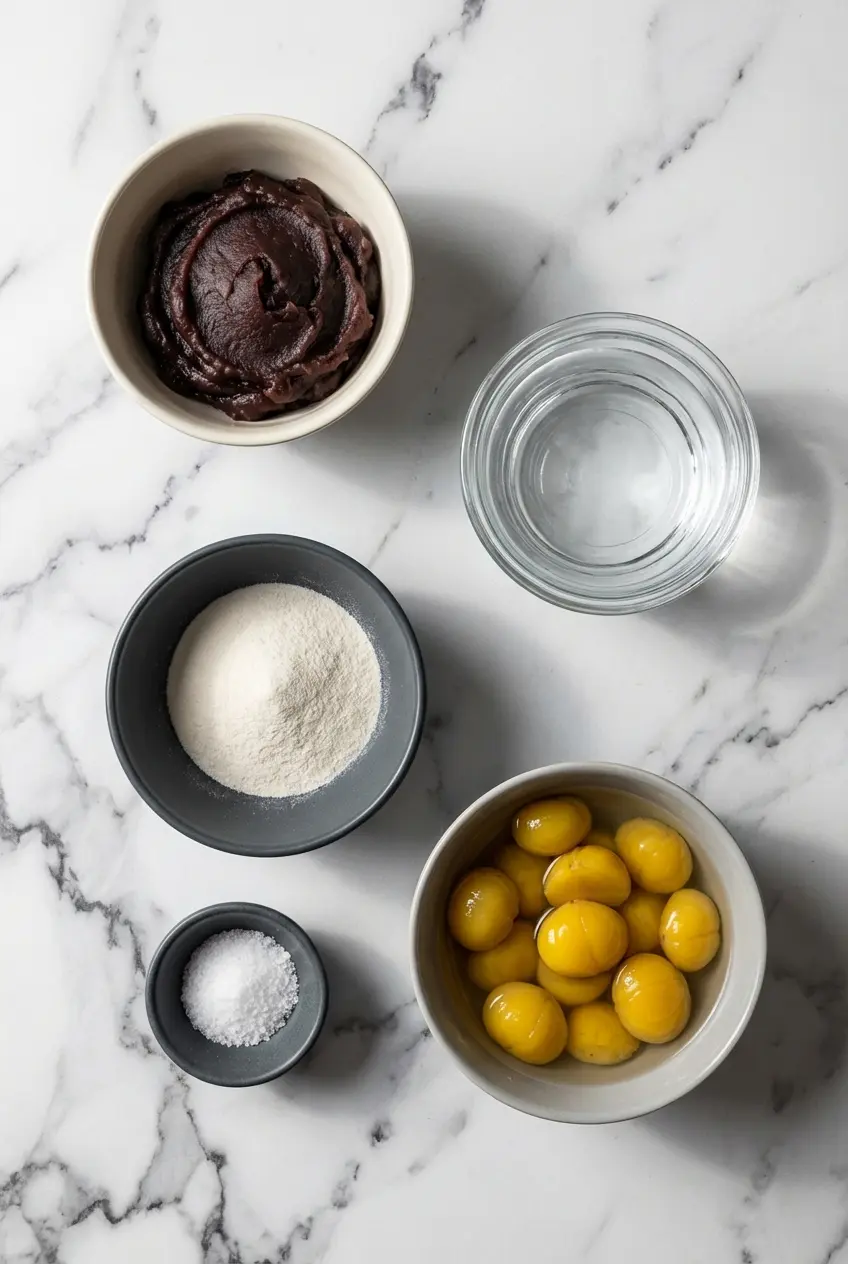
Each ingredient here has a clear job, from the smooth body of the anko to the clean set from kanten and the jewel-like chestnuts tucked inside.
Ingredients
- 14 oz sweet red bean paste (anko)
- 1 1/2 cups water
- 4 g kanten powder
- 1/8 tsp kosher salt
- 7 oz kuri kanroni (chestnuts in heavy syrup)
Ingredient Notes & Substitutions
Sweet Red Bean Paste: For the most traditional, silky finish, I strongly prefer Koshian, which is smooth red bean paste. Tsubuan can be used if that is what you have, but the final Yokan will feel less refined and more textured.
Kanten Powder: Kanten is the classic Wagashi setting agent and gives Yokan its signature firm, clean bite. Agar agar is the closest substitute, but gelatin behaves very differently and creates a soft, jello-like texture instead of an authentic one.
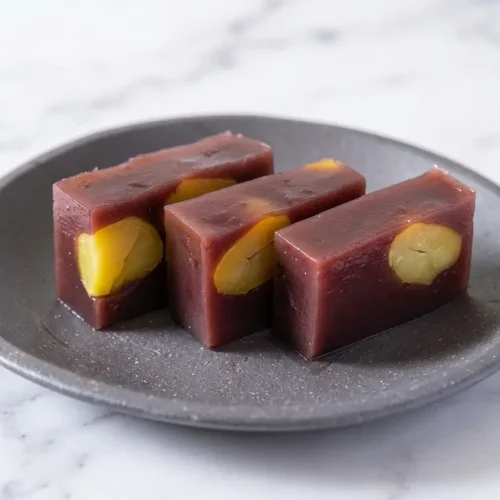
Chestnuts: Kuri kanroni are Japanese chestnuts preserved in heavy syrup. They add a lovely golden contrast against the dark red bean base and bring a tender bite that makes each slice feel a little more special.
How to Make Yokan Jelly Recipe
Prepare the mold and ingredients
- Set everything out before you start, because kanten moves quickly once the mixture begins cooling. Prepare a nagashikan, 6 x 5 x 2 inches, or line a regular mold with plastic wrap, then lightly wet the inside with a little water so the finished jelly slides out more easily later.
Make the hojicha-infused bean base
- Pour the 1 1/2 cups water into a small saucepan. Steep a high-quality hojicha tea bag or loose leaves in the water until it turns a deep golden brown and smells warmly roasted, then remove the tea and whisk in the 4 g kanten powder.
- Bring the pan to a boil, then lower the heat. Keep whisking and cook for a full 2 minutes so the powdered kanten dissolves completely, because this sustained heat is what activates its setting power.
- Add the 14 oz sweet red bean paste (anko) and switch to a silicone spatula to blend it in smoothly. Stir until the mixture looks glossy and uniform, with no thick streaks of paste left behind.
- Once the red bean paste is fully dissolved, stir in the 1/8 tsp kosher salt and a tiny pinch of flaky sea salt to sharpen the hojicha’s roasted notes. Take the pan off the heat and let it cool for about 2 to 3 minutes, just enough so it is still fluid but not piping hot.
Layer the chestnuts and chill
- Pour enough of the red bean mixture into the mold to make a base layer about 1/4 inch, 0.6 cm, deep. Leave it at room temperature for about 10 minutes, until the surface looks set and feels firm to a light touch.
- Arrange the chestnuts from the 7 oz kuri kanroni evenly over that first layer. Work efficiently here, because kanten starts thickening fast as it cools on the counter.
- Pour the remaining red bean mixture over the chestnuts so they are completely covered. Let the mold rest on the counter for 15 minutes to set further, then wrap it and refrigerate for about 2 hours until fully chilled and firm.
Unmold and slice
- Take the yokan from the refrigerator and run a knife around the edges of the mold. If you are using a nagashikan, lift the inner tray and gently slide the jelly onto a cutting board.
- Cut the slab into 3 rectangular bars, then slice each bar into pieces 1/2 to 1 inch, 1.3 to 2.5 cm, thick. Serve it chilled, when the texture is at its cleanest and most refreshing.
Secrets for Perfect Yokan
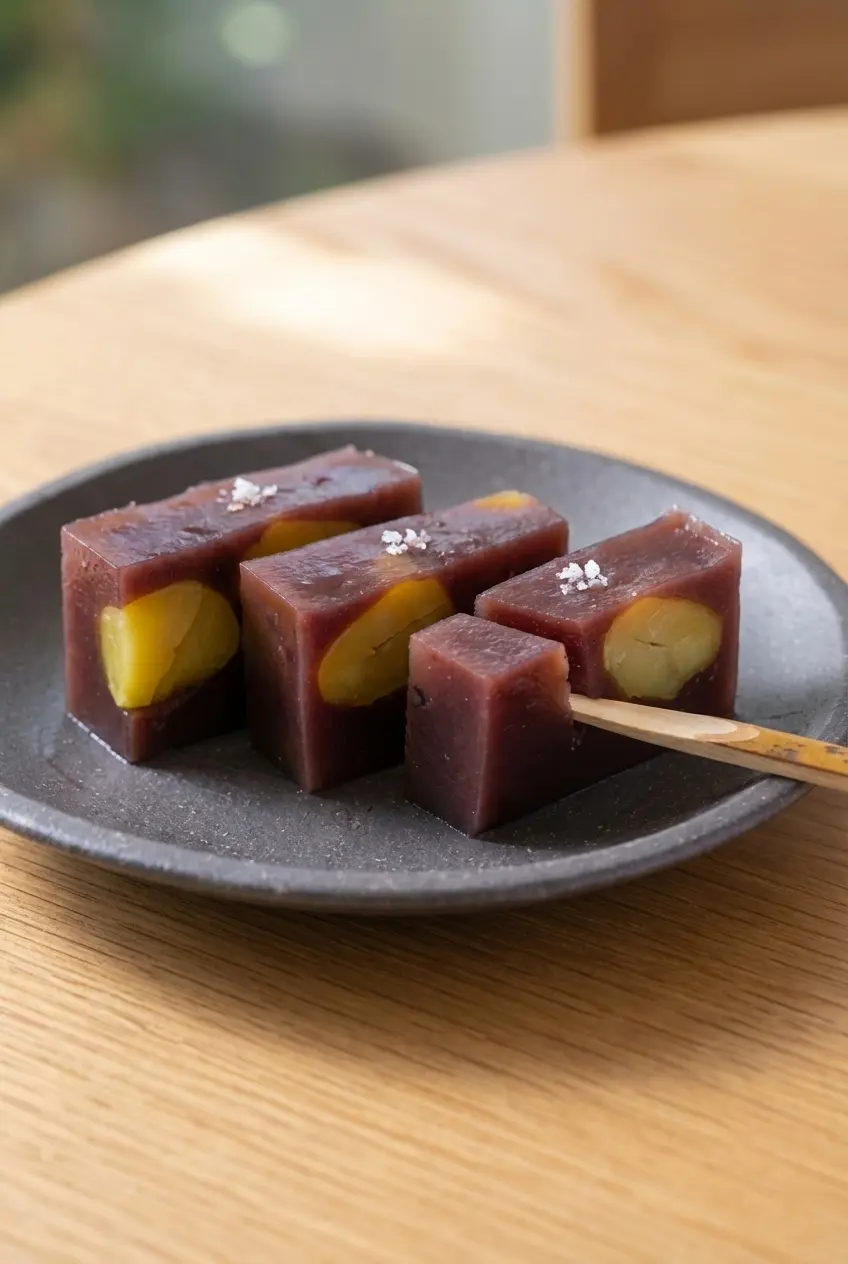
Boil the kanten fully: This is the step that decides whether your Yokan sets or slumps. Kanten needs a full 2 minutes of boiling, not just a quick simmer, to develop the structure that gives mizu yokan its proper body.
Keep the mixture moving: Once the red bean paste goes in, the pot becomes much heavier and thicker. I stir continuously at this stage so the bottom does not scorch, because even a little burning can muddy the clean flavor.
Prepare before you pour: Chestnuts ready, mold ready, counter space ready, that is the rhythm that works best. Kanten begins setting at room temperature much faster than gelatin, so hesitation can lead to uneven layers or small lumps.
The Science Behind Yokan Setting Agents
Kanten is the traditional standard in Japanese sweets because it sets firm, slices neatly, and gives a clean bite that breaks gently on the tongue. That texture is one reason yokan feels so different from Western jelly desserts.
Agar agar is closely related and often works similarly, though different brands can vary a little in strength and texture. In many traditional Japanese jelly candies, that same clear, tidy set is part of the appeal.
Gelatin is a completely different ingredient in behavior and in mouthfeel. It makes a dessert that is softer, bouncier, and more likely to melt at mouth temperature, which can be delicious, but it no longer reads as classic Wagashi.
So if your goal is authentic Yokan, use Kanten whenever you can. If you use gelatin as a 1:1 substitute, the dessert will not just set differently, it will eat differently too.
Differences Between Mizu Yokan and Neri Yokan
Mizu Yokan has a higher water content, so it is softer, lighter, and especially welcome in warm weather. Served cold, it feels refreshing and delicate, even though it still has that dense red bean character.
Neri Yokan is more concentrated and much firmer. With less water and a heavier body, it keeps longer and has a richer, more substantial bite.
There are plenty of other variations too. Matcha Yokan often uses white bean paste, or shiroan, for a greener, more delicate flavor, while modern styles like galaxy yokan play with clear tinted layers for visual drama.
Pro Tips & Troubleshooting
Pro Tips
- Adjust your sweetness expectations based on the brand of store-bought Koshian you use, because some red bean paste is noticeably sweeter than others.
- If you do not own a traditional Nagashikan mold, a small Tupperware container or square baking pan works surprisingly well as long as it is lined neatly.
- Lightly wetting the mold before pouring makes unmolding much easier and helps preserve those clean edges.
- Have the chestnuts drained and ready before the base layer sets, because kanten thickens very quickly at room temperature.
Common Mistakes to Avoid
- Not boiling the kanten long enough is the most common problem, and it usually leads to a watery mixture that never firms up properly.
- Letting the red bean mixture sit too long before pouring can create uneven layers, because kanten begins setting while it cools.
- Forgetting to stir after adding the anko can scorch the bottom of the pan, leaving a cooked flavor that overpowers the subtle hojicha notes.
- If your yokan does not set, you can often remelt it gently on the stove, bring it back to a proper boil, cook the kanten fully again, and reset it in the mold.
Serving and Storage
Serving Ideas
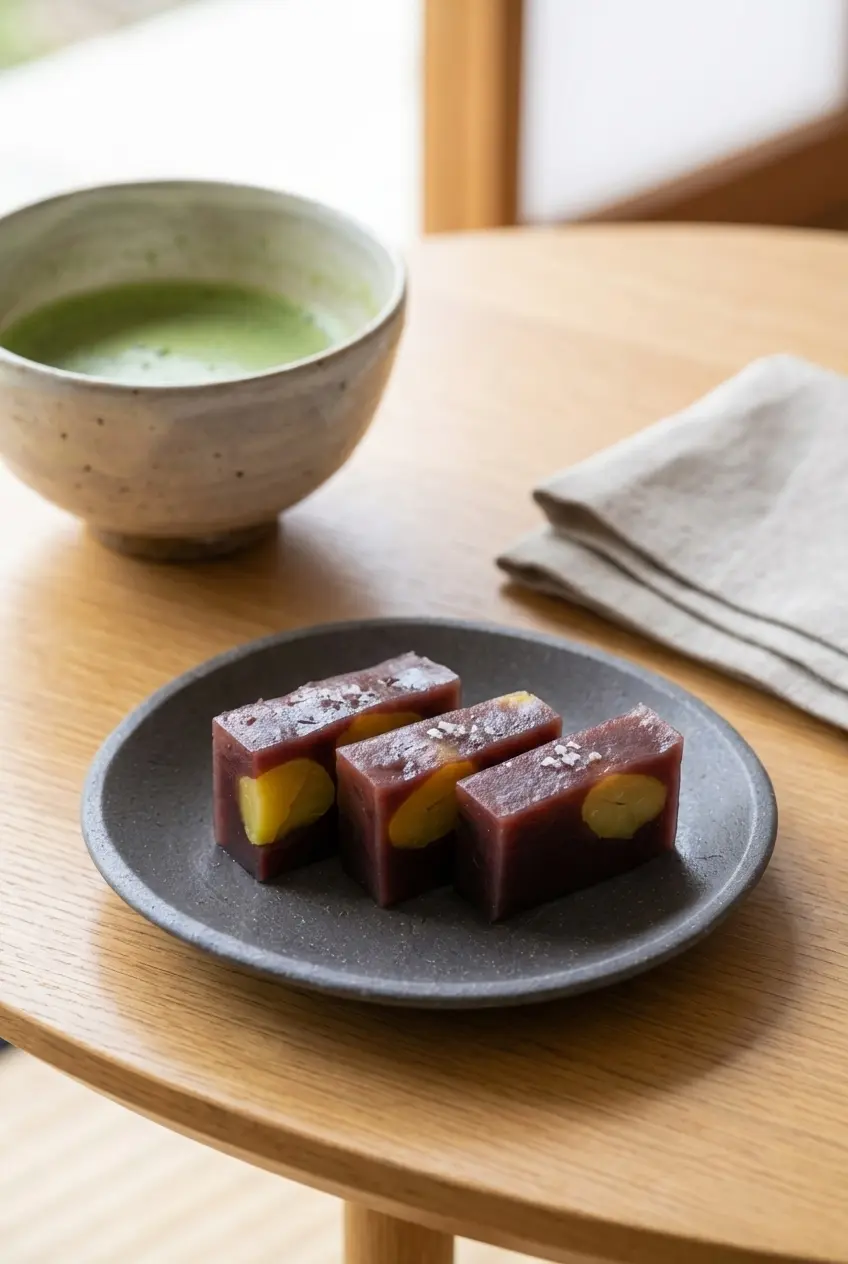
I love serving chilled slices on a small wooden or ceramic wagashi plate, where the glossy surface and golden chestnuts really stand out. A tiny flake of edible gold leaf also looks beautiful for holidays or dinner parties.
A hot bowl of bitter whisked matcha is the classic partner here, because it balances the sweet, earthy bean base beautifully. For another tea-forward dessert table, matcha brownies fit right in.
Storage and Make-Ahead
Wrap the Mizu Yokan tightly and keep it in an airtight container in the refrigerator for up to 3 days. It is an excellent make-ahead dessert because the flavor and texture are best when fully chilled.
Do not freeze yokan. Kanten tends to weep after freezing and thawing, which means the gel structure breaks down and releases water, leaving the dessert grainy, wet, and nothing like its original texture.
This is the kind of sweet I come back to when I want something calm and elegant, not overly rich. The roasted hojicha and tiny salt finish give this version a little extra depth while keeping the heart of traditional Yokan intact.
If you enjoy Japanese sweets, this one is well worth making at home, and once you have the method down, small seasonal twists feel easy and natural.
Authentic Yokan Jelly Recipe

Equipment
- Nagashikan mold or square baking pan
- Small saucepan
- Silicone spatula
Ingredients
- 14 oz sweet red bean paste (anko)
- 1.5 cups water
- 4 g kanten powder
- 1/8 tsp kosher salt
- 7 oz kuri kanroni (chestnuts in heavy syrup)
Instructions
Prepare the mold and ingredients
- Set everything out before you start, because kanten moves quickly once the mixture begins cooling. Prepare a nagashikan, 6 x 5 x 2 inches, or line a regular mold with plastic wrap, then lightly wet the inside with a little water so the finished jelly slides out more easily later.
Make the hojicha-infused bean base
- Pour the 1.5 cups water into a small saucepan. Steep a high-quality hojicha tea bag or loose leaves in the water until it turns a deep golden brown and smells warmly roasted, then remove the tea and whisk in the 4 g kanten powder.
- Bring the pan to a boil, then lower the heat. Keep whisking and cook for a full 2 minutes so the powdered kanten dissolves completely, because this sustained heat is what activates its setting power.
- Add the 14 oz sweet red bean paste (anko) and switch to a silicone spatula to blend it in smoothly. Stir until the mixture looks glossy and uniform, with no thick streaks of paste left behind.
- Once the red bean paste is fully dissolved, stir in the 1/8 tsp kosher salt and a tiny pinch of flaky sea salt to sharpen the hojicha’s roasted notes. Take the pan off the heat and let it cool for about 2 to 3 minutes, just enough so it is still fluid but not piping hot.
Layer the chestnuts and chill
- Pour enough of the red bean mixture into the mold to make a base layer about 1/4 inch, 0.6 cm, deep. Leave it at room temperature for about 10 minutes, until the surface looks set and feels firm to a light touch.
- Arrange the chestnuts from the 7 oz kuri kanroni evenly over that first layer. Work efficiently here, because kanten starts thickening fast as it cools on the counter.
- Pour the remaining red bean mixture over the chestnuts so they are completely covered. Let the mold rest on the counter for 15 minutes to set further, then wrap it and refrigerate for about 2 hours until fully chilled and firm.
Unmold and slice
- Take the yokan from the refrigerator and run a knife around the edges of the mold. If you are using a nagashikan, lift the inner tray and gently slide the jelly onto a cutting board.
- Cut the slab into 3 rectangular bars, then slice each bar into pieces 1/2 to 1 inch, 1.3 to 2.5 cm, thick. Serve it chilled, when the texture is at its cleanest and most refreshing.