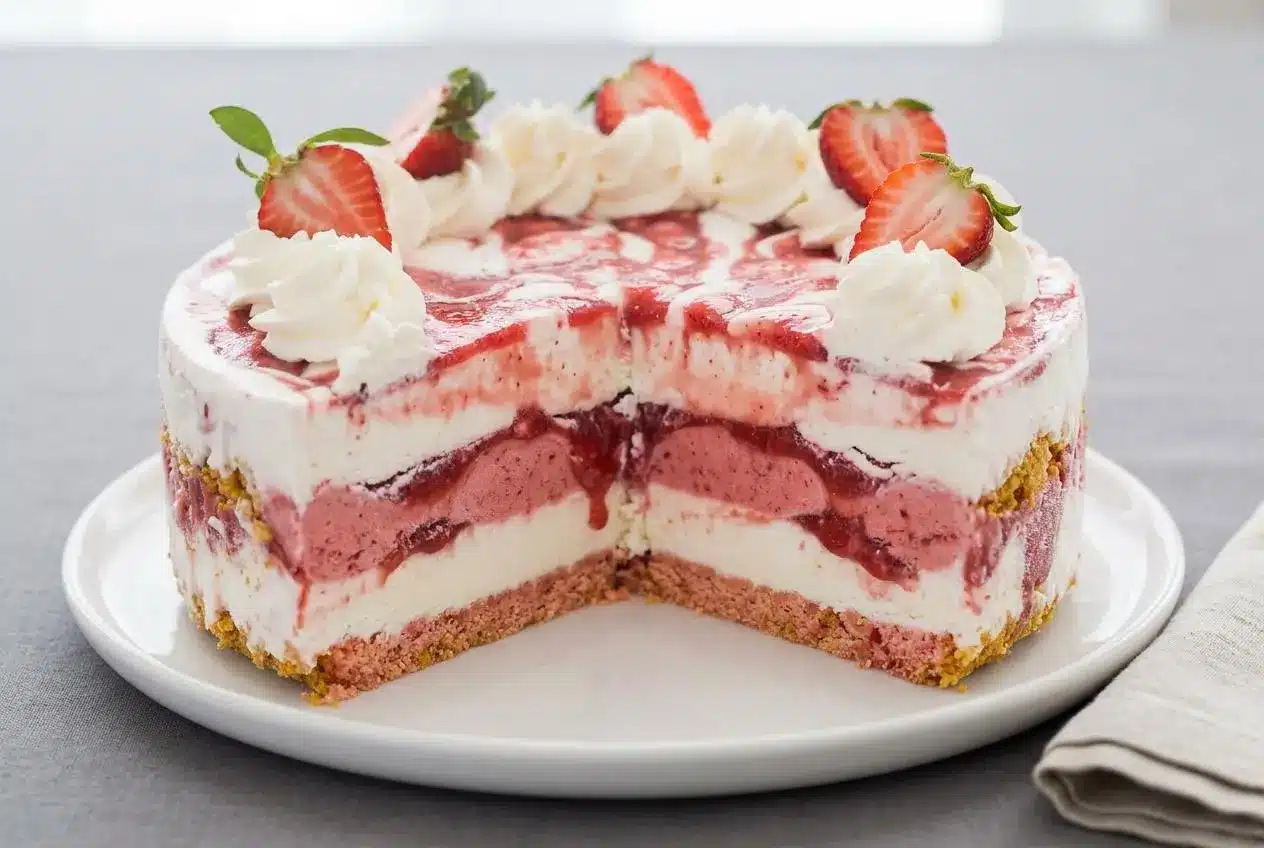
Strawberry Shortcake Ice Cream Cake layers a buttery vanilla cookie crust, creamy strawberry shortcake ice cream, and a thick homemade strawberry sauce, then freezes until sliceable and firm.
It tastes like the best parts of a strawberry shortcake bar, but in cake form. Strawberry Shortcake Ice Cream Cake brings creamy vanilla, strawberry ribbons, and buttery crunch together in a way that feels both playful and polished.
It’s especially good for summer birthdays, cookouts, or any day when you want a no-bake dessert that still looks like you planned ahead. The sauce texture and the slicing trick make all the difference.
Let the sauce cool fully and soften the ice cream only until it spreads like soft-serve, not soup.
Ingredients Explained: The Secret to Nostalgic Flavor
Each ingredient pulls real weight here, building creamy layers, bright berry flavor, and the cookie crunch that gives this frozen dessert its classic shortcake feel.
Strawberry Sauce
- 4 cups frozen strawberries (about 520g)
- 1 cup granulated sugar (200g)
- 1/2 cup water
- 1/2 cup heavy cream
- 2 tablespoons corn starch
Ice Cream Cake
- 2 liters Strawberry Shortcake Ice Cream
- 3 cups crushed vanilla cookies
- 1/2 cup melted butter
The strawberries, sugar, and water cook down into a sauce with concentrated berry flavor, while the heavy cream and corn starch give that sauce body so it drizzles instead of disappearing into the ice cream. In the crust, crushed vanilla cookies and melted butter create the sandy, buttery bite that makes this feel like classic strawberry shortcake rather than plain ice cream pie.
Vanilla sandwich cookies usually give a better crunch than plain shortbread because the crumbs stay a little lighter and press into a more cohesive base. If you love that pink crumb coating from a strawberry crunch cake, this is the same nostalgic idea, just colder and creamier.
Freeze-dried strawberries are not part of the official recipe, but they make a great optional flavor boost in the crumb mixture for variations because they add intense berry taste without extra moisture. For the ice cream layer, classic strawberry shortcake ice cream gives the fullest old-school flavor, while strawberry sorbet makes the cake brighter, fruitier, and a little lighter on the palate.
I like frozen berries here because they cook down consistently and make this dessert easy to pull off any time of year.
How to Assemble a Strawberry Shortcake Ice Cream Cake
This dessert works best when you build it in stages, with the sauce cool, the crust pressed evenly, and the ice cream softened just enough to spread cleanly.
Strawberry Sauce
- Combine the strawberries, sugar, and water in a medium pan and bring the mixture to a simmer over medium-high heat, stirring often as the fruit softens.
The berries should look collapsed and juicy, with the sugar fully dissolved into a bright red base. - Blend the cooked fruit right in the pan with an immersion blender, or mash it with a potato masher if you want a more textured sauce.
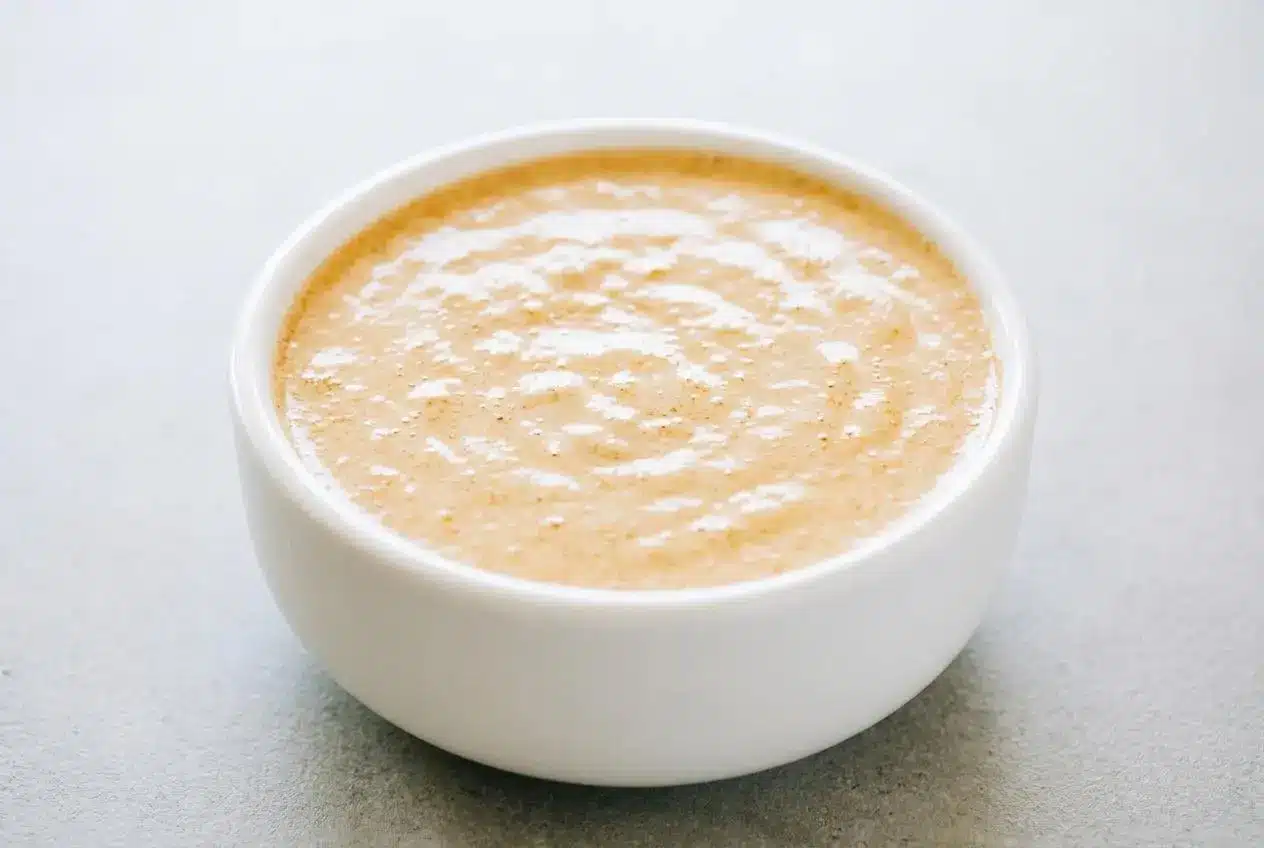
The sauce should look mostly smooth, with no large firm pieces left behind. - Whisk the heavy cream and corn starch together in a small bowl, then stir that mixture into the strawberry puree and cook briefly until it thickens slightly.
Look for a glossy, jam-like consistency that coats a spoon lightly instead of running like juice. - Transfer the sauce to a medium bowl and let it cool to room temperature before assembling the cake.
If it still feels warm, wait longer, because warm sauce will soften the ice cream layers too quickly.
Ice Cream Cake
- Set the ice cream out for 30 to 45 minutes before assembly so it softens enough to spread.
It should feel like soft-serve when stirred, not fully melted or pourable. - Mix the crushed vanilla cookies and melted butter in a large bowl until all the crumbs are evenly coated.
The texture should resemble damp sand that holds together when pressed in your hand. - Line the bottom of a 9 or 10 inch springform pan with parchment paper before adding anything else.
The paper should sit flat with no big wrinkles so the frozen base releases cleanly later. - Press half of the cookie mixture into the bottom of the pan to form the first crust layer.
Pack it firmly but gently so it holds together without turning dense and rock-hard in the freezer. - Spread half of the softened ice cream over the crumb base, then cover it with a thin layer of cooled strawberry sauce.
The ice cream should glide into an even layer, and the sauce should stay in ribbons rather than sinking straight through. - Add the remaining crumb mixture, the rest of the ice cream, and a drizzle of strawberry sauce to finish the layers.
Keep the top level and smooth so the cake freezes into neat, stackable slices. - Freeze the assembled cake on a flat shelf for 6 to 8 hours or overnight until completely firm.
The center should feel solid when lightly pressed, and the layers should hold their shape when the ring comes off. - Let the cake stand at room temperature for 10 to 15 minutes before serving, and garnish with whipped cream and fresh strawberries if desired.
The edges will soften slightly, which makes slicing much cleaner.
A little parchment setup helps more than you might think. In a springform pan, line the base first, then lock the ring around it so the paper stays put. If you want extra insurance, you can also add two narrow parchment strips across the bottom in an X shape before the main circle, leaving overhang to help lift stubborn slices.
If your ice cream starts out extremely hard, a stand mixer can speed things up. Beat it briefly on low just until it loosens into a spreadable texture. Stop as soon as it looks creamy. Once it turns glossy and loose, it is getting too melted for clean layers.
Check that the first crumb layer feels cold before spreading on the ice cream. That small pause helps keep the bottom crust distinct and keeps the layers from blending into one pink mass.
Essential Troubleshooting: Preventing Melts and Running Sauce
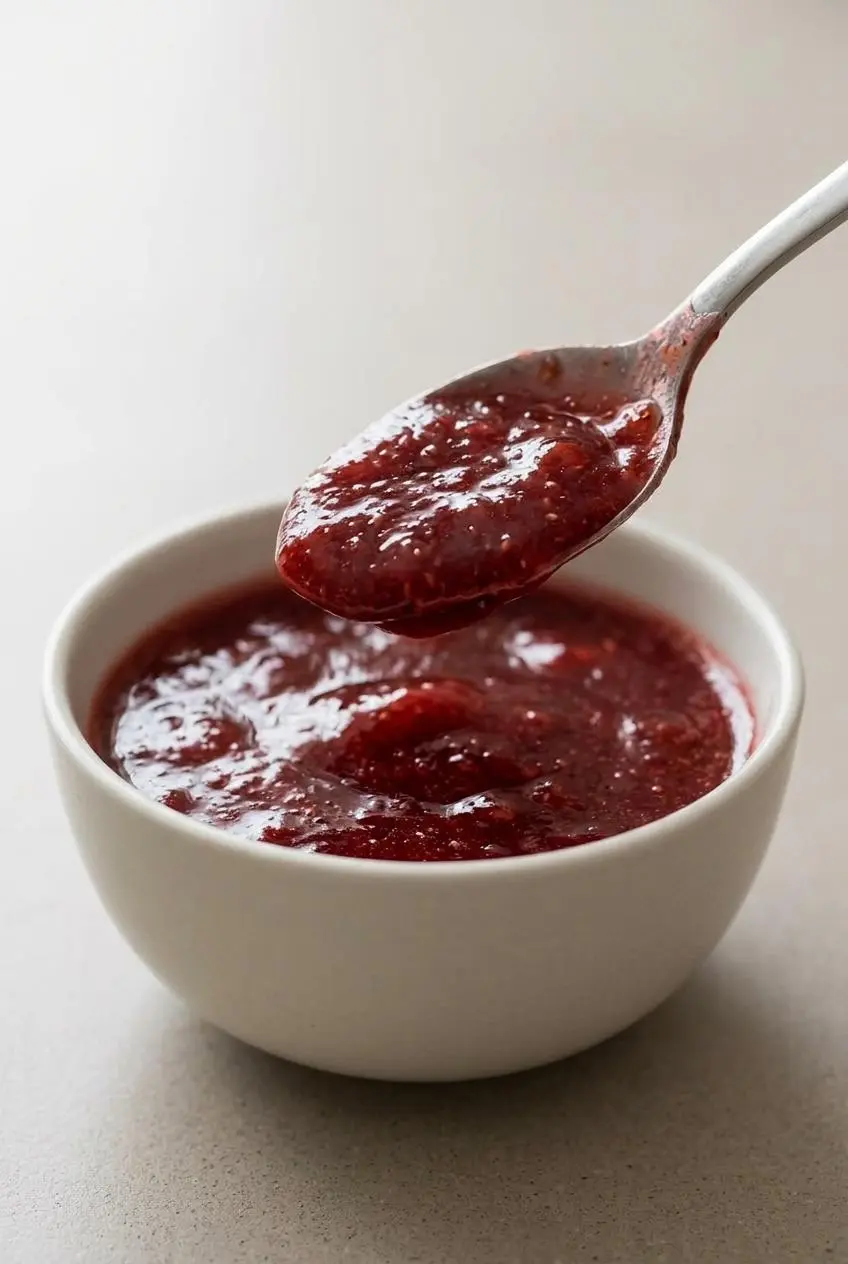
Most problems with this cake come down to temperature and texture, and both are easy to fix if you catch them early.
- If the strawberry sauce seems runny, it likely needs a little more time after the cream and corn starch go in. Return it to the pan briefly and stir until it thickens to a spoon-coating consistency, then cool it completely before using.
- If the cookie layer will not hold together, the crumbs may be too coarse or not evenly mixed with the butter. Crush them a bit finer and press with the flat bottom of a measuring cup for a more even base.
- If the crust freezes very hard, it was probably packed too tightly. Press firmly enough to hold shape, but do not mash the crumbs into a solid slab.
- If the ice cream layers start bleeding into the sauce, the sauce is too warm or the ice cream is too soft. Put the pan back in the freezer for a short rest, then continue once the layers have firmed up again.
- If the cake slumps when you remove the springform ring, it needs more time in the freezer. A rushed final freeze leaves the center too soft to support the stacked layers.
One useful texture checkpoint is the sauce itself. You want it cooled to room temperature and thick enough to sit in streaks on top of the ice cream. If it pours like syrup, it will soak in too fast and muddy the layers.
Choosing Your Pan: Square vs. Springform
Both pans work, so the better choice depends on how you want to serve the cake.
A springform pan gives you the prettiest tall, round presentation and makes the layers feel more like a celebration cake. It is ideal when you want classic wedges and a clean side view of the crumb, ice cream, and sauce.
A square baking pan is practical when you want bar-style pieces for a crowd. Line the pan with parchment in two crossing strips, leaving plenty of overhang on all sides, so you can lift the whole frozen slab out before slicing. An 8×8-inch pan makes thicker bars, while a 9×13-inch pan gives thinner pieces and stretches farther for parties.
Square pans also make portioning easier if you want tidy little dessert squares instead of big slices. The trade-off is appearance. You lose the tall round cake look, but gain easy serving and less fuss.
Dietary Swaps and Variations
This is the place to customize the cake without changing the core method that makes it work.
If you want more berry punch, stir crushed freeze-dried strawberries into the cookie crumbs or sprinkle a little over the top layer before the final freeze. A pinch of lemon zest in the crumbs also sharpens the strawberry flavor without adding water.
For a richer baked-style twist on the same flavor combo, strawberry shortcake cheesecake is a good next dessert to try.
Gluten-Free Crunch
Use gluten-free vanilla sandwich cookies in place of the regular vanilla cookies and keep the rest of the official recipe the same. They crush and bind well without baking, so you still get the no-bake ease that makes this dessert so convenient.
Freeze-dried strawberries are especially helpful here because they add that bright strawberry shortcake crumb effect without bringing in moisture that could soften the crust. If your gluten-free cookies seem delicate, crush them finely and press the crust gently but evenly so it sets into neat slices.
Quick Sorbet Shortcut
For a lighter and brighter version, swap the strawberry shortcake ice cream for strawberry sorbet. The texture is a little icier and less creamy, but the berry flavor pops more, especially on hot days.
You can also use vanilla sandwich cookies with this version, or try golden sandwich cookies for a slightly richer crumb. If fast frozen desserts are your thing, an ice cream sandwich cake is another easy party option with even less assembly.
Storage and Make-Ahead Instructions
Because this dessert lives in the freezer, wrapping matters almost as much as the recipe itself.
Once the cake is fully firm, cover it tightly with plastic wrap and then a layer of heavy-duty foil. That double wrap helps protect the surface from drying out and keeps the cookie layers tasting fresher. Avoid storing it uncovered, even for a short stretch, because frozen desserts pick up stale freezer flavor fast.
This cake can be stored in the freezer for up to 2 weeks when wrapped well. Keeping your freezer at 0 °F or below helps preserve frozen desserts properly, as explained here for freezer storage at 0 °F or below.
Watch for signs of freezer burn before serving. Dry pale patches, icy crystals on the surface, or a dull stale flavor usually mean the cake was not wrapped tightly enough. Fresh strawberries are best added just before serving rather than stored on top for long-term freezing.
Serving Tips for Clean Slices
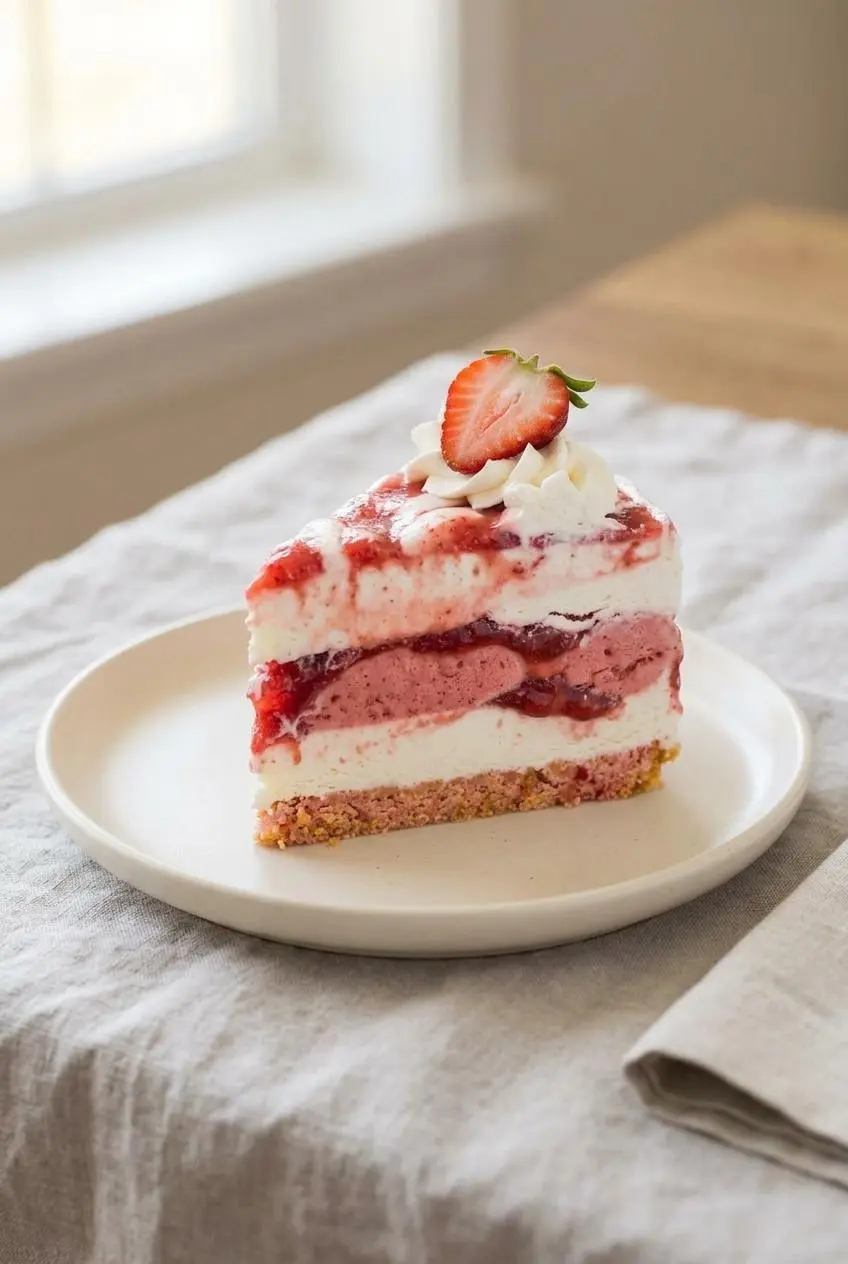
A frozen cake needs a little patience at serving time, and that patience pays off in sharp layers.
- Let the cake sit at room temperature for 10 to 15 minutes before cutting so the knife can pass through the layers without cracking the crust.
- Run a chef’s knife under hot water, then wipe it completely dry before each slice. The warm blade cuts cleanly, and the dry blade prevents extra melting on the surface.
- Wipe the knife between cuts to keep the strawberry sauce from smearing across the white and pink layers.
- For a pretty finish, add a border of whipped cream, fresh strawberries, or extra cooled strawberry sauce right before serving.
Conclusion
This cake delivers that strawberry shortcake bar feeling in a sliceable, crowd-friendly dessert with creamy layers, bright sauce, and buttery crunch.
Give the sauce time to cool, give the cake time to firm up, and use the hot-knife trick when serving. That’s how you get the clean layers everyone hopes for.
Frequently Asked Questions
Can I use fresh strawberries instead of frozen for the sauce?
Yes, fresh strawberries work in equal amounts. They usually need a slightly longer simmer because they release moisture differently. Cook until the berries are very soft and the sauce thickens enough to hold in loose ribbons.
How Do I Make Clean Slices on a Frozen Ice Cream Cake?
Let the cake rest at room temperature for 10 to 15 minutes before cutting. Dip a sharp chef’s knife in hot water, then wipe it dry before each slice. Clean the blade between cuts so the layers stay distinct.
What Can I Use if I Do Not Own a Springform Pan?
An 8×8-inch or 9×13-inch baking pan works well. Line it with parchment paper and leave enough overhang to lift the cake out. Use the same layering order, then slice it into bars or squares instead of wedges.
How Long Can I Store This Ice Cream Cake in the Freezer?
When wrapped tightly in plastic wrap and foil, it keeps well for up to 2 weeks. Store it fully covered to protect the texture and keep freezer odors away. If you see icy crystals or dry patches, the cake has likely started to lose quality.
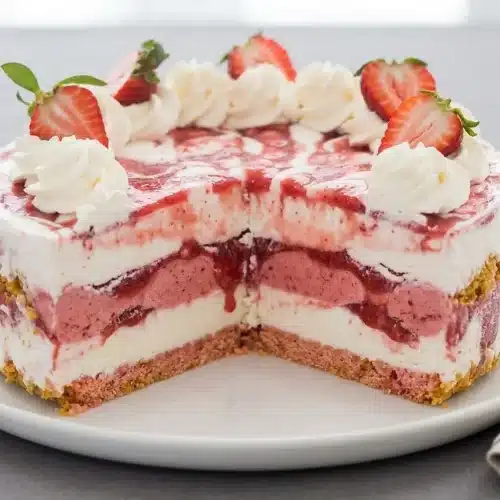
Strawberry Shortcake Ice Cream Cake

Equipment
- Immersion Blender
- Medium pan
- large bowl
- 9-inch or 10-inch springform pan
- Parchment Paper
Ingredients
Strawberry Sauce
- 4 cups frozen strawberries (about 520g)
- 1 cup granulated sugar (200g)
- 1/2 cup water
- 1/2 cup heavy cream
- 2 tablespoons corn starch
Ice Cream Cake
- 2 liters Strawberry Shortcake Ice Cream
- 3 cups crushed vanilla cookies
- 1/2 cup melted butter
Instructions
Strawberry Sauce
- Combine the strawberries, sugar, and water in a medium pan and bring the mixture to a simmer over medium-high heat, stirring often as the fruit softens. The berries should look collapsed and juicy, with the sugar fully dissolved into a bright red base.
- Blend the cooked fruit right in the pan with an immersion blender, or mash it with a potato masher if you want a more textured sauce. The sauce should look mostly smooth, with no large firm pieces left behind.
- Whisk the heavy cream and corn starch together in a small bowl, then stir that mixture into the strawberry puree and cook briefly until it thickens slightly. Look for a glossy, jam-like consistency that coats a spoon lightly instead of running like juice.
- Transfer the sauce to a medium bowl and let it cool to room temperature before assembling the cake. If it still feels warm, wait longer, because warm sauce will soften the ice cream layers too quickly.
Ice Cream Cake
- Set the ice cream out for 30 to 45 minutes before assembly so it softens enough to spread. It should feel like soft-serve when stirred, not fully melted or pourable.
- Mix the crushed vanilla cookies and melted butter in a large bowl until all the crumbs are evenly coated. The texture should resemble damp sand that holds together when pressed in your hand.
- Line the bottom of a 9 or 10 inch springform pan with parchment paper before adding anything else. The paper should sit flat with no big wrinkles so the frozen base releases cleanly later.
- Press half of the cookie mixture into the bottom of the pan to form the first crust layer. Pack it firmly but gently so it holds together without turning dense and rock-hard in the freezer.
- Spread half of the softened ice cream over the crumb base, then cover it with a thin layer of cooled strawberry sauce. The ice cream should glide into an even layer, and the sauce should stay in ribbons rather than sinking straight through.
- Add the remaining crumb mixture, the rest of the ice cream, and a drizzle of strawberry sauce to finish the layers. Keep the top level and smooth so the cake freezes into neat, stackable slices.
- Freeze the assembled cake on a flat shelf for 6 to 8 hours or overnight until completely firm. The center should feel solid when lightly pressed, and the layers should hold their shape when the ring comes off.
- Let the cake stand at room temperature for 10 to 15 minutes before serving, and garnish with whipped cream and fresh strawberries if desired. The edges will soften slightly, which makes slicing much cleaner.