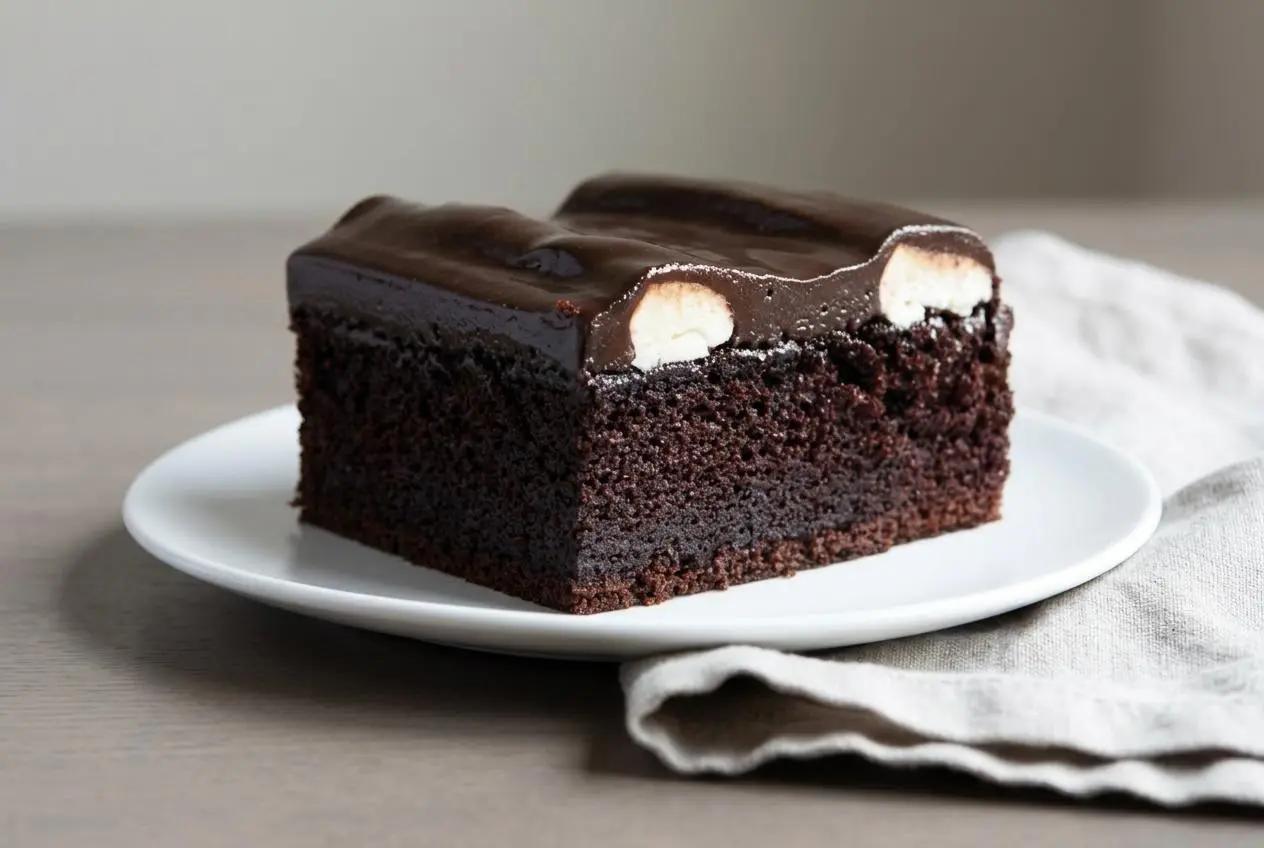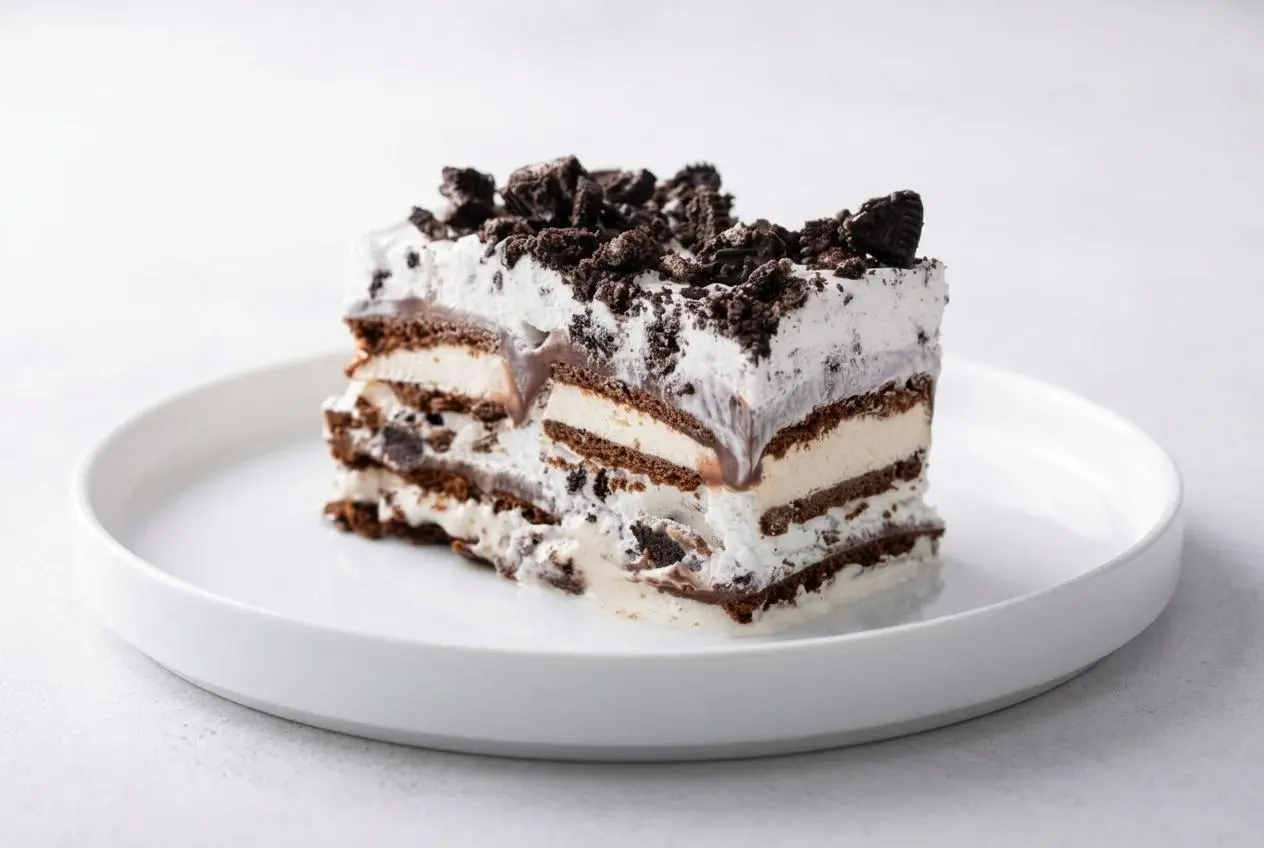
Ice Cream Sandwich Cake is a no-bake frozen dessert layered with ice cream sandwiches, hot fudge, whipped topping, and Oreos, then frozen until firm enough to slice.
This nostalgic dessert is cool, creamy, rich, and full of chocolatey layers. It’s the kind of easy party dessert that looks fun on the table without asking much from you in the kitchen.
You only need a few minutes to assemble it, but the little details make a big difference. The trick is working quickly and letting it freeze long enough for clean layers.
Set the hot fudge out for a bit before you start so it spreads easily over the cold sandwiches.
Why You’ll Love This Easy Dessert
This is the kind of frozen dessert that earns a spot at summer cookouts, birthdays, and potlucks because it’s easy to build and easy to serve.
- It’s completely no-bake, which is a gift when it’s hot outside.
- The recipe uses 4 main ingredients and comes together fast.
- Assembly is simple, so it works well even if you don’t make layered desserts often.
- The cool, creamy texture and chocolatey Oreo topping make it an instant crowd-pleaser.
- It can be dressed up for holidays, birthday parties, or a casual backyard dessert table.
Ingredients You’ll Need
Each ingredient has a real job here, from creamy structure to crunch and that fudgy layer that ties everything together.
- 14 Oreo cookies (chopped into small pieces)
- 8 ounces frozen whipped topping (Cool Whip or TruWhip, thawed)
- 14 full-size ice cream sandwiches
- 1 jar hot fudge sauce (11-ounces)
The chopped Oreos add crunch and extra chocolate flavor, while the whipped topping keeps the filling light enough to spread over the frozen layers. Ice cream sandwiches create the structure of the cake, and the hot fudge brings richness and helps each layer feel like a real dessert instead of just stacked freezer treats.
Frozen whipped topping works especially well here because it stays more stable in the freezer than plain homemade whipped cream. If you want to make the dessert more from scratch, you can also use homemade ice cream sandwiches as your base.
Any standard jar of hot fudge sauce works well, as long as it’s soft enough to spread without dragging through the ice cream sandwiches.
I like to chop the Oreos into a mix of small bits and chunkier pieces so the topping has both crunch and texture.
How to Make Ice Cream Sandwich Cake
- Line a 9x9x3-inch baking pan with parchment paper, leaving enough overhang to lift the cake out later.
The paper should sit neatly in the corners so the finished cake releases without sticking or breaking. - Stir about ⅔ of the chopped Oreos into the thawed whipped topping in a medium bowl, mixing only until combined, then set the rest of the Oreos aside.
Stop as soon as the cookies are evenly scattered through the topping so it stays light and airy instead of turning runny. - Arrange half of the ice cream sandwiches in an even layer in the pan, cutting a couple as needed so they fit snugly.
A tight layer helps the cake slice more cleanly and keeps gaps from collapsing later. - Spread half of the fudge sauce over the sandwiches, then cover with half of the Oreo whipped topping.
If the sauce feels stiff, a slight warm-up helps it glide on gently without tearing the frozen base. - Repeat the layers with the remaining ice cream sandwiches, the rest of the fudge sauce, and the remaining Oreo whipped topping, then finish with the reserved chopped Oreos.
The top should look evenly covered, with cookie pieces scattered across the surface for crunch in every bite. - Cover the pan and freeze for at least 3 hours before slicing.
This rest is what sets the layers, so the cake holds its shape instead of turning soft and messy when cut.
Tips for the Best Ice Cream Sandwich Cake
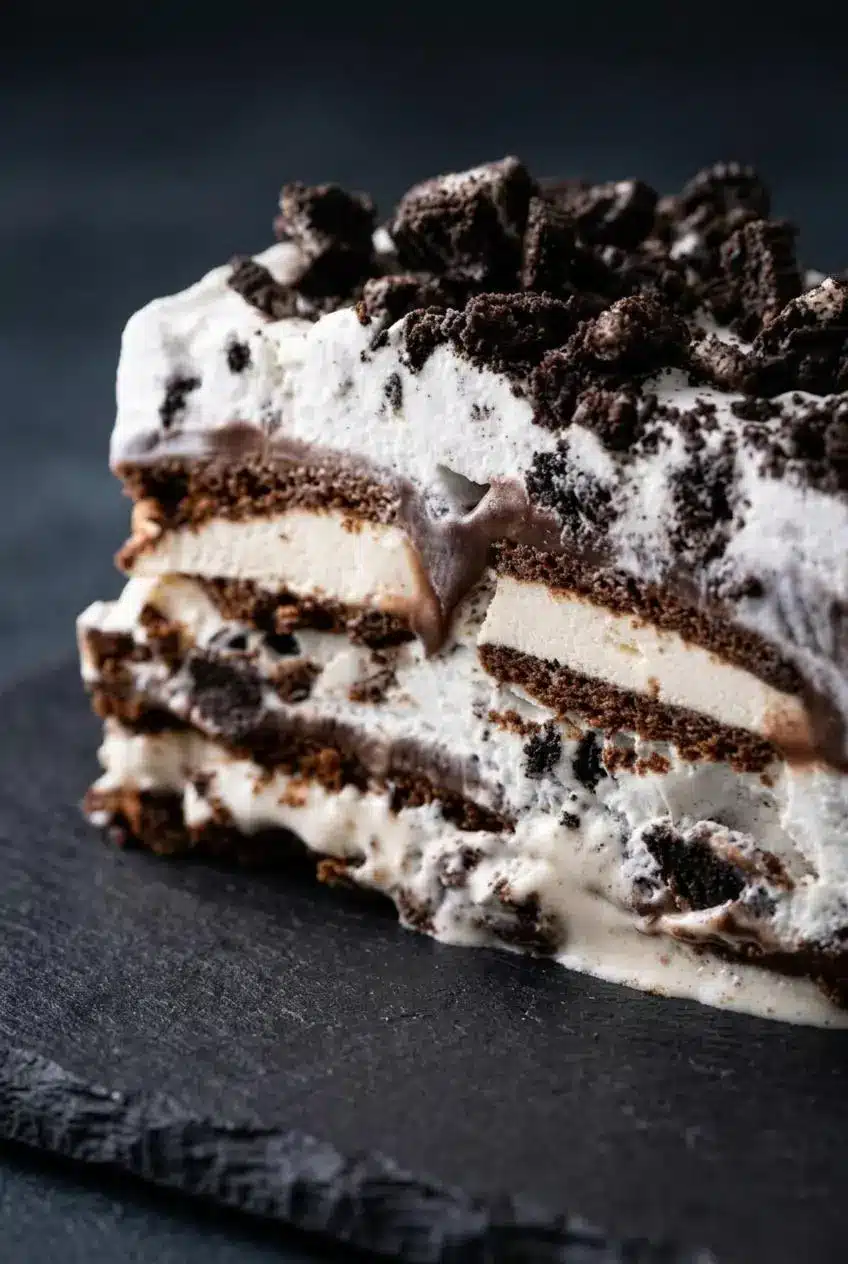
A few small choices make this dessert much easier to assemble and much neater to serve.
- Line the pan with parchment and leave an overhang so you can lift the whole cake out instead of digging slices from the pan.
- Work fast once the ice cream sandwiches come out of the freezer. They soften quickly.
- Warm the hot fudge just enough to loosen it. If it’s too cold, it can tear the sandwich layer. If it’s hot, it can make the layers slide.
- Fold the Oreos into the whipped topping gently, just until distributed, so the topping stays fluffy.
- Let the cake sit at room temperature briefly before slicing if it feels very hard. That short rest helps prevent the knife from cracking the frozen layers.
- Use a large sharp knife for serving, and wipe it clean between cuts for neater squares.
- If you want easy removal, chill the lined pan first so the first layer stays cold while you build.
Pan Size Adjustments
If you want to use a different pan, aim for two even layers and adjust the ingredients proportionally.
- For an 8×8 pan, use slightly less of everything. About 12 ice cream sandwiches, a little less whipped topping, a little less fudge, and fewer Oreos usually fits better.
- For a 9×9 pan, use the recipe as written.
- For a 9×13 pan, plan on roughly double the ingredients so you still get full layers instead of a thin dessert.
- The exact fit depends on the brand and shape of your ice cream sandwiches, so lay out the first layer before opening everything else.
Troubleshooting Common Issues
- Why is the cake messy and not holding its shape? It usually needs more freezer time. If the center still feels soft when cut, return it to the freezer until firmer.
- How do you get clean slices? Let it sit out briefly, then cut with a large sharp knife. Wiping the blade between slices keeps the layers defined.
- Why are the layers sliding? The sauce was likely too warm, or the sandwiches softened too much during assembly. Next time, cool the sauce slightly and work faster.
- Why does the topping feel runny? The whipped topping may have been overmixed with the Oreos. Stir just until combined.
- Why is it hard to remove from the pan? The parchment probably didn’t have enough overhang. A lined pan makes a big difference with frozen desserts.
- How do you avoid dry or frosty leftovers? Cover exposed edges well so the cake doesn’t pick up freezer burn.
Variations and Topping Ideas
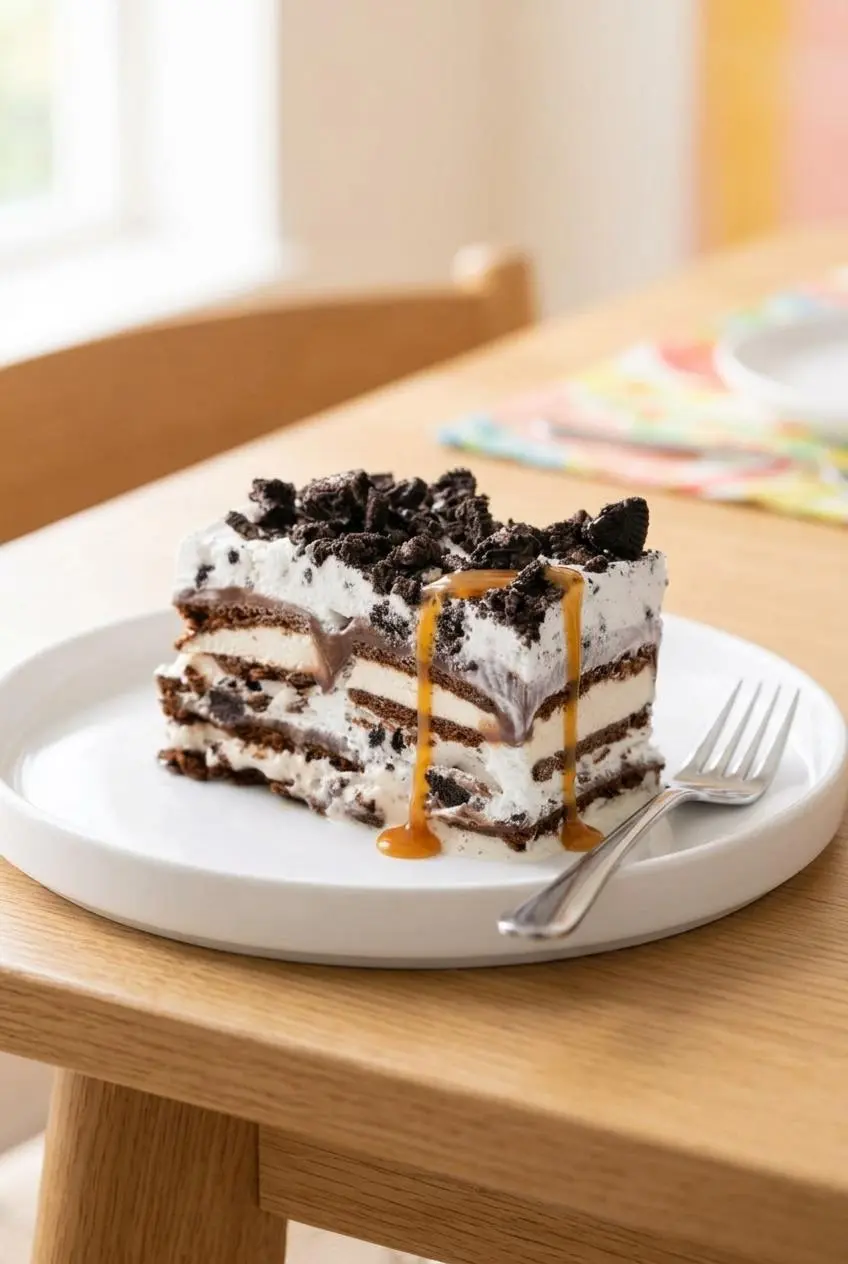
This cake is very easy to customize, so you can keep the same simple method and change the flavor depending on the occasion.
Popular Candy Bar and Cookie Mix-Ins
Add these between the sauce and whipped topping layers for the best texture and the most even distribution.
- Oreo Ice Cream Sandwich Cake: Use extra crushed Oreos in the middle and on top for a more cookie-heavy version.
- Butterfinger Ice Cream Sandwich Cake: Chopped Butterfinger adds crisp, peanut-buttery crunch that plays well with the fudge.
- Reese’s Peanut Butter Cups: Great if you want a richer chocolate-peanut butter flavor.
- Kit Kats: These stay light and crisp and add a nice wafer crunch.
- Heath bars: A good pick if you want toffee flavor in the layers.
- Snickers: These add caramel, peanuts, and a chewier bite.
If Oreos are always the first thing to disappear at your dessert table, our popular Oreo cake is another fun option to keep in mind.
Alternative Sauces and Flavors
Hot fudge is the classic move, but it’s not the only good one. Caramel sauce gives the cake a sweeter, softer flavor, and using both caramel and chocolate sauce together makes the layers feel even more dessert-bar worthy. Butterscotch works well too, and strawberry sauce gives the cake a more playful ice cream parlor vibe.
You can also swap the sandwich flavor if you find mint chocolate chip, cookies and cream, or Neapolitan versions. For a salty-sweet twist, add a thin layer of crushed pretzels or even a few crushed salted potato chips between layers or on top.
Method Variation: Free-Form Stacked Cake
If you don’t have the right pan, you can stack the dessert directly on a freezer-safe plate or tray instead. Build the layers in the same order, keeping the stack centered and as even as possible.
This version is faster and flexible, but it’s usually less stable than a pan-formed cake. For another playful no-bake layered dessert, easy Dirt Cake has the same fun party energy.
Make-Ahead and Storage Guide
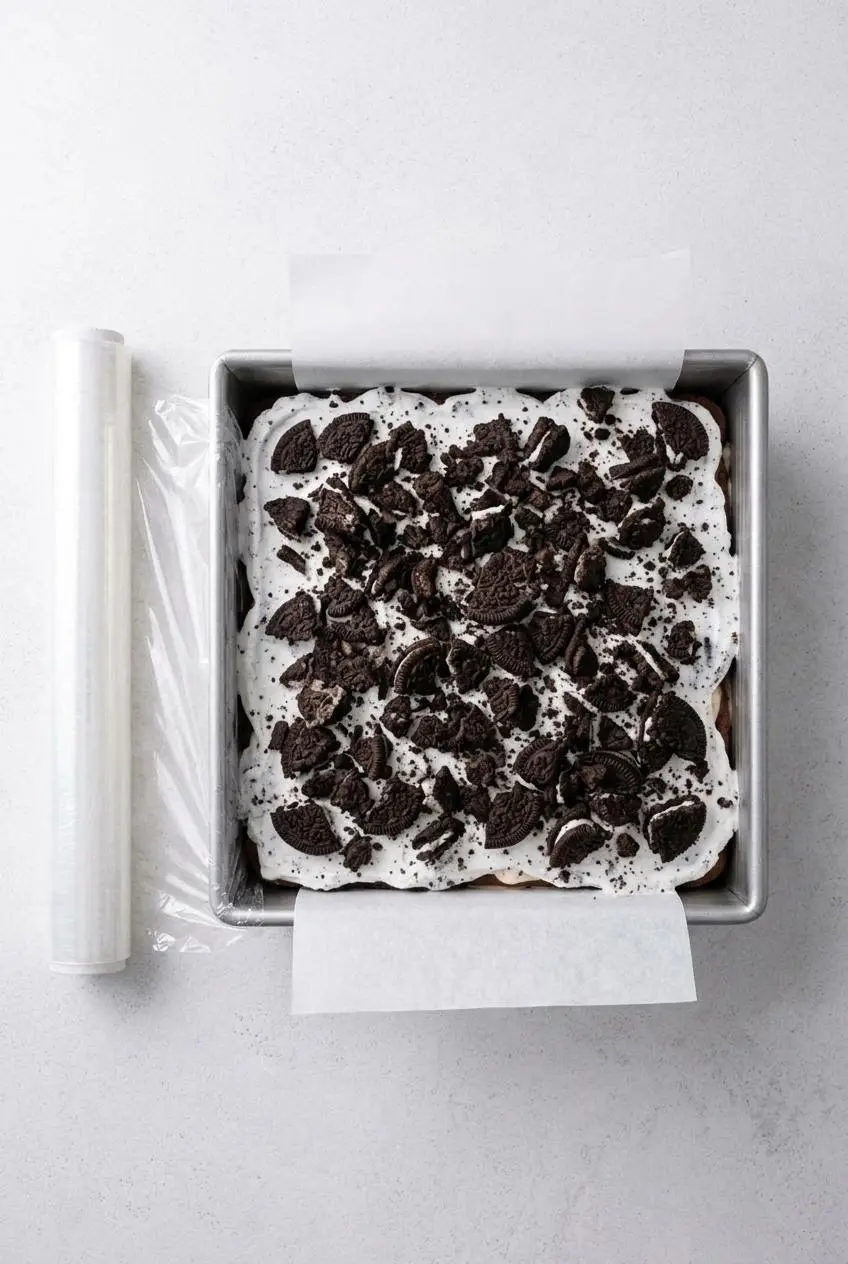
This dessert is a great make-ahead option because it needs time in the freezer to firm up anyway. You can assemble it up to 2 days ahead, keep it tightly covered, and slice it when needed.
For leftovers, press plastic wrap snugly over the cut surface or over the whole pan, then add a layer of foil to help protect the texture and reduce freezer burn. For best quality, try to finish it within 1 week.
For longer storage, texture matters more than safety. Frozen foods kept at 0°F or below can remain safe indefinitely, with freezer times mainly affecting quality, so wrapping well is what really protects this cake.
When serving from the freezer, let the cake stand at room temperature briefly so it softens just enough to slice cleanly, then return the rest promptly to the freezer.
Conclusion
This Ice Cream Sandwich Cake is one of the easiest ways to make a fun frozen dessert that still looks party-ready. The layers are creamy, fudgy, and crunchy in all the right places.
If you remember one thing, let it freeze until fully firm before slicing. That small bit of patience gives you the neat squares this dessert deserves.
Frequently Asked Questions (FAQ)
How long does ice cream sandwich cake need to freeze?
Freeze it for at least 4 hours if you want a firmer cake that slices neatly. If you have more time, an overnight freeze gives the cleanest layers. The exact texture depends on how soft the cake got during assembly.
How do you store leftover ice cream sandwich cake?
Keep leftovers in the freezer and wrap them tightly. Use plastic wrap first, then foil, so the exposed edges stay protected. For best quality, enjoy it within 1 week.
Can I use homemade whipped cream?
Yes, but it helps to stabilize it first so it holds up in the freezer. Beat in 1 tablespoon of instant vanilla pudding mix or powdered sugar per cup of heavy cream. Whip to stiff peaks so the filling stays fluffy instead of turning watery.
What are the best candy bars to add to this cake?
Butterfinger, Reese’s Peanut Butter Cups, Snickers, Kit Kats, and Heath bars all work well. Add them between the sauce and whipped topping layers so they stay evenly scattered. Choose bars that can be chopped into small bite-size pieces for easier slicing.
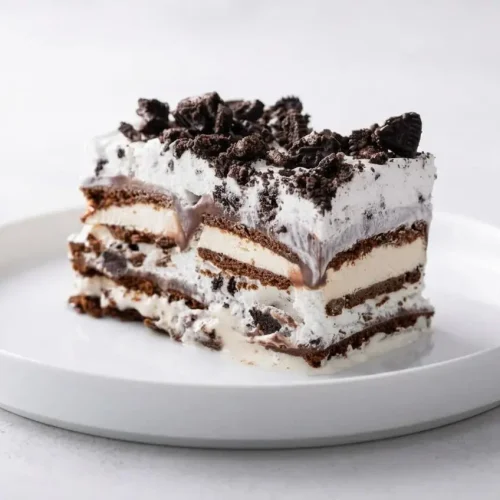
Ice Cream Sandwich Cake

Equipment
- 9×9-inch Cake Pan
- Parchment Paper
Ingredients
- 14 Oreo cookies (chopped into small pieces)
- 8 ounces frozen whipped topping (Cool Whip or TruWhip, thawed)
- 14 full-size ice cream sandwiches
- 1 jar hot fudge sauce (11-ounces)
Instructions
- Line a 9x9x3-inch baking pan with parchment paper, leaving enough overhang to lift the cake out later. The paper should sit neatly in the corners so the finished cake releases without sticking or breaking.
- Stir about ⅔ of the chopped Oreos into the thawed whipped topping in a medium bowl, mixing only until combined, then set the rest of the Oreos aside. Stop as soon as the cookies are evenly scattered through the topping so it stays light and airy instead of turning runny.
- Arrange half of the ice cream sandwiches in an even layer in the pan, cutting a couple as needed so they fit snugly. A tight layer helps the cake slice more cleanly and keeps gaps from collapsing later.
- Spread half of the fudge sauce over the sandwiches, then cover with half of the Oreo whipped topping. If the sauce feels stiff, a slight warm-up helps it glide on gently without tearing the frozen base.
- Repeat the layers with the remaining ice cream sandwiches, the rest of the fudge sauce, and the remaining Oreo whipped topping, then finish with the reserved chopped Oreos. The top should look evenly covered, with cookie pieces scattered across the surface for crunch in every bite.
- Cover the pan and freeze for at least 3 hours before slicing. This rest is what sets the layers, so the cake holds its shape instead of turning soft and messy when cut.