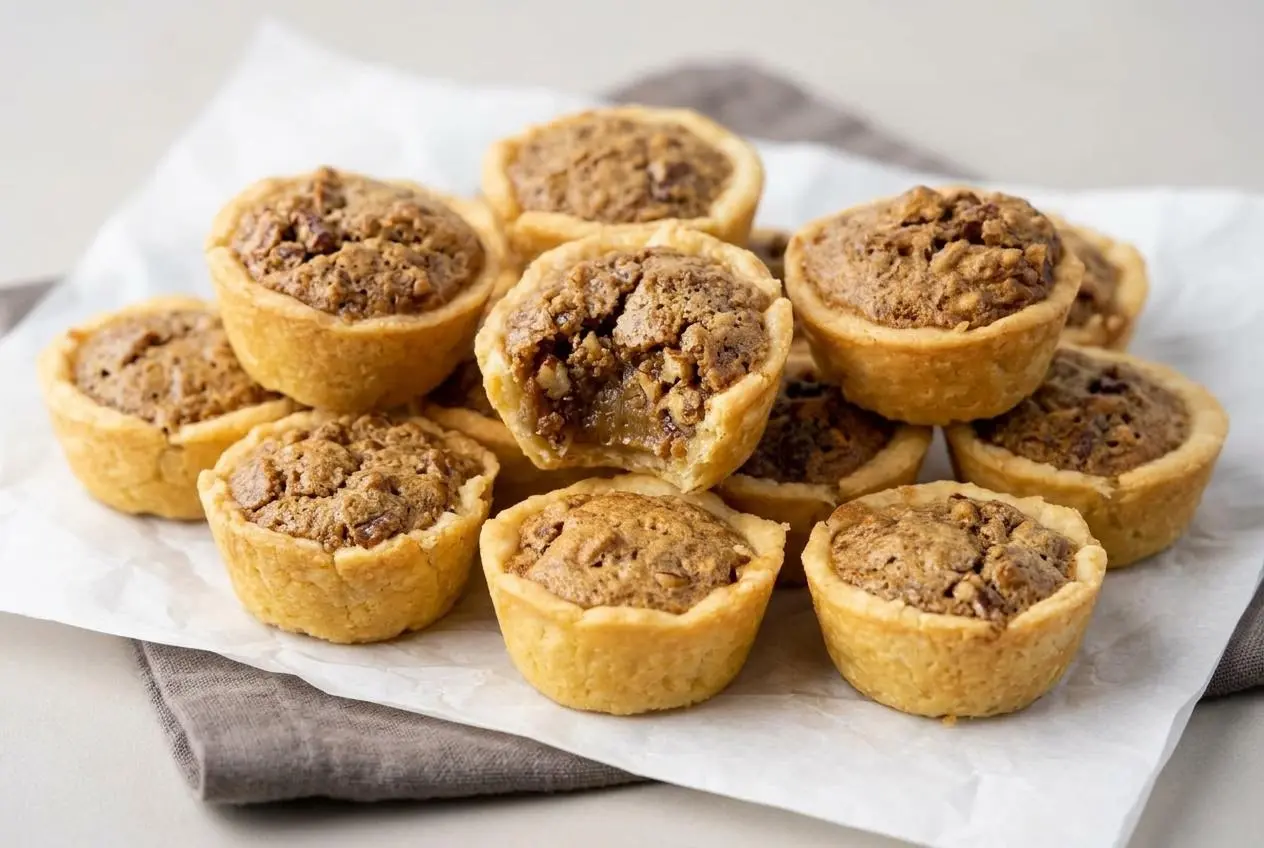
Pecan tassies are miniature pecan tarts with tender cream cheese pastry and a rich brown sugar filling made without corn syrup. Press the dough into a mini muffin pan, spoon in the filling, and bake until lightly golden.
These little pastries give you the pleasure of bite-sized pecan pie without rolling dough. The unsweetened crust balances the gooey filling, while finely chopped pecans bring crunch to every cup.
A 24-cup mini muffin pan keeps the portions party-ready, whether you’re baking for Thanksgiving or filling a holiday dessert platter. Careful shaping and timely loosening make a real difference. Start with even pastry walls.
Soften the butter and brick cream cheese until they yield easily to gentle pressure, but don’t let them become oily.
Key Ingredients and Why Each One Matters
Butter and cream cheese give the pastry richness and tenderness, flour provides structure, and salt balances the sweetness. Brown sugar, egg, and melted butter create the filling, while vanilla adds aroma and pecans supply crunch.
Crust
- ½ cup unsalted butter softened (113 grams; 1 stick)
- 3 ounces brick-style cream cheese softened (85 grams)
- 1 cup all-purpose flour measured correctly (125 grams)
- ⅛ teaspoon salt
Pecan Filling
- ¾ cup packed light or dark brown sugar (150 grams; I used light)
- 2 tablespoons unsalted butter melted (28 grams)
- 1 large egg at room temperature
- 1 teaspoon pure vanilla extract
- 1 cup finely chopped pecans (115 grams)
For the Cream Cheese Pastry Crust
Choose full-fat brick-style cream cheese rather than a spread from a tub. Tub spreads can have a different moisture content and consistency, making the pastry less predictable. Softened brick cream cheese blends with the butter into a smooth, creamy mixture without stubborn lumps.
Accurate flour measurement matters in these small shells. Excess flour can make the dough dry and harder to press thinly. Use the supplied gram weight, or spoon flour into the measuring cup and level it rather than scooping a tightly packed cup.
For the Brown Sugar Pecan Filling
Light brown sugar gives the filling a gentler molasses flavor; dark brown sugar makes it deeper and more pronounced. Either works here. The egg helps bind the filling, and bringing it to room temperature helps keep the melted butter from firming into little flecks.
Chop the pecans finely enough that several pieces fit comfortably on a teaspoon. Large chunks occupy valuable space in the miniature shells and make it harder to distribute the nuts and filling evenly.
I prefer chopping the pecans with a knife so I can stop before they turn into fine meal.
How to Make Pecan Tassies Step by Step
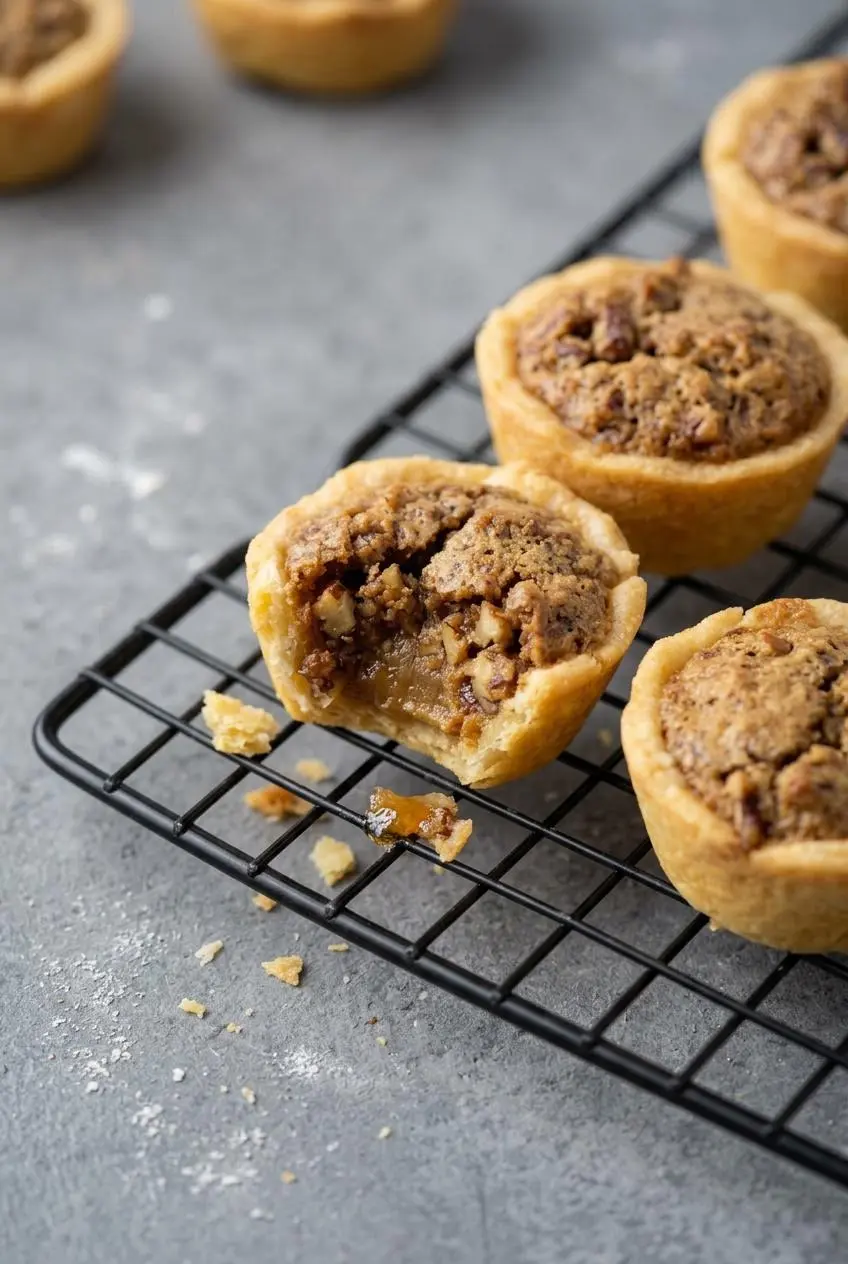
Portioning the dough before shaping helps every tassie get a balanced amount of pastry and filling.
Yield: 24 tassies. Prep: 30 minutes. Cook: 25 minutes. Total: 55 minutes. Allow additional time for complete cooling after the initial pan-cooling period.
- Set the oven to 325°F (163°C) and coat a 24-cup mini muffin pan with nonstick cooking spray.
Cover the bottoms and sides of the wells so the pastry has an evenly greased surface. - Using a paddle-equipped stand mixer or handheld mixer, blend the softened butter and cream cheese for 30 seconds to 1 minute, then mix in the flour and salt until incorporated.
The creamy mixture should lose its visible lumps before the flour goes in, and the finished dough should look cohesive. - Place about 2 teaspoons or 13 grams of dough in each well, then shape it across the bottom and up the sides with your fingers or a tart tamper.
Aim for an even shell without a bulky bottom or a paper-thin rim. - Refrigerate the pan of shaped pastry cups while you make the filling.
The chilled dough should feel firmer and less soft than it did during shaping. - Combine the brown sugar, melted butter, egg, and vanilla with a gentle whisking motion, stopping once blended, then fold in the chopped pecans.
The filling should look evenly mixed rather than foamy. - Take the pan out of the refrigerator and spoon approximately 1 heaping teaspoon of filling into each pastry shell, dividing it among all 24 cups.
Keep the mixture contained within the pastry rather than running onto the metal rims. - Bake the filled cups at 325°F (163°C) for 20 to 25 minutes.
Look for lightly golden brown tops as the baking cue. - Rest the baked tassies in their pan for about 5 minutes, then carefully work a butter knife around each shell, lift it out, and place it on a wire rack to cool completely.
Handle the pastry gently because the warm shells are still delicate.
Mix and Press the Cream Cheese Crust
Prepare the oven and sprayed pan first so the dough can go straight into shaping. The butter and cream cheese should become evenly creamy, not airy and whipped. Once you add the flour and salt, stop mixing when the dough comes together.
A tart tamper is convenient, but fingers work well. Press outward from the center, then guide the dough upward around the cavity. Check the bottom corners, where dough tends to collect, before moving to the next cup.
Chill the Crusts and Whisk the Filling
The shaped cups chill while you mix the filling; there’s no separate minimum chilling period to track. This pause firms the butter-rich dough and helps the shells hold their shape.
Whisk gently rather than beating vigorously. You want to blend the egg into the sugar and butter without trapping excess air, which can encourage exaggerated puffing and sinking.
Fill, Bake, and Release from the Pan
Distribute the filling across the pan before adding extra to any one shell. Pecans can settle unevenly in the bowl, so scoop both nuts and the surrounding mixture.
Watch for the lightly golden tops within the supplied baking window. After baking, let the pastry gain a little strength during its brief pan rest, then loosen the shells gently. Finish cooling on the rack rather than leaving them in the tin.
Expert Tips and Troubleshooting Common Mistakes
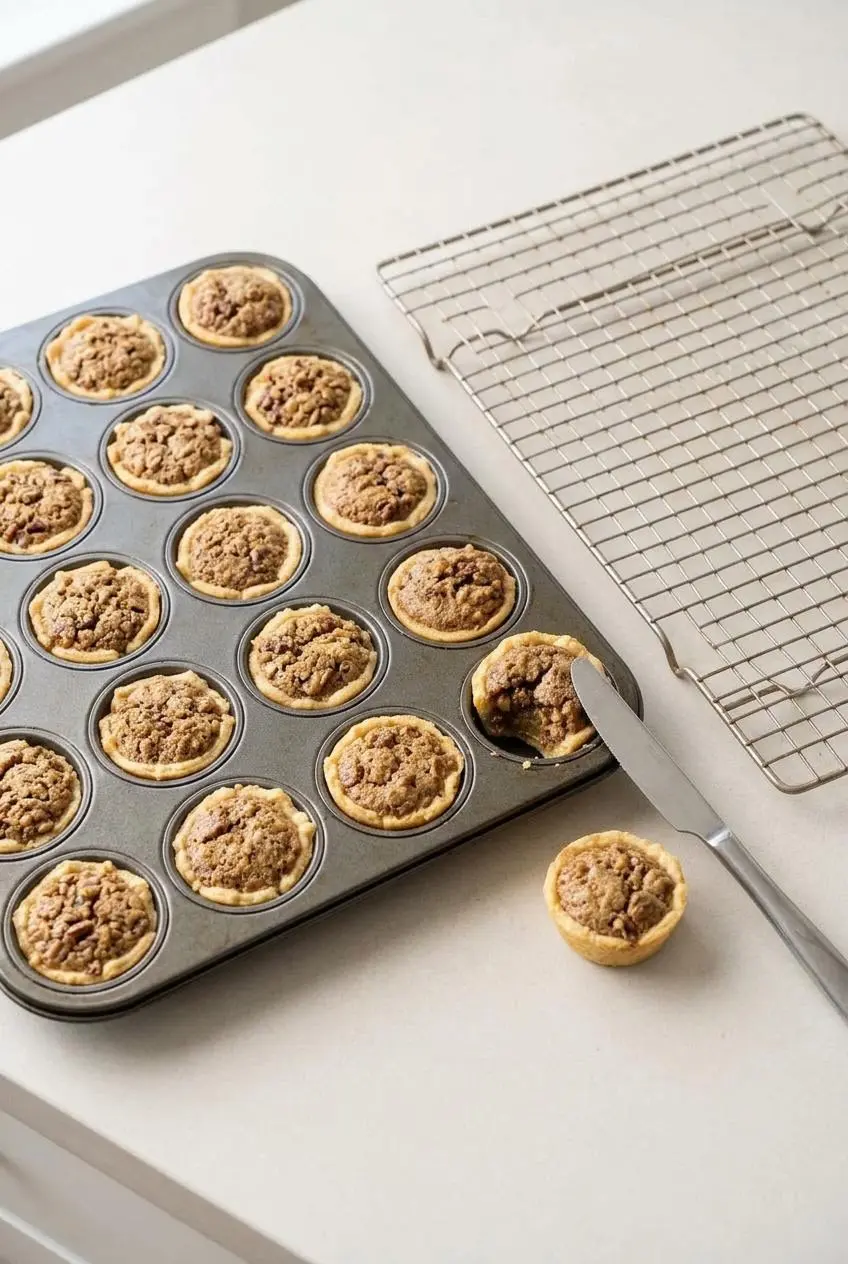
Most shaping and release problems come down to uneven pastry, warm dough, or sugary filling touching the pan.
How to Keep Pecan Tassies from Sticking
- Spray the wells thoroughly. Include the sides, where the pastry makes contact with the pan.
- Optionally check for spills before baking. Wipe stray filling from the metal rims; spilled sugar can caramelize and stick firmly to the tin.
- Loosen after the brief cooling period. Let the tassies rest for about 5 minutes, then ease a butter knife around them before the sticky edges harden completely.
Don’t overfill the cups or tug at the tops to remove them. If a shell resists, work around its edge gently instead of pulling harder. Immediate removal can also break pastry that hasn’t had time to firm slightly.
Press-In Dough vs Rolled Dough
- Press-in shaping: Avoids rolling, cutting rounds, and rerolling scraps, reducing opportunities to overwork the dough.
- Rolled pastry: Gives a different shaping approach, but cut rounds still need careful fitting into small cavities.
- Even portions: Matter with either approach because thick bottoms leave less space for filling.
Pressing alone doesn’t prevent tough pastry; correct flour measurement and restrained mixing still matter. Chilling the formed cups also helps limit slumping. For a full-size rolled-crust dessert instead, try classic pecan pie.
Sticky Dough, Thick Crusts, and Sunken Centers
- Sticky dough: Warm hands soften the butter-rich pastry; use a light dusting of flour on your fingers or tamper rather than kneading extra flour into the dough.
- Thick shells: Check the 13-gram portions and redistribute dough from bulky bottoms toward the sides.
- Dry pastry: Recheck flour measurement rather than adding an unmeasured splash of liquid.
- Puffed, collapsed filling: Use the room-temperature egg and stop whisking once combined; a little settling during cooling differs from a dramatic collapse.
Pecan Tassie Flavor Variations, Nut Swaps, and Pan Options
Keep adaptations separate from the main method, especially when they change pastry texture or baking time.
Toasted Pecans and Browned Butter
For a deeper nutty flavor, optionally toast the pecans in a dry skillet, stirring and watching closely until fragrant. Let them cool before adding them to the filling.
Browning the filling butter is another optional approach that adds toasted, caramel-like notes. Watch for golden brown milk solids and a nutty aroma rather than dark, scorched specks. Browning reduces moisture, so treat this as an adaptation rather than an identical replacement by finished volume.
- Gluten-free pastry: A 1-to-1 gluten-free baking flour blend is an optional swap, though the dough’s cohesion and handling may differ; this version isn’t presented as tested.
- Walnuts or mixed nuts: Finely chopped walnuts bring a slightly more earthy flavor, while mixed nuts change the balance of sweetness and crunch.
- Toasted hazelnuts: Offer another nut option with a more assertive roasted flavor; keep the pieces small.
Using a Regular Muffin Pan
A standard muffin pan produces larger tarts and fewer servings. Baking will likely take longer, but there’s no verified timing adjustment for that adaptation. Watch for the golden-top cue rather than assuming the mini-pan schedule will apply.
The specified portions, 24-tassie yield, and 20-to-25-minute baking window belong to the mini muffin version. For a different handheld pastry approach, pecan pie crescent rolls offer another option.
Holiday Serving, Batch Planning, and Storage
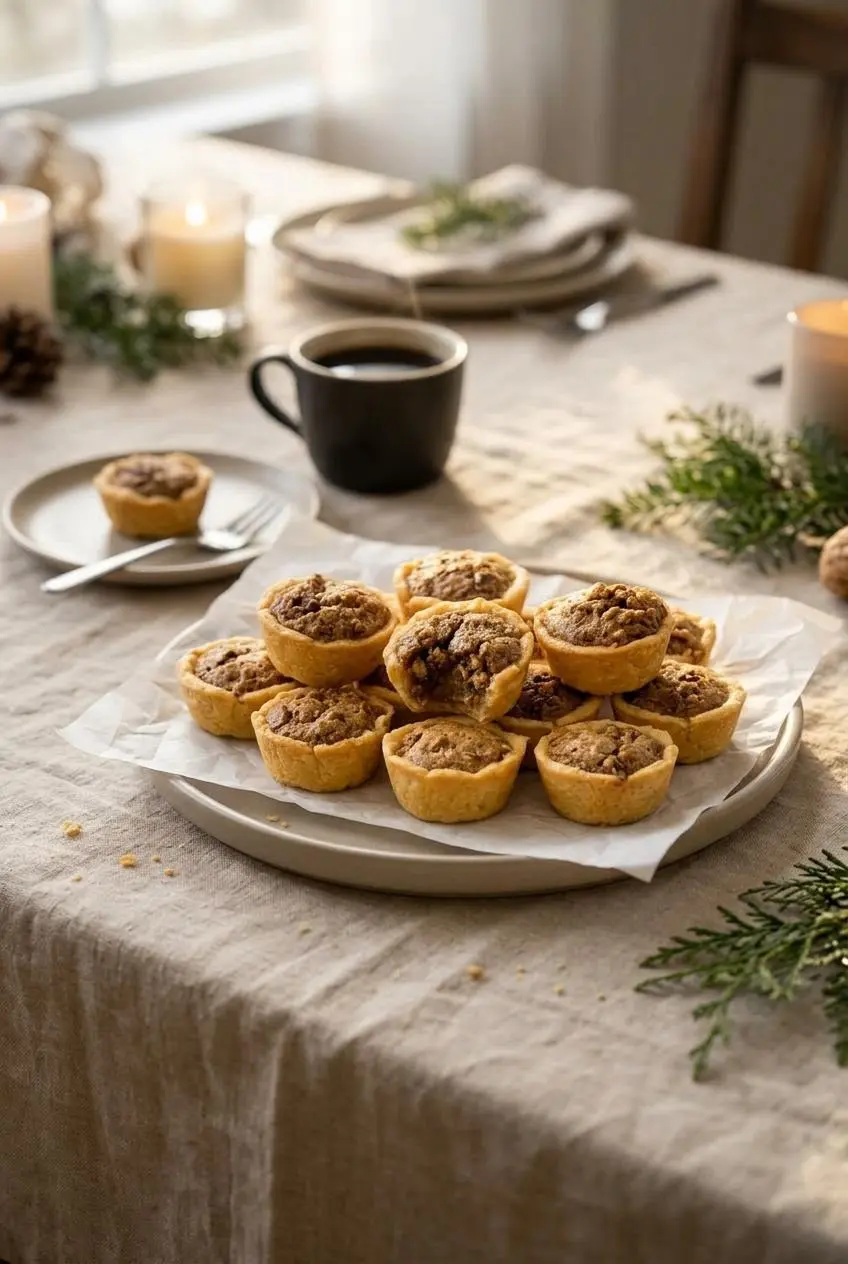
Plan for complete cooling before packing so moisture doesn’t soften the pastry.
Cookie Boxes and Thanksgiving Dessert Platters
Arrange the tassies beside mini pumpkin or apple pies, or serve them with coffee or spiced holiday tea. For plated desserts, a scoop of butter pecan ice cream complements their brown sugar and nut flavors.
For cookie exchanges, separate completely cooled tassies with wax paper. Sealing warm pastries traps condensation, so leave the container open until they’ve finished cooling. Keep storage needs in mind when planning gift delivery.
Keeping Dough Chilled and Baking Larger Batches
Keep waiting dough wrapped and refrigerated while you work through larger batches. No specific advance-storage period is established here, so plan around your baking session rather than an assumed dough shelf life.
Doubling yields 48 mini tassies; tripling yields 72 when you maintain the same portions and ratios. With one pan, release the baked tassies and let the pan cool before preparing the next batch. Keep the per-batch oven temperature unchanged.
Refrigerating and Protecting Baked Tassies
For a conservative approach to this egg-containing filling, keep the cooled tassies covered and refrigerated rather than relying on an extended room-temperature shelf life. Use an airtight container and wax paper between layers to protect the delicate shells.
No precise refrigerated shelf life is established here. Pack only after complete cooling, keep the pastries chilled during storage, and arrange the serving platter close to serving time.
Conclusion
Tender cream cheese pastry and rich brown sugar pecan filling make these little tarts satisfying without corn syrup or rolled dough.
Give each shell an even portion, keep the filling off the pan rims, and loosen the pastries gently after their brief rest. Those small details make holiday baking easier.
Frequently Asked Questions
Why Are They Called Pecan Tassies?
Tassie comes from a Scottish term meaning a small cup or goblet. The name describes the miniature pastry cups, not necessarily the geographic origin of the whole dessert.
Why Do My Pecan Tassies Stick to the Pan?
Insufficient greasing and spilled sugary filling can make the shells stick to the metal. Cooling completely in the tin can make release harder, so loosen them gently after the brief pan rest described above.
What Are the Differences Between Pecan Tassies and Butter Tarts?
These tassies use a cream cheese press-in crust and a chopped-pecan brown sugar filling. Canadian butter tarts generally use flaky pastry and often have a looser filling; recipes vary, and neither raisins nor corn syrup is universal. Tassies are miniature individual pastries rather than a full-size pie, and this filling contains no corn syrup.
Can I Use a Regular Muffin Pan Instead of a Mini Muffin Pan?
Yes, as an adaptation, but the tarts will be larger and the yield smaller. Expect baking to take longer and watch for lightly golden tops; the supplied recipe is calibrated for 24 mini tassies.
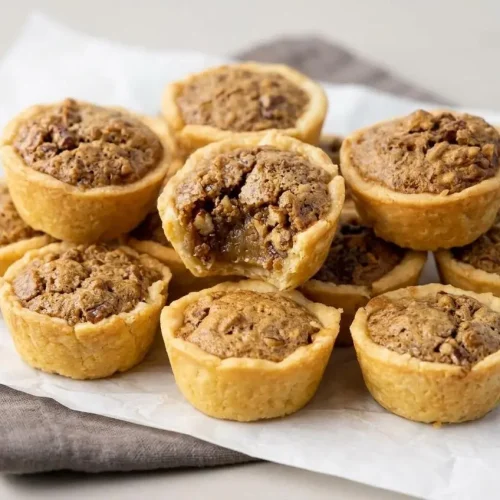
Pecan Tassies

Equipment
- 24 count mini muffin pan
- Stand mixer or handheld mixer
- tart tamper
- Wire rack
Ingredients
Crust
- ½ cup unsalted butter softened (113 grams; 1 stick)
- 3 ounces brick-style cream cheese softened (85 grams)
- 1 cup all-purpose flour measured correctly (125 grams)
- ⅛ teaspoon salt
Pecan Filling
- ¾ cup packed light or dark brown sugar (150 grams; I used light)
- 2 tablespoons unsalted butter melted (28 grams)
- 1 large egg at room temperature
- 1 teaspoon pure vanilla extract
- 1 cup finely chopped pecans (115 grams)
Instructions
- Set the oven to 325°F (163°C) and coat a 24-cup mini muffin pan with nonstick cooking spray. Cover the bottoms and sides of the wells so the pastry has an evenly greased surface.
- Using a paddle-equipped stand mixer or handheld mixer, blend the softened butter and cream cheese for 30 seconds to 1 minute, then mix in the flour and salt until incorporated. The creamy mixture should lose its visible lumps before the flour goes in, and the finished dough should look cohesive.
- Place about 2 teaspoons or 13 grams of dough in each well, then shape it across the bottom and up the sides with your fingers or a tart tamper. Aim for an even shell without a bulky bottom or a paper-thin rim.
- Refrigerate the pan of shaped pastry cups while you make the filling. The chilled dough should feel firmer and less soft than it did during shaping.
- Combine the brown sugar, melted butter, egg, and vanilla with a gentle whisking motion, stopping once blended, then fold in the chopped pecans. The filling should look evenly mixed rather than foamy.
- Take the pan out of the refrigerator and spoon approximately 1 heaping teaspoon of filling into each pastry shell, dividing it among all 24 cups. Keep the mixture contained within the pastry rather than running onto the metal rims.
- Bake the filled cups at 325°F (163°C) for 20 to 25 minutes. Look for lightly golden brown tops as the baking cue.
- Rest the baked tassies in their pan for about 5 minutes, then carefully work a butter knife around each shell, lift it out, and place it on a wire rack to cool completely. Handle the pastry gently because the warm shells are still delicate.