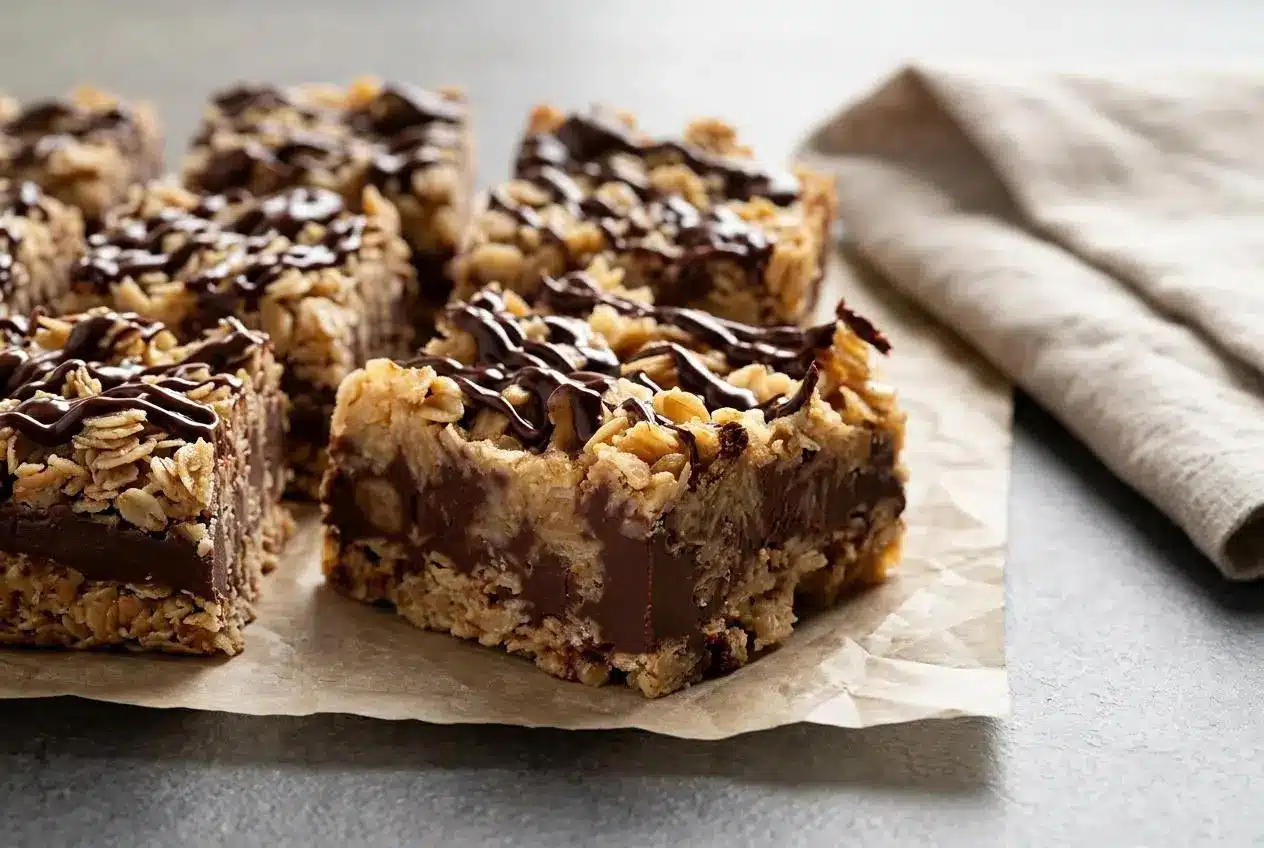
Make no bake chocolate oatmeal bars by briefly cooking buttery oats on the stovetop, sandwiching a melted chocolate peanut butter filling between the layers, and chilling for 2 to 3 hours. No oven needed, just a lined pan and enough patience for the filling to firm up.
These layered bars pair chewy, buttery oats with a rich fudge-like center. They’re a good choice when you want chocolate and peanut butter without turning on the oven.
The hands-on preparation takes about 15 minutes, while the refrigerator does the setting. Careful heating and a firmly pressed bottom layer make the difference between tidy squares and loose crumbs. That chocolate center is worth the wait.
Clear space in the refrigerator for the pan before you start cooking.
Ingredients You Need and Why Each One Matters
Butter and brown sugar bind the oat layers, vanilla adds aroma, and rolled oats provide structure and chew. Chocolate brings richness, while peanut butter makes the filling softer and more fudge-like than melted chocolate alone.
- 1 cup butter
- 1/2 cup brown sugar (packed)
- 1 teaspoon vanilla extract
- 3 cups rolled oats
- 1 cup semisweet or dark chocolate chips
- 1/2 cup peanut butter
Butter coats the oats and helps the chilled layers hold together. Keep the full amount: reducing it changes both the texture and the binding. Packed brown sugar gives you the intended measure and adds a caramel-like flavor alongside the vanilla.
I like to press the brown sugar into the measuring cup before starting so the binder gets its full measure.
Rolled Oats vs Quick Oats for Chewy, Cohesive Bars
Rolled oats are the choice here, but you can adjust the texture without changing the total oat amount.
- Old-fashioned rolled oats: Their broad flakes give the bars a hearty chew and a more distinct oat texture.
- Quick oats: As an optional substitution, their smaller pieces absorb the butter mixture more readily and form a tighter layer.
- Half rolled oats, half quick oats: This optional blend balances chewy flakes with smaller pieces that help fill the gaps.
Quick oats won’t give exactly the same bite as rolled oats. Whichever option you choose, coat the oats evenly before transferring them to the pan.
Choosing the Right Chocolate and Peanut Butter
Semisweet chips make a sweeter filling; dark chocolate chips give a deeper chocolate flavor that balances the sweet oat layers. Either works with the listed peanut butter.
Creamy peanut butter is convenient because it blends smoothly into the melted chips. If using a natural peanut butter with separated oil, stir it thoroughly before measuring. A particularly runny product may make a softer filling, so don’t expect every brand to set identically.
How to Make No Bake Chocolate Oatmeal Bars Step by Step
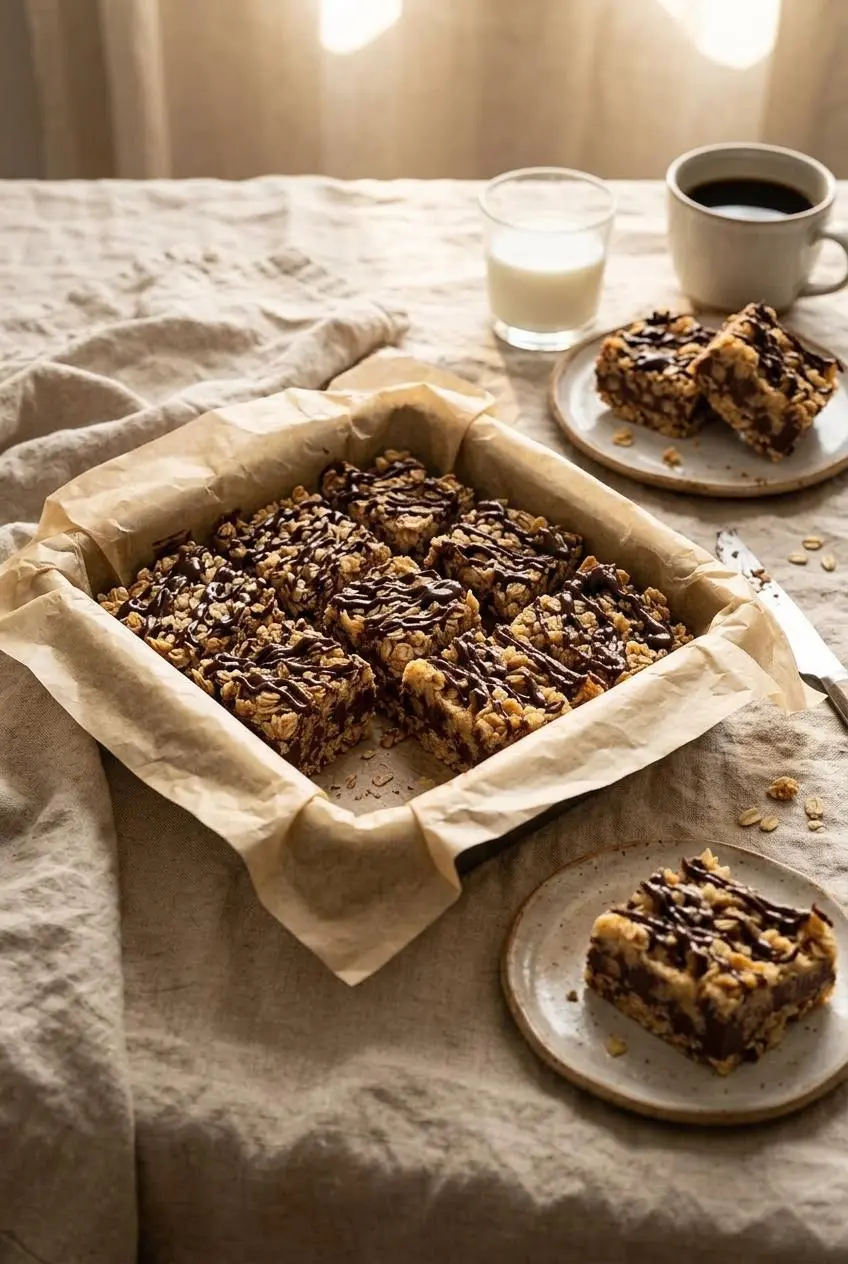
Prepare the pan first so you can spread the warm oat mixture without stopping to cut parchment. Use parchment with enough overhang to lift the chilled slab; there’s no need for a separate foil liner.
- 8-inch square pan: Makes the thickest bars of these options.
- 9-inch square pan: Gives slightly thinner layers with the same ingredient amounts.
- 9×13-inch pan: Spreads the mixture into noticeably thinner bars.
Prep: 15 minutes. Chill: 2 to 3 hours, or overnight. Minimum total: 2 hours 15 minutes. Yield: 16 to 20 bars.
The minimum total uses the shortest chilling option, so allow extra time if the layers still feel soft. Have a large saucepan and a small microwave-safe bowl ready.
- Fit parchment into an 8-inch or 9-inch square baking dish, leaving edges extending above the sides, or choose a 9×13-inch dish for thinner bars.
The paper should cover the bottom and provide handles for lifting the firm slab. - Heat the butter and brown sugar together in a large saucepan over medium heat, stirring until melted and dissolved, then incorporate the vanilla followed by the oats.
The butter-sugar mixture should look glossy rather than gritty before the oats go in. - Reduce the heat to low and stir the oat mixture for 3 to 4 minutes, until thoroughly combined.
Look for evenly coated flakes with no dry pockets. - Transfer half the warm oats to the lined dish and compact them into an even bottom layer, keeping the other half in the saucepan.
The crust should reach the corners without loose patches or deep gaps. - Microwave the chocolate chips and peanut butter together in a small microwave-safe bowl, stirring as they melt.
The finished filling should look smooth and uniform, with no unmelted chips. - Set aside about 1/4 cup of filling for the drizzle, then spread the rest across the oat crust.
A level chocolate layer will give each bar a similar amount of filling. - Distribute the reserved oats over the filling, press lightly, and trail the reserved chocolate across the surface.
The topping should settle against the filling without pushing it out toward the edges. - Chill the pan for 2 to 3 hours or overnight, then let the slab come to room temperature before cutting.
The layers should hold their shape, and the chocolate should yield to the knife rather than crack. - Control the heating carefully rather than extending it to make the mixture extra thick.
Too little cooking can leave soft layers, while excessive cooking can produce dry, crumbly oats.
Expert Tips and Troubleshooting Common Issues
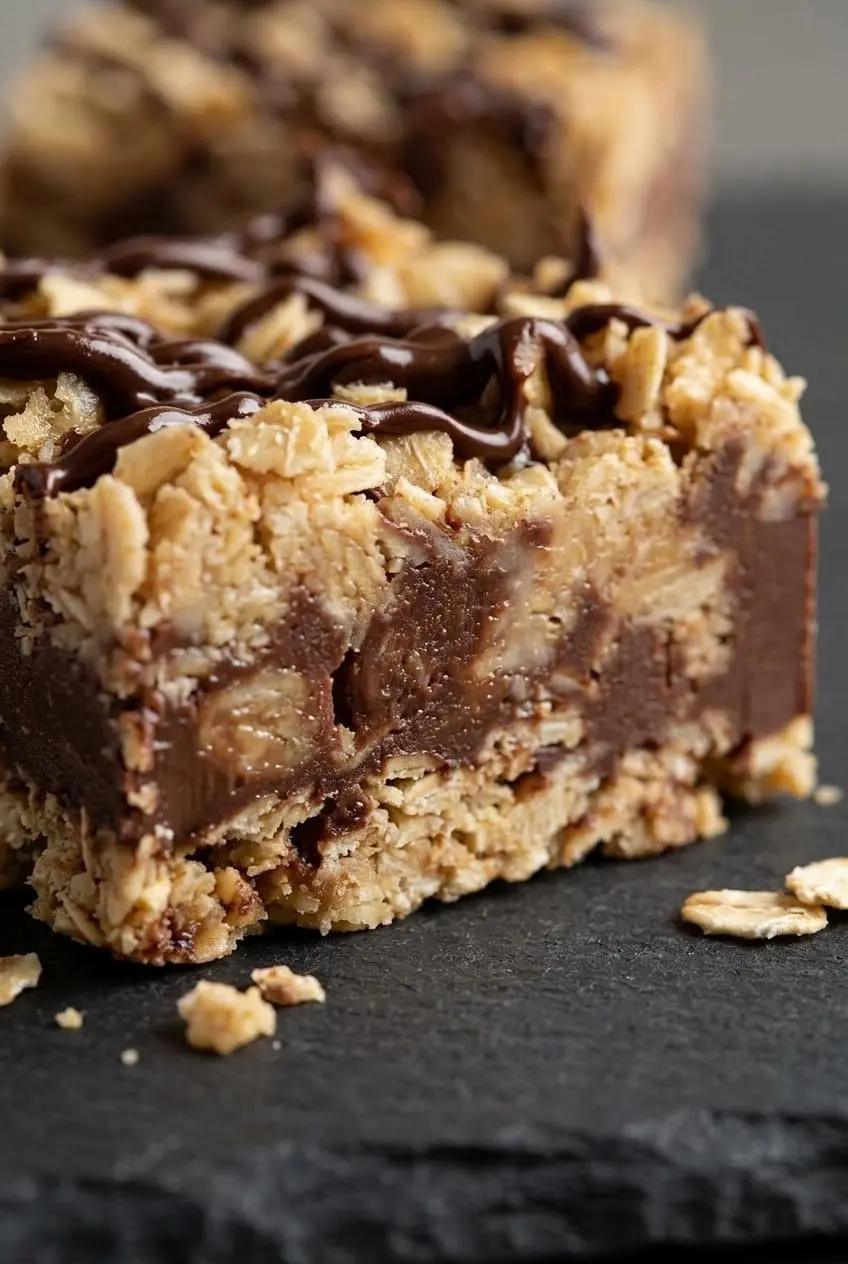
Most texture problems start at the stove or during pressing, not during slicing. Like classic no-bake cookies, these bars depend on careful heating to reach the intended texture.
How to Fix Bars That Are Too Soft or Crumbly
- Soft throughout: Check whether the pan completed its chilling period before changing anything else. More chilling may help an unfinished batch, but it won’t necessarily correct an unsuitable spread or an undercooked binder.
- Sticky, gritty oat layers: The sugar may not have dissolved fully. For the next batch, watch for a smooth butter-sugar mixture before adding vanilla and oats.
- Dry, crumbly layers: Excessive cooking can drive off too much moisture. Keep the oat stage over low heat and avoid adding an extra boiling stage; there isn’t a dependable repair that restores a dried-out batch.
- Loose bottom crust: Use the flat bottom of a dry measuring cup to compact the base evenly. Press the top gently so you don’t squeeze out the chocolate.
- Scorched filling: Try optional 30-second microwave bursts, stirring between each. Stop once stirring brings everything together smoothly.
Keep the heating stages distinct: dissolve the sugar with the butter over medium heat, then cook the oats over low heat for the stated time. Don’t aim for a rolling boil or a candy-making stage. Also avoid reducing the butter or replacing it with a soft tub spread.
The Toasted Oat and Flaky Sea Salt Upgrade
For an optional nuttier flavor, stir the rolled oats in a dry saucepan for about 3 minutes, stopping when fragrant. Transfer them out before beginning the butter-and-sugar stage, then continue with the method above.
An optional pinch of flaky sea salt over the chocolate drizzle adds contrast to the sweet filling. Neither the toasting step nor the salt is necessary for the bars to work.
Easy Variations and Dietary Swaps
Choose substitutions for your household’s needs, but expect some changes in flavor and firmness. Every version still needs chilling.
Peanut-Free and Nut-Free Options
- Sunflower seed butter: Replace the peanut butter with an equal measure for an optional seed-based filling. Its flavor is more earthy than peanut butter.
- Almond butter: This offers another peanut-free option, but it contains tree nuts and does not suit a tree-nut-free batch.
- Allergy-sensitive preparation: Check every ingredient label and cross-contact statement, including the chocolate, rather than relying on the butter substitution alone.
Choose a well-mixed spread with a creamy consistency. Very oily or runny alternatives can make the filling softer.
Vegan and Gluten-Free Adaptations
- Vegan: Choose firm plant-based butter sticks or blocks and dairy-free dark chocolate chips, checking the remaining labels as well.
- Butter texture: Avoid soft tub-style plant-based spreads, which can weaken the structure of the oat layers.
- Gluten-free: Select certified gluten-free oats and check the other ingredient labels for your needs.
For optional flavor and texture changes, keep additions restrained so the oat mixture can still hold together:
- Toasted oats: Use the optional dry-toasting approach above for a warmer, nuttier aroma.
- Shredded coconut: Mix into the oat layer for coconut flavor and extra chew.
- Chopped pecans: Add crunch to the oat layer, but leave them out of any nut-free adaptation.
If mix-ins are your favorite part, homemade no-bake granola bars offer another customizable oat-bar option.
How to Cut and Store No Bake Oat Bars
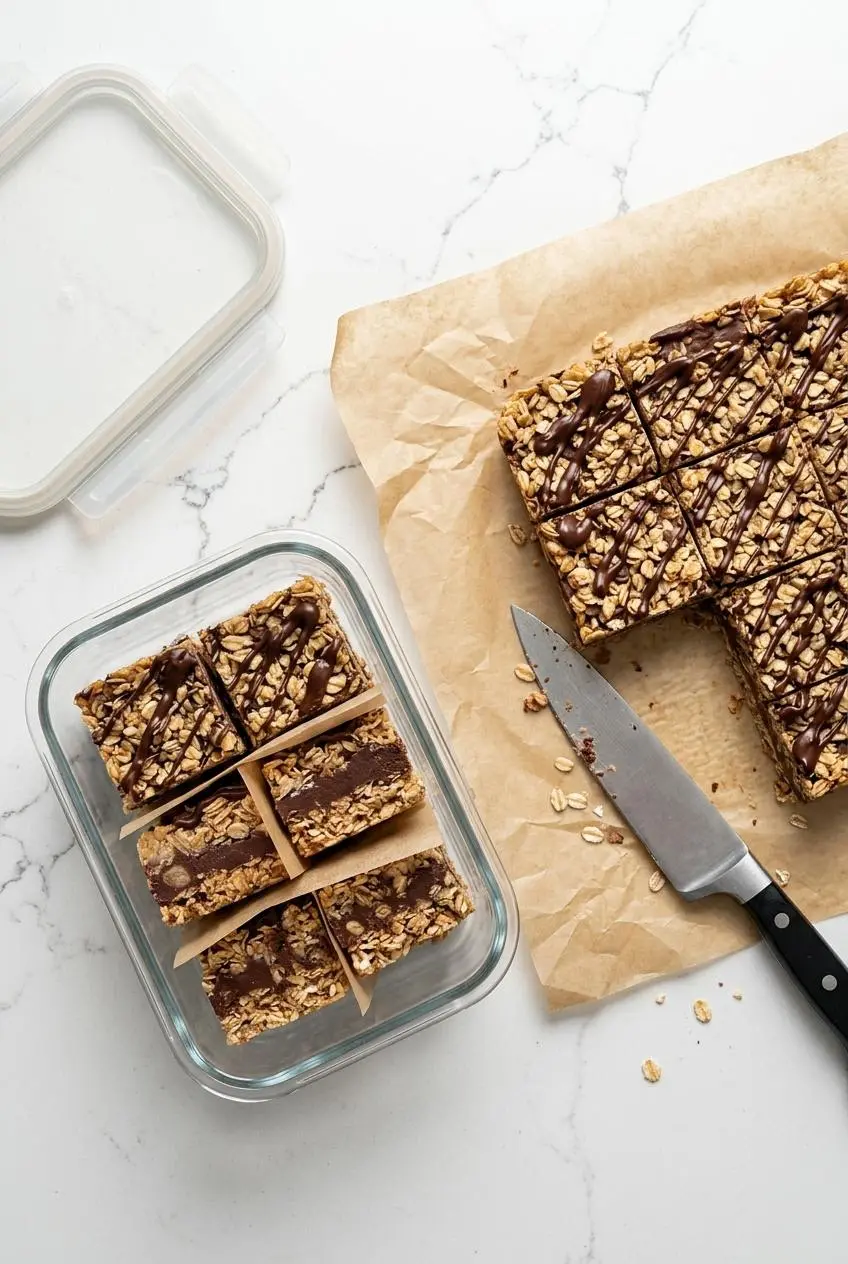
Let the chilled slab soften at room temperature before cutting. The useful cue is chocolate that yields under a sharp knife instead of splintering.
Lift the slab using the parchment handles and place it on a cutting board. Cut with a sharp knife, wiping the blade between cuts if chocolate builds up. For thinner bars, lift carefully so the slab stays supported.
Keep the bars in an airtight container in the refrigerator to help preserve the firm fudge center, especially in a warm kitchen. Separate stacked layers with parchment to prevent sticking. Bring out the portions you plan to serve rather than leaving the whole container on the counter.
Small squares work well for potlucks and dessert platters. Pack chilled portions for a work lunch, or serve slightly softened bars with milk or coffee. For school lunches, check the school’s allergy rules before choosing either the peanut butter version or a seed-butter adaptation.
Conclusion
Chewy oat layers and a rich chocolate peanut butter center make these bars satisfying without any oven time. Smoothly dissolved sugar, careful low-heat cooking, and complete chilling give them their structure.
Press the bottom firmly, treat the topping gently, and let the chocolate soften before slicing. A little patience makes serving much easier.
Frequently Asked Questions
Why Didn’t My No-Bake Chocolate Oatmeal Bars Set?
The sugar may not have dissolved fully before you added the oats. The pan may need more chilling before the layers hold together. A soft tub spread or unusually runny nut butter may have changed the structure; chilling won’t necessarily correct that.
Can I Make No-Bake Chocolate Oatmeal Bars Without Peanut Butter?
Yes. Use an equal measure of sunflower seed butter as an optional alternative. Almond butter is another peanut-free choice, but it is not tree-nut-free. For allergy-sensitive households, check all labels and cross-contact statements.
What Kind of Oats Should I Use: Old-Fashioned Rolled Oats or Quick Oats?
Use rolled oats for the stated recipe and a hearty, chewy bite. Quick oats are an optional change that gives a finer texture and tighter binding. A half-and-half blend balances both textures without increasing the total oats.
Do No-Bake Chocolate Oatmeal Bars Need to Be Stored in the Fridge?
Refrigerated storage helps keep the chocolate peanut butter center firm. Use an airtight container and parchment between stacked layers. Let serving portions soften at room temperature before eating, while keeping the remaining bars chilled.
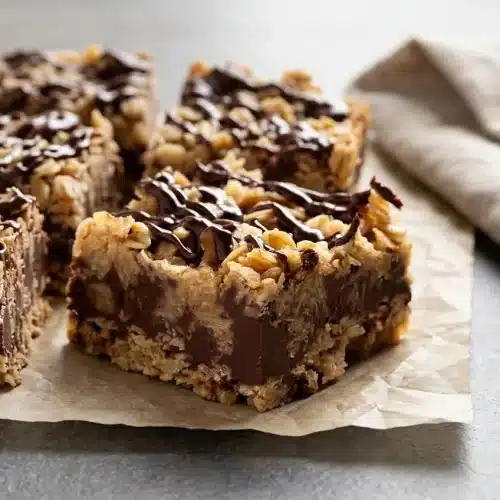
No Bake Chocolate Oatmeal Bars

Equipment
- 8-inch or 9-inch square baking dish
- Parchment Paper
- Large saucepan
- Small microwave-safe bowl
Ingredients
- 1 cup butter
- 1/2 cup brown sugar packed
- 1 teaspoon vanilla extract
- 3 cups rolled oats
- 1 cup semisweet or dark chocolate chips
- 1/2 cup peanut butter
Instructions
- Fit parchment into an 8-inch or 9-inch square baking dish, leaving edges extending above the sides, or choose a 9×13-inch dish for thinner bars. The paper should cover the bottom and provide handles for lifting the firm slab.
- Heat the butter and brown sugar together in a large saucepan over medium heat, stirring until melted and dissolved, then incorporate the vanilla followed by the oats. The butter-sugar mixture should look glossy rather than gritty before the oats go in.
- Reduce the heat to low and stir the oat mixture for 3 to 4 minutes, until thoroughly combined. Look for evenly coated flakes with no dry pockets.
- Transfer half the warm oats to the lined dish and compact them into an even bottom layer, keeping the other half in the saucepan. The crust should reach the corners without loose patches or deep gaps.
- Microwave the chocolate chips and peanut butter together in a small microwave-safe bowl, stirring as they melt. The finished filling should look smooth and uniform, with no unmelted chips.
- Set aside about 1/4 cup of filling for the drizzle, then spread the rest across the oat crust. A level chocolate layer will give each bar a similar amount of filling.
- Distribute the reserved oats over the filling, press lightly, and trail the reserved chocolate across the surface. The topping should settle against the filling without pushing it out toward the edges.
- Chill the pan for 2 to 3 hours or overnight, then let the slab come to room temperature before cutting. The layers should hold their shape, and the chocolate should yield to the knife rather than crack.
- Control the heating carefully rather than extending it to make the mixture extra thick. Too little cooking can leave soft layers, while excessive cooking can produce dry, crumbly oats.