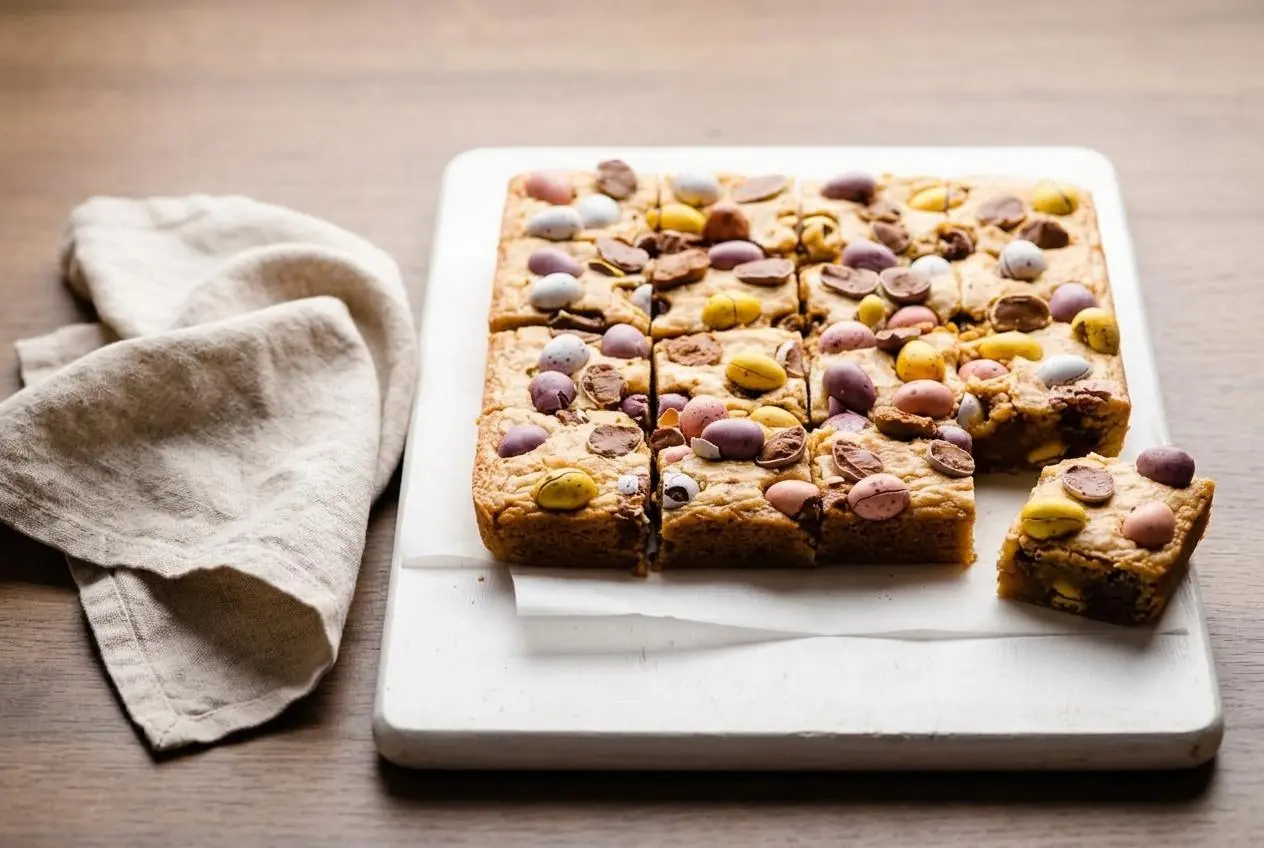
These mini egg blondies are buttery, chewy bars with white chocolate chunks and crisp candy shells. A two-stage bake lets the batter partially set before the chocolate eggs go on top, keeping the candy nestled near the surface above a soft center.
Think of them as a chocolate-studded Easter cookie bar, with brown sugar flavor running through every bite. The candy shells bring a satisfying crunch against the dense, tender crumb.
The saucepan method skips creaming butter, and the topping goes on partway through baking. Allow time for cooling before you plan to serve them. That pause makes the clean cuts possible.
Set out an 8 x 8 inch pan and parchment paper before melting the butter so the thick batter has somewhere to go.
Key Ingredients and Why Each One Matters
Butter supplies richness, the sugars build sweetness and chew, and eggs and flour give the bars structure. Vanilla and salt balance the flavor, while white chocolate adds creamy pockets and the chocolate eggs contribute their distinctive candy crunch.
- 200 g unsalted butter (cubed)
- 125 g golden caster sugar (or caster sugar)
- 125 g soft light brown sugar
- 2 large eggs
- 1/4 tsp salt
- 1 tsp vanilla extract
- 300 g plain flour
- 150 g white chocolate (chopped)
- 240 g mini chocolate eggs
Melted butter and both sugars: Melting rather than creaming the butter avoids beating in the air associated with a lighter, cake-like crumb. Cubes melt readily over low heat. Brown sugar contributes moisture and caramel flavor, while fine caster sugar blends into the warm mixture. Expect a thick, glossy appearance, not necessarily a perfectly grain-free liquid.
Eggs, flour, and flavoring: Eggs bind the batter and help it set; flour supplies enough body to hold the generous chocolate topping. Salt tempers the sweetness, and vanilla rounds out the buttery flavor. Room-temperature eggs can blend more readily into the warm mixture. If the saucepan feels very hot, let the mixture cool slightly before adding them to reduce the chance of cooked egg flecks.
Two kinds of chocolate: Chopped white chocolate goes throughout the batter, creating creamy pockets. The mini chocolate eggs go on during baking, after the surface has gained some support. Cadbury Mini Eggs are one suitable choice, rather than a separate ingredient requirement.
For US shopping, plain flour means all-purpose flour, and caster sugar is commonly labeled superfine sugar. Keep the gram measurements rather than estimating cup equivalents, especially for flour.
I prefer weighing the flour directly into a bowl rather than estimating it, because extra flour can quickly push chewy bars toward dry ones.
How to Make the Mini Egg Blondies Step by Step
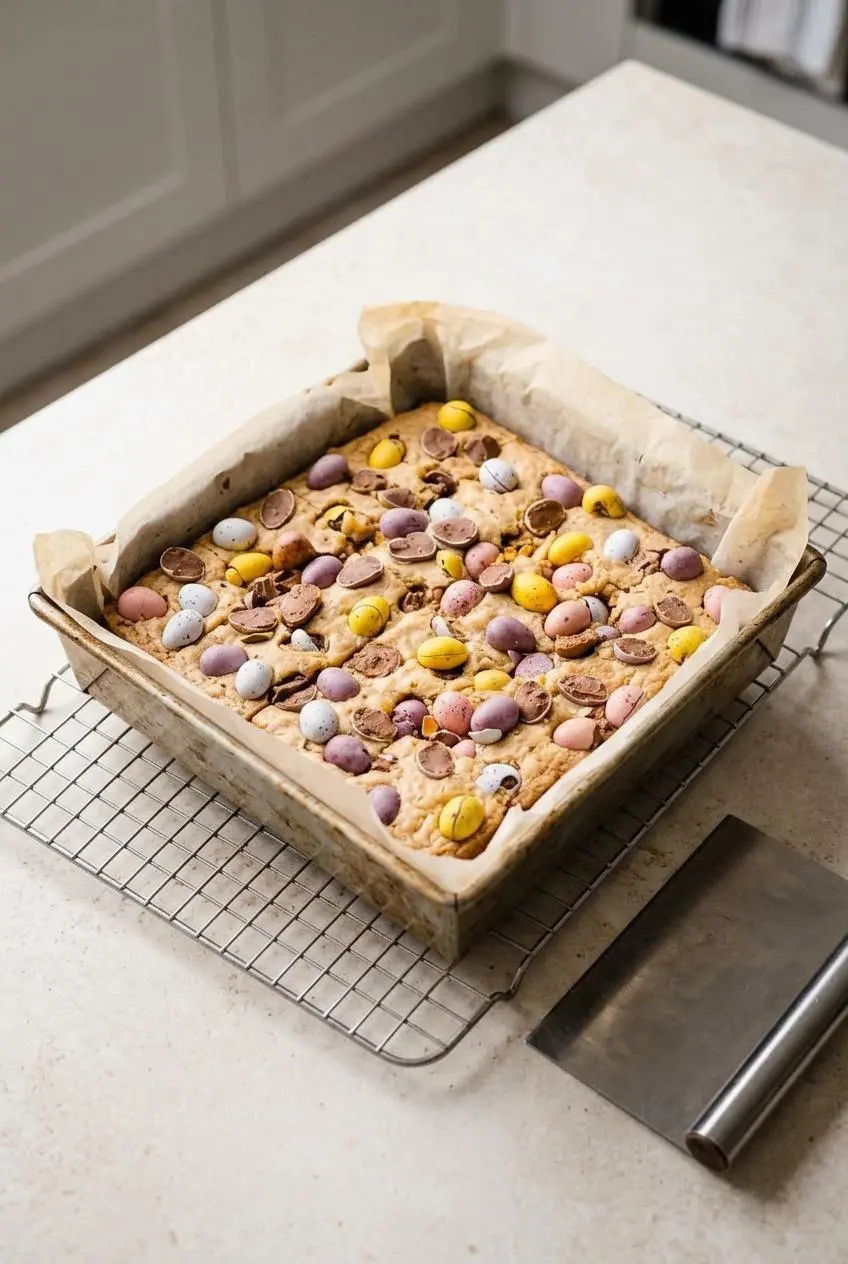
Plan for 10 minutes of preparation, 35 to 38 minutes of baking, and at least 1 to 2 hours of cooling. This makes 9 bars, with the candy added after the first 20 minutes in the oven.
- Set the oven to 180 °C, or 160 °C fan, and lightly grease an 8 x 8 inch square pan before lining it with baking paper, also called parchment paper.
Fit the paper against the bottom and sides so it supports the batter and helps release the cooled bake. - Warm the cubed butter with both sugars in a medium saucepan over low heat, stirring occasionally, then take the pan off the burner once the butter has melted completely.
The mixture should look thick and glossy, with no solid butter pieces remaining. - Beat the eggs, salt, and vanilla together in a jug or mug, then stir them into the butter mixture until evenly incorporated.
A uniform mixture without separate streaks of egg is the cue to move on. - Use a spatula or wooden spoon to incorporate the flour until smooth, fold through the chopped white chocolate, transfer the batter to the lined pan, and bake for 20 minutes.
Stop mixing once no dry flour remains so the thick batter does not receive prolonged beating. - Take the pan out at the 20-minute mark, distribute the mini chocolate eggs over the surface, press them in gently, and bake for another 15 to 18 minutes.
Look for a pale golden surface and edges, with the candy resting in the partially set topping rather than buried beneath it. - Leave the baked slab in its pan to cool for at least 1 to 2 hours, or overnight, before cutting it into 9 squares.
The center becomes easier to slice as the butter and chocolate firm up, so wait longer if it still feels too soft to hold its shape.
The first bake gives the candy a supporting surface. Press only enough to nestle the eggs into place; small cracks in the thin top crust are normal and don’t mean the blondies have failed.
Expert Tips and Troubleshooting Common Blondie Mistakes
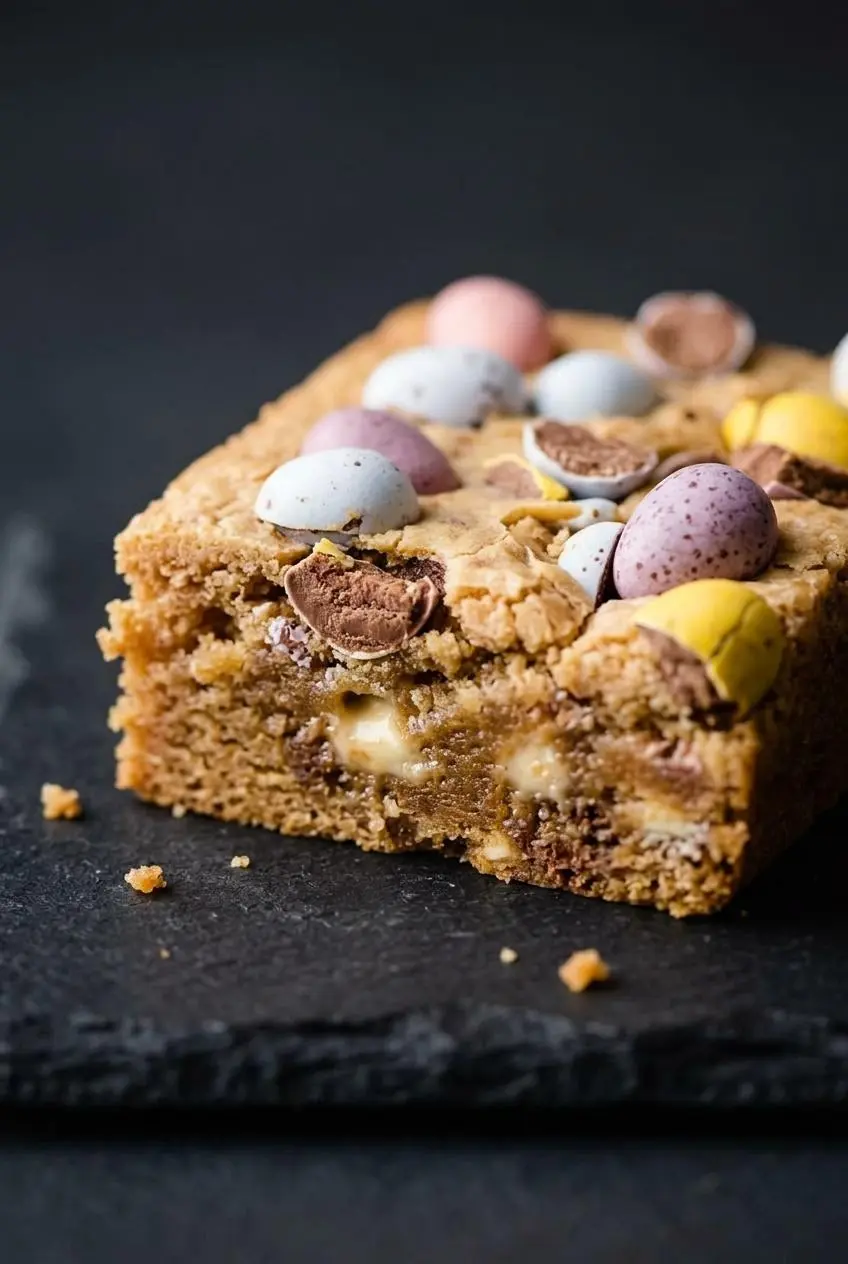
Judge these bars by their edges, center movement, and finished cooling texture together. One cue on its own can be misleading, especially when melted chocolate sits beneath the surface.
How to Tell When Blondies Are Done Baking
Look for pale golden edges and a center that moves slightly when you gently nudge the pan. A softly moving, set center is different from liquid batter sloshing beneath a crust.
- For a softer center: Watch closely within the stated final baking window and remove the pan when the edges have colored and the center shows only a gentle wobble.
- For a firmer chew: Let the center become a little more settled within that window, without waiting for a completely rigid surface or deeply browned edges.
A toothpick pushed into white chocolate can look wet even when the surrounding crumb has baked. Check the batter itself rather than relying on a chocolate-covered tester.
Metal Versus Glass for an 8 x 8 Inch Pan
A light-colored metal pan is the most predictable choice for balancing edge browning with center setting. Dark metal can brown the perimeter more quickly.
Glass and ceramic heat and retain warmth differently, so they can produce a different edge-to-center result. There isn’t a universal time adjustment that fixes every dish. If repeated batches brown outside while staying unset inside, check the pan dimensions and oven accuracy before changing the ingredient ratios.
Whole vs Cracked Mini Eggs
You don’t need to smash the candy for this method. Whole eggs pressed onto the partially baked surface give each bar a distinct chocolate topping.
For an optional variation, cracked candy folded through the batter spreads chocolate and shell pieces more evenly, but changes the method and appearance. To crack it neatly, put the candy in a sealed bag and apply gentle pressure along each egg’s natural seam. Aim for chunks rather than powder.
Fixing Cakey, Dry, or Underbaked Centers
- Dry or cakey bars: Excess flour, prolonged mixing, or overbaking can make the crumb seem less fudgy. Weigh the flour, stop stirring once smooth, and avoid waiting for a rigid center.
- Ragged, collapsing slices: Cutting before the butter and chocolate set can pull the center apart. Let the slab finish cooling before trying again with a clean, sharp blade.
- Liquid center beneath browned edges: The batter may need more baking, or the pan and oven may be heating unevenly. Continue checking for a set center; refrigeration cannot cook raw batter.
- Greasy-feeling bottoms after cooling: If the bars are fully baked, an optional overnight setting rest with the cooled pan supported on a wire rack may improve their texture. It won’t remove excess fat or correct underbaking.
Dietary Swaps, Flavor Variations, and Scaling Up
Keep adaptations separate from the ingredient list above. These are optional directions to explore, not tested equivalents with identical baking behavior.
Brown Butter, Malted Milk, and Flaky Sea Salt Upgrade
- Brown butter: Browning part of the butter before combining it with the remainder and sugars adds nutty, toasted flavor. Browning also changes moisture, so expect possible differences in consistency and setting.
- Malted milk powder: Replacing a small portion of flour with malted milk powder is an untested way to add malty depth. It can alter structure and sweetness, so don’t treat it as an automatic upgrade.
- Flaky sea salt: An optional light finish over the warm bars adds contrast to the white chocolate and candy sweetness.
For a brighter spring dessert alongside these rich bars, strawberry lemon blondies offer a fruit-forward alternative without changing this batter.
Gluten-Free Mini Egg Blondies and Dairy-Free Options
A 1-to-1 gluten-free baking blend is an optional replacement for the plain flour. Different blends absorb moisture differently, so texture and setting may vary. Check the white chocolate, candy, and vanilla labels too; changing the flour alone doesn’t establish that every ingredient is gluten-free. Malted milk powder is not a suitable gluten-free addition.
Dairy-free and vegan are different adaptations. Dairy-free baking would require suitable alternatives for the butter, white chocolate, and any milk-containing candy, while vegan baking also requires replacing the eggs. No tested replacement formula is provided here, so don’t expect a series of direct swaps to produce identical bars.
Doubling for a 9×13-Inch Pan
For an optional party batch, double every ingredient and use a lined metal 9×13-inch pan. That pan has less surface area than two 8 x 8 inch pans combined, so the doubled batter will sit somewhat deeper.
Keep the two-stage approach, adding the candy after the surface has partially set. Don’t assume the smaller pan’s timing applies unchanged: use edge color and center setting to guide your checks, and allow the larger slab to cool fully before cutting.
Alternative Easter Candies and Vegan Adaptations
- Speckled M&Ms: An optional candy-shell alternative, with smaller pieces that distribute differently across the topping.
- Chopped Easter chocolate: Adds softer chocolate pockets without the same crisp shell texture.
- Peanut butter eggs: Bring a softer filling and peanut flavor, which can change melting and slicing; check peanut, milk, and other allergen labels.
- Vegan adaptations: Choosing vegan candy alone won’t make these egg-and-dairy bars vegan; the batter also needs a separately developed adaptation.
How to Cool, Slice, and Store Mini Egg Blondies
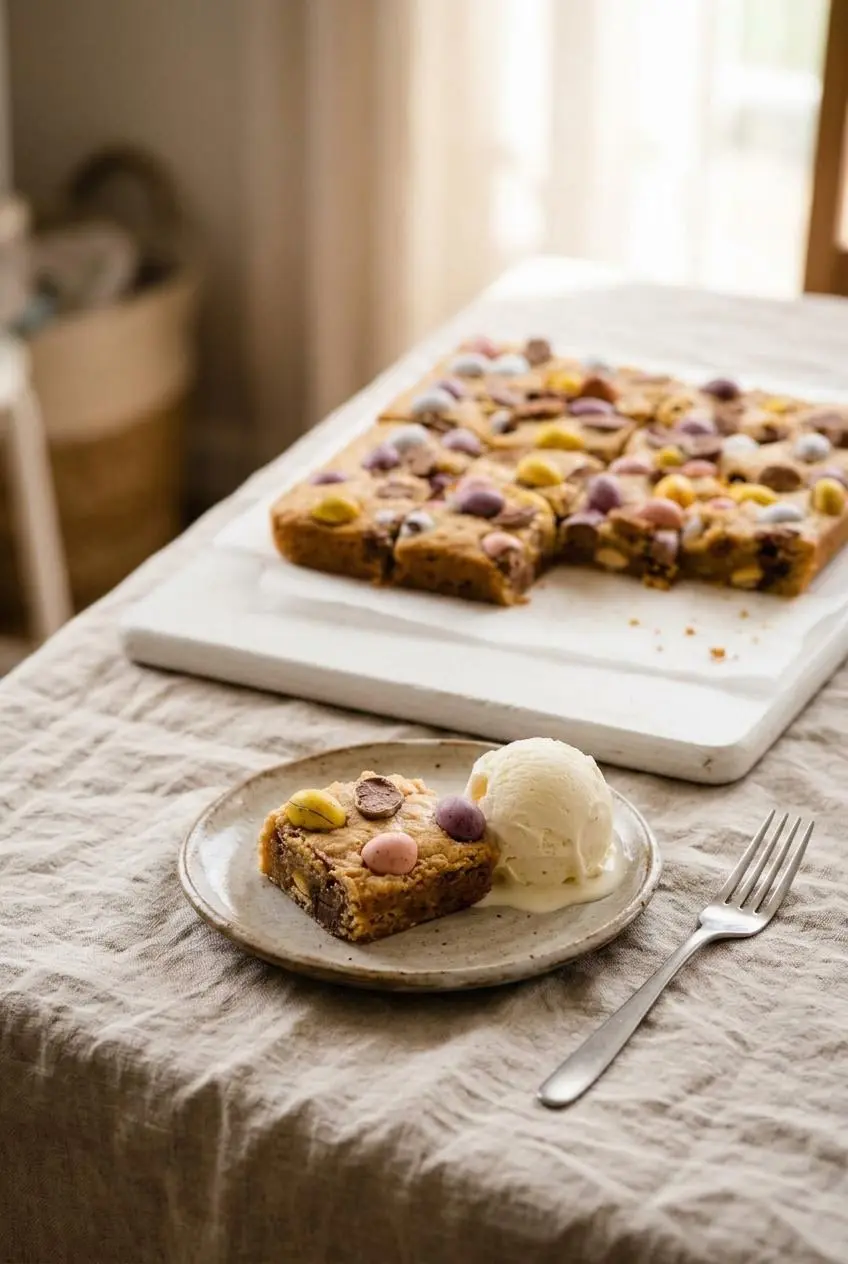
Cooling is part of getting the texture right, rather than an optional delay. Follow the stated cooling window and let the slab become firm enough to lift without bending through the middle.
For neat dessert-table squares, chill the fully cooled slab if desired, then use a sharp knife or bench scraper. Press straight down through the candy rather than dragging the blade across it, and wipe the blade between cuts.
- At room temperature: Fully cooled bars have a softer, gooier texture; keep them in a tightly closed container away from warmth and moisture.
- Refrigerated: Covered bars become denser and chewier as the butter and chocolate firm up. Separate stacked layers with parchment to protect the tops.
For an Easter dessert spread, arrange the squares after slicing rather than cutting them while warm. If you prefer a softer serving texture, gently warm an individual portion and add vanilla ice cream. Warm only enough to soften the bar, since the chocolate can become hot before the center feels warm.
Conclusion
Buttery blondies, creamy white chocolate, and crisp candy shells make a satisfying Easter bar. Follow the two-stage bake so the eggs settle into the surface rather than disappear into the batter.
Give the slab time to cool before slicing. That patience is what turns a soft center into a chewy square you can pick up and enjoy.
Frequently Asked Questions
Do I Have to Smash the Mini Eggs Before Baking?
No. Leave them whole for the mid-bake topping method. Optional seam-cracking creates smaller pieces, but isn’t required for the bars to work.
Why Are My Blondies Cakey Instead of Fudgy and Chewy?
Extra flour, prolonged mixing after adding flour, and overbaking can all make the bars seem drier or less fudgy. Look for a slight center wobble, not liquid batter, and let the bars cool before judging their final texture.
Can I Double This Recipe for a 9×13 Pan?
Yes, as an optional adaptation, double all ingredients and use a lined metal 9×13-inch pan. The deeper batter can change baking and cooling behavior, so the original timing isn’t a tested guarantee for that batch.
Can I Make Mini Egg Blondies Gluten-Free or With Other Easter Candy?
A 1-to-1 gluten-free baking blend is an optional swap, with label checks for the chocolate, candy, and flavoring. Speckled M&Ms, chopped Easter chocolate, or peanut butter eggs are optional alternatives, though melting and texture can differ. Gluten-free doesn’t mean vegan; this batter still contains butter and eggs.
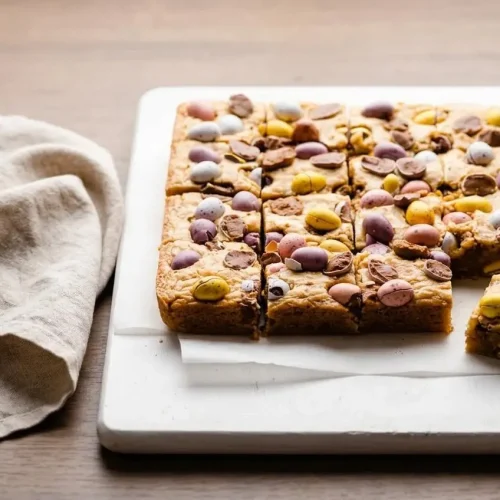
Mini Egg Blondies

Equipment
- 8 x 8 inch square baking tin
- Baking paper
- Small saucepan
- Mixing Bowl
- Spatula
Ingredients
- 200 g unsalted butter (cubed)
- 125 g golden caster sugar (or caster sugar)
- 125 g soft light brown sugar
- 2 large eggs
- 1/4 tsp salt
- 1 tsp vanilla extract
- 300 g plain flour
- 150 g white chocolate (chopped)
- 240 g mini chocolate eggs
Instructions
- Set the oven to 180 °C, or 160 °C fan, and lightly grease an 8 x 8 inch square pan before lining it with baking paper, also called parchment paper. Fit the paper against the bottom and sides so it supports the batter and helps release the cooled bake.
- Warm the cubed butter with both sugars in a medium saucepan over low heat, stirring occasionally, then take the pan off the burner once the butter has melted completely. The mixture should look thick and glossy, with no solid butter pieces remaining.
- Beat the eggs, salt, and vanilla together in a jug or mug, then stir them into the butter mixture until evenly incorporated. A uniform mixture without separate streaks of egg is the cue to move on.
- Use a spatula or wooden spoon to incorporate the flour until smooth, fold through the chopped white chocolate, transfer the batter to the lined pan, and bake for 20 minutes. Stop mixing once no dry flour remains so the thick batter does not receive prolonged beating.
- Take the pan out at the 20-minute mark, distribute the mini chocolate eggs over the surface, press them in gently, and bake for another 15 to 18 minutes. Look for a pale golden surface and edges, with the candy resting in the partially set topping rather than buried beneath it.
- Leave the baked slab in its pan to cool for at least 1 to 2 hours, or overnight, before cutting it into 9 squares. The center becomes easier to slice as the butter and chocolate firm up, so wait longer if it still feels too soft to hold its shape.