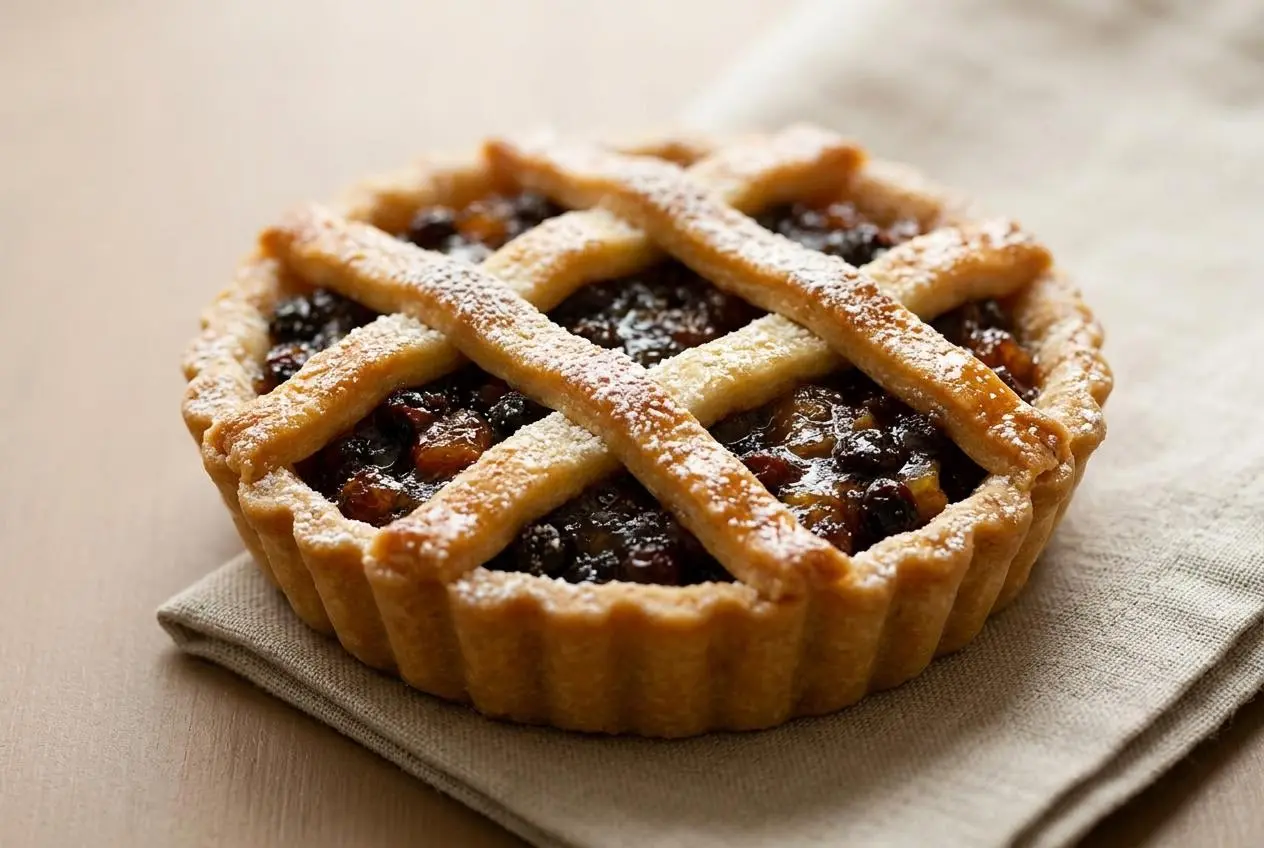
Mincemeat pie is a classic holiday dessert with buttery pastry and a sweet filling of spiced dried fruit, citrus peel, and rich fat, baked as mini tarts or one full pie.
Warm cinnamon and nutmeg drift from the oven while the fruit filling turns glossy and syrupy beneath its golden crust. This mincemeat pie is sweet, tart, flaky, and made for a holiday dessert tray.
Cold butter and lard create delicate layers, while a vented lid lets steam escape instead of softening the pastry. The bubbling filling is the signal to watch for.
Keep the butter, lard, bowl, and water cold from the start. Warm pastry fat melts too soon and leaves the crust tougher and less flaky.
The Story Behind Mincemeat Pie
Mincemeat began as a medieval method for preserving meat with suet, dried fruit, sugar, and fragrant spices. The combination was practical as well as flavorful, and the sweet-savory mixture eventually became closely linked with Christmas baking.
Over time, the meat gradually disappeared from many versions. Today’s filling is usually a rich mixture of apples, currants, raisins, citrus peel, brown sugar, spice, and butter or suet. It keeps the deep, festive flavor of its earlier form without tasting savory.
In the United Kingdom, these small pastries are commonly called mince pies. In the United States, the same holiday favorite is more often called mincemeat pie, especially when baked as a full-size double-crust dessert.
Ingredients for Mincemeat Pie
Each ingredient supports the finished pastry: flour provides structure, cold fats create flaky layers, ice water binds the dough, and mincemeat brings sweet, tart fruit flavor beneath the crisp top crust.
Pastry Crust
- 3 1/2 cups all-purpose flour
- 1 1/2 tablespoons granulated sugar
- 1 teaspoon salt
- 10 tablespoons very cold unsalted butter, diced in 1/2 inch cubes
- 5 ounces lard
- 2/3 cup ice water
Filling and Assembly
- 1 batch BEST Traditional Mincemeat
- 2 tablespoons milk, for brushing
- powdered sugar for sprinkling
Butter brings rich flavor and helps the pastry brown. Lard makes the dough especially tender and flaky because it stays in small, distinct pieces as you work it into the flour. The sugar softens the savory edge of the crust, while the milk helps the lids turn evenly golden.
I stop adding ice water as soon as the dough holds together when squeezed, because a wet dough is harder to roll cleanly and can bake up less crisp.
How to Make Mincemeat Pie Step by Step
Make the dough first, then work with it while it is cold but flexible. A properly chilled round should bend slightly without cracking when you begin rolling.
Pastry Dough
- Whisk the flour, granulated sugar, and salt in a large bowl, then work in the cold butter and lard with a pastry blender or two knives.
Stop when the mixture looks crumbly with butter and lard pieces about the size of peas. - Drizzle in the ice water gradually and stir only until the dough clumps together when pressed between your fingers.
Wrap the dough in plastic wrap and chill it for at least 30 minutes, until it feels firm yet pliable.
Assembly and Baking
- Heat the oven to 400 °F and grease a standard 12-cup muffin tin or mini tart tins.
Coat the bottoms and sides well so bubbling fruit syrup does not glue the pastry to the pan. - On a lightly floured surface, roll two-thirds of the dough to 1/8 inch thick and cut rounds large enough to line the tins.
Roll the remaining dough for lids, stars, or lattice strips, and cut a slit into every solid lid so steam can escape. - Press the pastry rounds gently into the prepared tins, add the mincemeat without filling above the rim, and cover with the pastry tops.
Seal the edges firmly, brush with milk, and leave the vents open so the filling can bubble without soaking the lids. - Bake for 10 to 15 minutes, then move the pies to a wire rack and sprinkle with powdered sugar.
The pastry should be deeply golden, with glossy syrupy filling visible through the vents. - Let the pies settle briefly before serving them gently warmed, plain or with cream.
The filling thickens as it rests, making each tart easier to lift and eat without spilling.
What Goes Into Traditional Mincemeat Filling
Modern mincemeat filling is fruit-forward, deeply spiced, and pleasantly tart. Chopped cooking apples add freshness and gentle body, while raisins and currants bring concentrated sweetness and a chewy texture. Candied citrus peel adds a bright bitter-sweet edge that keeps the filling from tasting flat.
Brown sugar provides caramel-like depth, and warm spices turn the fruit mixture into a distinctly festive filling. Cinnamon leads with warmth, nutmeg adds a mellow nuttiness, allspice contributes peppery complexity, and cloves bring a sharp aromatic finish. The balance matters: too much clove can quickly take over.
Spices, Fruit, and Fat Explained
Fat gives mincemeat its luxurious texture. Traditional versions often use rendered beef suet or lard, which coats the dried fruit and helps the filling stay moist as it bakes. Modern versions may use vegetable suet or butter for a fruit-centered result.
- Raisins and currants: These provide chew, concentrated sweetness, and a classic dried-fruit character.
- Apples and citrus peel: They brighten the filling with tartness and prevent the spices and sugar from becoming heavy.
- Suet, lard, or butter: These add richness and keep the fruit from becoming dry or pasty in the oven.
- Warm spices: Cinnamon, nutmeg, allspice, and cloves give the filling its familiar Christmas dessert aroma.
Upgrading Store-Bought Jarred Mincemeat
Prepared mincemeat is convenient, but it can sometimes taste overly sweet or seem a little dry. Stir in one or more of these optional additions before filling the pastry cups:
- Freshly grated tart apple adds moisture and a crisp fruit flavor.
- Orange zest lifts the darker dried-fruit flavors with fresh citrus aroma.
- A squeeze of lemon juice adds brightness when the filling tastes overly sugary.
- Chopped toasted walnuts bring a little crunch and a pleasantly nutty finish.
Use these as small flavor adjustments rather than turning the filling into a loose mixture. It should remain thick enough to mound in the pastry shell.
Mastering the Flaky Crust and Assembly
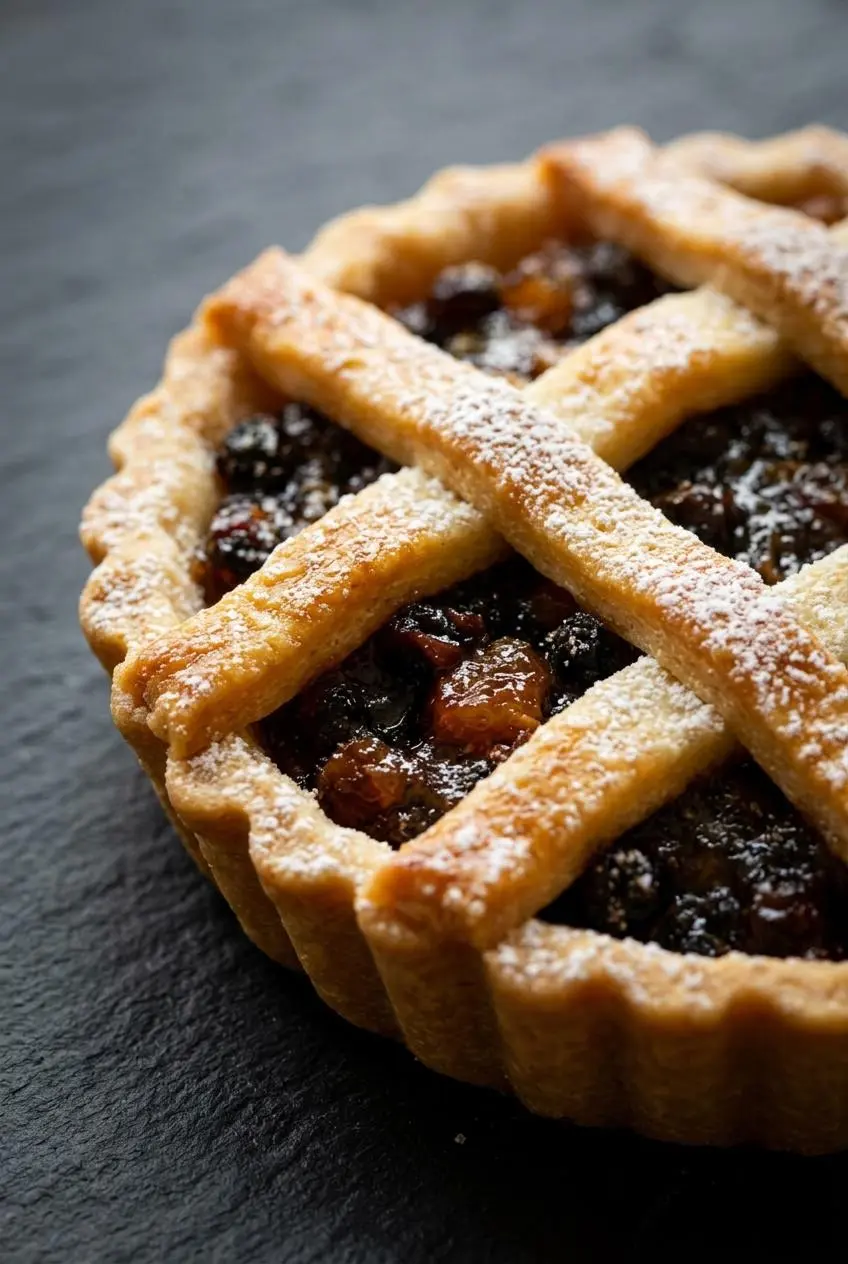
The secret to a crisp, flaky pastry is keeping the fat cold and handling the dough lightly. When cold butter and lard reach the oven in separate pieces, they create steam pockets that become flaky layers.
Chilling the dough for at least 30 minutes also gives the flour time to hydrate and relaxes the dough. That pause helps prevent the crust from sliding down the sides of the tins or shrinking away from the filling.
Roll from the center outward and turn the dough occasionally so it does not stick. If it becomes soft or greasy, return it to the refrigerator before cutting the circles. The same cold-dough approach works well for a flaky rhubarb pie, especially when you need clean lattice strips and neat venting.
Press the bottom rounds into the muffin cups without stretching them. Stretching creates tension, and tense dough tends to pull back during baking. Once the filling is in place, press the top pastry against the lower crust around the edge so the syrup stays mostly contained.
Key Tips and Troubleshooting for Crisp Crusts
Small mince pies can go from tidy to sticky quickly because the filling contains fruit sugars. These fixes keep the pastry crisp and make the pies easier to remove from the pan.
- Filling boiled over: The pastry cups were likely filled above the rim. Leave a little space at the top so the syrup can bubble without running over the edges.
- Pies stick to the pan: Grease the cups thoroughly, then run a thin offset spatula around each warm pie before the cooling sugar hardens.
- Bottom crust seems soft: Use chilled dough, avoid overfilling, and do not skip the vents. Trapped steam softens the pastry from the inside.
- Lids look pale: Brush them lightly with the milk before baking. A thin, even coating encourages browning without weighing down the dough.
- Jarred filling seems dry: Refresh it with grated apple, citrus zest, or lemon juice until it looks glossy and spoonable, not crumbly.
- Pastry tears while lining tins: Let the chilled dough sit just until it bends without splitting, then patch small tears by pressing the edges together rather than stretching the dough.
Make-Ahead, Storage, and Freezing Guide
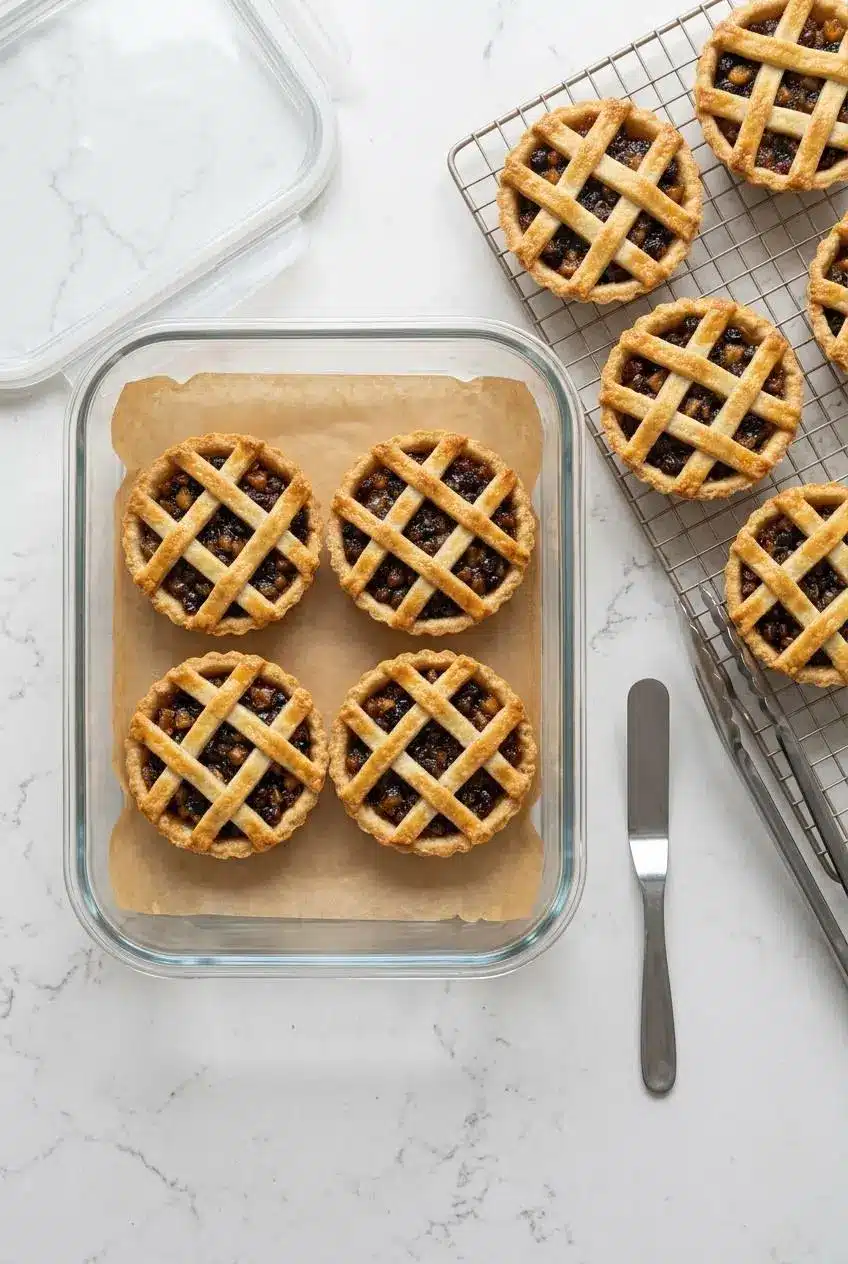
For the best texture, cool baked pies completely before placing them in an airtight container and keeping them chilled. They can be stored this way for up to 4 days.
Baked pies can also be wrapped well, placed in an airtight container, and frozen for up to 3 months. Keep the layers protected from excess air so the pastry is less likely to pick up freezer odors or dry out.
Warm chilled pies in the oven rather than the microwave when you want to bring back their crisp edges. Heat them gently until the filling is warm and the pastry feels dry and flaky again. Microwaving tends to soften the crust.
Serving Suggestions and Delicious Variations
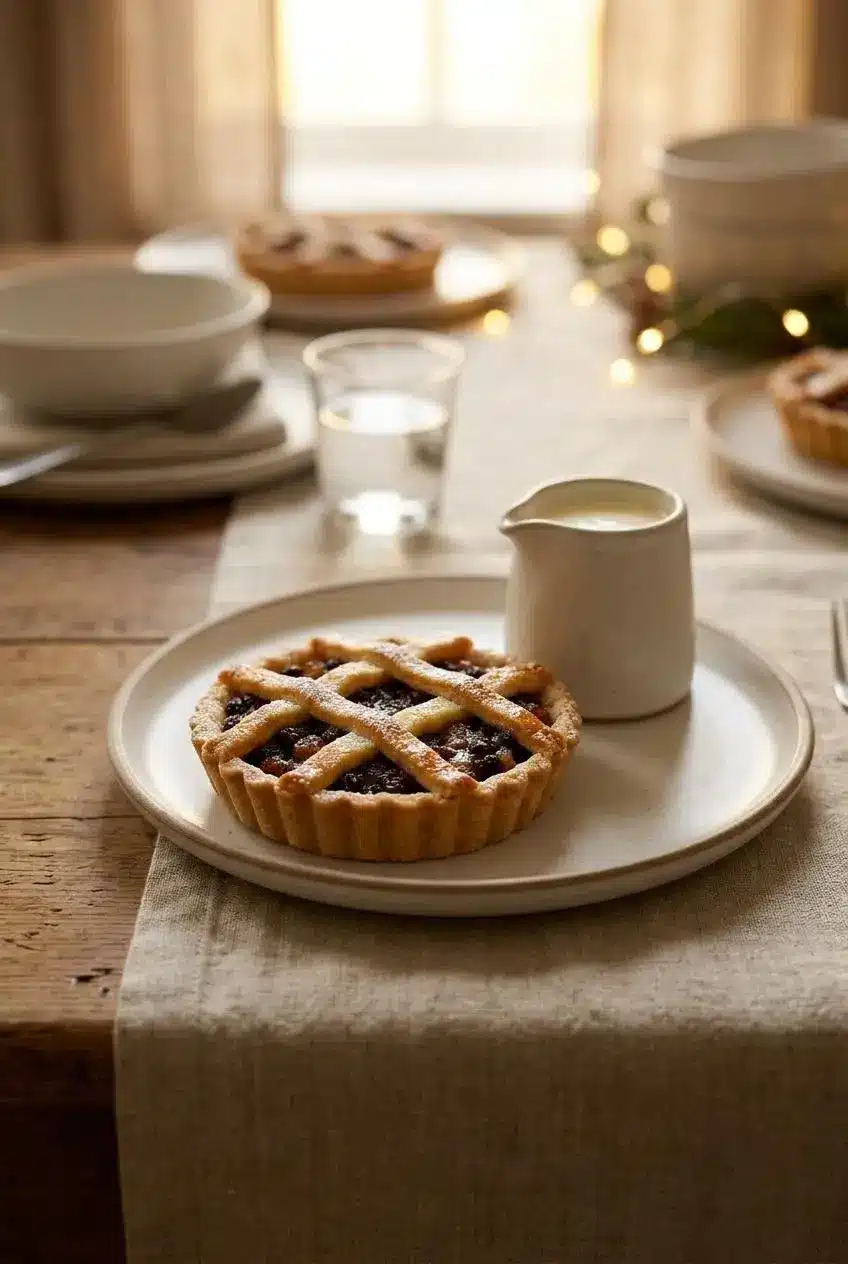
Serve mincemeat pies slightly warm so the filling is fragrant and soft while the pastry remains crisp. A light dusting of powdered sugar gives the tops a snowy finish without competing with the spices.
- Offer pouring cream or warm vanilla custard for a soft, mellow contrast to the tart fruit filling.
- Pair each tart with a scoop of vanilla bean ice cream for a cold-and-warm dessert combination.
- Serve sharp aged white cheddar alongside the pies for a savory counterpoint to the sweet filling.
- For a larger holiday spread, add a chilled creamy eggnog pie alongside the warm spiced tarts.
If you want a brighter finish, lightly brush the baked lids with an optional spiced orange-cider glaze before adding the powdered sugar. Keep the glaze thin so it adds shine without softening the pastry.
Baking as a Standard 9-Inch Pie
This dough and filling also make a handsome full-size pie. Line a 9-inch pie plate with the bottom crust, add the mincemeat in an even layer, then cover it with a top crust or decorative lattice.
Cut vents into a solid top crust, or leave clear openings between lattice strips. Bake at 375 °F for 15 minutes, then reduce the oven to 350 °F and bake for 30 minutes more. The pie is ready when the crust is golden and the filling bubbles slowly through the openings.
If the rim begins browning much faster than the center, loosely cover the edge with foil while the filling finishes baking. Let the pie settle before slicing so the fruit filling holds its shape.
Traditional Meat Variations: Heritage vs Modern
Earlier mincemeat preparations often included finely minced cooked venison, lean beef, or roast beef along with suet, cider, dried fruit, and spices. The meat contributed richness and helped make the filling substantial during colder months.
Modern American and British holiday baking usually favors the sweet fruit version used here. A heritage meat filling remains an optional historical style, but it changes the flavor from dessert-like to savory-sweet and calls for careful handling of the cooked meat.
Conclusion
Golden mincemeat pies bring together crisp pastry, glossy fruit filling, and the familiar warmth of cinnamon, nutmeg, and citrus. Keep the fats cold, chill the dough thoroughly, and vent the lids well.
Whether you bake individual tarts or one generous centerpiece pie, these spiced pastries make a comforting finish for a holiday gathering.
Frequently Asked Questions
What Is Mincemeat Pie Filling Made Of?
Modern mincemeat filling usually contains chopped apples, raisins, currants, candied citrus peel, brown sugar, and warm spices. Butter, suet, lard, or vegetable suet adds richness and helps the filling stay moist while baking.
Does Modern Mincemeat Pie Contain Real Meat?
Most modern mincemeat pies contain sweet spiced fruit rather than meat. Historical versions often included cooked beef or venison with suet, fruit, and spices, which is why the filling still carries the name mincemeat.
Can This Recipe Be Baked as One Full-Size Pie?
Yes. Line a 9-inch pie plate, add the filling, and cover with a vented top crust or lattice. Bake at 375 °F for 15 minutes, then reduce the heat to 350 °F and bake for 30 minutes more.
Can You Freeze Baked Mincemeat Pies?
Yes. Cool the baked pies completely, wrap them well, and keep them in an airtight container. Warm them in the oven when ready to serve so the crust can become crisp again.
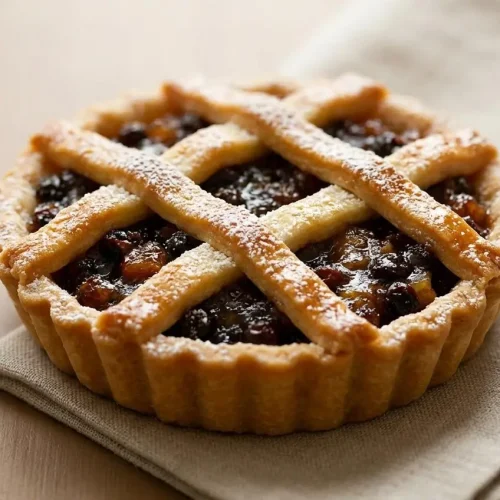
Mincemeat Pie

Equipment
- 12-cup muffin tin or mini tart tins
- Pastry blender or food processor
- Rolling Pin
- Round cookie cutters
Ingredients
Pastry Crust
- 3 1/2 cups all-purpose flour
- 1 1/2 tablespoons granulated sugar
- 1 teaspoon salt
- 10 tablespoons very cold unsalted butter diced in 1/2 inch cubes
- 5 ounces lard
- 2/3 cup ice water
Filling and Assembly
- 1 batch BEST Traditional Mincemeat
- 2 tablespoons milk for brushing
- powdered sugar for sprinkling
Instructions
Pastry Dough
- Whisk the flour, granulated sugar, and salt in a large bowl, then work in the cold butter and lard with a pastry blender or two knives. Stop when the mixture looks crumbly with butter and lard pieces about the size of peas.
- Drizzle in the ice water gradually and stir only until the dough clumps together when pressed between your fingers. Wrap the dough in plastic wrap and chill it for at least 30 minutes, until it feels firm yet pliable.
Assembly and Baking
- Heat the oven to 400 °F and grease a standard 12-cup muffin tin or mini tart tins. Coat the bottoms and sides well so bubbling fruit syrup does not glue the pastry to the pan.
- On a lightly floured surface, roll two-thirds of the dough to 1/8 inch thick and cut rounds large enough to line the tins. Roll the remaining dough for lids, stars, or lattice strips, and cut a slit into every solid lid so steam can escape.
- Press the pastry rounds gently into the prepared tins, add the mincemeat without filling above the rim, and cover with the pastry tops. Seal the edges firmly, brush with milk, and leave the vents open so the filling can bubble without soaking the lids.
- Bake for 10 to 15 minutes, then move the pies to a wire rack and sprinkle with powdered sugar. The pastry should be deeply golden, with glossy syrupy filling visible through the vents.
- Let the pies settle briefly before serving them gently warmed, plain or with cream. The filling thickens as it rests, making each tart easier to lift and eat without spilling.