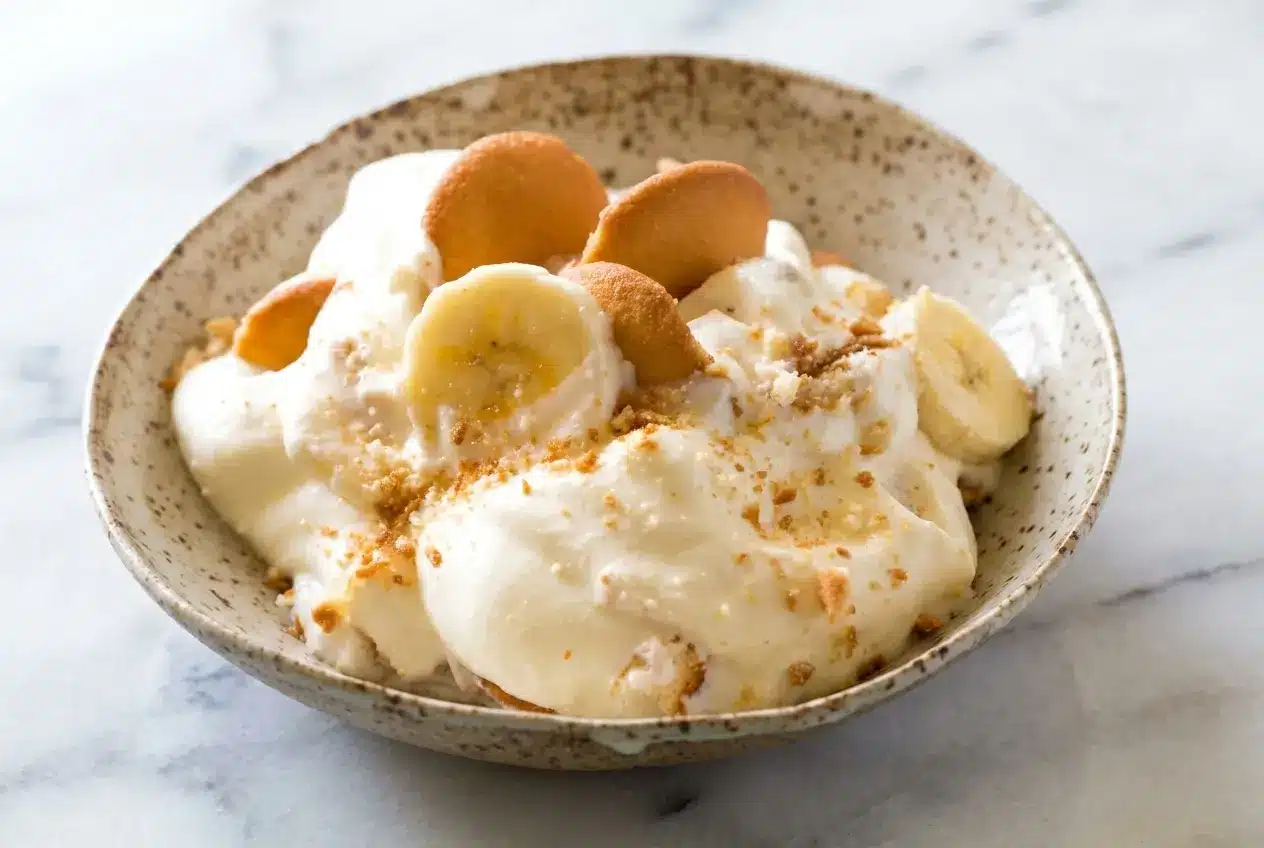
Some desserts never really leave you. One spoonful of Magnolia Bakery’s Banana Pudding takes me straight back to that old-school bakery feeling, where the glass case is full of comforting classics and everything looks just a little more magical than it does at home.
This version is for anyone who wants that famous New York City dessert in their own kitchen, with a few chef-driven upgrades that make it taste even better. You still get the airy, creamy, sweet comfort of the original, but with toasted wafers, real vanilla, and a texture that holds beautifully.
Why You’ll Love This Recipe
Bakery-style comfort: This is one of those easy, crowd-pleasing desserts that eats like a soft, creamy icebox cake. It has the same cozy charm I love in a weekend treat like blueberry coffee cake, only colder, creamier, and made for a big serving spoon.
The secret twist: In my kitchen, lightly toasting the Nilla Wafers with a pinch of fine sea salt makes a huge difference. The cookies develop deeper butter-vanilla flavor, and they stay pleasantly cake-like instead of collapsing into mush.
Better vanilla flavor: Infusing the heavy whipping cream with scraped vanilla bean or a good vanilla bean paste gives the filling a rounder, more natural aroma. It softens that boxed instant vanilla pudding mix flavor and makes the whole dessert taste more polished.
Reliable texture: Between the ice cold water, the proper chilling time, and a gentle folding technique, the pudding stays light and fluffy instead of heavy. I have found that this method gives you that classic Magnolia Bakery look with beautiful, spoonable layers.
Ingredients and Substitutions
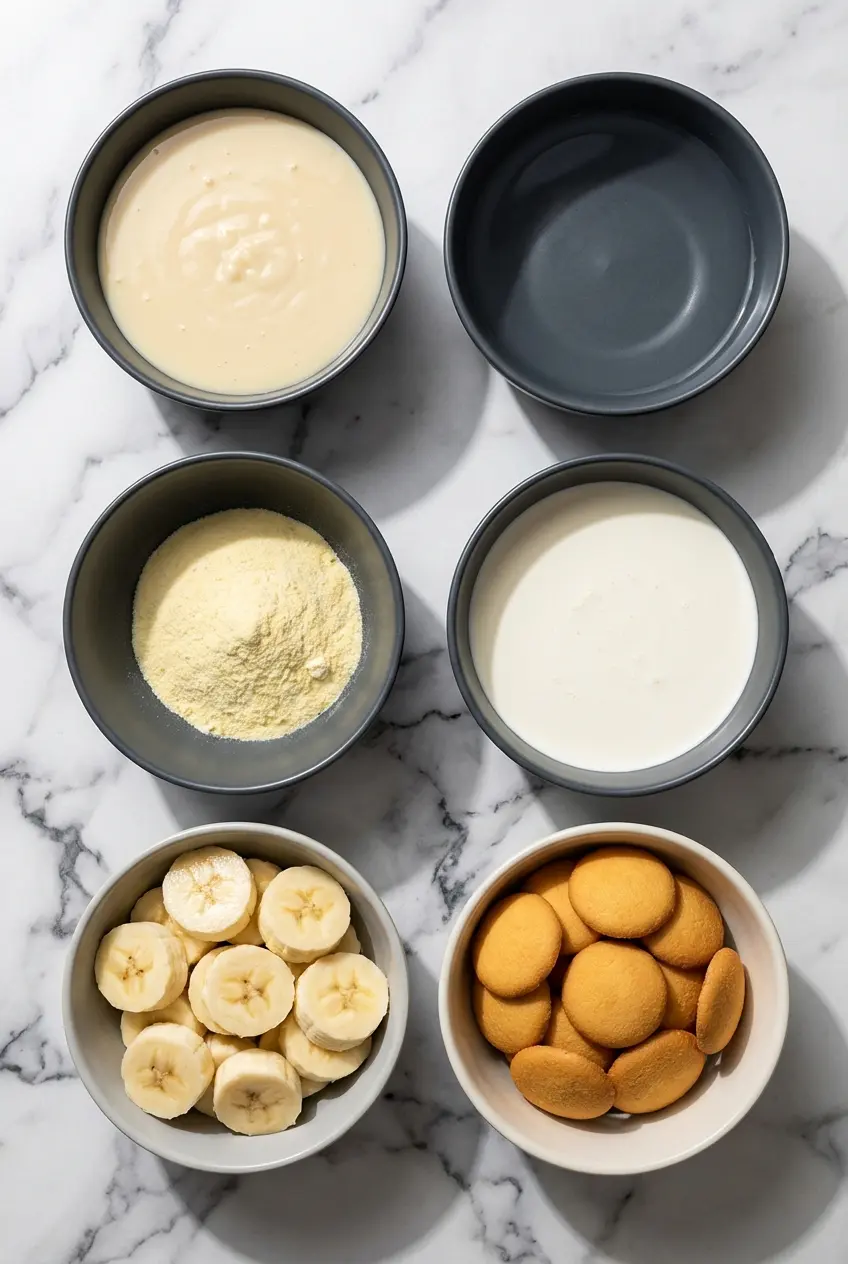
This dessert keeps things simple, which is part of its charm. Each ingredient plays a specific role in building that signature creamy filling and soft cookie layers.
Ingredients
- 1 (14 oz) can sweetened condensed milk
- 1 1/2 cups ice cold water
- 1 (3.4 oz) box instant vanilla pudding mix
- 3 cups heavy cream
- 4 cups sliced barely ripe bananas
- 1 (12 oz.) box Nilla Wafers
Ingredient Notes & Substitutions
Fine sea salt and vanilla bean: Keep a little fine sea salt and either a scraped vanilla bean or high-quality vanilla bean paste on hand for the upgraded version. They are not part of the base list above, but they are the small touches that make this pudding taste less one-note and more bakery-worthy.
Barely ripe bananas: Look for bananas with a slight green tint near the stem. They hold their shape better in the layers, stay firmer after chilling, and oxidize much more slowly than very ripe bananas.
Instant vanilla pudding mix: This recipe absolutely depends on instant pudding, not cook and serve. Instant pudding thickens with the cold liquid and resting time, while the other style will leave you with a loose, soupy filling.
Nilla Wafers: Classic Nilla Wafers give you the most familiar Magnolia Bakery texture and flavor. If you want a richer spin, Biscoff cookies, Chessmen butter cookies, or shortbread all work well, though each one brings a slightly denser and more buttery finish.
Heavy cream: Use cold heavy cream, not half-and-half or coffee cream. You need enough fat for stiff peaks, otherwise the pudding will not get that airy, cloudlike body that makes this dessert so irresistible.
How to Make Magnolia Bakery’s Banana Pudding
Toast the wafers and mix the pudding base
- Before you start the filling, spread the Nilla Wafers out and lightly toast them in the oven with a small pinch of fine sea salt until they smell a little nuttier and the edges look lightly dried and golden. Let them cool completely so they stay crisp when layered.
- In a large bowl, beat the sweetened condensed milk with 1 1/2 cups ice cold water for about 1 minute, just until the mixture looks smooth, glossy, and fully blended with no heavy streaks.
- Add the instant vanilla pudding mix and beat again for about 2 minutes. By the end, the mixture should look slightly thicker and creamy, though it will still need time in the fridge to fully set.
Chill and finish the cream mixture
- Cover the bowl and refrigerate the pudding base for 3 to 4 hours or overnight. This rest is essential, because the mixture will stay watery if you rush it before it has time to firm up.
- Once the base is set, pour the 3 cups heavy cream into a large bowl and add scraped vanilla bean or a spoonful of vanilla bean paste if using. Whip until stiff peaks form, meaning the cream stands up firmly on the whisk and looks fluffy, smooth, and full of air.
- Using a rubber spatula, gently fold the whipped cream into the chilled pudding mixture. Work slowly, scooping from the bottom and turning the mixture over itself, until no streaks remain and the filling looks uniformly pale, airy, and mousse-like.
Layer the pudding
- Choose either individual cups or a large glass bowl with a 4 to 5 quart capacity. A clear trifle bowl shows off the layers beautifully, but smaller cups are perfect for parties and easier serving.
- Cover the bottom with one-third of the toasted Nilla Wafers, overlapping them where needed so you get an even base in every bite.
- Add one-third of the sliced bananas, then spoon over one-third of the pudding mixture, spreading it gently so the fruit is covered.
- Repeat those layers two more times, finishing with extra wafers or wafer crumbs on top for a classic bakery look.
Final chill
Cover the assembled dessert tightly and refrigerate it for at least 4 hours, or up to 8 hours, no longer. That final chilling time lets the cookies soften into a cake-like texture while the pudding becomes fully blended, cold, and sliceable with a spoon.
Secrets for Perfection
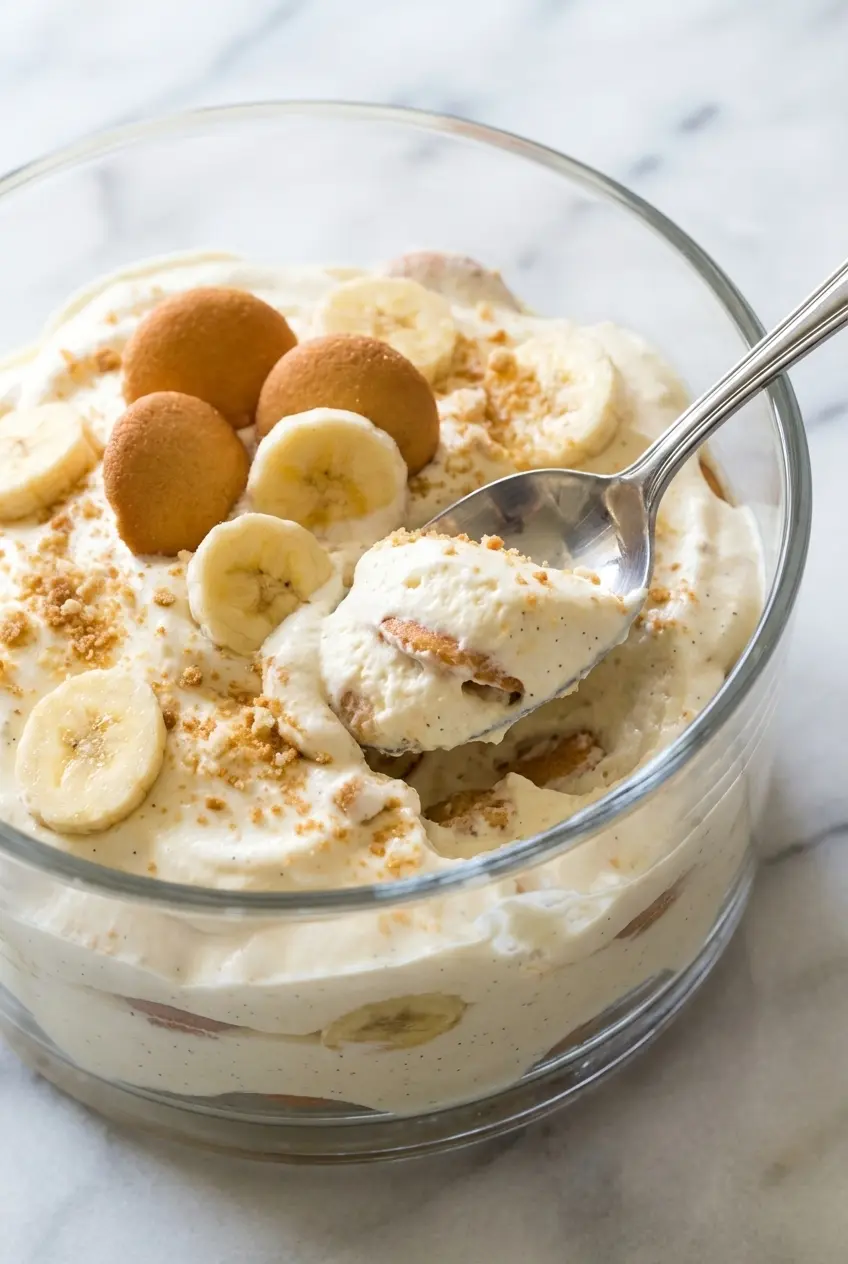
That quick wafer-toasting step is more than a flavor trick. It encourages browning that deepens the cookie’s buttery notes and helps it hold its shape longer, and the scientific principles of the Maillard reaction help explain why those toasted edges taste fuller and more complex.
Water in this recipe surprises a lot of home cooks, but it makes perfect sense once you taste the finished pudding. Sweetened condensed milk already brings concentrated dairy richness and sugar, so adding regular milk on top can make the dessert feel too heavy instead of light and airy.
The folding technique matters just as much as the ingredients. Whipped cream is full of trapped air, and a gentle hand keeps that structure intact so the filling stays lofty rather than dense.
Real vanilla bean or vanilla bean paste is the quiet hero here. It gives the heavy cream a warm, aromatic depth that smooths out the artificial edge of boxed pudding and makes the whole dessert taste more like it came from a pastry counter.
Two-Day Prep Timeline for Busy Schedules
If you like to break desserts into easy stages, this one is a dream. I treat it much like overnight French toast, where the rest time is not a hassle, it is what gives you the best final texture.
Day 1: Mix the sweetened condensed milk, ice cold water, and instant vanilla pudding mix. Cover it and let it chill overnight, which gives the base plenty of time to set fully and keeps the next day nice and easy.
Day 2: Toast the wafers if you have not already, whip the heavy cream to stiff peaks with the vanilla, and fold it into the chilled pudding base. Slice the bananas right before layering, assemble the dessert in your trifle bowl or cups, then give it its final 4 to 8 hour chill before serving.
Gluten-Free and Dairy-Free Adaptations
You can absolutely make a version of this dessert for guests with dietary restrictions, but the key is choosing substitutes that still behave like the originals. For dairy-free results, use a dairy-free sweetened condensed milk, such as oat-based or coconut-based, plus a dairy-free whipping cream alternative that is specifically labeled for whipping, and a dairy-free instant pudding that thickens with cold liquid.
Texture matters more than anything here. Some non-dairy creams whip beautifully but soften faster, so I like to keep every component very cold and chill the finished pudding toward the shorter end of the 4 to 8 hour window.
For gluten-free guests, look for crisp gluten-free vanilla wafer cookies that soften gradually rather than dissolving on contact. The best ones mimic the gentle absorption rate of Nilla Wafers, so you still get those lovely cake-like layers instead of sandy crumbs.
Pro Tips & Troubleshooting
Pro Tips
- Use truly ice cold water when mixing with the sweetened condensed milk. That cold temperature helps the instant pudding mix activate and firm up more efficiently.
- Whip the heavy cream only until stiff peaks form. If you keep going, it can turn grainy and lose the silky texture that makes this dessert feel luxurious.
- Cover every banana slice completely with pudding mixture during assembly. A full coating limits air exposure and helps preserve the fruit’s color.
- Slice the bananas just before layering, not an hour ahead. Fresh-cut fruit always behaves better when it goes straight into the dessert.
- Avoid overhandling when folding. A few broad, gentle turns with a spatula keep the filling light and airy.
Common Mistakes to Avoid
- Using cook and serve pudding instead of instant vanilla pudding mix. The texture will be completely wrong, and the dessert will not set the way it should.
- Skipping the full 3 to 4 hour chill for the pudding base. If you fold in the whipped cream too early, the filling stays thin and loose.
- Making the assembled pudding more than 8 hours in advance. The bananas can brown and soften too much, and the wafers can break down past that sweet spot.
- Leaving banana slices exposed near the edges or top. According to guidance on how to slow down enzymatic browning and oxidation, limiting contact with air is one of the simplest ways to keep cut fruit looking fresher longer.
Serving & Storage
Serving Ideas
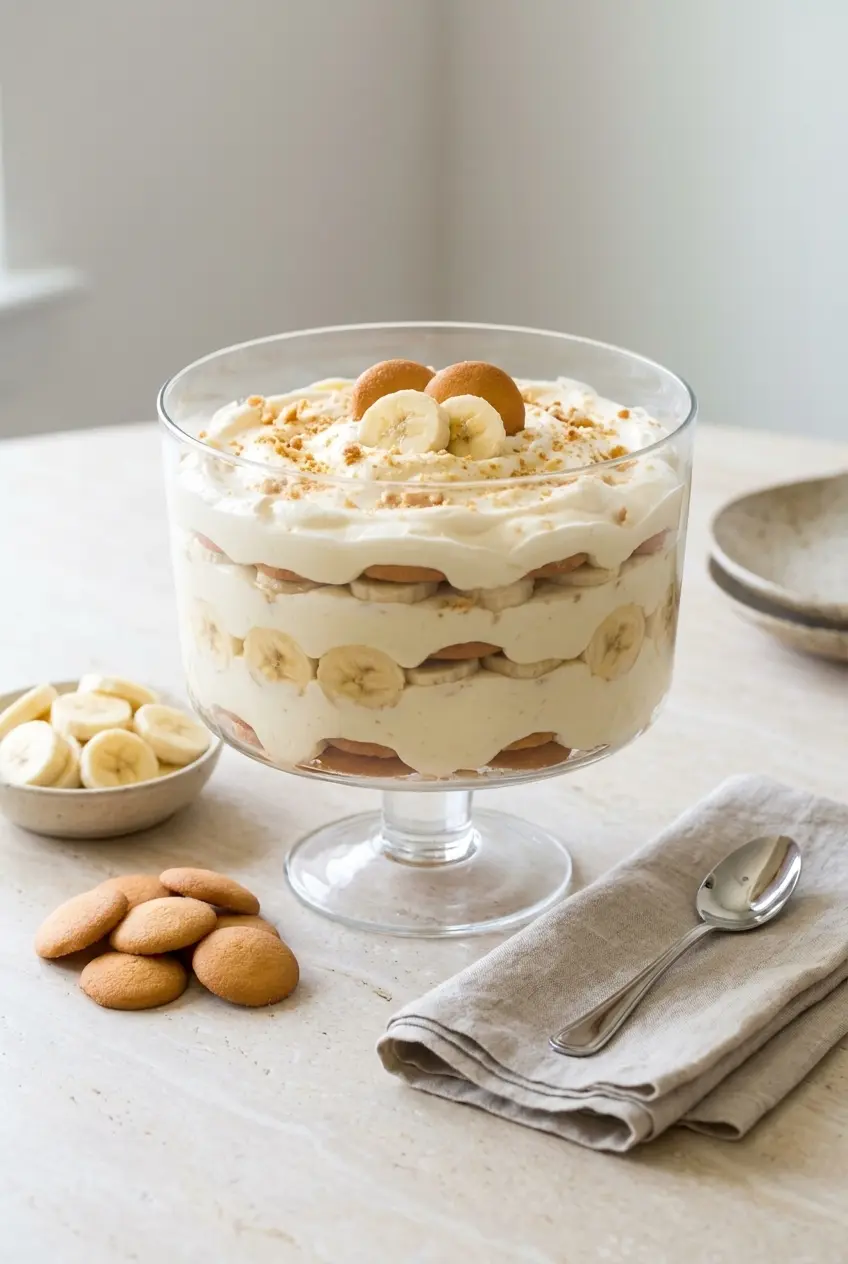
A 4 to 5 quart glass trifle bowl is my favorite way to serve this pudding because those creamy, cookie-studded layers deserve to be seen. For parties, individual 8-ounce cups feel especially true to the bakery style and make cleanup easier.
If you want the top to look its best, wait until just before serving to add extra fresh banana slices and whole wafers. That little last-minute flourish keeps everything bright and crisp.
Storage & Make-Ahead
The ideal chilling window after assembly is 4 to 8 hours. That gives the Nilla Wafers time to soften into that signature icebox cake texture without sliding into full sogginess.
If you want to freeze it, place the fully assembled pudding in an airtight container and freeze until firm. Once frozen, the texture becomes thicker and scoopable, almost like a rich mango ice cream, and it should be thawed overnight in the refrigerator before serving.
For the cleanest texture after thawing, keep the garnish simple and add any fresh banana slices right before serving. The bakery-style filling freezes surprisingly well, but fresh fruit always looks and tastes better when added at the end.
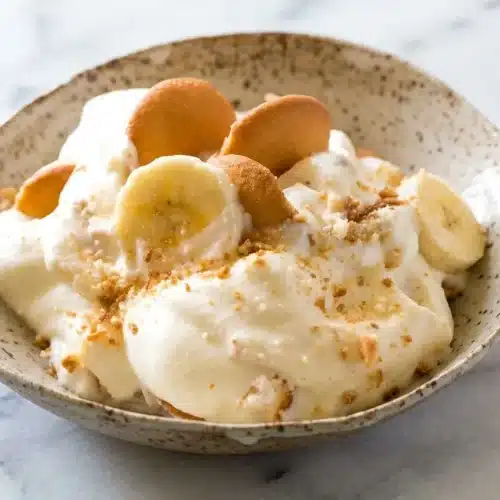
Magnolia Bakery’s Banana Pudding

Equipment
- Large glass bowl or trifle bowl (4-5 quart)
- Baking Sheet
- Electric hand mixer
- Rubber spatula
Ingredients
- 1 (14 oz) can sweetened condensed milk
- 1 1/2 cups ice cold water
- 1 (3.4 oz) box instant vanilla pudding mix
- 3 cups heavy cream
- 4 cups sliced barely ripe bananas
- 1 (12 oz.) box Nilla Wafers
Instructions
Toast the wafers and mix the pudding base
- Spread the Nilla Wafers on a baking sheet and lightly toast them in the oven with a small pinch of fine sea salt until fragrant and the edges look golden. Let them cool completely before layering.
- In a large bowl, beat the sweetened condensed milk with the ice cold water for about 1 minute until the mixture is smooth and fully blended.
- Add the instant vanilla pudding mix and beat for another 2 minutes until the mixture looks slightly thicker and creamy.
Chill and finish the cream mixture
- Cover the bowl and refrigerate the pudding base for 3 to 4 hours, or overnight, to allow it to set firmly.
- In a separate large bowl, whip the heavy cream (with vanilla bean or paste if using) until stiff peaks form and the texture is airy and smooth.
- Using a rubber spatula, gently fold the whipped cream into the chilled pudding mixture. Work slowly to keep the filling light and mousse-like until no streaks remain.
Layer the pudding
- In a 4 to 5 quart glass bowl or individual cups, cover the bottom with one-third of the toasted Nilla Wafers.
- Add one-third of the sliced bananas and top with one-third of the pudding mixture, spreading it gently to ensure the fruit is fully covered.
- Repeat the layers two more times, finishing the top with extra wafers or wafer crumbs for a classic bakery finish.
Final chill
- Cover the dessert tightly and refrigerate for at least 4 hours, and up to 8 hours. This allows the cookies to soften into a cake-like texture before serving.
Notes
Conclusion
This is the kind of dessert that wins people over fast, creamy, nostalgic, and just a little bit elegant. Toasted salted wafers and real vanilla bean give Magnolia Bakery’s Banana Pudding a deeper flavor and a more polished finish without taking away its old-fashioned comfort.
It is a beautiful choice for holidays, potlucks, and family dinners, and once you make it once, you will start dreaming up your own variations. If you love creamy layered desserts, a slice of strawberry crunch cheesecake belongs on that same celebration table.
Frequently Asked Questions
Why does this recipe use water instead of milk for the pudding?
How far in advance can I make Magnolia Bakery banana pudding?
How do I prevent the bananas from turning brown?
Why is my pudding runny and how can I fix it?
Can I freeze this banana pudding to serve later?