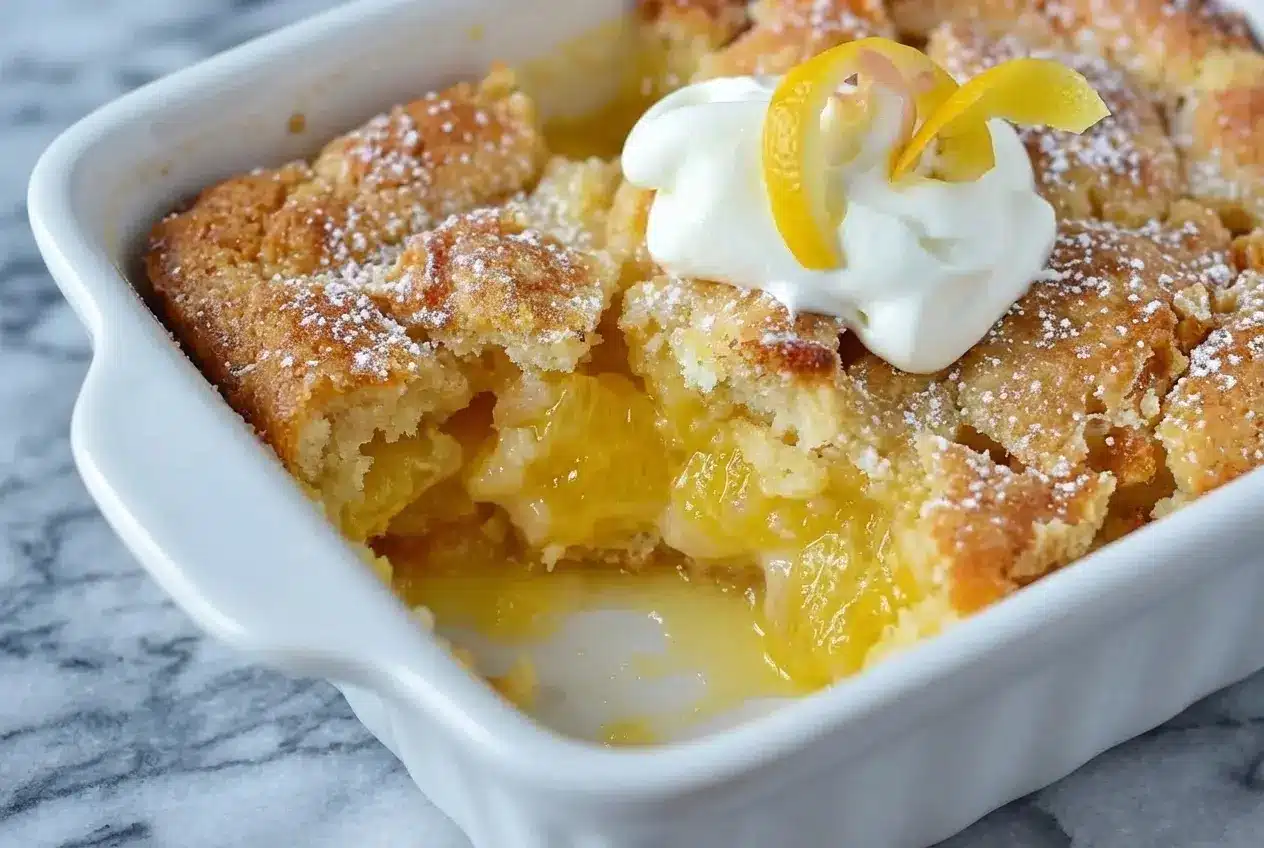
There is something wonderfully old-fashioned about a magic dessert. You pour in simple layers, slide the dish into the oven, and somehow it comes out with crisp edges, a tender cake-like top, and a spoonable center that feels far fancier than the effort suggests. That is exactly why Magic Lemon Cobbler has earned a permanent spot in my kitchen.
This version leans bright and buttery, with browned butter for a toasty backbone and a little cardamom to make the lemon sing. If you want a citrus dessert that looks impressive, tastes bakery-worthy, and keeps the baking process blissfully simple, this is the one to bring to Sunday supper, spring gatherings, or any night that needs a little sunshine.
Why You’ll Love This Recipe
Big flavor, little effort: This is one of those desserts that feels special without asking much from you. The no-stir method keeps things easy, even if you are brand new to baking.
The browned butter twist: In my kitchen, browned butter is one of the fastest ways to make a homemade dessert taste deeper and richer. It gives the unsalted butter a nutty, almost toasted note that balances the sweetness of the lemon pie filling beautifully.
Bright citrus with depth: A pinch of ground cardamom may sound small, but it changes the whole mood of the cobbler. I discovered that it rounds out the lemon extract and gives this citrus dessert a more layered, fragrant finish.
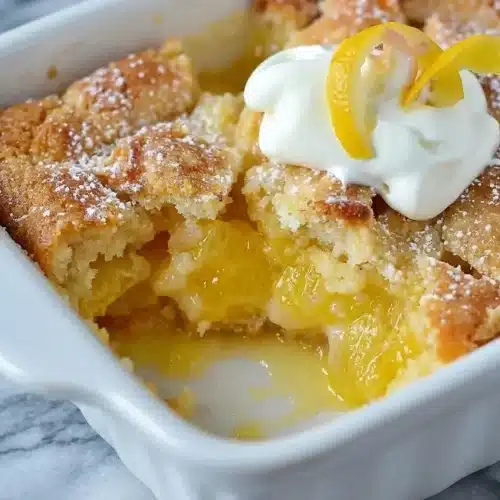
Texture worth chasing: The best bites come from the contrast between caramelized edges and the soft, gooey center. Those chewy corners against the silky lemon pockets are what keep everyone sneaking back for a second spoonful.
Ingredients and Substitutions
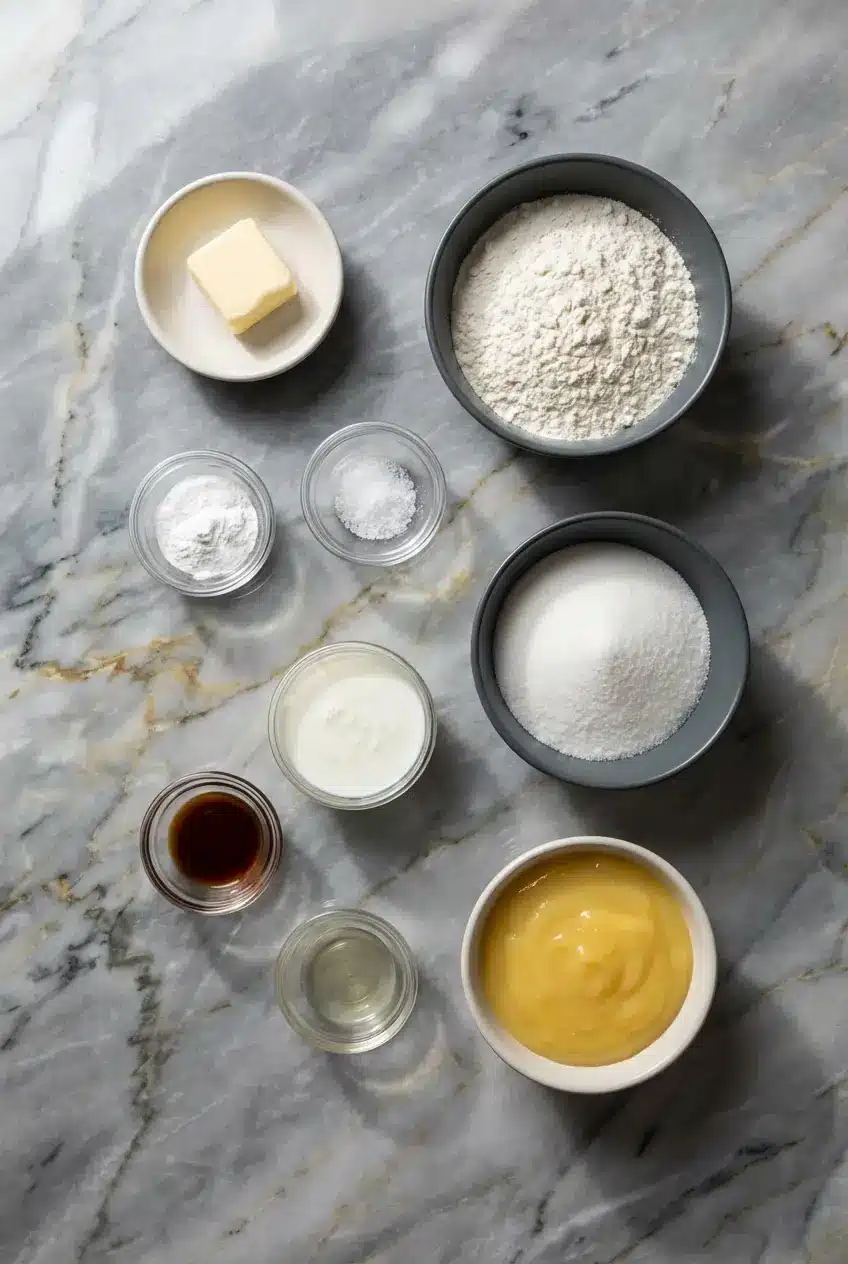
These pantry staples come together into a cobbler that tastes bright, buttery, and comforting, with buttermilk keeping the batter tender and lemon pie filling creating that signature gooey center.
Ingredients
- 1/2 c unsalted butter
- 1 c all-purpose flour
- 1 1/2 tsp baking powder
- 1/4 tsp salt
- 1 c granulated sugar
- 1 c buttermilk
- 1 tbsp vanilla extract
- 1 tbsp lemon extract
- 21 oz can lemon pie filling
Ingredient Notes & Substitutions
Buttermilk: If you do not have buttermilk on hand, stir 1 cup of milk with 1 tablespoon of lemon juice and let it sit for 5 minutes. It will not be quite as thick as bottled buttermilk, but it gives the batter the same gentle tang and tenderness.
All-purpose flour: A good 1:1 gluten-free flour blend works well here if you need a gluten-free version. I have had the best texture with blends that already include xanthan gum, since they help the cobbler hold together without turning gritty.
Lemon extract: For this batter, lemon extract gives a stronger and more dependable citrus flavor than fresh lemon juice. Juice adds brightness, but it also adds extra liquid, and that can soften the structure of the batter more than you want in a magic cobbler.
Lemon pie filling: Canned lemon pie filling is ideal when you want a reliable, smooth center that bakes up glossy and thick. If your store carries a 22 oz can instead of 21 oz, set the baking dish on a sheet pan just in case the filling bubbles close to the rim.
Dairy-free swaps: You can make a dairy-free version with plant-based butter and almond or oat milk soured with lemon juice. The flavor changes slightly, but the cobbler still bakes up with lovely golden edges and a soft lemon center.
How to Make Magic Lemon Cobbler
Prep the Oven and Butter
- Heat your oven to 350°F so the dish is fully hot when the batter goes in. Place the butter in a 9×9-inch baking dish and let it melt in the oven for about 3 to 4 minutes, then keep a close eye on it until it turns golden and smells nutty, usually just a little longer. Once it has that toasted aroma, take the dish out and set it aside carefully.
- This is the moment that gives the cobbler its extra depth. As the milk solids in the butter brown, they create a richer flavor and help the edges bake up darker and chewier.
Mix the Batter
- In a medium bowl, whisk together the all-purpose flour, baking powder, salt, granulated sugar, and ground cardamom if you are using it. You want everything evenly distributed so the batter rises uniformly and the spice does not clump in one spot.
- Pour in the buttermilk, vanilla extract, and lemon extract, then stir just until the dry streaks disappear. The batter should look smooth but not heavily beaten, because overmixing can make the baked layer tougher instead of light and tender.
Layer Without Stirring
- Pour the batter straight over the browned butter in the baking dish. Resist every instinct to mix it, even if it looks unusual, because the separate layers are what create the magic texture in the oven.
- Dollop the lemon pie filling evenly over the batter so each scoop has some lemon throughout. Again, leave everything exactly as it is, with the batter and filling sitting in distinct layers.
Bake and Rest
Bake the cobbler for 45 to 55 minutes, until the edges are deeply golden, the top looks set, and the center has only a slight wobble instead of a wet slosh. Let it cool for at least 10 minutes before serving, because that rest is what allows the lemon filling to thicken into those luscious spoonable pockets.
That golden flavor on the edges comes from the same Maillard browning reaction that gives browned butter its toasty depth. In practical terms, it means patience matters, because once the butter and batter have time to brown properly, the cobbler tastes fuller and more complex.
Secrets for the Perfect Cobbler Texture
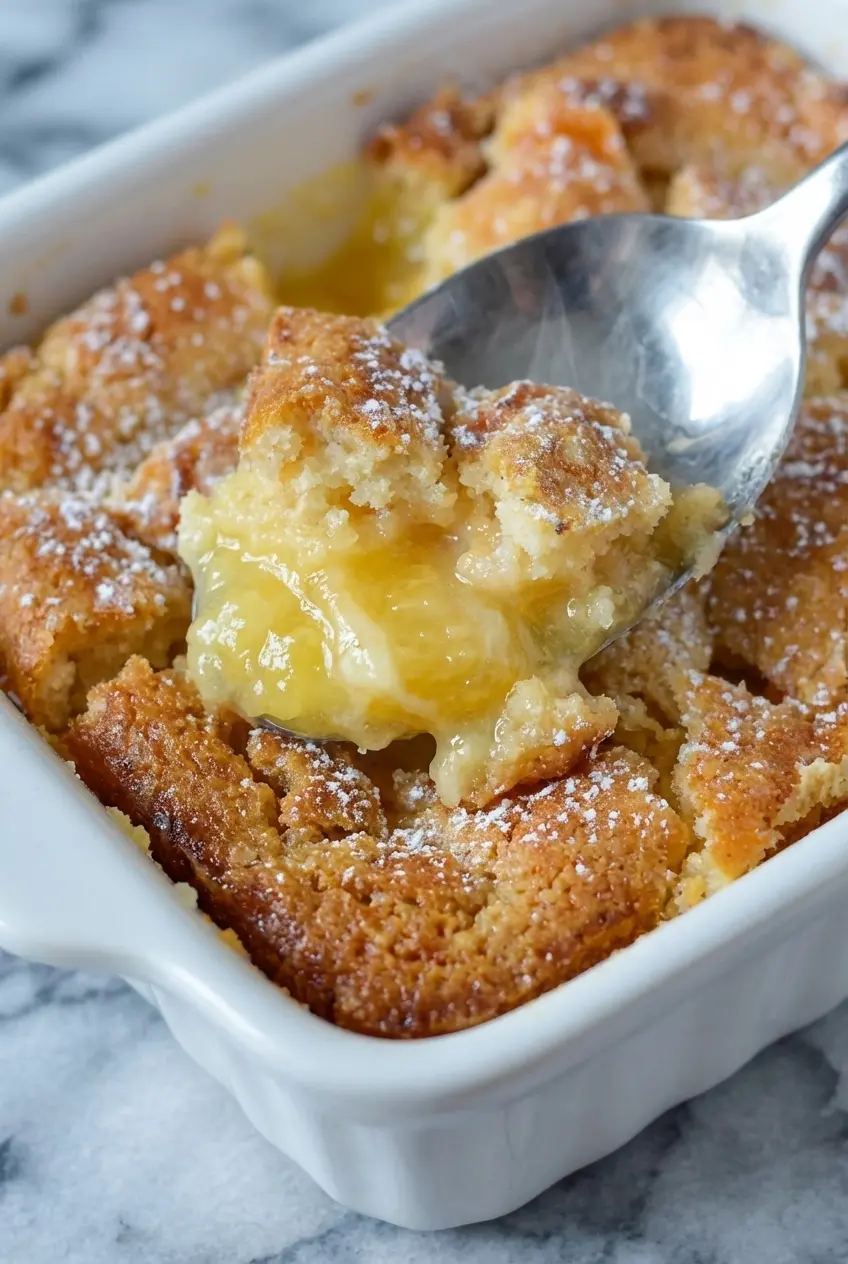
The center of a magic lemon cobbler should look softly set, not dry. I use what I call the jiggle test, the middle can tremble slightly when the dish is nudged, but it should not ripple like loose batter.
If you like to bake with a thermometer, aim for about 200°F in the cake portion rather than the lemon filling. That number usually tells me the batter is cooked through while the interior still stays moist and tender.
To avoid the dreaded gum line, make sure the oven is fully preheated and keep your rack in the center position. A too-cool oven or an off-center rack can leave a thin underbaked layer where the batter struggles to rise cleanly through the filling.
Room temperature buttermilk also helps with texture. Cold liquid can make the melted butter seize a bit on contact, which interferes with the even rise that gives this dessert its soft top and caramelized edges.
The Science of the Magic Layering Method
The no-stir trick works because each layer behaves differently once the heat kicks in. The batter is lighter than the lemon pie filling, so as the baking powder activates and the structure begins to set, the batter rises up through the fruit and forms a cake-like layer around it.
That is why this dessert feels a little bit like cobbler and a little bit like pudding cake. If you have ever loved the soft-centered richness of gooey butter cake, the appeal here will feel familiar, just brighter and more citrusy.
The browned butter pulls extra weight in this process too. As it coats the bottom and corners of the 9×9 baking dish, it fries the edges of the batter just enough to create those prized caramelized edges that taste almost like lemon candy and toasted shortbread in one bite.
Choosing Between Pie Filling and Lemon Curd
Lemon pie filling gives the most classic Magic Lemon Cobbler result. It bakes into a glossy, soft center that stays sweet, bright, and stable, which makes it especially forgiving for beginners.
Lemon curd is a richer choice, with more butter and egg flavor and a sharper tartness. If you swap it in, expect a more intense lemon bite and a slightly more decadent texture, and consider reducing the sugar in the batter a bit next time if you prefer a more balanced finish.
Can size matters more than most people think. A standard 21 oz can sits nicely in a 9×9-inch baking dish, but a 22 oz can can creep close to the top as it bubbles, so I like to set the pan on a lined baking sheet for insurance.
Pro Tips & Troubleshooting
Chef’s Tips for Success
- Bring the buttermilk closer to room temperature before mixing. It helps the batter blend more smoothly and keeps the melted butter from tightening up too quickly.
- Do not skip the cardamom if you want the lemon flavor to taste fuller and more fragrant. In many of my favorite citrus desserts, a tiny aromatic note is what makes the fruit taste brighter without adding more juice.
- Pay attention to the corners of the pan. They are often the most flavorful bites because the butter and sugar caramelize hardest there.
- Stir the batter only until combined. A gentle hand gives you a lighter, softer cobbler.
Common Mistakes to Avoid
- Do not stir the batter into the butter or mix in the filling. If the layers are blended together, the cobbler loses its magic structure and bakes up dense.
- Avoid using a pan smaller than 9×9 inches. The batter and filling need room to bubble and rise without spilling over.
- Do not pull it from the oven too early just because the middle looks soft. The edges should be golden and the top should be set before you call it done.
- Do not skip the 10-minute cooling rest. Fresh from the oven, the filling is looser than it will be once it settles.
Serving & Storage
Serving Ideas
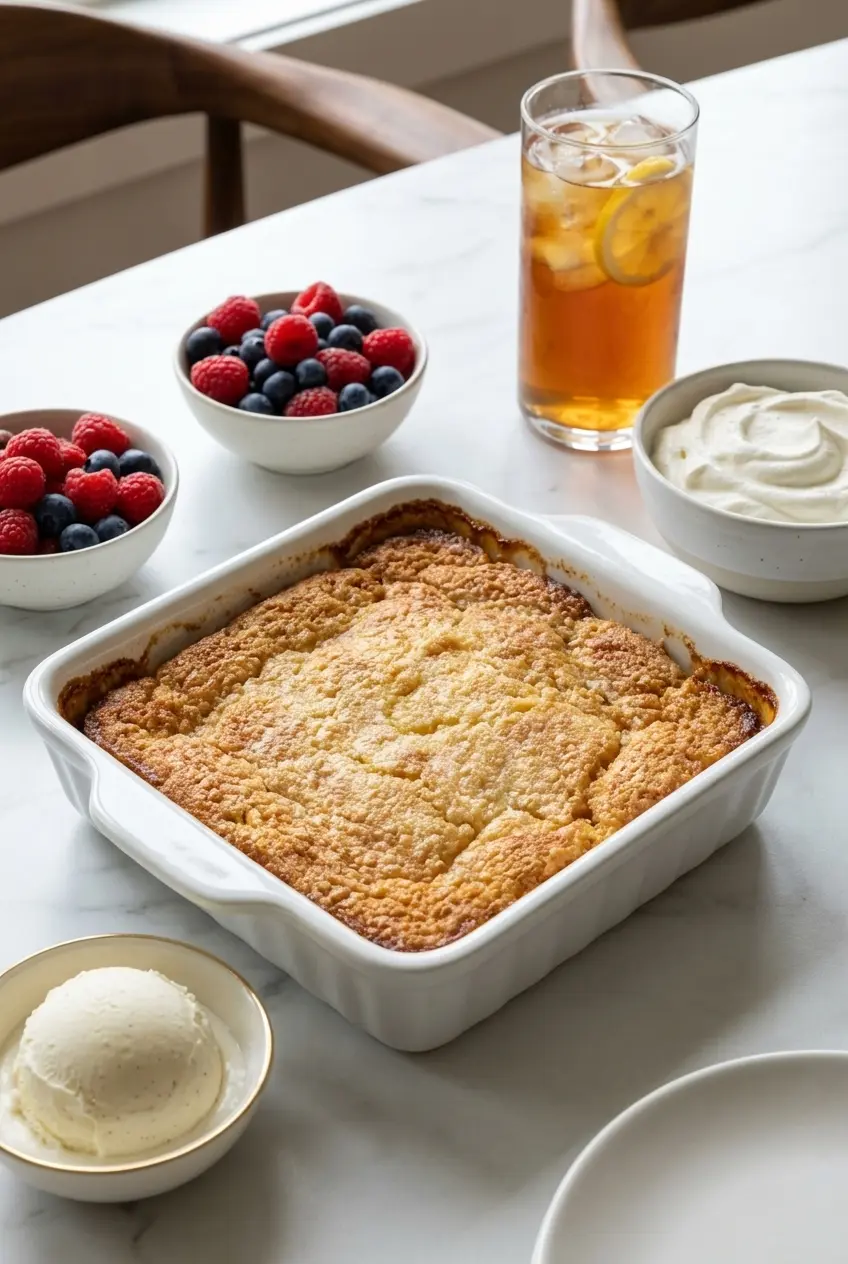
This cobbler is at its best warm, with a scoop of vanilla bean ice cream melting into the lemon pockets. A spoonful of softly whipped cream works just as well if you want something lighter.
Fresh raspberries or blueberries on top add a little color and a tart pop that plays beautifully with the sweet filling. For a full nostalgic dessert table, I love serving it alongside old American favorites like banana pudding, especially for spring holidays and family potlucks.
A glass of iced tea or lemonade makes a natural pairing. The bright flavors keep the whole dessert course feeling cheerful rather than heavy.
Storage and Reheating
Cover leftovers and refrigerate them for up to 3 days. The center will stay soft, though the edges naturally lose some of their crispness after the first day.
To bring back some of that just-baked texture, reheat a portion in a 350°F oven or air fryer for a few minutes until warmed through and lightly crisp around the edges. The microwave works in a pinch, but it softens the crust more than the oven does.
You can freeze the cobbler if needed, tightly wrapped, for later. It will still taste lovely once thawed and reheated, but in my experience the magic crust is at its absolute best when the dessert is enjoyed fresh.
Magic Lemon Cobbler

Equipment
- 9×9-inch baking dish
- Medium mixing bowl
- Whisk
Ingredients
- 1/2 c unsalted butter
- 1 c all-purpose flour
- 1 1/2 tsp baking powder
- 1/4 tsp salt
- 1 c granulated sugar
- 1 c buttermilk
- 1 tbsp vanilla extract
- 1 tbsp lemon extract
- 21 oz can lemon pie filling
Instructions
Prep the Oven and Butter
- Heat your oven to 350°F. Place the 1/2 c unsalted butter in a 9×9-inch baking dish and let it melt in the oven for 3 to 4 minutes. Watch closely until the butter turns golden and develops a nutty aroma, then remove the dish and set it aside.
Mix the Batter
- In a medium bowl, whisk together the all-purpose flour, baking powder, salt, and granulated sugar until evenly combined.
- Stir in the buttermilk, vanilla extract, and lemon extract. Mix just until the dry streaks disappear to keep the batter tender, being careful not to overwork it.
Layer Without Stirring
- Pour the batter directly over the browned butter in the baking dish. Do not stir the mixture; keeping the layers separate is essential for the magic texture.
- Dollop the lemon pie filling evenly across the top of the batter. Again, leave the layers exactly as they are without stirring.
Bake and Rest
- Bake the cobbler for 45 to 55 minutes. The edges should be deeply golden and the top set, with only a slight wobble in the center.
- Allow the cobbler to rest for at least 10 minutes before serving. This cooling period is necessary for the lemon filling to thicken into luscious pockets.
Notes
Conclusion
This Magic Lemon Cobbler earns its keep with very little fuss. The browned butter adds a deep, nutty note, the lemon keeps everything bright, and that contrast between caramelized edges and gooey center is the kind of dessert magic people remember.
If you are baking for a gathering or just want something sunny on the table after dinner, this one is hard to beat. Once you make it once, you will start thinking about all the little ways to make it your own.
Frequently Asked Questions
Can I use lemon curd instead of canned pie filling?
How do I use self-rising flour for this recipe?
Can I double this recipe for a 9×13 pan?
Why did my cobbler turn out soggy in the middle?
Why shouldn’t I stir the ingredients together?
Can this lemon cobbler be frozen for later?
Can I make this in a slow cooker?