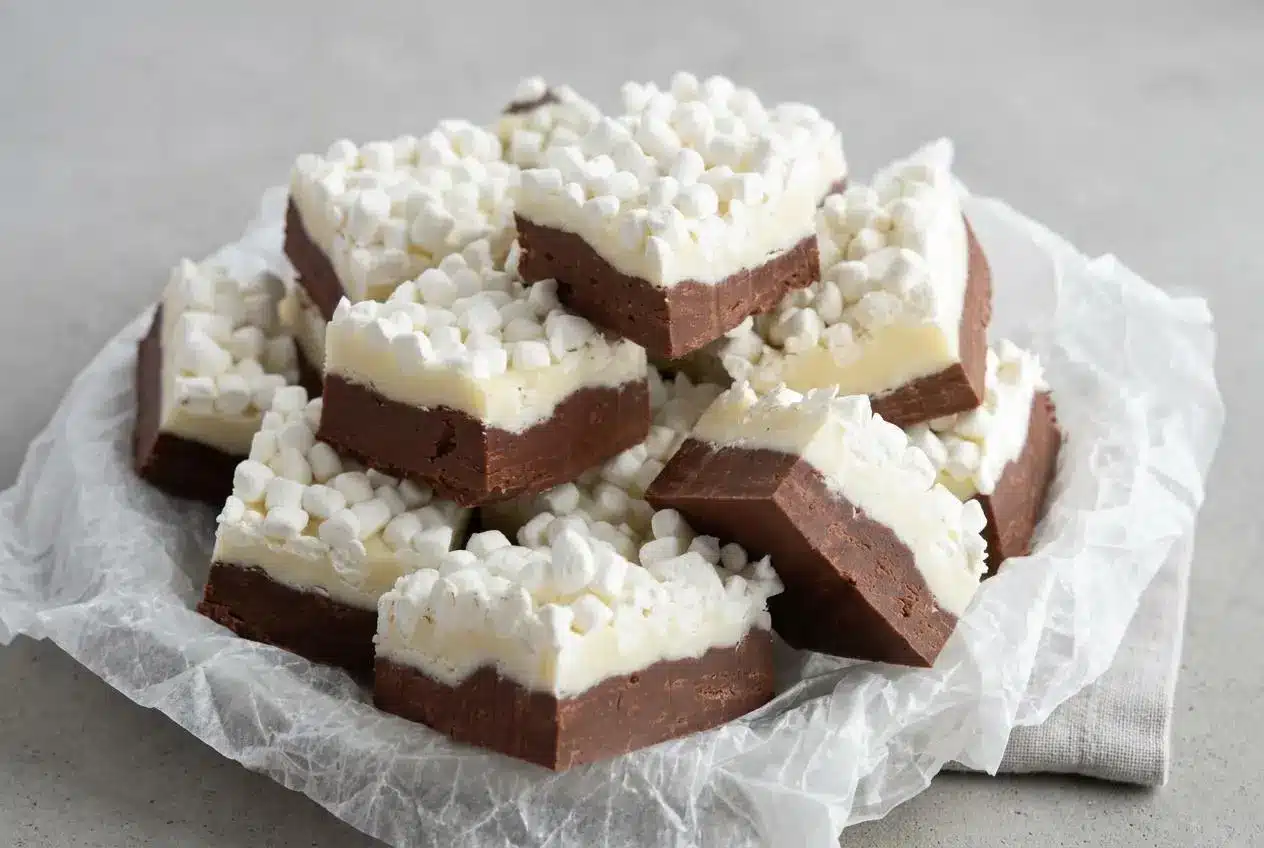
Hot chocolate fudge turns cozy cocoa flavors into creamy, bite-sized candy. Melt dark and white chocolate chips separately with sweetened condensed milk, layer them in a pan, and add marshmallows. This no-bake treat takes about 5 minutes of active prep, followed by at least 6 hours of chilling.
This hot chocolate fudge pairs a rich dark chocolate bottom with a sweet white chocolate top and marshmallow crunch. It’s a sliceable candy inspired by a mug of cocoa, rather than a warm drink or an ice cream topping.
The microwave handles the melting, so you won’t need a candy thermometer or a bubbling pot of sugar. The main trick is spreading that thin white layer without disturbing the chocolate underneath. Small spoonfuls make the difference.
Set out both microwave-safe bowls and your square pan before heating anything so the melted mixtures don’t sit waiting.
Ingredients You Need and Why Each One Matters
Dark chocolate brings depth, white chocolate adds creamy sweetness, and condensed milk binds both layers into a soft, firm-setting candy. Mallow Bits finish the top with cocoa-inspired flavor and a crisp contrast to the smooth fudge.
- 2 Cups Dark Chocolate Chips
- 14 ounces Sweetened Condensed Milk – divided
- 1½ Cup White Chocolate Chips
- 1½ Cups Mallow Bits (mini hot chocolate marshmallows)
The dark chocolate layer carries most of the chocolate flavor. Its deeper cocoa notes balance the sweeter white chocolate above it, while the contrasting colors give each square a distinct layered edge.
Divide the single can of sweetened condensed milk carefully: measure 5 tablespoons for the white chocolate, then use all the remaining milk with the dark chocolate. Don’t split the can equally. Each mixture needs its intended balance of chocolate and milk to set properly.
Sweetened condensed milk supplies sweetness and moisture, helping the melted chocolate become a cohesive fudge mixture without boiling sugar. Evaporated milk isn’t an interchangeable substitute here.
I measure the 5 tablespoons into the white chocolate bowl first so the whole can doesn’t accidentally end up in the dark chocolate.
Mallow Bits vs Regular Mini Marshmallows
- Mallow Bits: These tiny dehydrated marshmallows create a fine, crunchy topping reminiscent of packaged hot cocoa marshmallows; keep them tightly sealed and dry before using.
- Regular mini marshmallows: These make a larger, puffier topping with a soft, pillowy chew rather than crunch; press them into the warm white layer immediately so they adhere.
The topping changes the eating texture, not the two chocolate layers underneath. Neither choice establishes a different storage life for the finished fudge.
How to Make Hot Chocolate Fudge Step by Step
Use a 9×9-inch square pan for thinner pieces or an 8×8-inch pan for thicker squares. This recipe makes 12 servings; the number of individual pieces depends on how small you cut them.
- Measure 5 tablespoons of sweetened condensed milk into a microwave-safe bowl and fold in the white chocolate chips.
The chips should have a coating of milk, though the mixture will still look chunky. - Empty the remaining condensed milk into a separate microwave-safe bowl containing the dark chocolate chips.
Keep the two mixtures separate to preserve their different proportions and colors. - Fit foil or parchment into your square pan with enough overhang to grip later, then generously coat the lining with butter or shortening.
A well-greased lining helps release the firm block without tearing its edges. - Heat the dark chocolate mixture for 30 seconds, stir, heat for another 15 seconds, then beat vigorously until smooth before scraping it into the pan and leveling the surface.
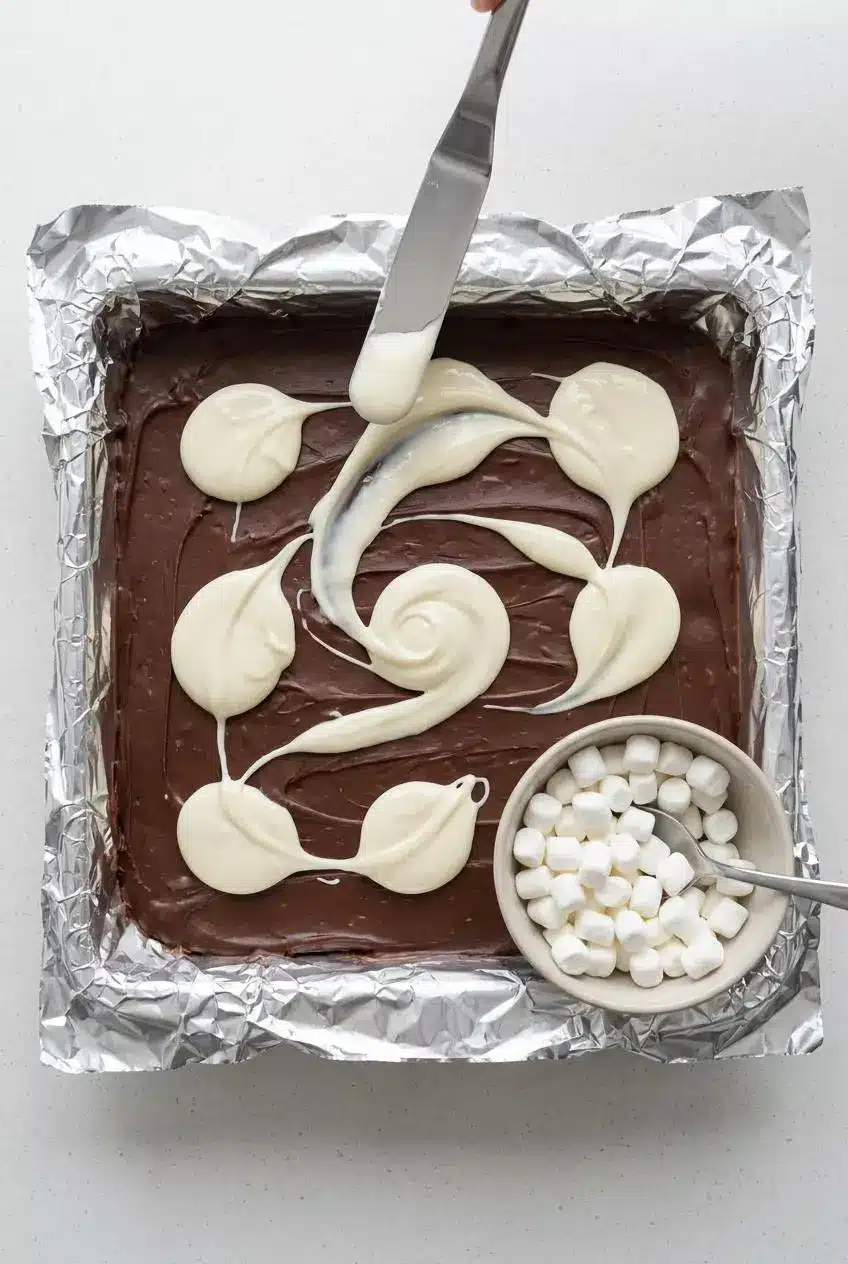
The chips may retain their outlines after heating, but stirring distributes the warmth and turns the mixture glossy. - Give the white chocolate mixture 30 seconds in the microwave, stir until smooth, then distribute small spoonfuls over the dark layer and gently connect them into a thin covering.
Light strokes keep the pale topping distinct instead of pulling dark chocolate through it. - Scatter the marshmallows over the white chocolate immediately and press them lightly into place.
The surface should still feel tacky enough to hold the topping without swallowing it. - Place the pan in the refrigerator for at least 6 hours before attempting to cut the fudge.
The center needs to become firm enough to hold its shape, not merely develop a set surface. - Lift the chilled block onto a cutting board using the lining overhang, then carefully peel away all the foil or parchment.
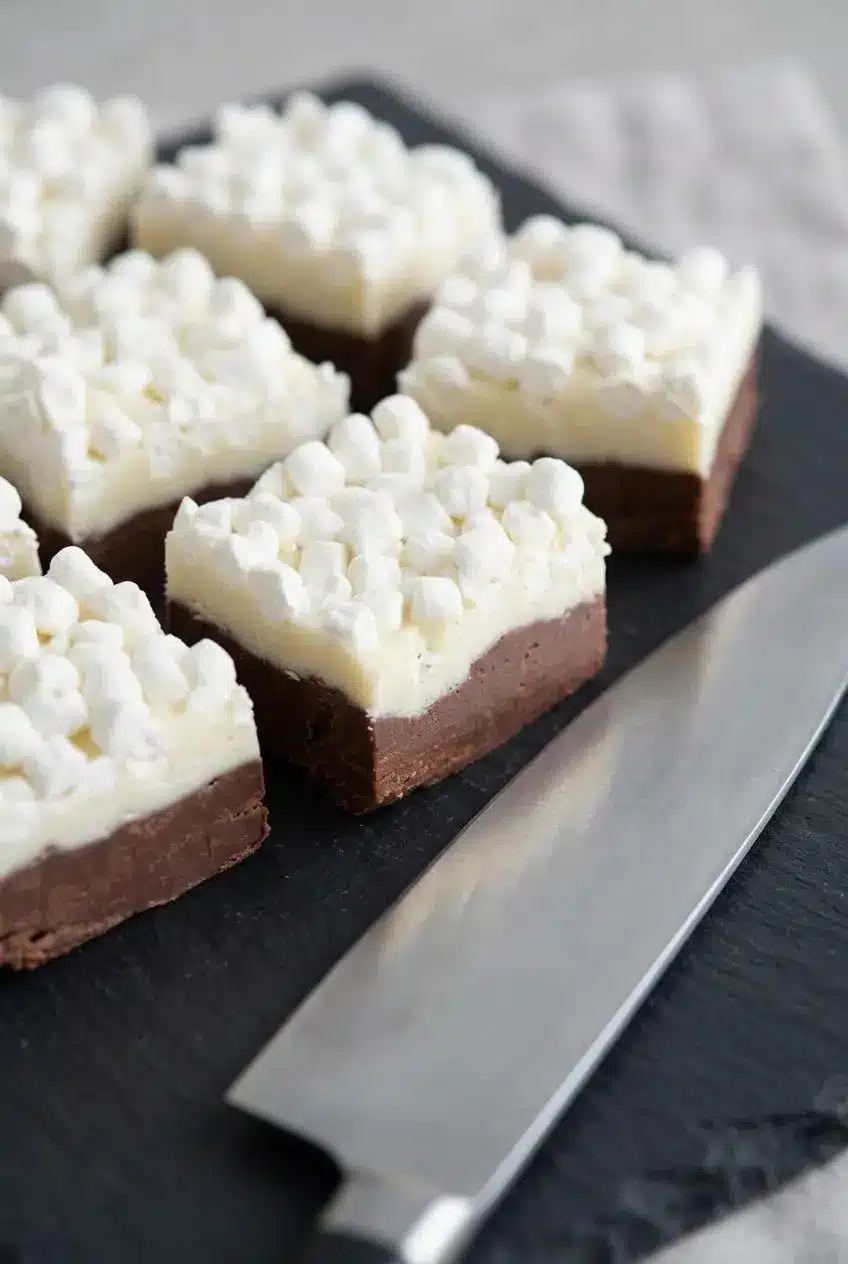
The bottom and sides should release as a solid slab. - Slice the block into bite-sized pieces with a sharp knife and transfer them for serving.
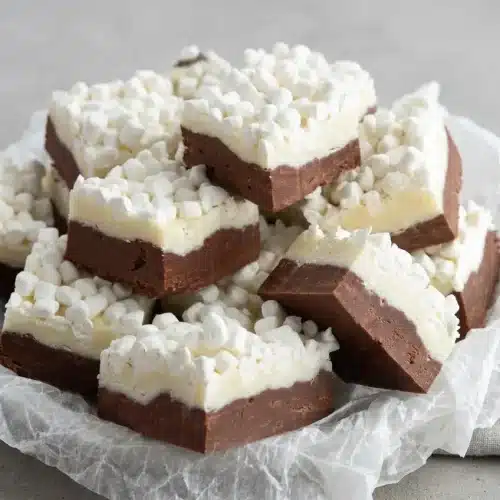
Each piece should show a dark bottom, a pale top, and an attached marshmallow coating.
Tips for Smooth Layers and Troubleshooting Common Mistakes
Gentle spreading and thorough stirring matter more than extra heat. A mixture that looks unfinished straight from the microwave may smooth out once you work it with a spoon.
How to Spread the Thin White Chocolate Layer Cleanly
Distribute the warm white mixture across the entire surface before spreading. Include the corners and edges rather than placing everything in the center. That gives each spoonful less distance to travel.
Use an offset spatula or the back of a lightly greased spoon to join the dollops. Keep the utensil nearly parallel to the surface and skim across the top. Digging downward or repeatedly working one patch pulls the dark layer upward.
A slightly uneven white layer is fine. Aim for coverage, not a perfectly polished surface that requires endless smoothing.
How to Prevent Seized or Grainy Chocolate
White chocolate can overheat quickly, so don’t assume thicker chocolate needs more microwave time. For broader melting guidance, how to melt chocolate explains the importance of controlled heat and stirring.
- Stiff but still warm: Stir thoroughly before doing anything else, then spread promptly; the mixture naturally becomes harder to move as it cools.
- Grainy or oily: Stop heating and stir gently to assess it; scorched chocolate won’t become smooth simply by getting hotter, and a badly damaged mixture may need replacing.
- Dark streaks in the topping: Excess pressure has disturbed the bottom layer; stop dragging the spatula through it and cover exposed patches with nearby white mixture.
- Dragged or ragged slices: Finish the full chill, then warm the knife under warm water, dry it completely, and wipe it between cuts to remove sticky chocolate and marshmallow residue.
Hot Chocolate Fudge vs Hot Fudge Sauce: Variations and Swaps
The word “hot” describes the cocoa inspiration here, not the serving temperature. These chocolate treats have different textures and uses:
- Hot chocolate fudge: Chilled, firm candy with separate chocolate layers and a marshmallow topping.
- Cocoa-boosted fudge: The same sliceable candy with an optional cocoa addition for a more pronounced chocolate flavor.
- Hot fudge sauce: A warm, pourable topping made for spooning over ice cream, rather than cutting into squares.
- Drinking hot chocolate: A beverage served in a mug, such as rich French hot chocolate.
How to Make a Thicker White Chocolate Layer
For a thicker top, increase the white chocolate chips and their portion of condensed milk proportionally. Keep the dark layer’s milk allocation unchanged, which means you’ll need additional condensed milk rather than borrowing from the bottom layer.
Use the same gentle microwave-and-stir approach, but don’t assume a larger batch will melt evenly on precisely the same schedule. Stirring and texture remain your best guides.
Adding Hot Cocoa Mix, Cocoa Powder, or Vanilla Sea Salt
Keep these optional flavor additions outside the main ingredient list:
- Dutch-process cocoa: Sift it before stirring into the warm dark mixture to prevent dry pockets and deepen the cocoa flavor.
- Dry hot cocoa mix: Add it sparingly for a familiar cocoa flavor, remembering that sweetened mixes also add sweetness.
- Vanilla and fine sea salt: Stir a little vanilla and a pinch of salt into the melted dark layer for aroma and balance before spreading.
Dry cocoa is an addition, not a replacement for the chocolate chips that give this candy its structure.
Make-Ahead, Storage, and Holiday Serving Ideas
Plan around the required chill before serving or packing the fudge. Once it has set, cut it and place the pieces in a tightly covered container rather than leaving the pan uncovered.
For storage, keep the fudge refrigerated as a cautious default. Bring out the portion you intend to serve rather than treating the counter as its storage spot. A cool room helps preserve its shape during serving, but firmness alone doesn’t establish a room-temperature shelf life.
Separate stacked pieces with wax paper or parchment. Arrange them without crushing the marshmallow tops, and close the lid securely to limit drying and exposure to refrigerator odors. Avoid stacking loose squares directly on one another, where the toppings can catch and stick.
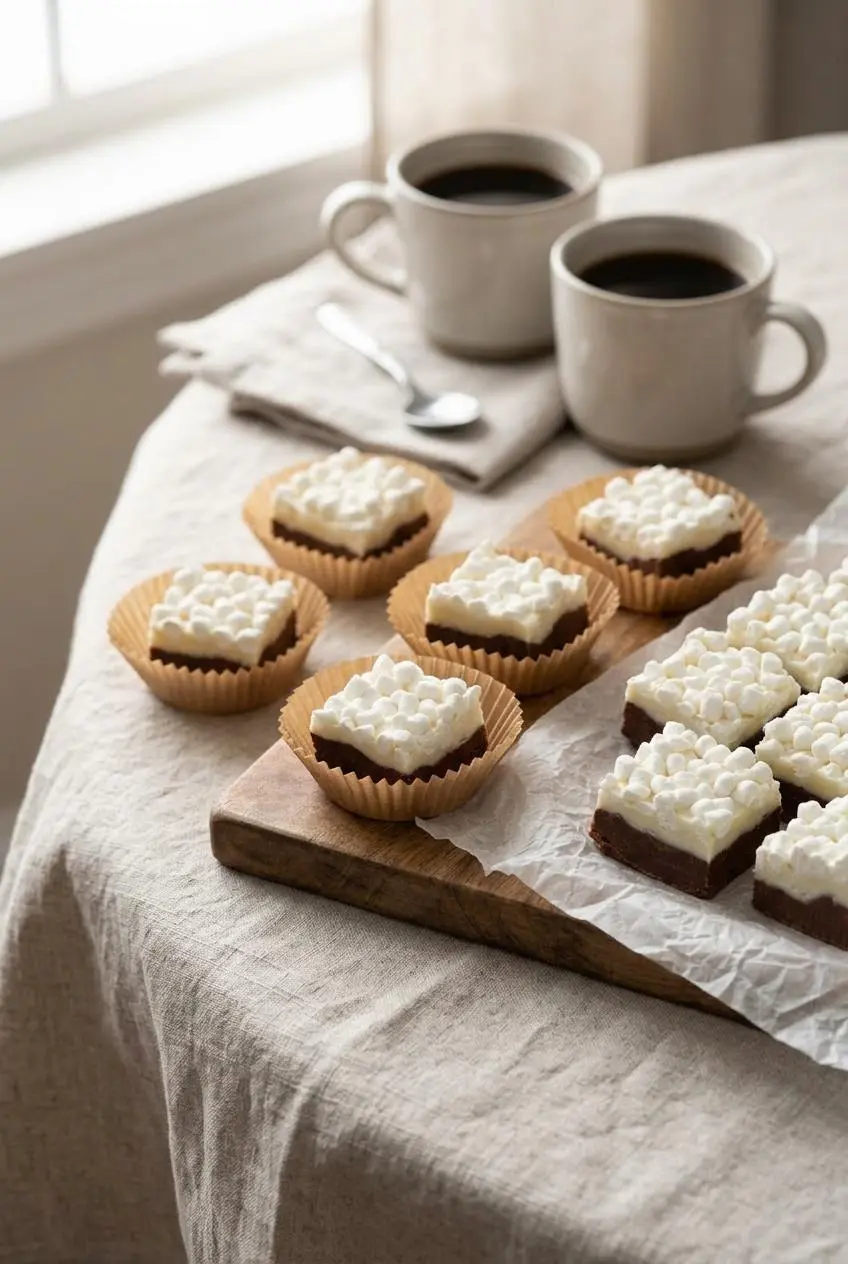
- Holiday trays: Place bite-sized pieces in paper candy cups so guests can lift them without handling neighboring squares.
- Edible gifts: Pack chilled pieces in food-safe, paper-lined tins and let recipients know to keep them refrigerated.
- Winter gatherings: Serve modest squares alongside warm coffee or peppermint tea to balance the candy’s richness.
For an assorted gift box, choose complementary treats from these chocolate candy recipes and package each according to its own storage needs.
Conclusion
With four ingredients and about 5 minutes of active prep, this layered fudge delivers rich chocolate, creamy sweetness, and a marshmallow finish without stovetop candy making.
Drop the white mixture in small spoonfuls, spread with a light hand, and give the fudge its full chill before slicing. Keep it classic or add optional vanilla and sea salt, then enjoy those neat little layers.
Frequently Asked Questions
What Is the Difference Between Hot Chocolate Fudge and Hot Fudge Sauce?
Hot chocolate fudge is firm, sliceable candy with chocolate layers and marshmallows. Hot fudge sauce is a warm, pourable chocolate topping for ice cream.
Does Hot Chocolate Fudge Have to Be Stored in the Refrigerator or Can It Stay on the Counter?
Keep it covered in the refrigerator as a cautious default, and put out a portion for serving. Don’t use its firm texture as proof that it can be stored on the counter.
Can I Use Regular Mini Marshmallows Instead of Mallow Bits?
Yes. They give the topping a soft chew instead of crunch. Press them gently into the white chocolate while it’s still warm and tacky.
How Do I Keep the White Chocolate Layer From Mixing Into the Dark Chocolate?
Drop small spoonfuls across the dark layer, then gently connect them with an offset spatula. Skim the surface rather than pressing down or dragging chocolate from one central puddle.
Can You Make Hot Chocolate Fudge With Cocoa Powder or Hot Cocoa Mix?
You can optionally stir sifted cocoa powder or dry hot cocoa mix into the warm dark layer for extra flavor. Keep the chocolate chips, since cocoa powder alone won’t replace their role in setting this fudge.
Hot Chocolate Fudge

Equipment
- Knives
- Cutting Boards
Ingredients
- 2 Cups Dark Chocolate Chips
- 14 ounces Sweetened Condensed Milk – divided
- 1½ Cup White Chocolate Chips
- 1½ Cups Mallow Bits (mini hot chocolate marshmallows)
Instructions
- Measure 5 tablespoons of sweetened condensed milk into a microwave-safe bowl and fold in the white chocolate chips. The chips should have a coating of milk, though the mixture will still look chunky.
- Empty the remaining condensed milk into a separate microwave-safe bowl containing the dark chocolate chips. Keep the two mixtures separate to preserve their different proportions and colors.
- Fit foil or parchment into your square pan with enough overhang to grip later, then generously coat the lining with butter or shortening. A well-greased lining helps release the firm block without tearing its edges.
- Heat the dark chocolate mixture for 30 seconds, stir, heat for another 15 seconds, then beat vigorously until smooth before scraping it into the pan and leveling the surface. The chips may retain their outlines after heating, but stirring distributes the warmth and turns the mixture glossy.
- Give the white chocolate mixture 30 seconds in the microwave, stir until smooth, then distribute small spoonfuls over the dark layer and gently connect them into a thin covering. Light strokes keep the pale topping distinct instead of pulling dark chocolate through it.
- Scatter the marshmallows over the white chocolate immediately and press them lightly into place. The surface should still feel tacky enough to hold the topping without swallowing it.
- Place the pan in the refrigerator for at least 6 hours before attempting to cut the fudge. The center needs to become firm enough to hold its shape, not merely develop a set surface.
- Lift the chilled block onto a cutting board using the lining overhang, then carefully peel away all the foil or parchment. The bottom and sides should release as a solid slab.
- Slice the block into bite-sized pieces with a sharp knife and transfer them for serving. Each piece should show a dark bottom, a pale top, and an attached marshmallow coating.