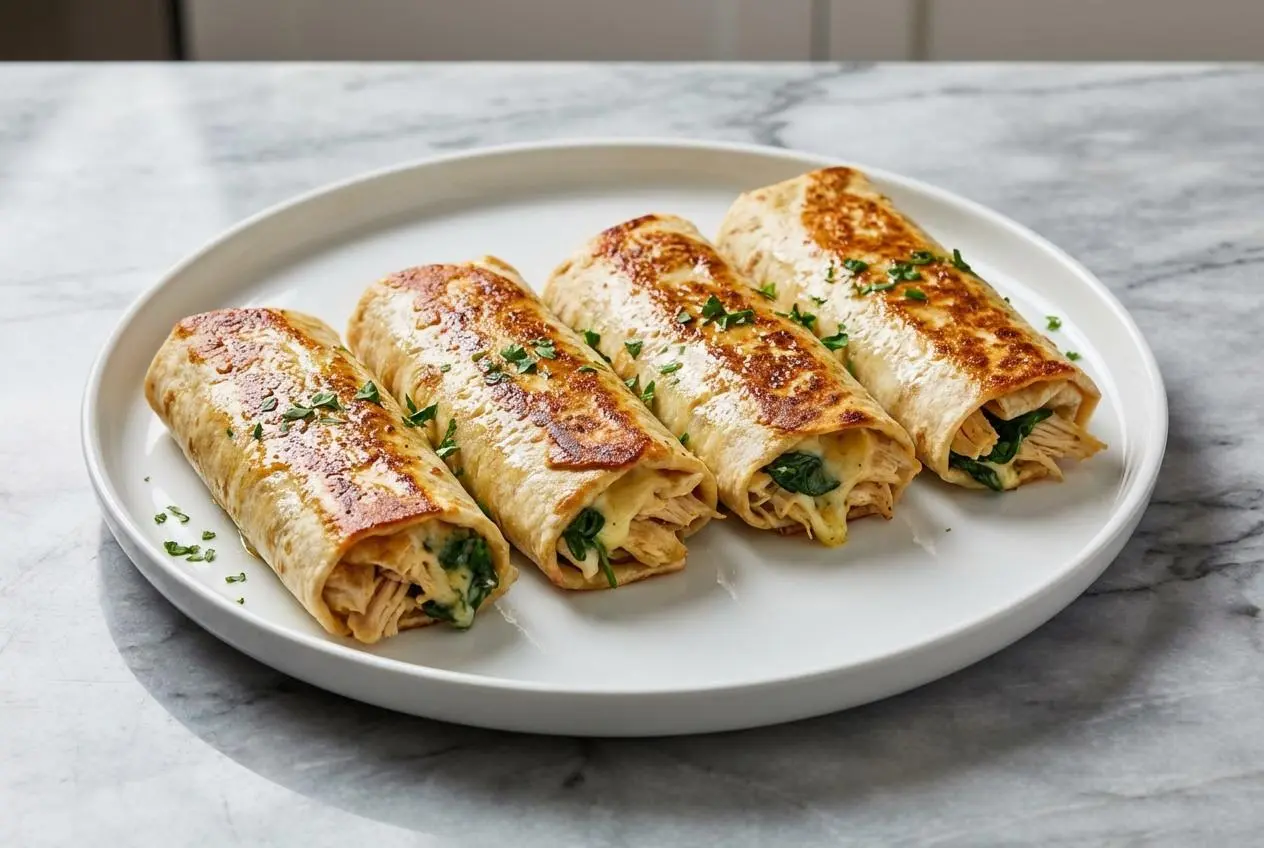
There is something wildly satisfying about cutting into a hot wrap and hearing that first little crackle before the cheese starts to stretch. In my kitchen, that moment usually means dinner is saved, and these Low Carb Cheesy Garlic Chicken Wraps deliver it every single time.
This is the kind of quick weeknight dinner that feels a little indulgent, but still fits beautifully into a keto lifestyle. You get tender shredded chicken, melty cheese, loads of garlic flavor, and a crisp golden shell that makes an easy lunch idea feel downright special.
Why You’ll Love This Recipe
Big flavor, no bitterness: I stopped relying on harsh raw garlic for wraps like this, because it can turn sharp fast in the pan. A gentle garlic confit butter gives these keto wraps a sweeter, deeper flavor that tastes rich instead of aggressive.
A crisp finish that actually works: In my kitchen, brushing the outside with that garlicky butter is the difference between a decent chicken wrap and one with a deeply golden, pan-seared crust. It helps the tortilla brown beautifully while the filling stays gooey and savory.
Weeknight-friendly: Even with the extra touch, this recipe is still fast enough for busy evenings. You can have a protein-packed skillet recipe on the table in under 30 minutes, and it tastes like far more effort went into it.
Comforting and flexible: The filling is creamy, cheesy, and easy to tweak with spinach, jalapeños, or bacon ranch flavors. Once you make it once, these Low Carb Cheesy Garlic Chicken Wraps become the sort of meal you start craving on repeat.
Ingredients and Substitutions
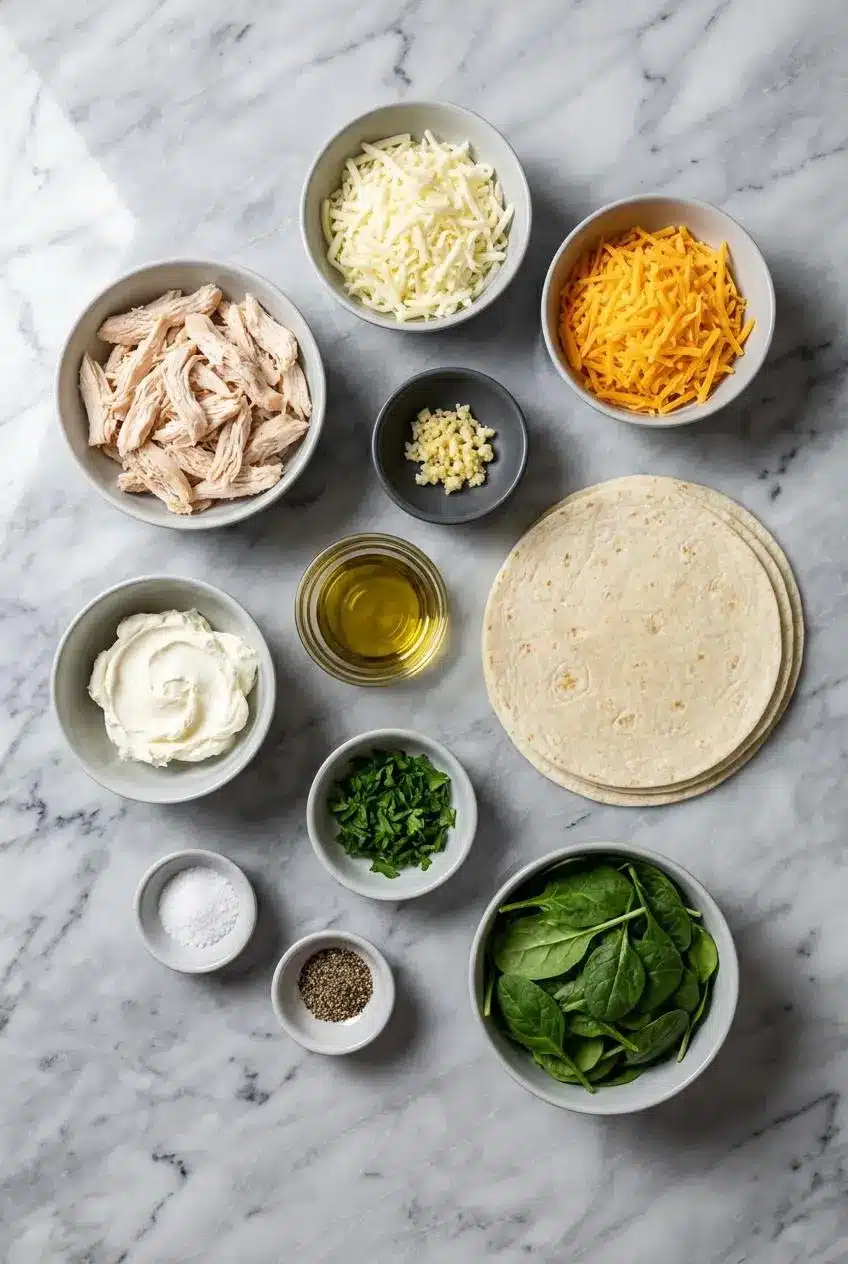
A short list of familiar ingredients keeps this recipe easy, while each one pulls its weight in flavor, melt, and texture.
Ingredients
- 2 cups cooked chicken breasts, shredded
- 1 cup shredded mozzarella cheese
- 1/2 cup shredded cheddar cheese
- 2 cloves garlic, minced
- 1/4 cup cream cheese, softened
- 1 tablespoon olive oil
- 4 large low-carb tortillas or wraps
- 1 tablespoon fresh parsley, chopped
- Salt and pepper to taste
- 1 handful baby spinach
Ingredient Notes & Substitutions
Chicken: Leftover rotisserie chicken is one of my favorite shortcuts here, because it shreds easily and already has plenty of savory flavor. Poached chicken breast works well too, and chicken thighs give you an even juicier filling if you want a richer bite.
Cheeses: The mozzarella, cheddar, and cream cheese combination gives you the best balance of melt, stretch, and flavor. If you want a little heat, Pepper Jack slips in nicely, and provolone gives the filling a softer, silkier cheese pull.
Low-carb tortillas: Not all low-carb tortillas behave the same way in a hot skillet. I have had the best luck with Mission Carb Balance and La Banderita Carb Counter because they stay flexible, roll without tearing, and crisp up beautifully when pan-seared.
Garlic: The ingredient list uses minced garlic, and that absolutely works for the core recipe. If you want the deeper flavor I love most, you can swap to a quick garlic confit butter method for a mellow, almost sweet garlic finish.
Herbs: Fresh parsley brightens the rich filling and keeps it from tasting too heavy. If your fridge is looking bare, dried parsley or a pinch of Italian seasoning can still round things out nicely.
Add-ins: Baby spinach is a simple way to fold in a little color and freshness without changing the personality of the wrap. Sautéed mushrooms, diced bell peppers, bacon, or jalapeños also fit naturally if you want to riff on the basic formula.
How to Make Low Carb Cheesy Garlic Chicken Wraps
Build the garlicky cheese base
- Set a medium skillet over medium heat and add the olive oil. Stir in the minced garlic and cook for 30 to 60 seconds, just until it smells fragrant and lively, keeping a close eye on it so it does not darken and turn bitter.
- Add the softened cream cheese and stir as it loosens into the oil. Once it starts to melt, add the mozzarella and cheddar, then keep stirring until everything turns into a smooth, creamy sauce with no dry shreds left behind.
Warm the filling
- Add the shredded cooked chicken to the skillet and toss until every strand is coated in the cheesy garlic mixture. Let it cook for another 2 to 3 minutes, just until the chicken is heated through and the filling looks glossy and cohesive.
- Season with salt and pepper to taste. If you are using baby spinach, fold it in now and cook only until it wilts into the filling, then stir in the chopped parsley for a fresh finish.
Fill and roll the wraps
- Warm the low-carb tortillas lightly in a dry skillet or in the microwave until they feel soft and pliable. This small step makes rolling much easier and helps prevent cracks along the edges.
- Lay one warmed tortilla on a flat surface and spoon about one quarter of the filling down the center. Sprinkle a little parsley over the top, fold in the sides, then roll it up snugly from the bottom so the filling stays tucked inside.
Crisp them in the skillet
Heat another tablespoon of olive oil in the skillet over medium heat, then place the wraps seam-side down. Cook for 2 to 3 minutes per side until the outside turns golden brown and crisp, and the inside is hot, gooey, and irresistibly cheesy.
The Secret to Perfectly Crispy, Non-Soggy Wraps
The line between a good wrap and a great one usually comes down to moisture control and browning. When I want that irresistible crackly shell, I focus on how much fat is on the surface, how full the wrap is, and how much space it has in the pan.
If you use the garlic confit butter version, the payoff is especially good. Slowly cooking garlic in fat softens its sharp edge, and that flavored butter helps the tortilla brown more evenly through the Maillard reaction, which is what gives the outside that deep color and toasty flavor.
Warm tortillas matter more than most people think. Cold low-carb tortillas can be stiff and brittle, but 15 to 20 seconds of warmth makes them flexible enough to roll tightly without splitting.
Overstuffing is where things usually go sideways. Too much filling forces the seams open, lets cheese leak into the pan, and keeps the tortilla from making full contact with the heat.
Starting seam-side down is another small trick that pays off fast. That first contact with the hot skillet helps seal the wrap shut, so flipping is easier and the whole thing stays tidy and crisp.
Choosing the Best Low-Carb Tortillas (Plus a Simple Homemade Recipe)
The tortilla can make or break this recipe, especially if you want a true crispy finish instead of something soft and floppy. For keto wraps, I look for tortillas that bend easily, hold their shape when filled, and stay intact when pan-seared.
Mission Carb Balance is one of the easiest options to find in the US, and it is reliable for busy weeknights. The tortillas are mild in flavor, fairly pliable straight from the package, and sturdy enough for rolling, which matters when you want clean edges and a neat sear.
La Banderita Carb Counter is another strong pick, especially if texture is your biggest concern. I find these slightly softer and more flexible, and they crisp nicely in a skillet without drying out too fast.
If you follow a keto diet closely, keep an eye on net carbs and serving sizes, since brands vary more than people expect. The best low-carb tortillas for this recipe are the ones that fit your macros and still behave like a proper wrap in the pan.
A simple homemade keto tortilla option
If store-bought low-carb tortillas are hard to find, a homemade version is absolutely doable. Mix 1 cup almond flour, 2 tablespoons psyllium husk powder, 1/2 teaspoon salt, and about 3/4 cup warm water until a soft dough forms, then let it rest for a few minutes.
Divide the dough into 4 balls, press each one between sheets of parchment until thin, and cook in a dry skillet over medium heat for about 1 to 2 minutes per side. They will not be identical to flour tortillas, but they roll well enough for a chicken wrap and crisp beautifully once filled and seared.
How to Cook Chicken Wraps in the Air Fryer
The air fryer method is one of my favorite ways to get an evenly crisp finish with very little fuss. Assemble the wraps as usual, and if you are using the upgraded method, brush the outside with garlic confit butter before they go into the basket.
Preheat the air fryer to 375°F, or 190°C. Arrange the wraps in a single layer with a little space between them, then cook for 6 to 8 minutes, flipping halfway through, until the outside is crisp and golden and the cheese inside is fully melted.
If your machine runs small, cook in batches rather than crowding the basket. A little breathing room keeps the hot air moving, and that is what gives you that beautifully blistered, air fryer recipe finish instead of a steamed wrap.
Pro Tips & Troubleshooting
Pro Tips
- If you are cooking chicken from scratch, let it rest a few minutes before shredding so the juices stay in the meat instead of on the cutting board.
- Warm the tortillas before filling them. It sounds minor, but it is one of the best ways to prevent tearing and get a tight burrito-style roll.
- For an even richer filling, add an extra tablespoon of cream cheese. It makes the sauce silkier and helps it cling to the shredded chicken.
- If you want extra garlic flavor and a crisper crust, brush the outside lightly with garlic butter before pan-searing.
- Bacon ranch is a natural variation here. Crumbled bacon and a spoonful of ranch seasoning turn the filling into something extra cozy and crowd-pleasing.
- Diced jalapeños or Pepper Jack are perfect if you like a little heat in your cheesy filling.
- When I want a very easy batch of juicy shredded chicken for wraps, taco bowls, or soups, I often borrow the same approach I use for slow cooker chicken. It is a smart meal prep move, especially if you make these often.
- If this flavor profile is already your kind of comfort food, the same cheesy, hearty spirit also works beautifully in our burrito casserole, which is handy when you want the taste of a wrap without the rolling.
Common Mistakes to Avoid
- Do not let the garlic burn. Browned and fragrant is great, but burnt garlic turns bitter fast and can overwhelm the whole filling.
- Avoid overstuffing the wraps. Too much filling makes them hard to roll and far more likely to burst when they hit the skillet.
- Do not overcrowd the pan while searing. If the wraps are packed in too tightly, they will steam instead of turning crisp.
- For the best texture, assemble just before cooking. If the wraps sit too long, the tortilla can absorb moisture from the filling and lose that crisp edge.
- Keep the filling creamy, not soupy. Excess moisture is one of the quickest ways to end up with soggy wraps.
Serving & Storage
Serving Suggestions
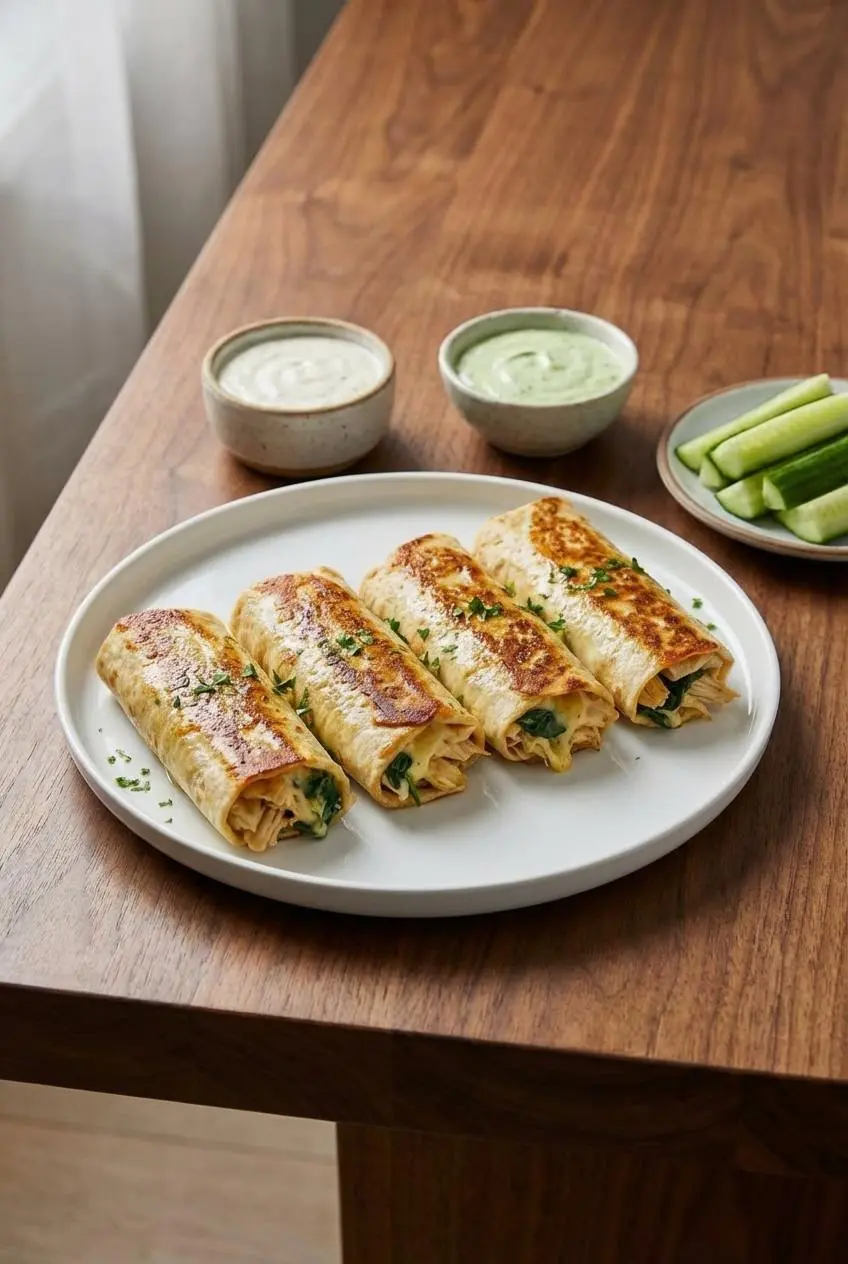
These wraps are rich, gooey, and deeply savory, so I like to serve them with something cool or fresh on the side. Keto-friendly ranch, cilantro-lime crema, or a low-carb marinara all make excellent dipping sauces.
A simple green salad, sliced avocado, or crisp cucumber sticks balance the cheesy filling beautifully. For another cozy dinner built around tender chicken and creamy comfort, both white chicken chili and chicken pot pie casserole fit the same family-friendly mood, just in a different form.
Storage & Make-Ahead Instructions
For meal prep, the best move is to make the cheesy chicken filling ahead and store it in an airtight container in the refrigerator for up to 3 days. Then warm it slightly, fill the tortillas, and sear the wraps just before serving for the best texture.
If you already cooked the wraps, let them cool completely before storing them in an airtight container in the fridge for up to 2 days. They will still taste good cold, but the crispness is always better when reheated properly.
A skillet or air fryer is the best way to bring them back to life. Reheat over medium-low heat for a few minutes per side, or use the air fryer until the center is hot and the outside has crisped up again.
The microwave will warm the filling, but it softens the tortilla and steals that crunchy finish. When crisp texture is the goal, I skip the microwave every time.
For freezing, cool the cooked wraps completely, wrap each one tightly in plastic wrap, then place them in a freezer bag. They keep well for up to 2 months and can go straight from frozen into a skillet or air fryer, starting on lower heat to thaw through before you raise the heat to re-crisp the outside.
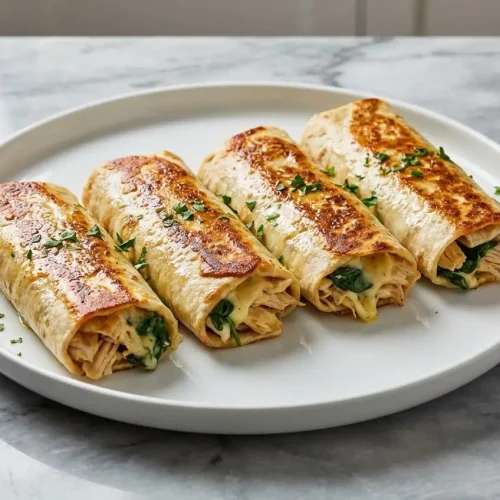
Easy Cheesy Garlic Chicken Wraps

Equipment
- Medium skillet
- Air Fryer (optional)
Ingredients
- 2 cups cooked chicken breasts, shredded
- 1 cup shredded mozzarella cheese
- 1/2 cup shredded cheddar cheese
- 2 cloves garlic, minced
- 1/4 cup cream cheese, softened
- 1 tablespoon olive oil
- 4 large low-carb tortillas or wraps
- 1 tablespoon fresh parsley, chopped
- Salt and pepper to taste
- 1 handful baby spinach
Instructions
Build the Garlicky Cheese Base
- Set a medium skillet over medium heat and add the olive oil. Stir in the minced garlic and cook for 30 to 60 seconds, just until fragrant. Be careful not to let it darken.
- Add the softened cream cheese and stir as it loosens. Once it starts to melt, add the shredded mozzarella and cheddar, then keep stirring until everything turns into a smooth, creamy sauce.
Warm the Filling
- Add the shredded cooked chicken to the skillet and toss until every strand is coated in the cheesy garlic mixture. Let it cook for another 2 to 3 minutes, until the chicken is heated through.
- Season with salt and pepper to taste. Fold in the baby spinach and cook just until it wilts into the filling, then stir in the chopped parsley.
Fill and Roll the Wraps
- Warm the low-carb tortillas lightly in a dry skillet or microwave until they feel soft and pliable. This step makes rolling easier and helps prevent cracks.
- Lay one warmed tortilla on a flat surface and spoon about one-quarter of the filling down the center. Fold in the sides, then roll it up snugly from the bottom.
Crisp Them in the Skillet
- Heat another tablespoon of olive oil in the same skillet over medium heat. Place the wraps seam-side down and cook for 2 to 3 minutes per side until the outside turns golden brown and crisp, and the cheese is gooey.
Notes
Nutrition
Conclusion
These wraps are proof that a fast, low-carb dinner can still feel wonderfully comforting. That extra garlic butter touch, whether you stick with the simple core recipe or go for the mellow confit version, turns an everyday chicken wrap into something crisp, gooey, and full of character.
I hope you make them soon and play around with your favorite little twists, whether that means jalapeños, bacon ranch, or a different cheese blend. Once you hear that first crunch, you will know exactly why these wraps earn a spot in the regular dinner rotation.
Frequently Asked Questions
What are the best low-carb tortillas to use for these wraps?
How can I prepare these chicken wraps ahead of time?
What’s the secret to keeping the wraps from getting soggy?
Can I cook these wraps in an air fryer?
What are some good dipping sauces or side dishes for these wraps?
How do I properly store and reheat leftover wraps to keep them crispy?