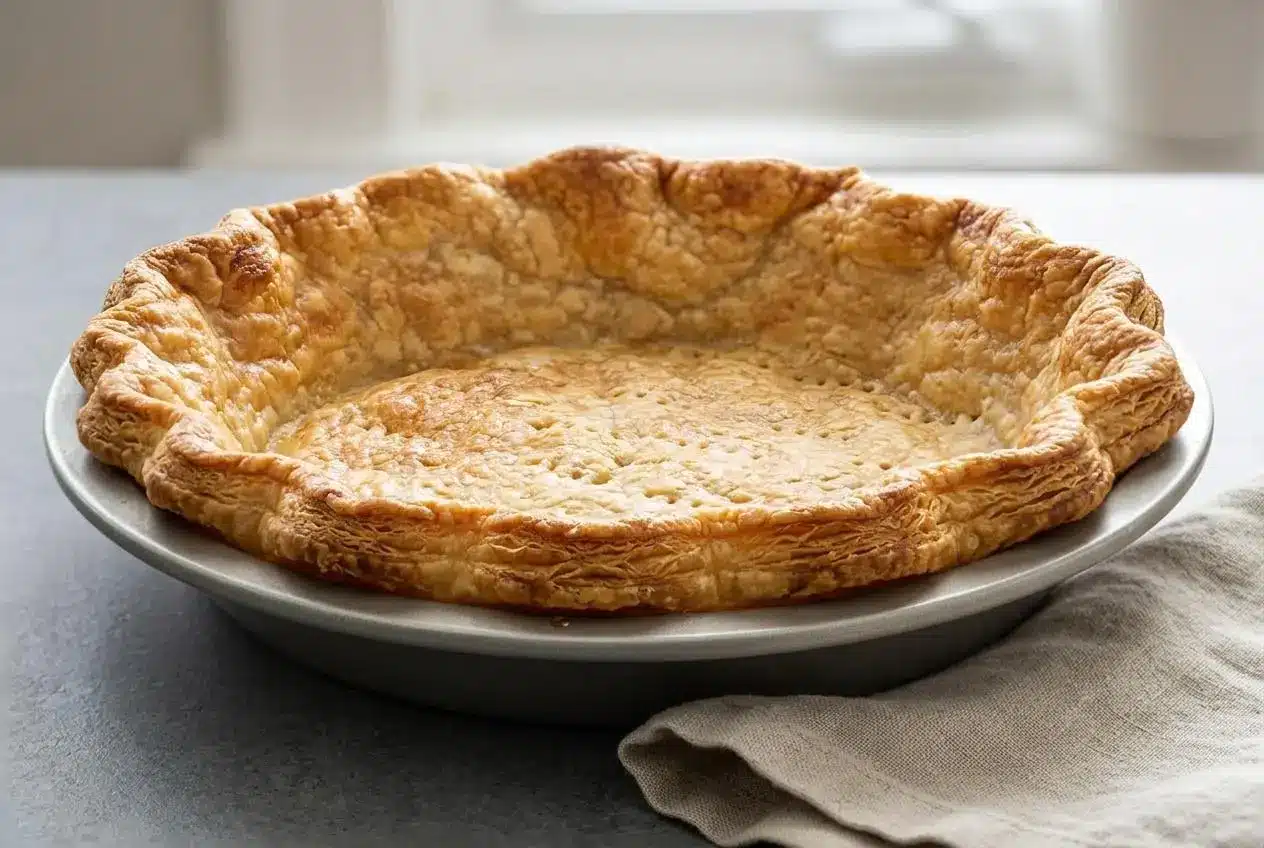
To make a flaky gluten free pie crust, combine a 1-to-1 gluten-free flour blend with cold butter shards, sour cream, and ice water, then chill and laminate with three quick folds before rolling and baking.
Mastering a homemade gluten free pie crust gives you all the crisp, golden layers of traditional pastry without the fragile brittleness that often frustrates bakers. By using cold fat shards and sour cream, the dough stays pliable, tender, and remarkably easy to handle.
Whether you plan to make a holiday dessert or a savory dinner, this crust bakes up with a distinct buttery snap that holds fillings without softening. The secret lies in a quick rolling technique that creates ultra-flaky strata in minutes.
Keep your ingredients cold right up to the moment they enter the mixing bowl to ensure crisp, separate pastry layers.
Essential Ingredients for Flaky Gluten Free Pastry
Every ingredient in this pastry dough serves a distinct structural and culinary purpose to create tender, flaky layers without the support of wheat gluten.
- 1 ½ cups ( 210 g ) all purpose gluten free flour blend, plus more for sprinkling
- ¾ teaspoon xanthan gum, omit if your blend already contains it
- ¼ teaspoon baking powder
- ½ teaspoon kosher salt
- 6 tablespoons ( 84 g ) unsalted butter, roughly chopped and chilled
- ½ cup ( 120 g ) sour cream, full fat, preferably, chilled
- Ice water by the teaspoonful, as necessary
- Egg white, for brushing (optional)
A finely milled 1-to-1 gluten-free flour blend provides the foundational structure, using balanced starches like rice flour and potato starch to prevent any gritty mouthfeel. Xanthan gum mimics the elastic properties of gluten, allowing the dough to hold together smoothly without snapping apart during rolling. Unsalted butter releases steam pockets inside the oven that puff the dough upward, while full-fat sour cream supplies balanced acidity and milk fat that tenderize the starch matrix without adding excess water.
I always chill my mixing bowl and rolling pin in the freezer for ten minutes before assembling the dough to keep the butter completely firm.
Choosing the Right Gluten Free Flour Blend
Selecting the proper flour blend directly determines the final texture of your pastry. Commercial 1-to-1 baking blends formulated with finely ground white rice flour, tapioca starch, and potato starch deliver the closest texture to standard pastry flour. If your blend does not already include xanthan gum, adding the measured amount is essential to prevent the dough from crumbling into sandy particles. Avoid substituting single-ingredient flours like almond, coconut, or oat flour in equal amounts, as their differing fat and fiber levels will cause the crust to collapse or become excessively oily.
Butter Temperature and the Role of Sour Cream
Maintaining solid, cold fat is the primary rule of flaky pastry. When cold butter enters a hot oven, the moisture trapped inside vaporizes instantly, pushing the surrounding layers apart into airy sheets before the fat fully melts. Full-fat sour cream plays a dual role by introducing rich dairy fat alongside mild lactic acid. This acidity softens the starch bonds, creating a tender crumb that rolls easily while preventing the pastry from turning rubbery or dry.
Dairy-Free and Savory Pastry Variations
You can adapt this dough for various dietary needs and dish styles without losing its tender structure. For a completely dairy-free version, replace the dairy butter with a high-quality block-style vegan baking butter and swap the sour cream for an equal weight of plain unsweetened dairy-free yogurt. When preparing savory recipes like chicken pot pie, quiche, or vegetable galettes, consider mixing a pinch of dried thyme, rosemary, or freshly ground black pepper directly into the dry ingredients for added depth.
How to Make Gluten Free Pie Crust
Make the pie crust dough
- Whisk together the gluten-free flour blend, xanthan gum, baking powder, and kosher salt in a large mixing bowl.
Ensure the dry ingredients are uniformly combined and free of clumps. - Add the cold chopped butter cubes to the bowl and stir gently with a spoon.
Every piece of butter should be lightly dusted with the seasoned flour mixture. - Flatten each butter chunk firmly between your thumb and forefinger into thin sheets.
The butter should form visible flat leaves coated in dry flour rather than small round beads. - Form a well in the center of the flour mixture, pour in the chilled sour cream, and stir to hydrate the ingredients.
The dough will look shaggy, rough, and slightly crumbly at this stage. - Isolate any remaining dry flour patches in the bottom of the bowl and drizzle ice water over those specific areas by the teaspoon.
Moisten only the dry spots so the rest of the dough avoids becoming sticky. - Add extra droplets of ice water only if required, then gently knead the mixture by hand until it consolidates.
The dough should hold together as a cohesive mass when pressed firmly. - Turn the rough dough out onto plastic wrap and press it into a smooth, flat disk.
The wrapped disk should feel solid and hold its shape around the edges. - Transfer the wrapped pastry disk to the refrigerator to chill for 30 minutes.
The butter will firm up completely, making the pastry ready to laminate or store. - Preheat the oven to 375°F and grease a 9-inch or 10-inch pie dish generously.
A light layer of butter or oil helps the baked bottom release cleanly.
Roll out the chilled dough
- Unwrap the chilled dough onto a lightly floured work surface and dust the top with extra flour.
A light flour coating keeps the rolling pin from grabbing the surface. - Roll the dough out evenly into a rough rectangle approximately 1 inch in thickness.
Keep the dough mobile by shifting it frequently to avoid surface sticking.
Laminate the dough
- Fold one third of the dough rectangle over the center, then fold the opposite third on top like a standard letter.
This single folding turn creates the first set of internal butter strata. - Dust the surface lightly with flour and roll the folded dough back out into a 1-inch thick rectangle.
Visible streaks of marbled butter will begin to spread across the dough slab. - Fold the dough into thirds again, roll it out into a 1-inch rectangle, and complete a third and final letter fold.
Three quick turns establish dozens of flaky layers without overworking the starch. - Fold the outer edges inward to form a square packet, then press and shape the dough into a rounded disk.
The final disk should be compact, smooth, and free of deep structural cracks. - Place the pastry disk back in the refrigerator if the butter feels soft or sticky at any point.
Chilling restores the firm texture needed for rolling out the final crust.
Shape the dough in the pie plate
- Roll the dough into a wide circle roughly 2 inches larger than your pie dish, keeping the thickness between 1/4 inch and 3/8 inch.
Pinch together any small fissures that appear along the outer perimeter. - Drape the dough circle loosely around your rolling pin and gently unroll it across the prepared pie plate.
Centering the pastry sheet over the dish prevents overhanging edges from tearing. - Trim ragged edges with kitchen shears, then lift and settle the pastry gently into the base and corners of the dish.
Allowing slack in the dough keeps the crust from pulling tight and shrinking. - Fold the overhanging perimeter under itself to form a raised border, then crimp the rim with your fingers.
A neat fluted edge gives the finished pie a decorative, professional finish. - Cover the shaped crust loosely with plastic wrap and chill in the refrigerator for at least 30 minutes.
A thorough final chill sets the crimped shape before baking.
Parbake the crust
- Take the chilled crust from the refrigerator, unwrap it, and prick the bottom and sides with the tines of a fork.
These small vent holes release trapped steam during the initial bake. - Line the raw pastry shell with a sheet of parchment paper and fill it completely with pie weights or dry beans.
The weight keeps the base flat and prevents the side walls from slumping downward. - Bake the weighted crust in the center of the preheated 375°F oven for 10 minutes.
The exposed outer edges will turn very light golden brown when ready for unweighting. - Lift out the parchment and weights, brush the bottom lightly with optional egg white if the surface looks shiny, and bake for an additional 2 to 4 minutes.
The base should appear matte, dry, and lightly set without deep browning. - Set the parbaked shell on a wire rack to cool completely before adding your filling.
Cooling stabilizes the bottom pastry structure before the pie is loaded.
Step-by-Step Guide to Making and Laminating the Dough
Creating flaky gluten-free pastry requires a deliberate mechanical technique. Because this dough lacks gluten networks, layering is achieved by trapping flattened butter sheets between starch folds, similar to how bakers handle a traditional pie crust without overworking the dough.
Creating Flat Butter Shards by Hand
Instead of cutting the butter into tiny, pea-sized crumbs with a pastry blender, press each cube flat between your fingertips. This produces thin leaves of fat coated in seasoned starch. When baked, these large flat shards release bursts of steam that physically lift the dough layers apart, resulting in wide, delicate pastry flakes rather than a dense, crumbly shortbread texture.
Hydration and Dough Ball Formation
Gluten-free starches absorb liquids at varying rates depending on ambient kitchen humidity and flour blend composition. Adding sour cream first introduces rich moisture without flooding the flour with liquid water. Isolate any dry, powdery pockets in your bowl and add ice water by single teaspoon drops only where needed. Squeeze the dough together until it forms a cohesive, shaggy mass that holds cleanly without sticking to your fingers.
The 3-Turn Lamination Method
Lamination is the simple process of folding dough over itself to multiply its internal layers. Roll the rough dough into a 1-inch thick rectangle, fold it into thirds like a business letter, and repeat this process three times. Each folding turn layers the flattened butter shards between sheets of starch, guaranteeing dramatic rise and flakiness in the oven without requiring hours of manual kneading.
How to Roll, Transfer, and Crimp Without Cracking
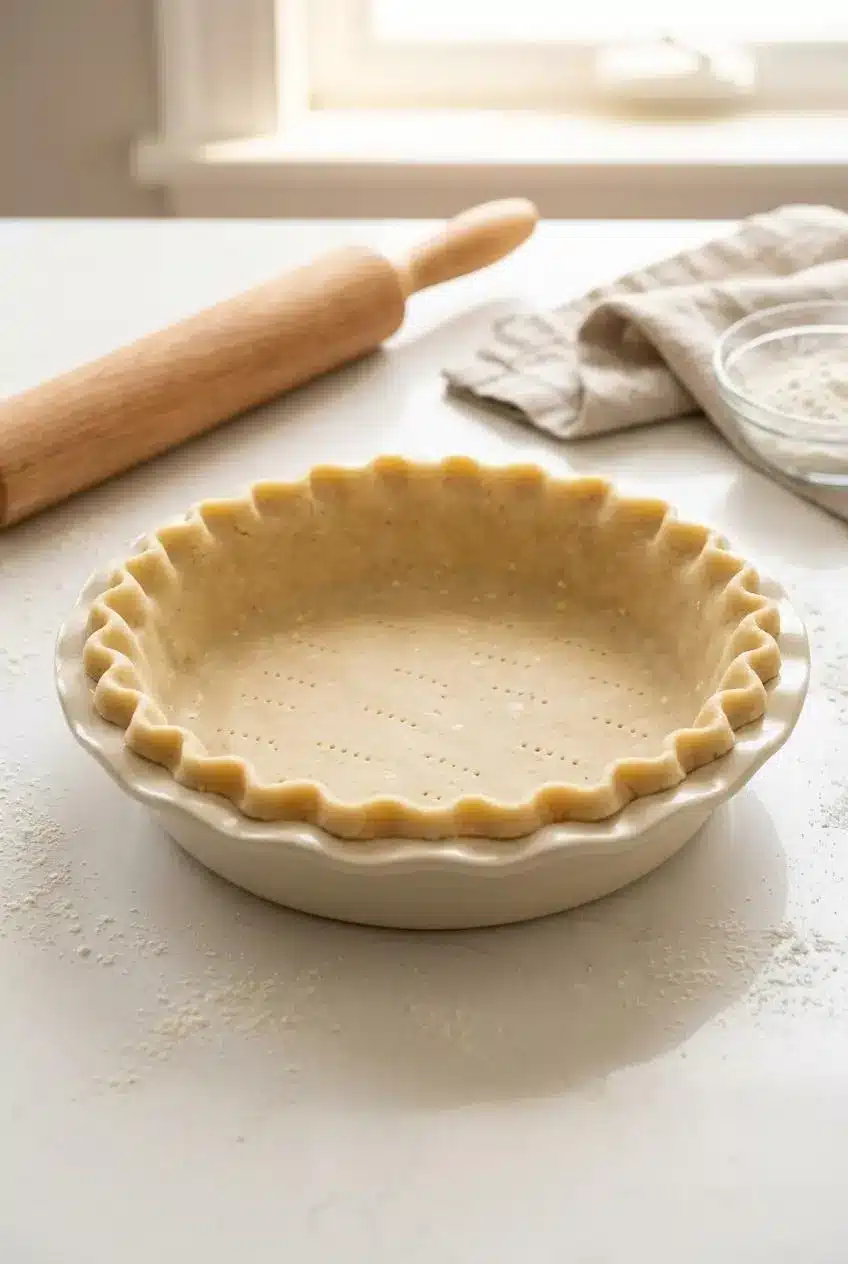
Gluten-free pastry dough can become delicate once rolled thin. Using proper rolling surfaces and gentle transfer methods ensures your pastry moves smoothly from the counter to the pie dish in one piece.
Rolling on Parchment Paper
Roll your pastry dough between two sheets of lightly floured parchment paper rather than directly on a countertop. This prevents the dough from adhering to your work surface and eliminates the need to dump excessive amounts of raw flour over the pastry, which can turn the baked crust tough and dry. Turn the parchment sheet ninety degrees after every few passes with the rolling pin to ensure an even thickness across the entire circle.
Transferring and Fitting Without Stretching
Once rolled to between 1/4-inch and 3/8-inch thickness, peel away the top parchment sheet. You can either loosely roll the dough around a rolling pin to carry it over the dish or simply invert the bottom parchment directly over the greased pie plate. Never pull or stretch the pastry downward to reach the corners of the dish. Instead, lift the edges gently and ease the slack into the bottom angle. Stretching the dough causes it to snap back and shrink down the sides of the pan during baking.
Decorative Crimping and Double Crust Adjustments
Tuck the overhanging dough under itself around the rim to create a thick, elevated border. Press your thumb against the inside edge while pinching with two fingers on the outside to form a classic fluted crimp. If you are adapting this recipe for a double-crust fruit pie, roll the top sheet in the exact same manner, drape it over the fruit filling, seal the edges with the bottom crust, and slice three to four steam vents into the center to let moisture escape during baking.
Parbaking vs Blind Baking Secrets for a Crisp Base
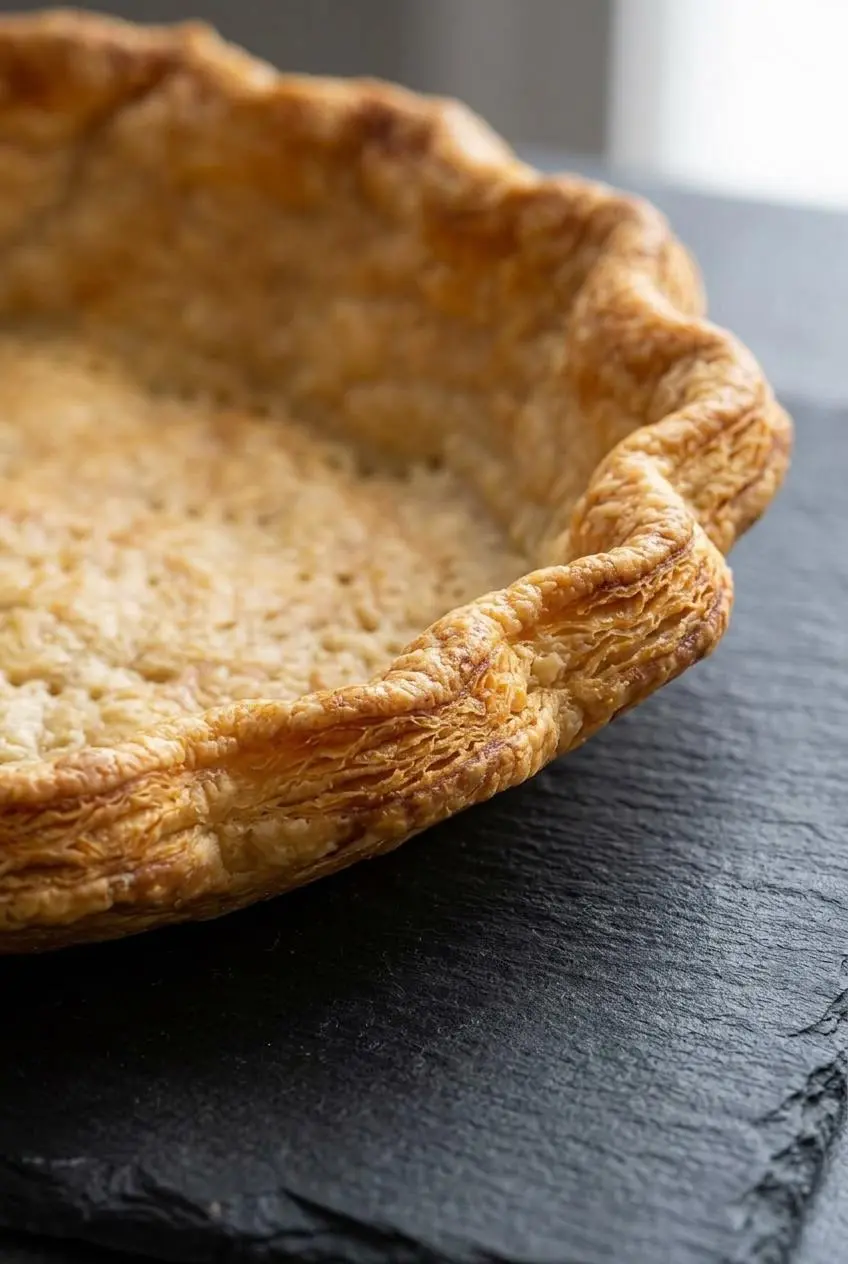
Knowing when to parbake or completely blind bake your crust makes the difference between a crisp slice and a soggy bottom. Parbaking partially cooks the crust so it can finish baking alongside wet fillings, while blind baking cooks the crust entirely before cold fillings are added.
A sturdy parbaked shell provides the perfect crisp foundation for a juicy fresh rhubarb pie, ensuring the fruit juices bubble without softening the bottom pastry. For creamy holiday desserts like a chilled eggnog pie, the crust must be fully blind baked and cooled completely before pouring in the filling. If you prefer a simpler pressed foundation for chilled desserts, a classic graham cracker crust offers another reliable alternative.
When to Parbake vs Fully Blind Bake
Parbake your crust for 10 to 14 minutes when preparing quiches, pumpkin pies, custard fillings, or deep-dish fruit pies that require extended oven time. Fully blind bake the crust for 18 to 22 minutes if you are making chilled cream pies, pudding pies, or fresh fruit tarts where the filling receives no further oven cooking. The baked shell should look golden and completely dry across the base before filling.
Using Pie Weights and Docking Correctly
Prick the bottom of the raw crust evenly with a fork, a technique known as docking. This creates miniature steam vents that keep the center from puffing into large air bubbles. Line the crust with parchment paper and pour in ceramic pie weights, dry beans, or clean raw rice, filling the cavity right up to the crimped rim to keep the pastry walls standing tall.
The Egg White Seal Technique
To create an impenetrable moisture barrier against wet pie fillings, remove the parchment and weights after the initial 10-minute bake. Brush a very thin layer of beaten egg white over the hot base and return the shell to the oven for two minutes. The egg white sets instantly into a clear, waterproof glaze that prevents liquid fillings from soaking into the baked pastry.
Storage, Freezing, and Make-Ahead Instructions
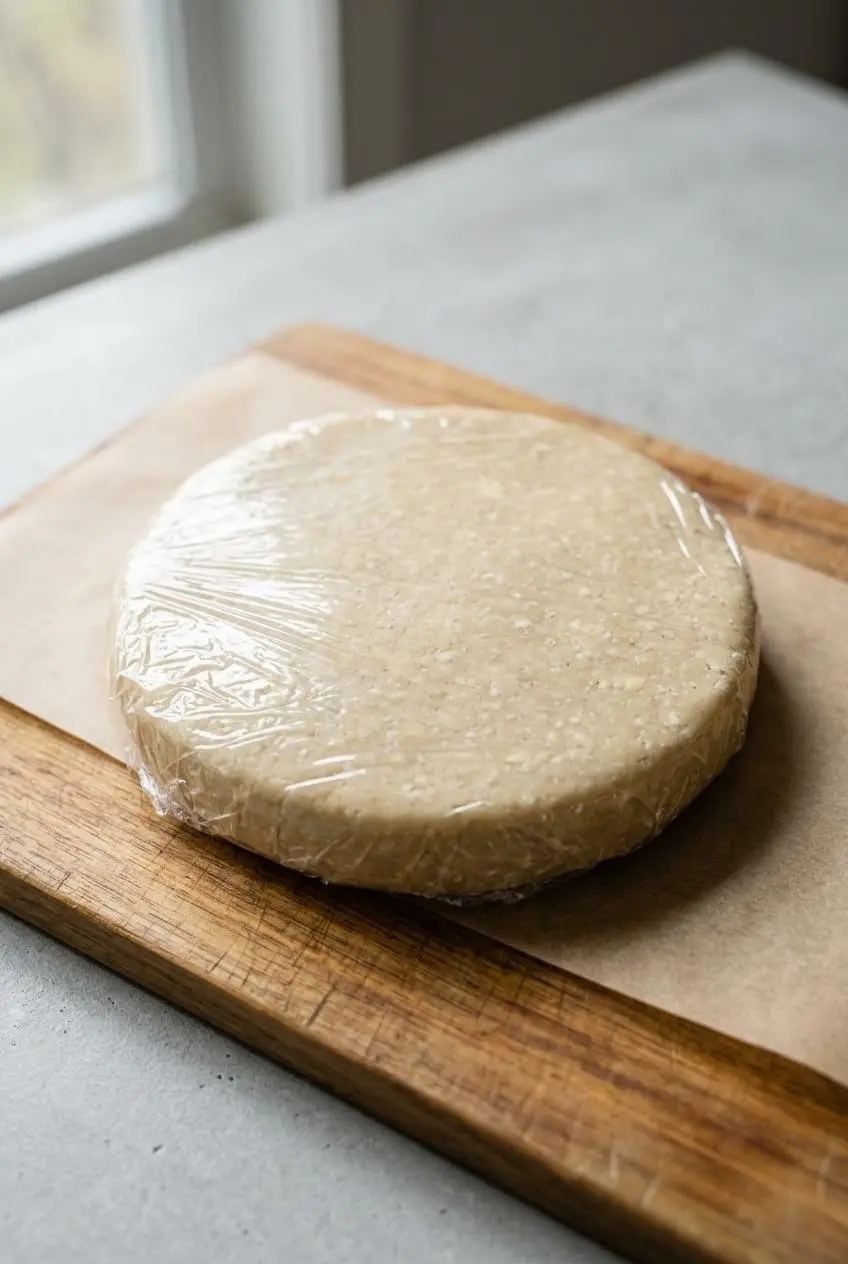
Planning your baking ahead saves significant time during holidays and dinner preparation. Gluten-free pie dough holds its structure well in both the refrigerator and the freezer when sealed properly against air exposure.
Refrigerating Raw Dough Discs
Raw dough disks wrapped tightly in two layers of plastic wrap can remain refrigerated for up to 3 days. When removing the dough from the refrigerator, allow it to rest on the kitchen counter for 10 minutes before rolling. This slight temperature adjustment softens the butter just enough to prevent the outer edges from splintering as you roll.
Freezing Raw Dough and Shaped Pie Shells
You can freeze raw dough disks or fully shaped, unbaked pie shells in their baking pans for up to 2 months. Wrap the disks or shaped pie dishes securely in plastic wrap followed by a layer of heavy-duty aluminum foil to guard against freezer odors. To use frozen dough disks, transfer them to the refrigerator overnight to thaw gradually before rolling.
Baking Directly from Frozen
Shaped raw pie shells can be baked directly from their frozen state without thawing. Place the frozen, weighted shell straight into a preheated 375°F oven. Baking directly from frozen locks the fluted rim in place and stops the pastry walls from slumping during the initial parbaking stage.
Troubleshooting Common Gluten Free Pie Crust Mistakes
Working with gluten-free pastry is straightforward once you know how to correct small hydration and temperature imbalances on the fly.
How to Fix Crumbly or Dry Dough
If your dough cracks into dry flakes while pressing it into a disk, it lacks sufficient hydration for the specific starch blend you are using. Do not dump large amounts of water over the dough. Instead, separate the dry crumbly areas, drizzle ice water over them in half-teaspoon increments, and squeeze gently until the pieces hold together.
Preventing Dough Shrinkage in the Oven
Crust shrinkage occurs when dough is stretched into the pan rather than draped loosely, or when the pastry enters the oven while warm. Always allow slack in the dough when placing it in the pie dish, and ensure the crimped shell rests in the refrigerator for at least 30 minutes to firm up the butter before baking.
What to Do if the Crust Gets Sticky or Warm
If the dough becomes tacky and sticks to your rolling pin, the butter has begun to melt from room heat or warm hands. Immediately stop rolling, slide the parchment paper onto a baking sheet, and place the entire sheet in the refrigerator or freezer for 10 to 15 minutes. Cold dough rolls cleanly without tearing.
Conclusion
Baking a tender, golden gluten free pie crust from scratch is completely achievable in any home kitchen. By utilizing cold butter shards, sour cream for balanced moisture, and a quick three-turn lamination, you achieve light, flaky strata that rival standard bakery pastry.
Keep your ingredients cold, chill your dough before it hits the oven, and enjoy filling your homemade crust with your favorite seasonal fruits or savory creations.
Frequently Asked Questions
What is the best gluten free flour blend for pie crust?
Use a balanced 1-to-1 gluten-free baking blend that contains finely ground rice flour, potato starch, and xanthan gum. Finely milled flours prevent a gritty mouthfeel and give the pastry a smooth, flaky texture.
Why did my gluten free pie crust crack when rolling out?
Dough cracks during rolling if it is too cold straight from the refrigerator or slightly under-hydrated. Allow the dough disk to sit at room temperature for 10 minutes before rolling, and repair small edge tears by dabbing them with a drop of cold water and pinching the seams together.
Should I parbake my gluten free pie crust before filling?
Yes, parbaking for 10 to 12 minutes with pie weights at 375°F sets the pastry structure and prevents wet fillings like pumpkin, custard, or fruit from creating a soggy base.
Can I freeze gluten free pie dough in advance?
Raw dough disks and shaped unbaked pie shells freeze exceptionally well for up to 2 months when wrapped tightly in plastic and foil. Shaped crusts can be baked directly from the freezer without thawing.
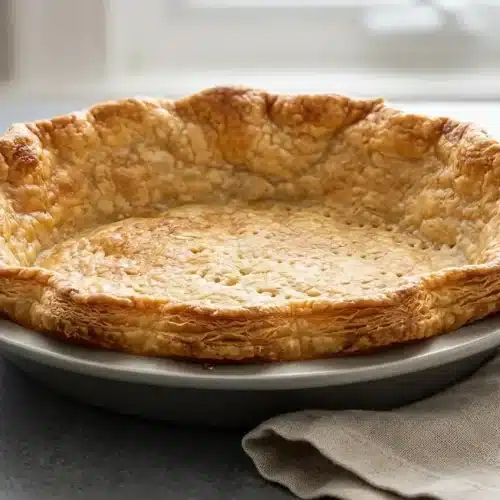
Gluten Free Pie Crust

Equipment
- Rolling Pin
- Pie Weights
Ingredients
- 1 1/2 cups all purpose gluten free flour blend, plus more for sprinkling ( 210 g )
- 3/4 teaspoon xanthan gum omit if your blend already contains it
- 1/4 teaspoon baking powder
- 1/2 teaspoon kosher salt
- 6 tablespoons unsalted butter, roughly chopped and chilled ( 84 g )
- 1/2 cup sour cream, full fat, preferably, chilled ( 120 g )
- Ice water by the teaspoonful, as necessary
- Egg white, for brushing (optional)
Instructions
Make the pie crust dough
- Whisk together the gluten-free flour blend, xanthan gum, baking powder, and kosher salt in a large mixing bowl. Ensure the dry ingredients are uniformly combined and free of clumps.
- Add the cold chopped butter cubes to the bowl and stir gently with a spoon. Every piece of butter should be lightly dusted with the seasoned flour mixture.
- Flatten each butter chunk firmly between your thumb and forefinger into thin sheets. The butter should form visible flat leaves coated in dry flour rather than small round beads.
- Form a well in the center of the flour mixture, pour in the chilled sour cream, and stir to hydrate the ingredients. The dough will look shaggy, rough, and slightly crumbly at this stage.
- Isolate any remaining dry flour patches in the bottom of the bowl and drizzle ice water over those specific areas by the teaspoon. Moisten only the dry spots so the rest of the dough avoids becoming sticky.
- Add extra droplets of ice water only if required, then gently knead the mixture by hand until it consolidates. The dough should hold together as a cohesive mass when pressed firmly.
- Turn the rough dough out onto plastic wrap and press it into a smooth, flat disk. The wrapped disk should feel solid and hold its shape around the edges.
- Transfer the wrapped pastry disk to the refrigerator to chill for 30 minutes. The butter will firm up completely, making the pastry ready to laminate or store.
- Preheat the oven to 375°F and grease a 9-inch or 10-inch pie dish generously. A light layer of butter or oil helps the baked bottom release cleanly.
Roll out the chilled dough
- Unwrap the chilled dough onto a lightly floured work surface and dust the top with extra flour. A light flour coating keeps the rolling pin from grabbing the surface.
- Roll the dough out evenly into a rough rectangle approximately 1 inch in thickness. Keep the dough mobile by shifting it frequently to avoid surface sticking.
Laminate the dough
- Fold one third of the dough rectangle over the center, then fold the opposite third on top like a standard letter. This single folding turn creates the first set of internal butter strata.
- Dust the surface lightly with flour and roll the folded dough back out into a 1-inch thick rectangle. Visible streaks of marbled butter will begin to spread across the dough slab.
- Fold the dough into thirds again, roll it out into a 1-inch rectangle, and complete a third and final letter fold. Three quick turns establish dozens of flaky layers without overworking the starch.
- Fold the outer edges inward to form a square packet, then press and shape the dough into a rounded disk. The final disk should be compact, smooth, and free of deep structural cracks.
- Place the pastry disk back in the refrigerator if the butter feels soft or sticky at any point. Chilling restores the firm texture needed for rolling out the final crust.
Shape the dough in the pie plate
- Roll the dough into a wide circle roughly 2 inches larger than your pie dish, keeping the thickness between 1/4 inch and 3/8 inch. Pinch together any small fissures that appear along the outer perimeter.
- Drape the dough circle loosely around your rolling pin and gently unroll it across the prepared pie plate. Centering the pastry sheet over the dish prevents overhanging edges from tearing.
- Trim ragged edges with kitchen shears, then lift and settle the pastry gently into the base and corners of the dish. Allowing slack in the dough keeps the crust from pulling tight and shrinking.
- Fold the overhanging perimeter under itself to form a raised border, then crimp the rim with your fingers. A neat fluted edge gives the finished pie a decorative, professional finish.
- Cover the shaped crust loosely with plastic wrap and chill in the refrigerator for at least 30 minutes. A thorough final chill sets the crimped shape before baking.
Parbake the crust
- Take the chilled crust from the refrigerator, unwrap it, and prick the bottom and sides with the tines of a fork. These small vent holes release trapped steam during the initial bake.
- Line the raw pastry shell with a sheet of parchment paper and fill it completely with pie weights or dry beans. The weight keeps the base flat and prevents the side walls from slumping downward.
- Bake the weighted crust in the center of the preheated 375°F oven for 10 minutes. The exposed outer edges will turn very light golden brown when ready for unweighting.
- Lift out the parchment and weights, brush the bottom lightly with optional egg white if the surface looks shiny, and bake for an additional 2 to 4 minutes. The base should appear matte, dry, and lightly set without deep browning.
- Set the parbaked shell on a wire rack to cool completely before adding your filling. Cooling stabilizes the bottom pastry structure before the pie is loaded.