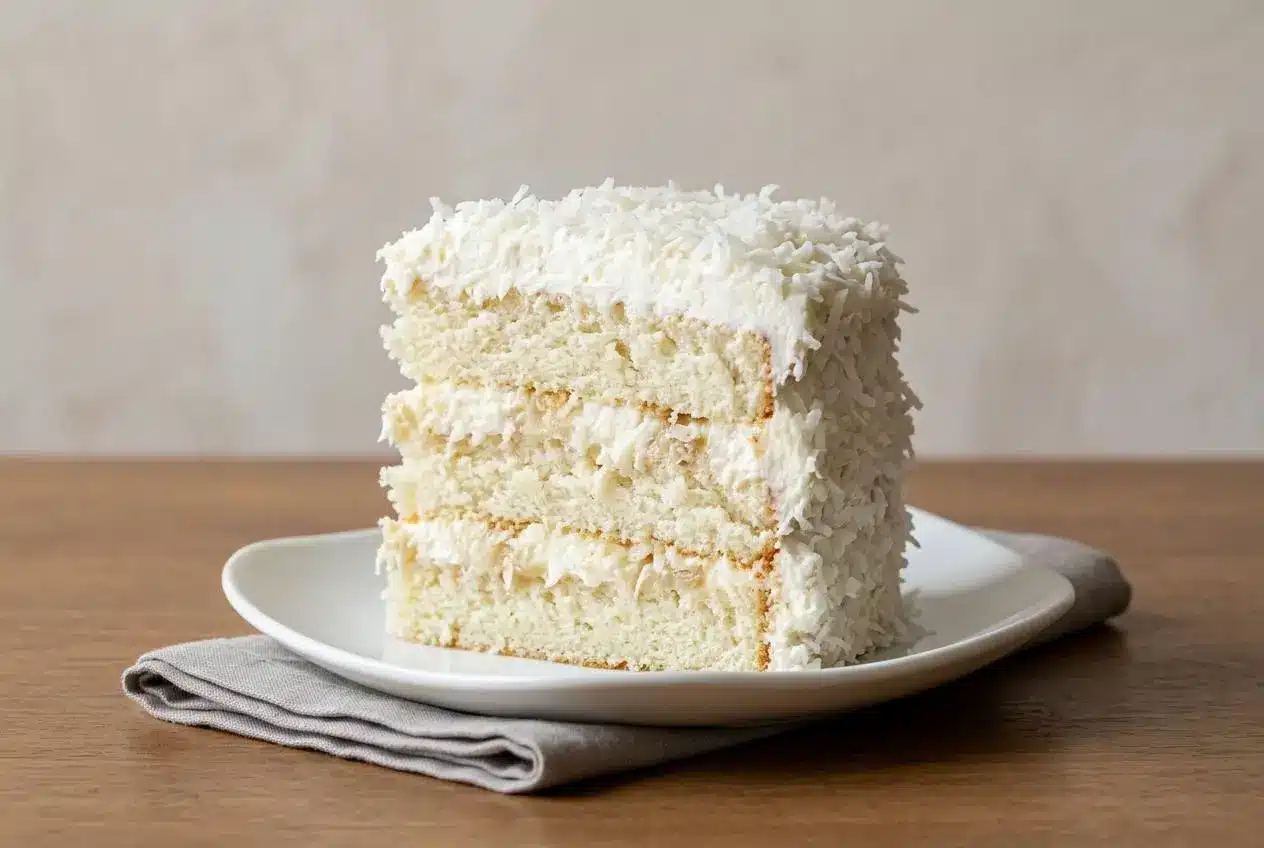
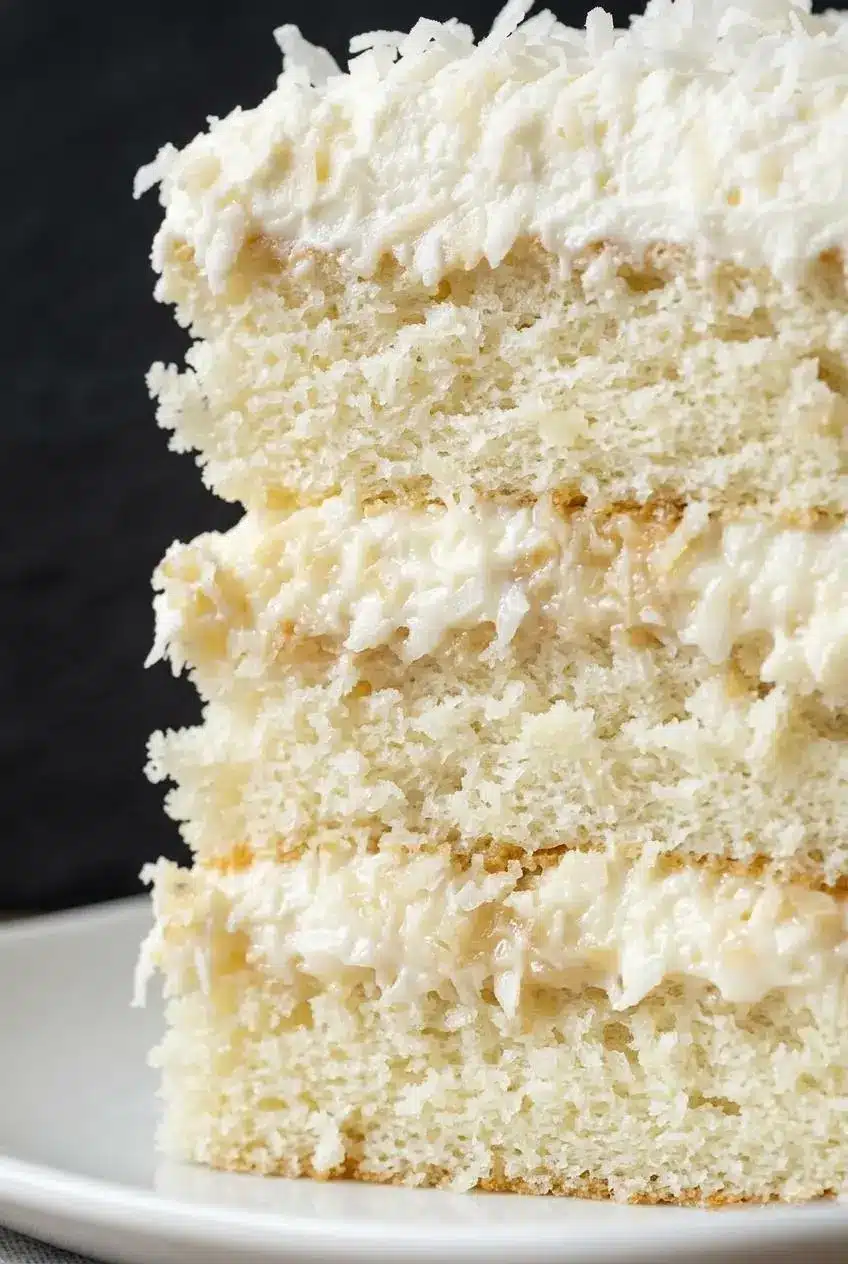
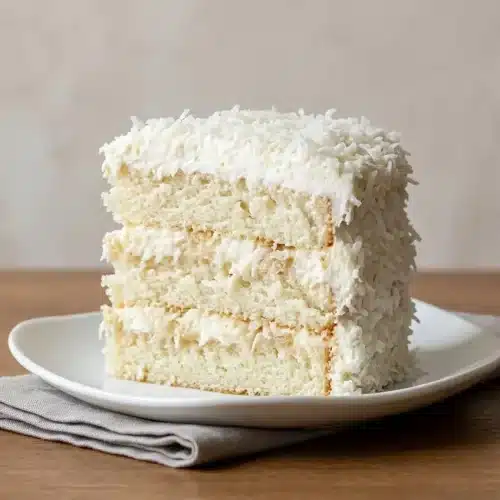
Coconut Cloud Cake is a light, ultra-moist sheet cake soaked with sweet cream of coconut and topped with fluffy whipped frosting and shredded coconut.
Coconut Cloud Cake lands somewhere between a tender white cake and a chilled coconut cream dessert. The cake bakes up soft, gets poked while hot, and drinks in a sweet coconut soak that keeps every bite plush.
The frosting stays airy because cream cheese gives the whipped cream more backbone, and the coconut on top adds just enough chew and texture. The one small trick that changes everything is in the can.
Stir the cream of coconut very well before pouring it over the cake, because the rich solids often settle and cling to the top.
Essential Ingredient Breakdown
Each ingredient pulls real weight here, from keeping the crumb fine and tender to building coconut flavor that tastes full instead of flat.
WHITE COCONUT CAKE
- 2 3/4 cups unbleached cake flour
- 1 3/4 cups granulated sugar
- 1 tablespoon baking powder
- 1/2 teaspoon salt
- 12 tablespoons unsalted butter, softened
- 4 large egg whites
- 1 large egg
- 1 cup heavy cream
- 1 teaspoon pure vanilla extract
- 2 tablespoons coconut extract
- 1 can cream of coconut (15 oz)
COCONUT WHIPPED CREAM FROSTING
- 1 package cream cheese, room temperature (8 oz)
- 1/2 cup granulated sugar
- 1 teaspoon pure vanilla extract
- 2 teaspoons coconut extract
- 2 cups heavy whipping cream
- 1 1/2 cups sweetened coconut, shredded
Cake flour gives this cake its delicate, cloud-like structure, while baking powder lifts the batter without making it coarse. Butter adds richness, heavy cream keeps the crumb lush, and the mix of egg whites plus one whole egg keeps the color pale while still giving the cake enough body to slice cleanly. Real vanilla and coconut extracts matter here because the flavor profile is soft and creamy, so imitation extracts can taste sharp. If you want to compare this softer poke-and-soak style to a more traditional layer cake, a classic coconut cake is a helpful contrast.
I like to separate the egg whites while they’re cold, then let them sit briefly so they blend into the batter more smoothly and help the cake rise with a lighter texture.
Cream of Coconut vs. Coconut Cream
This is the ingredient distinction that makes or breaks the cake. Cream of coconut is sweetened, syrupy, and pourable. It is meant to soak into the hot cake and bring both moisture and sweetness.
Coconut cream is different. It is thick, rich, and unsweetened, with far more fat and much less sugar. If you swap it in, the soak turns heavy instead of balanced, and the cake will not get the same sweet, plush finish.
Also check the can before using it. Cream of coconut often separates, with a dense fatty layer on top and thinner syrup underneath, so stir until the mixture looks smooth and evenly glossy before pouring.
The Science of Cake Flour
Cake flour helps this batter stay soft because it develops less gluten than all-purpose flour when mixed. Less gluten means the crumb bakes up fine, tender, and airy instead of springy or bread-like.
That matters even more in a soaked cake. Once the cream of coconut goes on, a delicate crumb absorbs the liquid evenly, while a tougher crumb can turn patchy, dense, or gummy in spots.
Step-by-Step Guide to the Perfect Sheet Cake
This method is straightforward, but a few visual cues make it much easier to nail. The flour-and-butter stage should look like damp, soft crumbs before the eggs go in, almost like fine sand with a few pea-size bits. That texture means the butter is worked in enough to coat the flour without flattening the cake.
The poke-and-soak step is what gives this dessert its signature texture. If you enjoy other poked sheet cakes, the same idea applies here: a warm cake absorbs liquid better and stays especially moist.
Official Baking and Frosting Steps
CAKE DIRECTIONS
- Heat the oven to 350 degrees and prepare a 9 x 13 pan by greasing and flouring it, or coat it with baking spray.
The pan should be evenly covered so the tender cake releases cleanly after baking. - Add the cake flour, sugar, baking powder, and salt to a large mixing bowl and mix on low just until combined.
The dry mixture should look even in color with no streaks of baking powder or salt. - Beat in the softened butter a little at a time until the mixture turns crumbly, then add the egg whites one at a time and beat in the whole egg.
At the right crumb stage, the mixture looks sandy and soft rather than pasty or smooth. - Whisk the heavy cream with the vanilla extract and coconut extract in a small bowl.
The liquid mixture should look fully blended and lightly creamy. - Pour the cream mixture into the batter slowly and beat for about 3 minutes until fluffy.
The finished batter should look lighter, smoother, and a little fuller in volume. - Spread the batter in the pan and tap or gently bounce the pan on the counter to release trapped air.
This quick burping step helps pop large bubbles so the baked cake stays even instead of forming tunnels. - Bake for 35 to 40 minutes, checking for doneness with a toothpick in the center.
The cake is ready when the top is lightly golden and the toothpick comes out clean. - Set the hot cake on a rack and poke holes all over the surface with a fork right away.
The crumb should still feel hot and springy, which helps the soak sink in instead of pooling on top. - Pour the cream of coconut evenly over the cake and let it cool completely before frosting.
As it rests, the surface will look glossy at first, then gradually lose the wet shine as the cake absorbs the liquid.
FROSTING
- Beat the cream cheese, sugar, vanilla extract, and coconut extract in a large bowl until smooth.
The base should look creamy and lump-free before the whipped cream goes in. - Drizzle in the heavy whipping cream slowly while mixing.
The mixture will loosen first, which is normal and helps it whip evenly. - Beat on high for 3 to 5 minutes until stiff peaks form, then scrape the sides and bottom of the bowl.
The frosting is ready when it looks thick, glossy, and holds a peak that stands up instead of folding over. - Spread the frosting over the cooled cake, finish with shredded coconut, and refrigerate the covered pan.
The top should look fluffy and softly textured, with the coconut clinging to the surface instead of sliding off.
Two stages deserve a little extra attention. First, do not rush the crumbly butter stage, because that early structure affects how evenly the batter rises. Second, poke the cake while it is still hot so the cream of coconut can travel into the crumb instead of sitting near the top.
If you are baking for a crowd, this cake slices most neatly once fully chilled. The frosting sets up a bit more, and the coconut soak has time to settle into the cake instead of feeling separate.
The Ultimate Golden Topping: Toasting Shredded Coconut
To add a nuttier finish, toast part of the shredded coconut in a dry skillet over medium-low heat. Stir often and pull it off the heat as soon as it turns light golden and smells fragrant.
Use it on half the cake or mix it with the untoasted coconut for contrast. You get a little crunch, a deeper coconut aroma, and a prettier top without changing the recipe itself.
The Airy Angel Food Style Variation
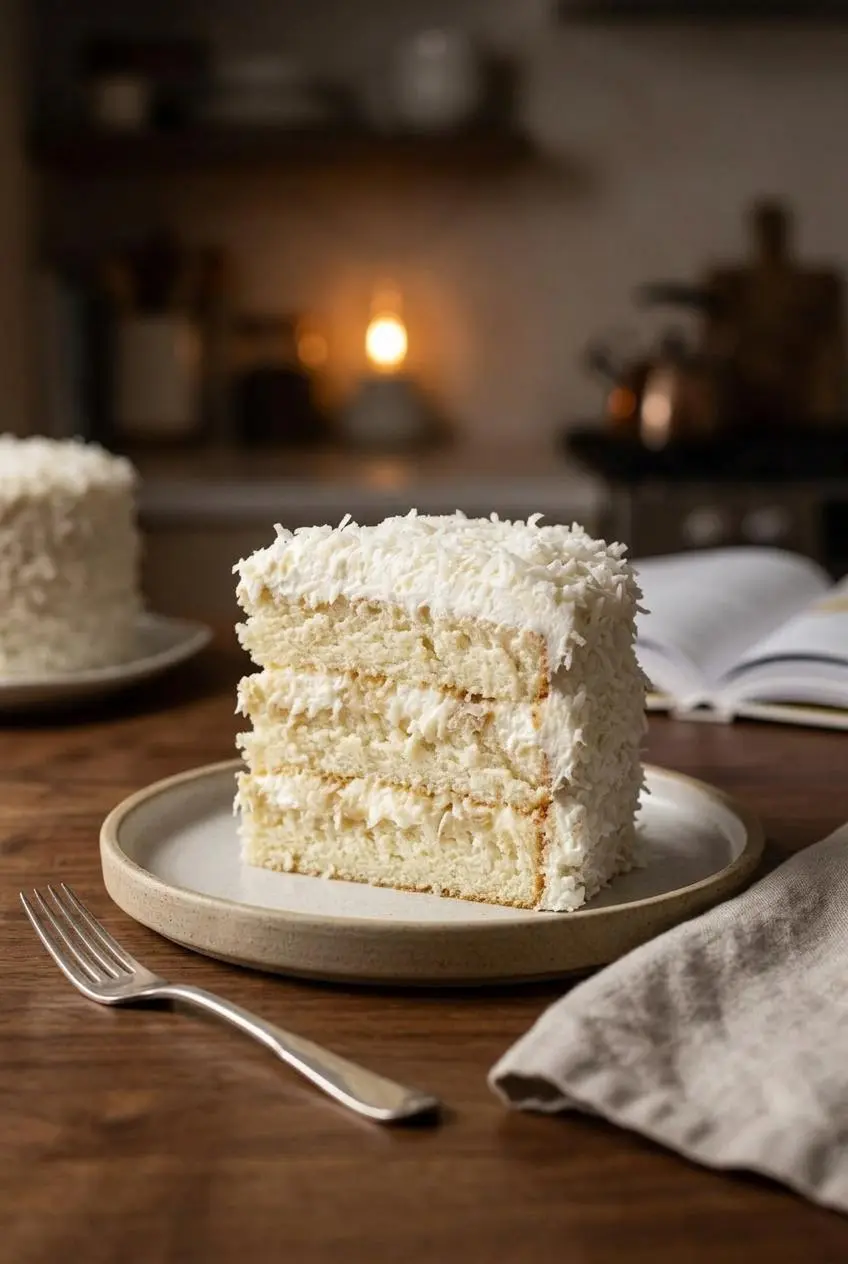
If you want a lighter version, an angel food style base shifts the cake in a very different direction. Instead of a rich, creamy crumb, you get a springy, snow-white interior with more lift and much less richness, while keeping the coconut theme through the soak and topping.
This variation works best when you treat it as a separate style, not a small tweak. Angel food cakes rely on whipped egg whites for structure, so the batter, pan handling, and frosting choice all change.
Whipping Stiff Glossy Peaks
For an angel food style crumb, the egg whites need to trap and hold air well. Cold whites are easier to separate cleanly, but whites closer to room temperature usually whip to better volume.
Watch the bowl, not just the mixer. Proper stiff peaks look glossy, bright white, and defined at the tip. They should stand upright with only a slight bend, not look dry, grainy, or clumpy.
Fresh whites are the better choice for a meringue-based batter or frosting. Carton whites may work in some cake batters, but they often do not whip with the same strength for a lofty angel food style rise.
Crafting the Classic Seven-Minute Frosting
A seven-minute frosting is a cooked meringue, so it suits an angel food version especially well. The heat helps stabilize the whipped egg whites, giving you a soft, marshmallow-like topping that feels lighter than cream cheese whipped frosting.
Because the frosting depends on properly handled egg whites, careful egg use matters. Safe egg handling and prompt chilling are part of good kitchen practice, and the USDA covers that in its guidance on handling shell eggs safely.
Flavor-wise, this version feels more delicate and a little less rich. If you enjoy tropical cakes with a lighter vibe, a pineapple coconut dream cake is another good direction to try next.
Creative Ideas for Excess Egg Yolks
Angel food style cakes use a lot of whites, so the leftover yolks deserve a plan. Lemon curd is a smart match if you like tart contrast with coconut, while pastry cream and custard lean richer and softer.
You can also stir yolks into homemade pudding or use them in a creamy filling for another dessert. It is one of those happy baking leftovers that feels less like a problem and more like a bonus.
Easy and Quick Cake Mix Adaptation
If you want the flavor profile with less mixing, a boxed white cake can stand in for the scratch cake base. Bake it as directed on the box in a 9 x 13 pan, then keep the signature coconut soak and homemade whipped frosting from this version.
This shortcut gives you the same chilled, creamy finish with less measuring, though the crumb will be a little different. The scratch version tends to taste richer and more velvety, while the cake mix version is convenient and still very good for parties or potlucks.
How to Avoid Common Coconut Cake Mistakes
Most problems with this cake come down to texture control. A few small choices keep it light instead of heavy and creamy instead of sloppy.
- Dense cake: Overmixing once the wet ingredients meet the flour can build too much gluten. Beat only as directed, and stop once the batter looks fluffy and evenly blended.
- Tough crumb: Butter that is too cold will not blend into the flour properly. You want softened butter so the dry mixture turns crumbly, not chunky.
- Soggy bottom or wet streaks: Pour the cream of coconut evenly over a freshly poked hot cake, not all in one corner. Give the can a very thorough stir first so the thick solids and syrup are fully combined.
- Large holes inside the cake: Tap the filled pan on the counter before baking. That quick burp releases oversized air pockets that can leave tunnels after baking.
- Runny frosting: Start with a chilled bowl and beaters, and make sure the cream cheese is smooth before adding the cream. If the whipped topping looks loose, it usually needs either colder equipment or a little more whipping time.
- Split or grainy frosting: Stop whipping as soon as stiff peaks form. If you push past that point, the texture can go from fluffy to rough surprisingly fast.
- Angel food variation that will not rise well: Do not grease the pan for that style. The whipped whites need the sides of the pan to climb.
Storage and Make-Ahead Instructions
This cake needs to stay covered and refrigerated because the frosting contains cream cheese and heavy whipping cream. For best quality, keep it chilled and serve it cold or only briefly out of the refrigerator.
You can make it ahead, and it actually benefits from a rest in the refrigerator because the coconut soak settles into the crumb and the frosting firms up. If you need to prep in stages, bake and soak the cake first, cool it fully, then frost before serving time or after it has chilled.
For leftovers, cover the pan tightly so the whipped topping does not pick up refrigerator odors or dry around the edges. Keeping your refrigerator at or below 40 °F for perishable foods helps protect the quality and safety of dairy-based desserts like this one.
If the cake has been sitting out for a while at a party, it is better to return it to the refrigerator sooner rather than later. Warm rooms are not friendly to whipped cream frosting, and the texture softens quickly.
Conclusion
This cake earns its name with a tender crumb, a sweet coconut soak, and a frosting that feels almost mousse-like once chilled. It is rich, but still light on the fork.
If you remember one thing, make it this: stir the cream of coconut until smooth before pouring. That one step keeps the soak even and the whole cake beautifully balanced.
Frequently Asked Questions
What is the difference between cream of coconut and coconut cream?
Cream of coconut is sweetened and syrupy, so it works as the soak in this cake. Coconut cream is thick and unsweetened, with a much richer fat content. They are not interchangeable here because the cake needs both the sweetness and the pourable texture of cream of coconut.
How do I keep my whipped cream frosting stable?
Use the cream cheese exactly as written, because it helps stabilize the whipped cream. Chill the mixing bowl and beaters before you start so the cream whips faster and holds its shape better. Stop when you reach stiff peaks. Overwhipping can make the frosting rough or split.
Can I make coconut cloud cake a day ahead?
Yes. This cake is an excellent make-ahead dessert. The chill time helps the cream of coconut settle into the cake and gives the frosting a firmer texture. Keep it covered in the refrigerator until serving so the top stays fresh and airy.
Why did my cake turn out dense instead of fluffy?
The usual cause is overmixing after the flour and liquid come together. Butter that was not softened enough can also keep the batter from building the right fluffy structure at the start. Watch for the crumbly flour-butter stage first, then beat only until the finished batter looks light and smooth.
Coconut Cloud Cake

Equipment
- 9 x 13 pan
- Large Mixing Bowl
- Stand Mixer or Hand Mixer
- Small bowl
- Fork
- Toothpick
Ingredients
WHITE COCONUT CAKE
- 2 3/4 cups unbleached cake flour
- 1 3/4 cups granulated sugar
- 1 tablespoon baking powder
- 1/2 teaspoon salt
- 12 tablespoons unsalted butter, softened
- 4 large egg whites
- 1 large egg
- 1 cup heavy cream
- 1 teaspoon pure vanilla extract
- 2 tablespoons coconut extract
- 1 can cream of coconut (15 oz)
COCONUT WHIPPED CREAM FROSTING
- 1 package cream cheese, room temperature (8 oz)
- 1/2 cup granulated sugar
- 1 teaspoon pure vanilla extract
- 2 teaspoons coconut extract
- 2 cups heavy whipping cream
- 1 1/2 cups sweetened coconut, shredded
Instructions
CAKE DIRECTIONS
- Heat the oven to 350 degrees and prepare a 9 x 13 pan by greasing and flouring it, or coat it with baking spray. The pan should be evenly covered so the tender cake releases cleanly after baking.
- Add the cake flour, sugar, baking powder, and salt to a large mixing bowl and mix on low just until combined. The dry mixture should look even in color with no streaks of baking powder or salt.
- Beat in the softened butter a little at a time until the mixture turns crumbly, then add the egg whites one at a time and beat in the whole egg. At the right crumb stage, the mixture looks sandy and soft rather than pasty or smooth.
- Whisk the heavy cream with the vanilla extract and coconut extract in a small bowl. The liquid mixture should look fully blended and lightly creamy.
- Pour the cream mixture into the batter slowly and beat for about 3 minutes until fluffy. The finished batter should look lighter, smoother, and a little fuller in volume.
- Spread the batter in the pan and tap or gently bounce the pan on the counter to release trapped air. This quick burping step helps pop large bubbles so the baked cake stays even instead of forming tunnels.
- Bake for 35 to 40 minutes, checking for doneness with a toothpick in the center. The cake is ready when the top is lightly golden and the toothpick comes out clean.
- Set the hot cake on a rack and poke holes all over the surface with a fork right away. The crumb should still feel hot and springy, which helps the soak sink in instead of pooling on top.
- Pour the cream of coconut evenly over the cake and let it cool completely before frosting. As it rests, the surface will look glossy at first, then gradually lose the wet shine as the cake absorbs the liquid.
FROSTING
- Beat the cream cheese, sugar, vanilla extract, and coconut extract in a large bowl until smooth. The base should look creamy and lump-free before the whipped cream goes in.
- Drizzle in the heavy whipping cream slowly while mixing. The mixture will loosen first, which is normal and helps it whip evenly.
- Beat on high for 3 to 5 minutes until stiff peaks form, then scrape the sides and bottom of the bowl. The frosting is ready when it looks thick, glossy, and holds a peak that stands up instead of folding over.
- Spread the frosting over the cooled cake, finish with shredded coconut, and refrigerate the covered pan. The top should look fluffy and softly textured, with the coconut clinging to the surface instead of sliding off.