
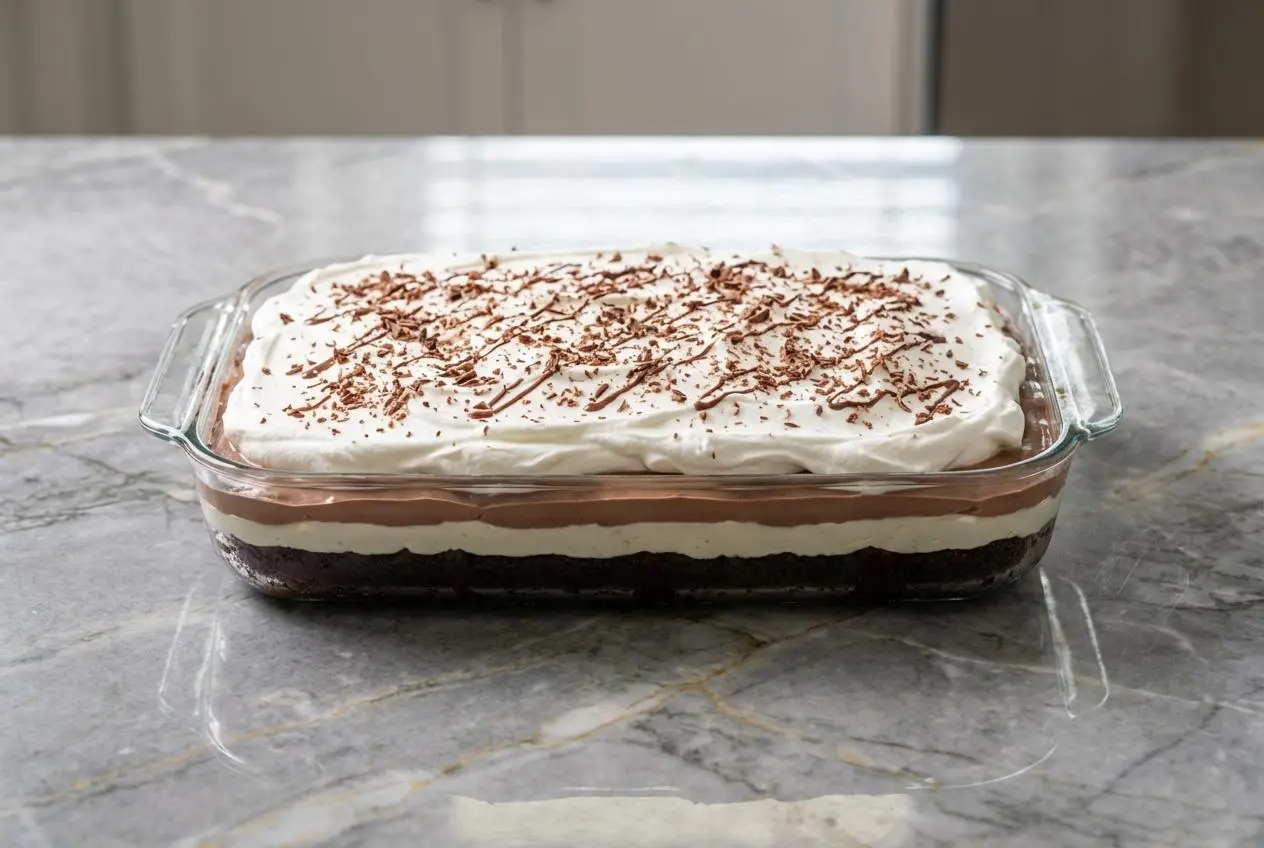
Some desserts disappear so fast at a potluck that you barely get a square for yourself, and this is one of them. In my kitchen, Brownie Refrigerator Cake is the chilled, creamy layered dessert I pull out when I want something easy, rich, and guaranteed to make people hover around the pan.
It has all the charm of Chocolate Lasagna and the comfort of an old-school icebox cake, with chewy brownie on the bottom, a tangy cream cheese layer in the middle, and silky pudding tucked under a fluffy topping. It is especially perfect for cookouts, holidays, and those weekends when you want a make-ahead dessert that tastes even better the next day.
Why You’ll Love This Brownie Refrigerator Cake
Easy from start to finish: This is the kind of layered dessert that looks bakery-worthy without asking much from you. A brownie mix, instant pudding, and whipped topping do most of the heavy lifting, which is why I keep it in my back pocket for busy weeks.
Made for sharing: A 9×13 pan feeds a crowd beautifully, and every slice has those neat, decadent layers people love in a true potluck dessert. I have brought this chilled dessert to family parties more times than I can count, and the pan always comes home scraped clean.
The secret twist: I stir 1 teaspoon of instant espresso powder into the dry brownie mix and the remaining 1/2 teaspoon into the pudding mixes. It does not make the dessert taste like coffee, it simply deepens the chocolate flavor so the whole Brownie Refrigerator Cake tastes richer, darker, and more grown-up.
A texture dream: You get chewy brownie, creamy cheesecake-style filling, silky pudding, and a light cloud of topping in one forkful. That contrast is what makes this layered dessert feel both decadent and refreshing at the same time.
Ingredients and Substitutions
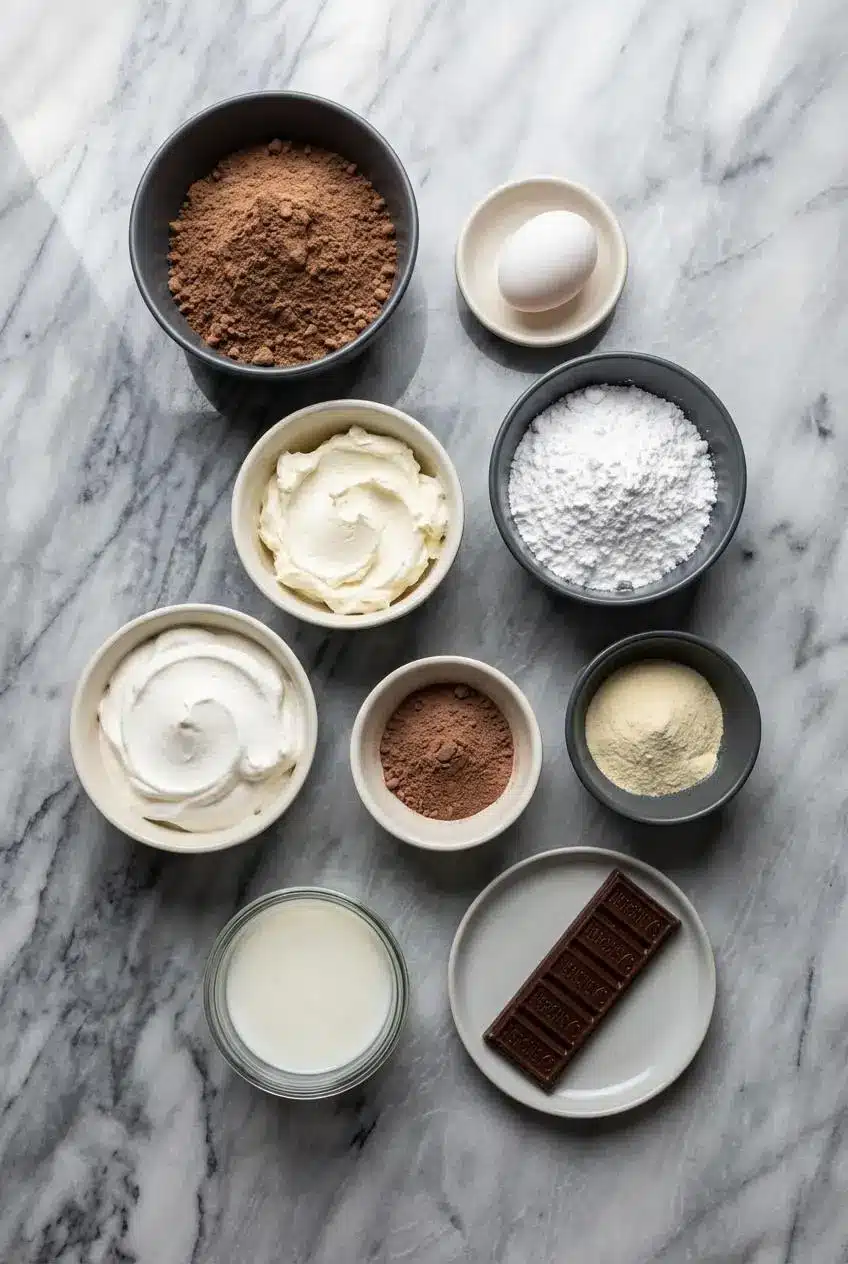
You only need a handful of familiar grocery-store staples to build these dreamy layers. Each one plays a simple but important role in creating that creamy, chocolatey finish.
Ingredients
- 1 box (18.5 ounce) brownie mix
- 1 extra-large egg
- 8 ounces cream cheese, softened
- 1 cup powdered sugar
- 2 (8 ounce) containers Cool Whip Frozen Whipped Topping, thawed
- 1 package (3 ounce) instant chocolate pudding mix
- 1 package (3 ounce) instant vanilla pudding mix
- 3 1/2 cups milk
- 1 Hershey candy bar or chocolate syrup, for garnish
Ingredient Notes & Substitutions
Brownie Mix: A boxed mix keeps this recipe fast and dependable, which is exactly what I want for a make-ahead dessert. If you prefer baking from scratch, you can swap in a favorite homemade 9×13 brownie recipe, just make sure the brownies are fully cooled before you build the layers.
Instant Espresso Powder: This is my quiet little chef trick for better chocolate flavor, even though it is not in the base ingredient list above. Add 1 teaspoon to the dry brownie mix and 1/2 teaspoon to the dry pudding mixes, and the chocolate notes become deeper and more complex without leaving any coffee taste behind.
Cream Cheese: Full-fat cream cheese gives the smoothest, richest cheesecake layer and the best flavor. If you want a lighter version, light cream cheese works, but the filling may be a touch softer and less velvety.
Cool Whip Frozen Whipped Topping: This ingredient is convenient, stable, and one reason this icebox cake slices so neatly. If you would rather use homemade whipped cream, beat cold heavy cream with powdered sugar and a splash of vanilla until soft peaks form, then stabilize it with a little cornstarch or dissolved gelatin so it holds up in the refrigerator.
Milk: Cold milk is essential for instant pudding to thicken properly. Whole milk gives the fullest texture, but 2 percent or even skim milk can be used if you are aiming for a lighter chilled dessert.
Pudding Flavors: The chocolate and vanilla combination keeps the middle layer balanced and not overly heavy. If you want a more intense chocolate lasagna effect, use all chocolate pudding, or branch out with flavors that complement the brownie base.
How to Make Brownie Refrigerator Cake
Prepare the Brownie Base
- Start by heating your oven and readying a 9×13-inch pan according to the brownie mix package directions. Whisk 1 teaspoon of instant espresso powder into the dry brownie mix first, then prepare the batter as directed on the box, adding the extra-large egg along with the called-for ingredients so the base bakes up a bit sturdier and more cake-like.
- Bake the brownies in the prepared pan following the package timing, until the top looks set and the kitchen smells deeply chocolatey. Set the pan on a wire rack and let the brownies cool completely, because even a little leftover warmth can melt the next layer and turn the whole dessert sloppy.
Build the Cream Cheese and Pudding Layers
- In a large bowl, beat the softened cream cheese with the powdered sugar until the mixture is smooth, creamy, and free of lumps. Fold in one container of thawed Cool Whip gently, keeping the texture light, then spread this mixture evenly over the cooled brownie base all the way to the edges.
- In another bowl, whisk together the instant chocolate pudding mix, instant vanilla pudding mix, and the remaining 1/2 teaspoon of instant espresso powder. Pour in the cold milk and whisk for about 2 minutes, until the mixture thickens to a soft pudding consistency, then pour it over the cream cheese layer and spread it gently so the layers stay distinct.
Finish and Chill
- Spread the second container of thawed Cool Whip over the pudding layer in a soft, even blanket. I like to dollop it across the top first, then smooth it lightly so I do not drag the pudding upward.
- Finish with chocolate shavings from the Hershey bar or a drizzle of chocolate syrup for that final bakery-style touch. Cover the pan and refrigerate for at least 4 hours, though overnight is when the flavors really settle in and the slices come out clean and beautiful.
The Science of a Perfect Brownie Refrigerator Cake
The little espresso trick is one of those old pastry-kitchen moves that makes simple ingredients taste fancier than they are. It enhances the flavor compounds already in cocoa, so the brownie base and pudding layer taste more intensely chocolatey rather than noticeably like coffee.
The extra egg matters more than most people expect. It creates a more ‘cake-like’ structure, which is exactly what you want when a brownie has to support creamy layers instead of being eaten on its own.
Cold milk is non-negotiable with instant pudding. Those starches need cold liquid to hydrate and set properly, so if the milk is warm or the pudding is under-whisked, the center layer stays loose and your refrigerator cake will not hold its shape.
Softened cream cheese is just as important. When it is at room temperature, it can emulsify with the sugar and whipped topping into a smooth, airy filling instead of leaving behind tiny cold lumps that never quite disappear.
Mastering the Layers: A Guide to Perfect Separation
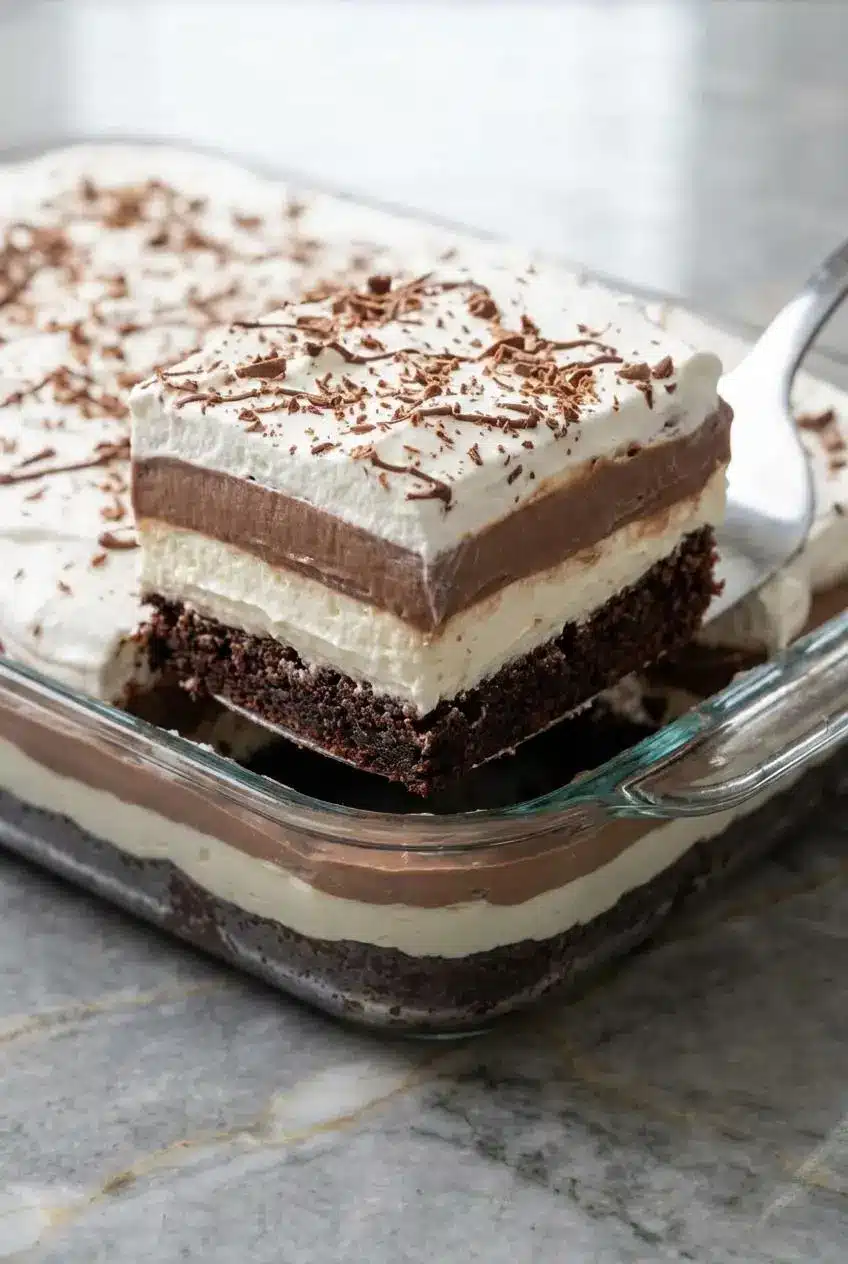
The foundation: The brownie layer needs to be sturdy and completely cool before anything goes on top. In my kitchen, a warm base is the number one reason a beautiful layered dessert turns into a muddy pan of mixed fillings.
The tangy barrier: That cream cheese layer is not just delicious, it acts as a buffer between the brownie and pudding. An offset spatula helps spread it edge to edge in an even layer, which keeps the pudding from slipping down into the brownie base.
The silky center: Pour the pudding into the middle first, then nudge it outward with a light hand. Instant pudding starts setting fast, so you want to spread it promptly without pressing hard enough to disturb the layer underneath.
The fluffy cloud: Folding the whipped topping into the cream cheese mixture keeps that layer light instead of dense. For the final topping, little dollops across the surface work better than one big mound, because they spread more easily and leave the pudding layer undisturbed.
Pro Tips & Troubleshooting
Pro Tips
- Let the dessert chill overnight whenever you can. The layers firm up, the flavors meld, and the whole pan slices more neatly the next day.
- Use a large sharp knife for serving, dip it in hot water, wipe it dry, then make one cut at a time. Repeating that between slices is the simplest secret to clean, picture-ready squares.
- Fold the whipped topping into the cream cheese mixture gently rather than beating it in. That little bit of restraint keeps the filling airy and soft.
- Make sure the brownie layer is completely cooled before assembly. If it still feels even slightly warm, give it more time.
Common Mistakes to Avoid
- Runny or sloppy layers: This usually happens when the brownies are still warm, the milk was not cold enough, or the cake did not chill long enough to set properly.
- Lumpy cream cheese filling: The culprit is almost always cream cheese that was too cold. Let it soften fully at room temperature before mixing.
- Layers blending together: Heavy-handed spreading can smear the layers, especially with fresh pudding. Use a gentle touch and spread from the center outward.
- Dense cream cheese layer: Overmixing the whipped topping into the filling knocks out the air and leaves the layer heavier than it should be.
Serving & Storage
Serving and Variation Ideas
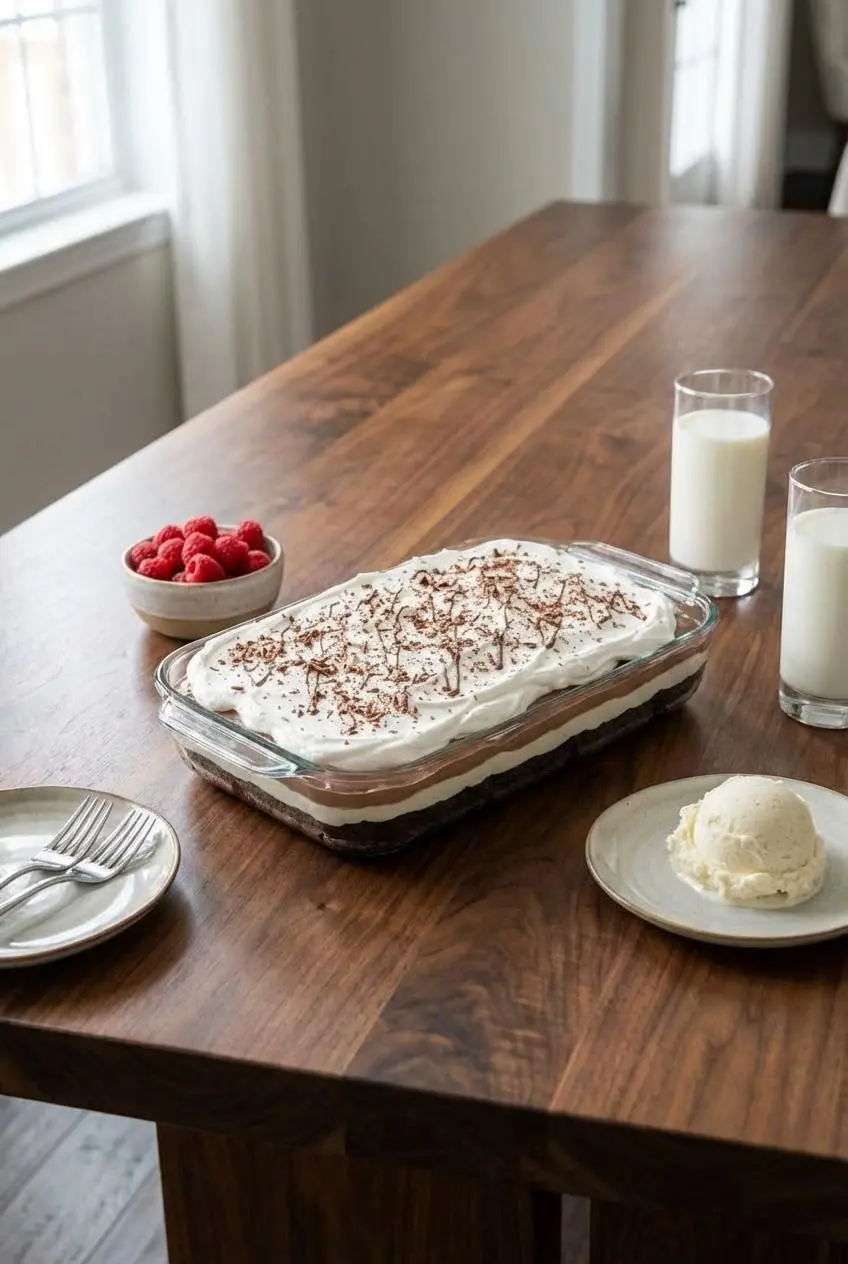
This Brownie Refrigerator Cake is wonderful straight from the fridge, topped with fresh raspberries, strawberries, or a light dusting of cocoa powder. For an extra-indulgent plate, I love serving it with a scoop of vanilla bean ice cream, especially when the brownie base is extra chewy.
If you like playing with flavors, fold crushed Oreos into the cream cheese layer for a cookies-and-cream spin, swirl peanut butter into the pudding for a peanut butter cup vibe, or stir chopped walnuts or pecans into the brownie batter for crunch. Anyone drawn to these rich, layered desserts would probably also appreciate the same over-the-top spirit in Caramel Brownie Cheesecake, which leans even further into that creamy chocolate-and-caramel territory.
For party trays, I sometimes add chocolate curls and a drizzle of caramel over the top just before serving. If you enjoy brownie-based sweets that are easy to portion and pass around, our brownie truffles have that same crowd-pleasing energy in bite-size form.
Make-Ahead and Storage Guide
This is one of the best make-ahead desserts in my rotation. You can assemble it 1 to 2 days in advance, and the flavor actually improves as the layers settle and chill together.
Keep the pan covered in the refrigerator, and it will stay in good shape for about 4 to 5 days. The topping stays fluffy, the pudding remains creamy, and the brownie base softens just enough to make each slice even better.
Freezing works well too, especially if you want to get ahead for a holiday or cookout. Wrap the pan tightly in plastic wrap and then a layer of foil, and for extra reassurance on general instructions for freezing, university extension guidance lines up well with the way I store chilled layered desserts like this one.
Freeze it for up to 3 months, then move it to the refrigerator overnight to thaw slowly. The whipped topping may soften a bit more after thawing, but the dessert will still be creamy, rich, and absolutely worth pulling from the freezer.
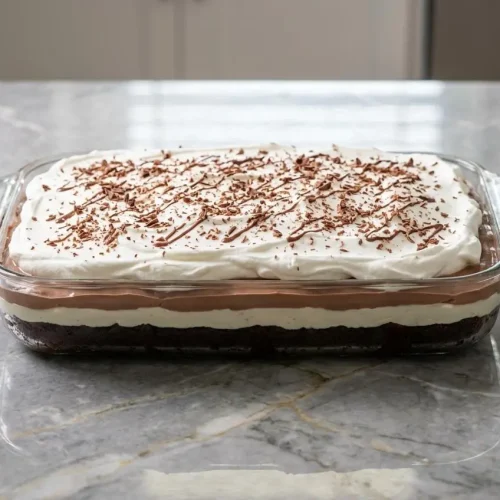
Easy Brownie Refrigerator Cake

Equipment
- 9×13-inch Pan
- large bowl
- Wire rack
- Electric Mixer
- Whisk
Ingredients
- 1 box (18.5 ounce) brownie mix
- 1 extra-large egg
- 8 ounces cream cheese, softened
- 1 cup powdered sugar
- 2 (8 ounce) containers Cool Whip Frozen Whipped Topping, thawed
- 1 package (3 ounce) instant chocolate pudding mix
- 1 package (3 ounce) instant vanilla pudding mix
- 3 1/2 cups milk cold
- 1 Hershey candy bar or chocolate syrup, for garnish
Instructions
Prepare the Brownie Base
- Preheat your oven and prepare a 9×13-inch pan according to the brownie mix package directions. Prepare the batter as directed on the box, adding the extra-large egg along with the other required ingredients.
- Bake the brownies in the prepared pan following the package timing. Once baked, set the pan on a wire rack and allow the brownies to cool completely.
Build the Cream Cheese and Pudding Layers
- In a large bowl, use an electric mixer to beat the softened cream cheese with the powdered sugar until the mixture is smooth and free of lumps. Gently fold in one container of thawed Cool Whip, then spread this mixture evenly over the cooled brownie base.
- In another bowl, whisk together the instant chocolate pudding mix and instant vanilla pudding mix. Pour in the cold milk and whisk for about 2 minutes, until the mixture thickens. Pour it over the cream cheese layer and spread gently to create an even layer.
Finish and Chill
- Spread the second container of thawed Cool Whip over the pudding layer in an even blanket.
- Garnish with chocolate shavings from the Hershey bar or a drizzle of chocolate syrup. Cover the pan and refrigerate for at least 4 hours, or preferably overnight, before serving.
Notes
Nutrition
Conclusion
This dessert has everything I want in a crowd-pleasing pan, rich brownie, creamy layers, and just enough chill to make every bite feel refreshing. That tiny bit of espresso powder is the secret that makes the chocolate flavor taste deeper and more memorable.
If you need a dependable make-ahead dessert for your next gathering, this one earns its place on the table every single time. Once you have the base method down, it is easy to make it your own with berries, peanut butter, cookies, or whatever your people love most.
Frequently Asked Questions
How far in advance can I make Brownie Refrigerator Cake?
Can I use homemade brownies instead of a box mix?
What is a good substitute for Cool Whip in this recipe?
Why are my layers runny and how can I fix it?
How do I get clean, perfect slices when serving?
Can I freeze this cake for later?


Easy,tasty and refreshing for summertime . Made it twice so far, the first no changes, the second instead of vanilla I used coconut cream pudding with the chocolate. It was delicious too!!