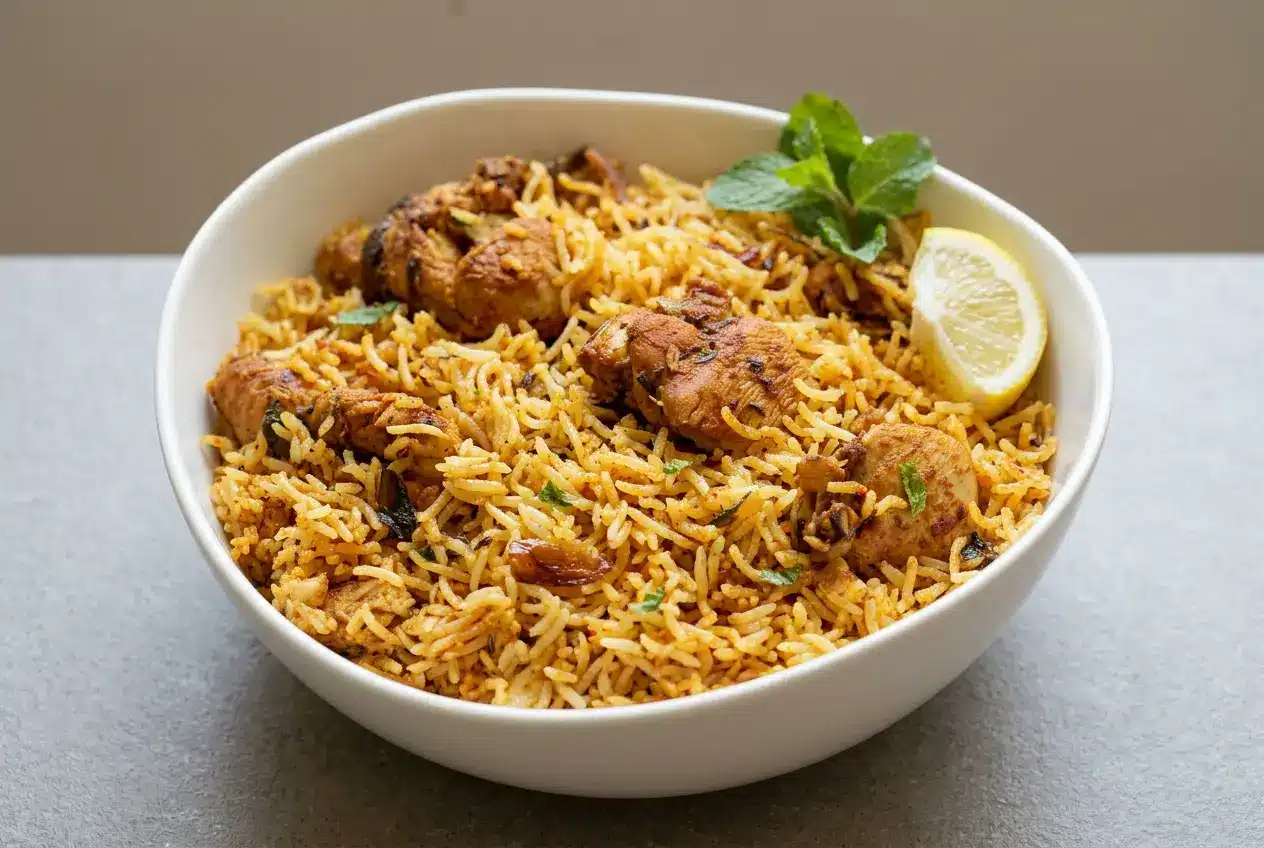
Chicken biryani layers spiced, yogurt-marinated chicken with fragrant basmati rice, golden onions, and mint. This recipe offers stovetop pot and pressure cooker finishes, with optional saffron milk for floral aroma. Keep the layers intact as they cook so the rice stays distinct rather than becoming a uniform mixture.
A good chicken biryani brings contrasting flavors into the same spoonful: savory chicken masala, sweet browned onions, warm spices, and fresh mint. The rice should feel tender yet separate, with chicken tucked beneath it.
Both cooking options start with the same preparation, so you can choose your vessel without learning two different recipes. The important detail comes before layering: cook away the chicken’s excess moisture. That’s where fluffy rice begins.
Measure the water for your chosen vessel before you start: the covered pot uses more than the stovetop pressure cooker.
Essential Ingredients and Smart Substitutions
Each ingredient contributes to the layers: yogurt adds tang and moisture, onions bring sweetness, whole spices build aroma, and mint adds freshness. Aged basmati provides the distinct-grain texture, while ghee adds richness and optional saffron milk lends color and floral fragrance.
- ½ kg (1.1 lbs) chicken ((skinless bone-in or boneless, large pieces such as thighs, drumsticks, legs or mix of all))
- 3 tablespoons plain yogurt ((curd or dahi))
- 1¼ tablespoons ginger garlic paste ((1 inch ginger & 4 garlic cloves crushed))
- ½ to ¾ teaspoon salt ((adjust to tase))
- ¼ teaspoon turmeric
- ½ to 1 teaspoon red chilli powder ((or paprika) (use less spicy variety))
- ½ to 1 tablespoon garam masala ((or biryani masala))
- 1 tablespoon Lemon juice ((optional))
- 1 bay leaf ((tej patta))
- 4 green cardamoms ((choti elaichi))
- 6 cloves ((lavang))
- 1 inch cinnamon ((dalchini))
- 1 star anise ((chakri phool ))
- ¾ teaspoon shahi jeera ((caraway seeds) (substitute with cumin))
- 1 strand mace ((javitri, omit if you don’t like))
- 2 cups basmati rice ((aged rice only))
- 2 tablespoon ghee (or Oil)
- 1 large onion (sliced thinly)
- ¼ to ½ cup mint leaves (chopped fine (about 15 leaves))
- 1 green chili ((slit or chopped))
- ¼ cup plain yogurt ((Indian curd))
- ¼ to ½ teaspoon red chili powder ((optional, for heat))
- 1 teaspoon garam masala ((or biryani masala))
- 3 cups water ((3½ cups for pot) (refer notes, more if needed ))
- ¾ teaspoon salt ((to stir in water))
- 2 tablespoon fried onions ((optional))
- 1 pinch saffron ((optional)(soaked in 2 tbsps hot milk))
Choosing Aged Basmati Rice
Choose rice labeled aged basmati for the elongated, separate grains this dish needs. Rinsing and soaking are part of the cooking method, not optional preparation. Drain the soaked rice before layering so you don’t carry unmeasured soaking water into the pot.
The water amount depends on the vessel. Use the cooker quantity for the pressure cooker and the larger quantity listed for the covered pot; the method also includes a correction if the pot runs dry before the rice becomes tender.
Best Chicken Cuts and Yogurt Marinade
Large skinless thighs, drumsticks, leg pieces, or a mixture all fit this recipe, with or without bones. Bone-in pieces make substantial individual portions; boneless pieces are easier to divide among plates.
The yogurt carries ginger, garlic, and ground spices over the chicken while adding a tangy counterpoint to the rich rice. Keep the two yogurt additions separate: one belongs in the marinade, and the other goes into the cooked chicken mixture.
Whole Spices, Biryani Masala, and Pantry Swaps
Whole spices perfume the hot ghee or oil at the start. Ground garam masala or biryani masala seasons the marinade and chicken mixture more evenly. They have different jobs, so the ground blend doesn’t replace the whole-spice stage flavor for flavor.
- Shahi jeera: use the listed cumin substitution when needed; its aroma will differ.
- Mace: omit it if unavailable or if you dislike its fragrance.
- Red chili powder: use the listed paprika option for gentler heat; sweet paprika with cayenne is another optional flavor direction, not a required addition.
- Ghee or oil: ghee contributes a buttery aroma, while oil keeps the focus on the spices.
- Optional saffron milk: adds floral fragrance and golden streaks without making the entire pot one color.
Onions supply sweet-savory depth, and mint brightens both the chicken and rice layers. The optional fried onions are an additional garnish, separate from the sliced onion cooked at the beginning.
Step-by-Step Chicken Biryani Instructions (Pot and Pressure Cooker)
Finish cooking the chicken and reduce its excess moisture before adding rice. After layering, choose either the covered-pot finish or the stovetop pressure cooker finish, not both.
Prep: 60 minutes. Cook: 25 minutes. Total: 85 minutes. Serves: 4. A longer optional marination extends the schedule.
Preparation
- Combine the marinade yogurt, ginger garlic paste, salt, garam masala, turmeric, optional lemon juice, and red chili powder in a bowl.
The mixture should carry the seasonings evenly, without dry pockets of spice. - Stir thoroughly, then taste before adding any chicken and adjust the salt or spice if needed.
The marinade should taste seasoned and tangy. - Cut slits into the chicken, coat every piece with marinade, and cover and refrigerate for 1 hour to overnight.
Work the coating into the cuts as well as over the outer surfaces. - Wash the basmati rice three times, soak it for 30 minutes, and transfer it to a colander to drain.
The rice should be drained rather than sitting in soaking water when you assemble the layers.
How to Make Chicken Biryani
- Warm the ghee or oil in your pot or stovetop pressure cooker.
This is the cooking fat for the whole spices and onions. - Add the bay leaf, cardamoms, cloves, cinnamon, star anise, shahi jeera, and mace, omitting unavailable whole spices if necessary.
Listen for a sizzle before moving on to the onions. - Cook the sliced onion with the sizzling spices, stirring frequently for even browning.
Stop at a consistent light-brown color, without blackened edges. - Place the marinated chicken in the vessel and sauté over medium heat for 5 minutes.
The outside of the pieces should turn pale during this stage. - Cover and cook over low heat until the chicken becomes tender, then sauté away excess moisture.
Avoid leaving a loose pool of liquid beneath the chicken before layering. - Check the cooked mixture for salt, adjust if needed, and incorporate the remaining yogurt, half the mint, green chili, optional extra red chili powder, and garam masala.
These additions form the final seasoned chicken mixture beneath the rice.
Layering
- Combine the chicken mixture thoroughly and arrange the pieces evenly across the bottom.
An even chicken layer provides a consistent foundation for the rice. - Distribute the drained rice over the chicken without stirring it through.
The rice should form a separate upper layer. - Measure the water into another pot, using 3 cups for the pressure cooker or 3½ cups for the covered-pot method.
The vessel choice determines the starting liquid amount. - Dissolve the water’s salt, taste it, and bring it to a vigorous boil.
The water should taste slightly salty before it reaches the rice. - Direct 2 cups of boiling water around the inside edges of the cooking vessel, then gently distribute the remaining water over the rice.
A gentle pour helps preserve the separate layers. - Even out the rice surface as needed and scatter over the remaining mint, plus the optional fried onions and saffron milk if using.
Keep these additions on top rather than stirring them into the chicken. - For the pot finish, cover and cook over medium heat until the rice is tender, checking around 15 minutes after the liquid begins boiling in the assembled pot.
If the grains remain hard and the bottom is dry, add ¼ to ½ cup more boiling water as needed and continue covered cooking until the grains are fully cooked but separate. - For the pressure cooker finish instead, use medium-high heat, secure the lid and whistle, and move the cooker off the burner after 1 whistle.
The whistle marks the point to stop heating the cooker. - Allow the cooker’s pressure to release naturally before opening, then gently loosen the finished rice with a fork.
Handle the grains lightly so they retain their shape. - Lift portions through the full depth of the layers.
Each portion should contain upper-layer rice and chicken from underneath.
Expert Tips and Troubleshooting for Fluffy, Non-Mushy Rice
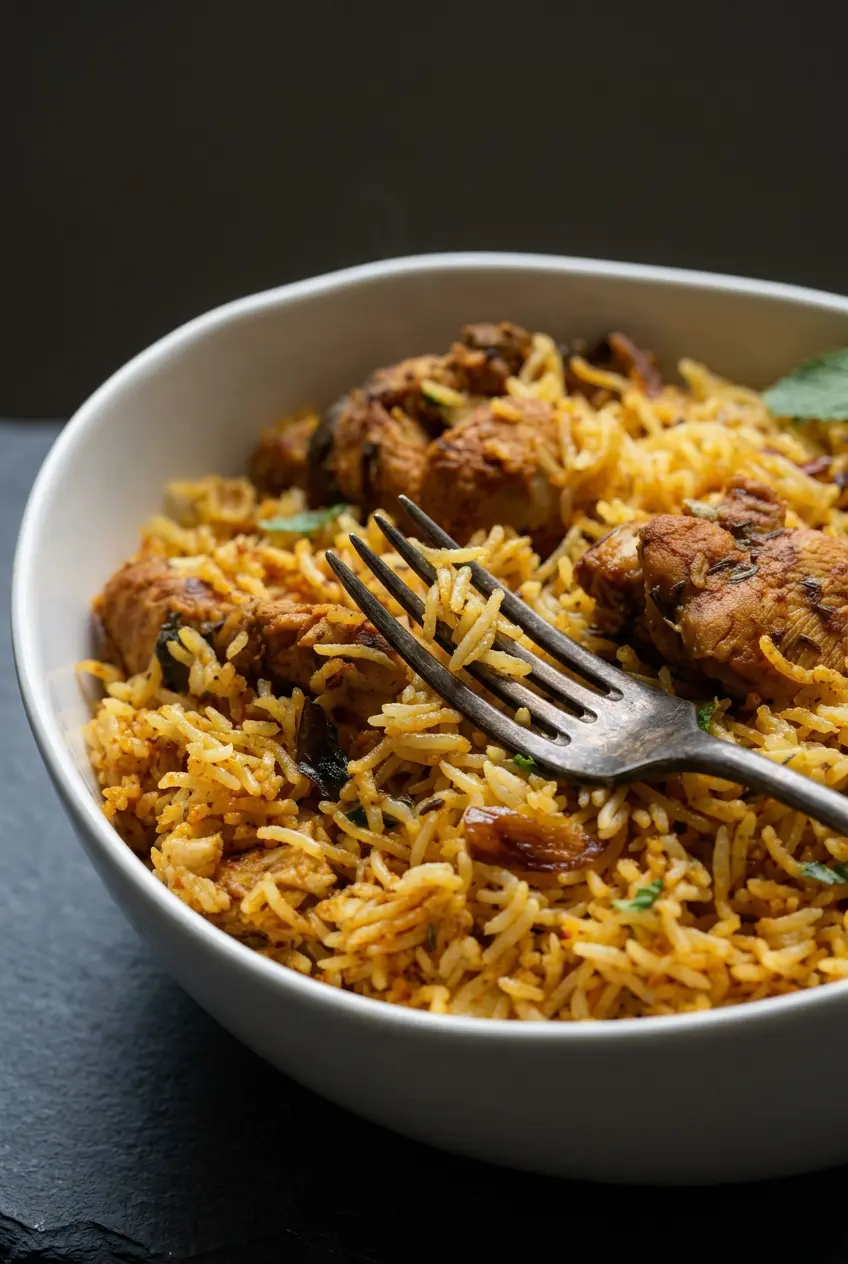
Rice texture depends on preparation, liquid control, and undisturbed layers. Watch the rice itself rather than treating the suggested pot cooking time as an exact deadline.
How to Seal the Pot and Control Steam
- Firm upper grains: escaping steam can interfere with the covered finish, so keep the pot covered during cooking rather than repeatedly lifting the lid.
- Disturbed layers: stirring after assembly mixes the chicken coating into the upper rice; reserve gentle fork-fluffing for the end.
A towel-wrapped lid is an optional approach sometimes associated with dum cooking, but it isn’t necessary for this covered-pot method. Use the stated covered finish rather than adding an unfamiliar lid arrangement.
Preventing Scorched Bottoms and Uneven Heat
- Bitter onions: dark edges indicate uneven browning; stir frequently and stop at light brown instead of chasing a deep, dark color.
- Excess moisture: loose chicken liquid changes the rice’s starting conditions; sauté it away before assembly, without taking the mixture to a scorched, dry paste.
- Overheating: follow the distinct heat settings for the chicken, pot finish, and cooker finish rather than keeping one burner setting throughout.
A cast-iron skillet diffuser is another optional dum-cooking concept, not a required part of this method. The cooking directions here rely on the vessel and heat settings already specified.
I’d prioritize evenly light-brown onions over darker caramelization here; burnt edges can dominate the more delicate cardamom and mint.
Fixing Undercooked or Wet Rice
- Hard rice in a dry pot: use the boiling-water correction in the layering instructions and continue covered cooking until the grains soften.
- Soft or wet rice: check that you drained the soaking water and used the correct vessel quantity; stirring won’t restore distinct grains.
- Bland upper rice: season the boiling water separately until slightly salty instead of relying entirely on the chicken’s seasoning.
The target is a fully cooked grain that holds its shape. Neither a firm center nor a mashed, clumped texture is the finish you’re after.
Authentic Variations and Regional Styles
Different biryani styles handle the rice and chicken differently. Keep these comparisons and optional flavor directions separate from the measured method above.
Restaurant-Style Pakki Dum Biryani (Par-Boiled Rice Method)
Pakki dum biryani pairs cooked chicken masala with separately par-boiled rice for a sealed steaming finish. This recipe instead layers soaked, uncooked rice over cooked chicken and uses measured boiling water. The two approaches share layered flavors but don’t use interchangeable liquid instructions.
Pressure Cooker and Instant Pot Execution
Use the stovetop pressure cooker path above if your cooker uses a whistle. An Instant Pot uses different controls, so the whistle instruction isn’t an electric-cooker setting. This recipe does not provide an Instant Pot conversion.
Bone-In Thighs and Drumsticks vs. Boneless Chicken Cuts
Bone-in pieces offer recognizable individual portions; boneless pieces make serving and eating more convenient. Both appear in the ingredient choices. For another meal featuring bone-in portions, try baked chicken legs.
Keep pieces large rather than cutting the chicken into tiny cubes. Follow the chicken’s tenderness cue before layering instead of inventing a separate timing adjustment.
Homemade Dry-Roasted Biryani Masala Blend
A homemade dry-roasted masala is an optional flavor direction built around aromatics such as cardamom, cloves, cinnamon, shahi jeera, and mace. Its balance depends on the blend, so use a complete blend recipe rather than treating the whole spices listed here as an improvised formula.
How to Serve Traditionally
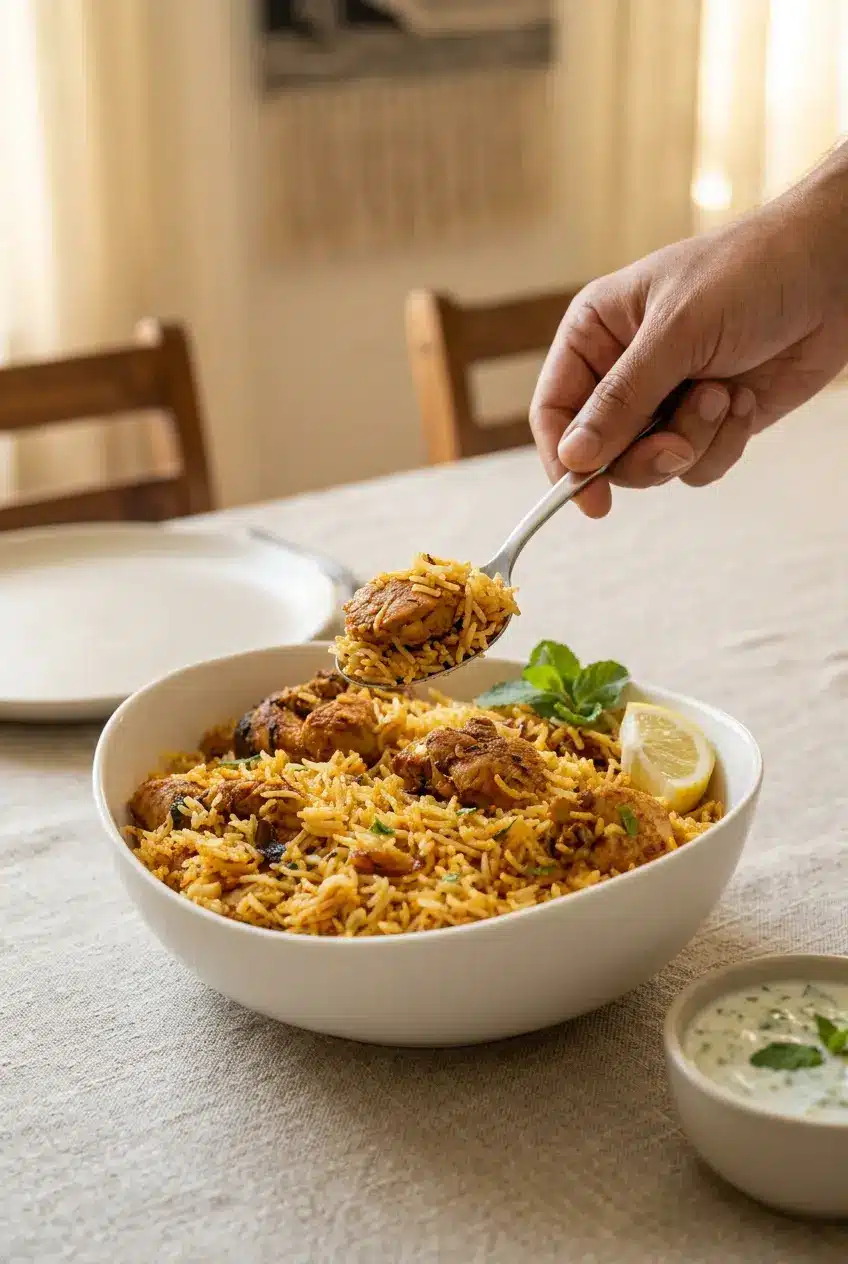
Scoop vertically through the rice into the chicken rather than mixing the entire pot. That gives each plate distinct rice, masala-coated chicken, herbs, and golden saffron streaks when used.
- Raita: serve alongside the rice for a tangy contrast; cucumber-mint raita is an optional choice.
- Sliced vegetables: offer the listed vegetables or an optional onion-tomato salad for crunch.
- Papad and shorba: add crisp texture and a separate spoonful of gravy.
- Optional dahi chutney: provides another yogurt-and-herb accompaniment.
For a larger spread with another saucy main, classic chicken curry fits alongside the rice, though biryani doesn’t need it to feel complete.
Optional festive toppings include hard-boiled eggs, raisins, toasted nuts, or pomegranate arils. Keep them as serving choices rather than additions to the cooking liquid.
Planning the Preparation
Build your schedule around the chicken’s marination, then rinse and soak the rice before cooking. Measure the whole spices, separate the yogurt additions, and reserve the finishing mint so each stage is ready when needed.
The optional fried onions are separate from the onion browned in the pot. Keep that distinction clear when organizing ingredients so the garnish doesn’t accidentally replace the cooked onion layer.
Final Thoughts
Fragrant biryani starts with aged basmati, balanced spices, and yogurt-marinated chicken. Reducing excess chicken liquid before layering gives the rice a more controlled start.
Choose the pot or stovetop pressure cooker finish, then handle the cooked grains gently. Serve through the layers and let every spoonful bring rice and chicken together.
Frequently Asked Questions
What Does a Chicken Biryani Taste Like?
It tastes savory and aromatic, with warm cardamom, cinnamon, cloves, and ground masala. Browned onions add sweetness, yogurt adds tang, and mint brings freshness. Optional saffron adds floral fragrance; the chili choices determine the heat.
Which Is the Most Famous Biryani?
Hyderabadi biryani is one of the best-known regional styles, though there isn’t a single universal ranking. This version uses cooked chicken and soaked-rice layering rather than presenting every regional technique as the same method.
Can I Prepare Chicken Biryani Ahead?
The chicken marination is the advance-preparation stage included here. Plan the rice soaking around cooking, then drain it before assembling the layers.
Can You Give Me a Recipe for Biryani in the Pressure Cooker?
Yes, follow the stovetop pressure cooker option in the layering instructions above. It shares the chicken preparation with the pot method but uses its own water amount and whistle-based finish.
Why Did My Biryani Rice Turn Out Mushy or Undercooked?
Mushy rice can follow excess liquid or disturbed layers; drain the soaked rice and avoid stirring during cooking. For hard grains in a dry pot, follow the boiling-water correction above and continue covered cooking.
Can I Use Boneless Chicken Breast Instead of Bone-In Thighs or Drumsticks?
Boneless chicken is included in the ingredient choices, although thighs, drumsticks, and legs are the named cuts. If choosing breast, keep the pieces large and use the stated tenderness cue rather than assuming a new cooking time.
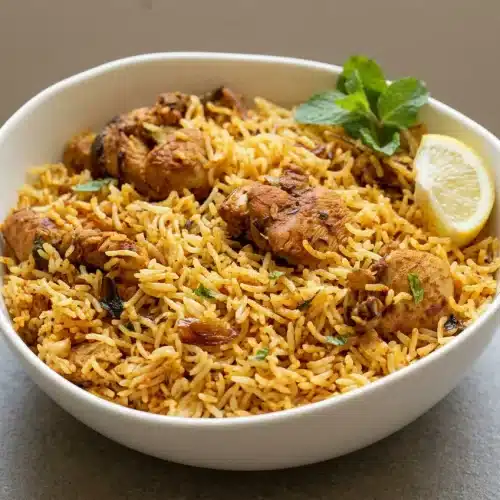
Chicken Biryani

Equipment
- Heavy-bottomed pot or stovetop pressure cooker
- Mixing Bowl
- Colander
Ingredients
- ½ kg chicken (1.1 lbs) ((skinless bone-in or boneless, large pieces such as thighs, drumsticks, legs or mix of all))
- 3 tablespoons plain yogurt ((curd or dahi))
- 1¼ tablespoons ginger garlic paste ((1 inch ginger & 4 garlic cloves crushed))
- ½ to ¾ teaspoon salt ((adjust to tase))
- ¼ teaspoon turmeric
- ½ to 1 teaspoon red chilli powder ((or paprika) (use less spicy variety))
- ½ to 1 tablespoon garam masala ((or biryani masala))
- 1 tablespoon Lemon juice ((optional))
- 1 bay leaf ((tej patta))
- 4 green cardamoms ((choti elaichi))
- 6 cloves ((lavang))
- 1 inch cinnamon ((dalchini))
- 1 star anise ((chakri phool ))
- ¾ teaspoon shahi jeera ((caraway seeds) (substitute with cumin))
- 1 strand mace ((javitri, omit if you don’t like))
- 2 cups basmati rice ((aged rice only))
- 2 tablespoon ghee (or Oil)
- 1 large onion (sliced thinly)
- ¼ to ½ cup mint leaves (chopped fine (about 15 leaves))
- 1 green chili ((slit or chopped))
- ¼ cup plain yogurt ((Indian curd))
- ¼ to ½ teaspoon red chili powder ((optional, for heat))
- 1 teaspoon garam masala ((or biryani masala))
- 3 cups water ((3½ cups for pot) (refer notes, more if needed ))
- ¾ teaspoon salt ((to stir in water))
- 2 tablespoon fried onions ((optional))
- 1 pinch saffron ((optional)(soaked in 2 tbsps hot milk))
Instructions
Preparation
- Combine the marinade yogurt, ginger garlic paste, salt, garam masala, turmeric, optional lemon juice, and red chili powder in a bowl. The mixture should carry the seasonings evenly, without dry pockets of spice.
- Stir thoroughly, then taste before adding any chicken and adjust the salt or spice if needed. The marinade should taste seasoned and tangy.
- Cut slits into the chicken, coat every piece with marinade, and cover and refrigerate for 1 hour to overnight. Work the coating into the cuts as well as over the outer surfaces.
- Wash the basmati rice three times, soak it for 30 minutes, and transfer it to a colander to drain. The rice should be drained rather than sitting in soaking water when you assemble the layers.
How to Make Chicken Biryani
- Warm the ghee or oil in your pot or stovetop pressure cooker. This is the cooking fat for the whole spices and onions.
- Add the bay leaf, cardamoms, cloves, cinnamon, star anise, shahi jeera, and mace, omitting unavailable whole spices if necessary. Listen for a sizzle before moving on to the onions.
- Cook the sliced onion with the sizzling spices, stirring frequently for even browning. Stop at a consistent light-brown color, without blackened edges.
- Place the marinated chicken in the vessel and sauté over medium heat for 5 minutes. The outside of the pieces should turn pale during this stage.
- Cover and cook over low heat until the chicken becomes tender, then sauté away excess moisture. Avoid leaving a loose pool of liquid beneath the chicken before layering.
- Check the cooked mixture for salt, adjust if needed, and incorporate the remaining yogurt, half the mint, green chili, optional extra red chili powder, and garam masala. These additions form the final seasoned chicken mixture beneath the rice.
Layering
- Combine the chicken mixture thoroughly and arrange the pieces evenly across the bottom. An even chicken layer provides a consistent foundation for the rice.
- Distribute the drained rice over the chicken without stirring it through. The rice should form a separate upper layer.
- Measure the water into another pot, using 3 cups for the pressure cooker or 3½ cups for the covered-pot method. The vessel choice determines the starting resistance liquid amount.
- Dissolve the water’s salt, taste it, and bring it to a vigorous boil. The water should taste slightly salty before it reaches the rice.
- Direct 2 cups of boiling water around the inside edges of the cooking vessel, then gently distribute the remaining water over the rice. A gentle pour helps preserve the separate layers.
- Even out the rice surface as needed and scatter over the remaining mint, plus the optional fried onions and saffron milk if using. Keep these additions on top rather than stirring them into the chicken.
- For the pot finish, cover and cook over medium heat until the rice is tender, checking around 15 minutes after the liquid begins boiling in the assembled pot. If the grains remain hard and the bottom is dry, add ¼ to ½ cup more boiling water as needed and continue covered cooking until the grains are fully cooked but separate.
- For the pressure cooker finish instead, use medium-high heat, secure the lid and whistle, and move the cooker off the burner after 1 whistle. The whistle marks the point to stop heating the cooker.
- Allow the cooker’s pressure to release naturally before opening, then gently loosen the finished rice with a fork. Handle the grains lightly so they retain their shape.
- Lift portions through the full depth of the layers. Each portion should contain upper-layer rice and chicken from underneath.