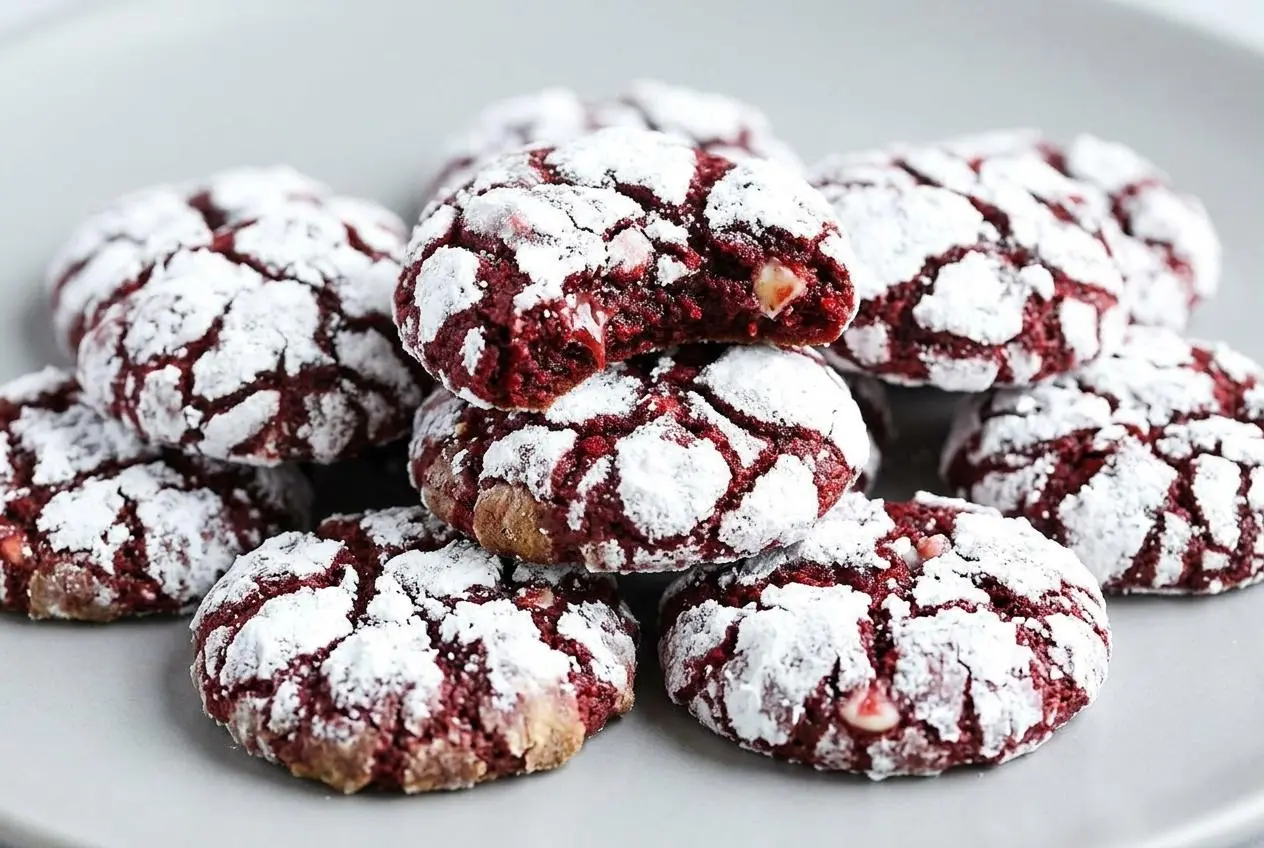
Red velvet crinkle cookies are soft, cocoa-flavored cookies with fudgy centers and snowy, crackled tops. Chill the dough for two hours, roll it in granulated sugar followed by powdered sugar, then bake at 350°F for 12 minutes.
These red velvet crinkle cookies pair deep crimson dough with a bright white sugar coating. Inside, mild cocoa, vanilla, and pockets of white chocolate give them a sweet, creamy finish without turning them into an intensely chocolatey cookie.
They fit right into a holiday cookie tray, but their soft centers make them worth baking beyond December. Most of the waiting happens in the refrigerator, and the coating takes just a little care. The snowy finish starts before the oven.
Set out separate shallow bowls for the two rolling sugars so you can coat each dough ball without mixing them together.
Key Ingredients for Authentic Red Velvet Crinkle Cookies
Flour and eggs provide structure, butter and sugars create tenderness, and cocoa brings red velvet’s gentle chocolate flavor. Vanilla, lemon juice, and salt balance the sweetness, while red gel color, white chocolate chips, and the sugar coating give these cookies their distinctive appearance and finish.
Cookies
- 2 cups (280 g) all-purpose flour
- 1/3 cup (32 g) unsweetened natural cocoa powder
- 1 tsp (5 g) baking powder
- 1/4 tsp baking soda
- 1/2 tsp (3 g) salt
- 1/2 cup (112 g) unsalted butter, at room temperature
- 3/4 cup (150 g) granulated sugar
- 1/2 cup (100 g) light brown sugar
- 2 large eggs (100 g)
- 1 tsp (4 g) vanilla extract
- 1 tsp (5 g) lemon juice
- 1 Tbsp (21 g) red gel food coloring
- 1 1/2 Tbsp (22 g) milk
- 3/4 cup (128 g) white chocolate chips
For Rolling
- 1/2 cup (100 g) granulated sugar
- 1/2 cup (60 g) powdered sugar
Brown sugar contributes moisture and chew, while granulated sugar helps the butter cream into an aerated mixture. Start with butter that yields to gentle pressure but still holds its shape. Melted or greasy butter won’t behave the same way during mixing.
Eggs help bind the dough, and milk softens its consistency. The baking powder and baking soda provide lift; lemon juice supplies acidity that helps the baking soda react. Keep the measured lemon juice rather than adding extra to adjust the color.
White chocolate chips add creamy sweetness against the cocoa. Salt keeps that sweetness balanced, and vanilla rounds out the flavor. Measure the flour carefully, preferably using the supplied weight, so excess flour doesn’t make the centers dry.
I look for butter that takes a shallow fingertip dent without collapsing; it creams smoothly without making the dough greasy.
Natural Cocoa Powder vs Dutch Process
Use unsweetened natural cocoa powder for this dough. Natural cocoa retains acidity, while Dutch process cocoa undergoes alkalizing treatment and usually has a darker appearance. They can produce different results in both color and leavening.
The red gel coloring supplies the pronounced red shade here. Natural cocoa gives it a lighter chocolate background than a dark Dutch process cocoa would. Don’t expect cocoa and lemon juice alone to create a bright crimson cookie.
Check the package for “natural” rather than choosing by color alone. Avoid adding extra cocoa for a stronger chocolate flavor: that changes the dry-ingredient balance and makes the red harder to see.
Choosing the Right Red Food Coloring
Concentrated red gel coloring adds strong color without requiring the volume of liquid coloring that might otherwise be needed. Use the listed amount of gel, and mix it into the wet ingredients before adding flour so the color distributes evenly.
Liquid drops aren’t a direct tablespoon-for-tablespoon substitute. Trying to reach the same saturation with a weaker liquid color can add unwanted moisture and leave the dough stickier.
Bakery emulsions vary in flavor and concentration, so treat them as a separate adaptation rather than an automatic replacement. For the method below, stick with red gel food coloring.
How to Make the Red Velvet Crinkle Cookies
Plan for 20 minutes of preparation, a two-hour chill, and 12 minutes of baking. The listed total time is 2 hours 32 minutes, and the dough yields 26 to 28 cookies. You’ll also need cooling time before packing them.
- Combine the flour, cocoa powder, baking powder, baking soda, and salt in a medium bowl using a whisk.
Break up visible cocoa lumps so the dry mixture has an even color and the leaveners distribute throughout. - Cream the room-temperature butter with the granulated and brown sugars in a large mixer bowl at medium speed for about 2 minutes.
Look for a creamy, slightly lighter mixture as beating incorporates air into the butter. - Work in the eggs individually, allowing each to blend into the butter mixture before adding the next.
The mixture should look cohesive rather than showing streaks of unbeaten egg. - Mix in the vanilla, lemon juice, and red gel food coloring.
Check that the wet mixture has a uniform red color before proceeding. - With the mixer on low, add the dry mixture gradually and stop as soon as it incorporates, then blend in the milk briefly at low speed and fold in the white chocolate chips.
The finished dough should be thick and soft, with no dry flour pockets and chips distributed throughout. - Cover the dough and refrigerate it for 2 hours.
Chilling firms the butter and changes the soft dough into a scoopable consistency similar to firm fudge. - Heat the oven to 350°F and cover two baking sheets with parchment paper.
The lined sheets provide a release surface for the delicate, sugar-coated cookies. - Put each rolling sugar in its own shallow bowl, lightly coat a medium cookie scoop with nonstick spray, and portion the dough into 1 1/2-inch balls weighing approximately 30 grams each.
Consistent portions help the cookies spread and bake at a similar rate. - Coat each ball in granulated sugar first, then apply a generous powdered sugar coating and arrange the balls 2 inches apart on the prepared sheets.
The outside should look chalky white, with enough space around each portion for expansion. - Bake for 12 minutes, turning the pans halfway through, and optionally tap the sheets sharply once or twice after baking to flatten the cookies slightly.
Remove them when the tops have puffed and cracked and the edges have set, while the centers still look soft. - Leave the cookies on their baking sheets for 5 minutes before moving them to a wire rack, then place them in an airtight container once completely cool.
The brief sheet rest helps the soft cookies hold together during transfer, while complete cooling prevents trapped warmth from dampening the coating.
Use the set rim as your main doneness cue. A center that looks fully dry in the oven is likely to lose the soft texture you’re aiming for. After the sheet rest, the cookies should lift with support under their bases rather than bend apart.
The Double-Sugar Secret for Dramatic Crinkle Tops
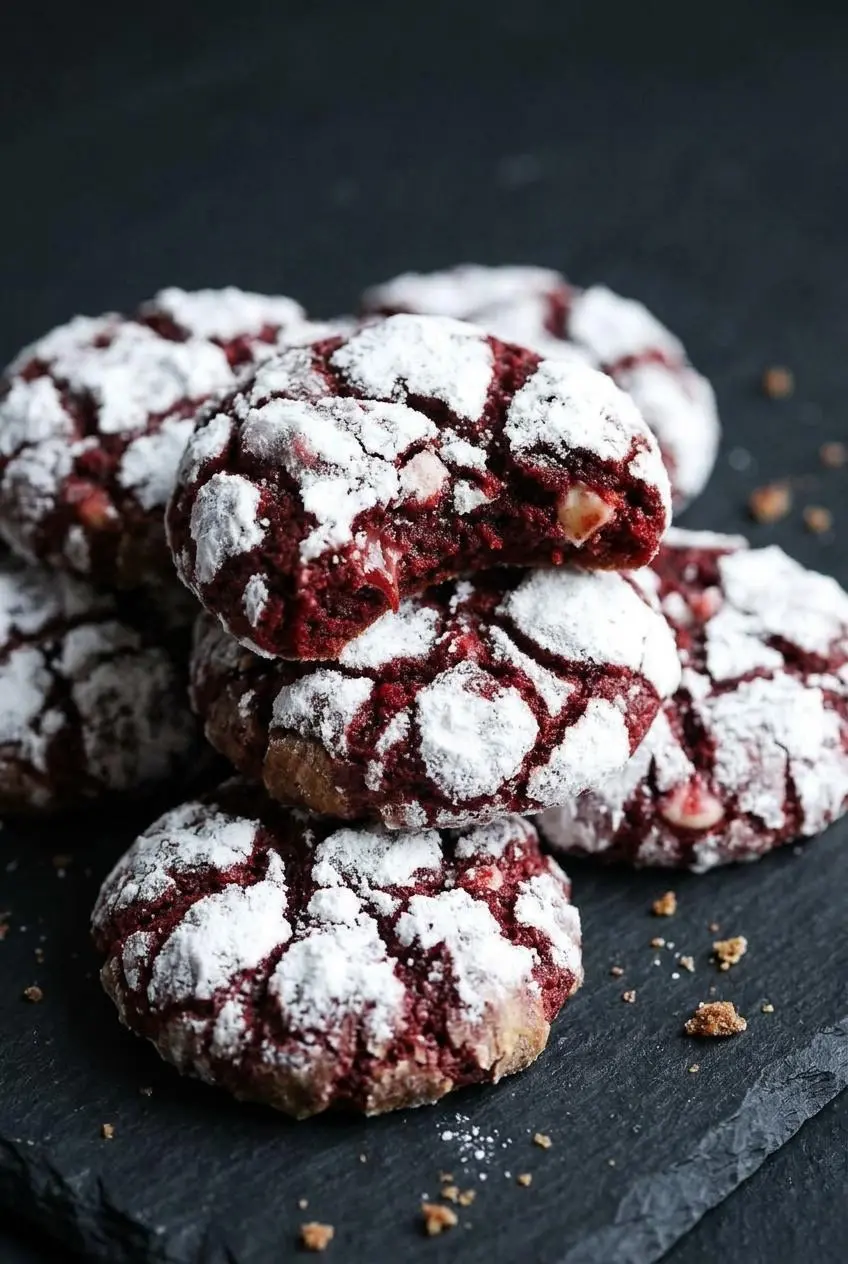
The clearest crackles come from cold dough and a generous two-stage coating. A light dusting of powdered sugar doesn’t provide the same contrast.
Granulated sugar goes on first. Its crystals create a buffer between the moist dough and the fine powdered sugar, helping reduce absorption as the cookies bake. It isn’t an impermeable shell, but it gives the outer coating a better chance of staying visible.
- First coating: Roll until granulated sugar covers the whole dough ball, including its underside.
- Second coating: Turn the ball through powdered sugar until the surface looks opaque and chalky, not lightly speckled.
- Before baking: Handle the coated balls gently so you don’t rub away the white layer when placing them on the sheet.
As the dough spreads and puffs, the surface coating separates into pale patches with red cracks between them. Even portions make that expansion more consistent across the batch.
The same snowy contrast makes chocolate crinkle cookies appealing, with a darker cocoa background in place of crimson dough.
Troubleshooting Common Baking Mistakes
When the texture or coating disappoints, check dough temperature, portion size, and doneness before changing the ingredients.
- Flat, greasy cookies: Warm dough lets the butter soften too much before the cookie structure sets; complete the full chill and return dough to the refrigerator if it becomes difficult to shape.
- Powdered sugar disappears: Warm dough, a skipped granulated coating, or a thin powdered coating can encourage absorption; start with firm dough and cover every ball generously in both sugars.
- Cookies turn brownish-maroon: Dark or Dutch process cocoa can obscure the red coloring; use the specified natural cocoa and concentrated red gel rather than trying to correct the dough with extra lemon juice.
- Dry centers: Excess flour or overbaking can remove the fudgy texture; measure accurately and check for set edges at the listed bake time instead of waiting for dry centers.
- Uneven baking: Different-sized portions finish at different rates; use the same scoop throughout and rotate the pans halfway through baking.
- Cookies break during transfer: Freshly baked centers are delicate; give them their sheet rest and support the base with a spatula when moving them.
For soft-centered cookies, the rim usually tells you more than the middle. That same distinction matters with fudgy brownie cookies, where waiting for a dry center can sacrifice the desired texture.
Creative Variations: Stuffed Centers and Easy Shortcuts
Keep these optional ideas separate from the scratch dough instructions. A filling or boxed mix changes how the cookies behave, so don’t assume the same yield or baking time will apply.
- Citrus accent: Add a little finely grated orange zest during creaming for a fresh aroma alongside the cocoa and vanilla.
- Cheesecake center: Enclose a firm cream cheese filling in the dough for a tangy contrast to the sweet white chocolate.
- Crinkle blossoms: Press a chocolate kiss gently into the center immediately after baking for a festive chocolate topping.
Cheesecake-Stuffed Crinkle Cookies
For an optional filled version, use a thick, sweetened cream cheese filling and keep it chilled while assembling. A loose filling is difficult to enclose and more likely to escape.
Flatten a portion of chilled red velvet dough, place a small dollop of filling in the middle, and bring the dough around it. Pinch the seam closed, then gently round the cookie without exposing the filling. Apply the two sugar coatings after sealing.
Stuffing changes the cookie’s thickness, so the standard portion size and baking time aren’t confirmed for this variation. Watch for set edges and a baked outer shell rather than relying only on the scratch version’s timing. As a precaution, keep cream cheese-filled cookies refrigerated rather than treating them like the unfilled batch.
Quick Red Velvet Cake Mix Shortcut
A boxed mix offers a different route when you want to skip measuring flour, cocoa, and leaveners. Use cookie-specific directions for your particular red velvet mix, combining it with eggs and oil or melted butter as directed; cake batter directions produce a mixture that’s too loose for crinkles.
Once the cookie dough is firm enough to shape, portion it and use the same granulated-then-powdered sugar coating. Follow the mix’s cookie baking guidance rather than assuming it matches this scratch dough. Mix formulas and package sizes vary.
If boxed-mix baking suits your schedule, these cake mix cookies offer another flavor direction. The shortcut is convenient, but it won’t duplicate the cocoa balance and white chocolate pockets of the scratch version.
Make-Ahead and Storage Tips
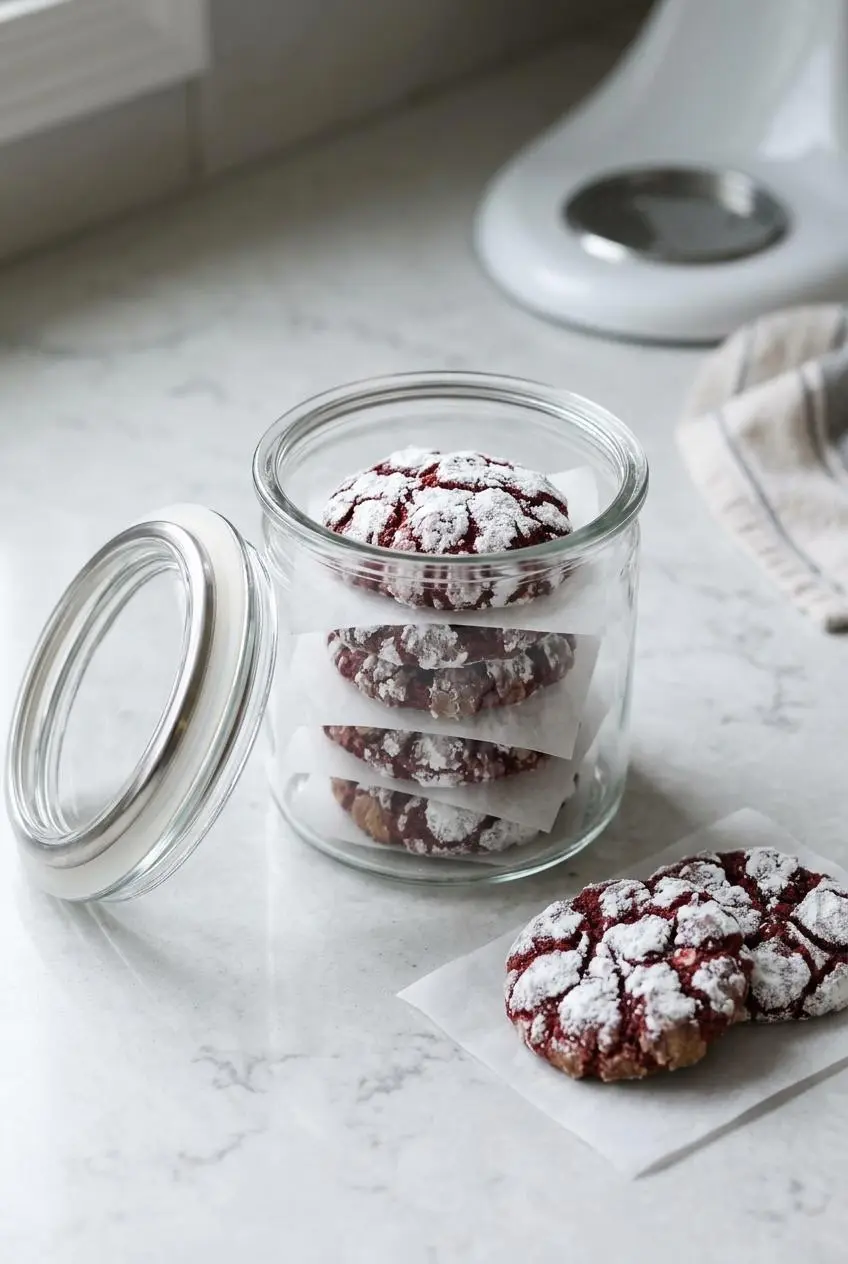
The required chilling stage gives you a natural pause between mixing and baking. Keep the dough covered in the refrigerator during that stage, then scoop and coat it when you’re ready to bake.
Leave the rolling sugars separate until shaping time. Coating the dough well before baking gives moisture more opportunity to dampen the powdered sugar, reducing the bright white finish.
Cool baked cookies completely on the rack before packing. Choose an airtight container and separate stacked layers with parchment to limit rubbing against the delicate coating. Keep them away from excess humidity, which can make the sugar surface tacky.
Store the unfilled cookies at room temperature for up to 3 days. Keep cream cheese-filled versions chilled as a precaution; the unfilled cookies’ storage approach doesn’t apply to them.
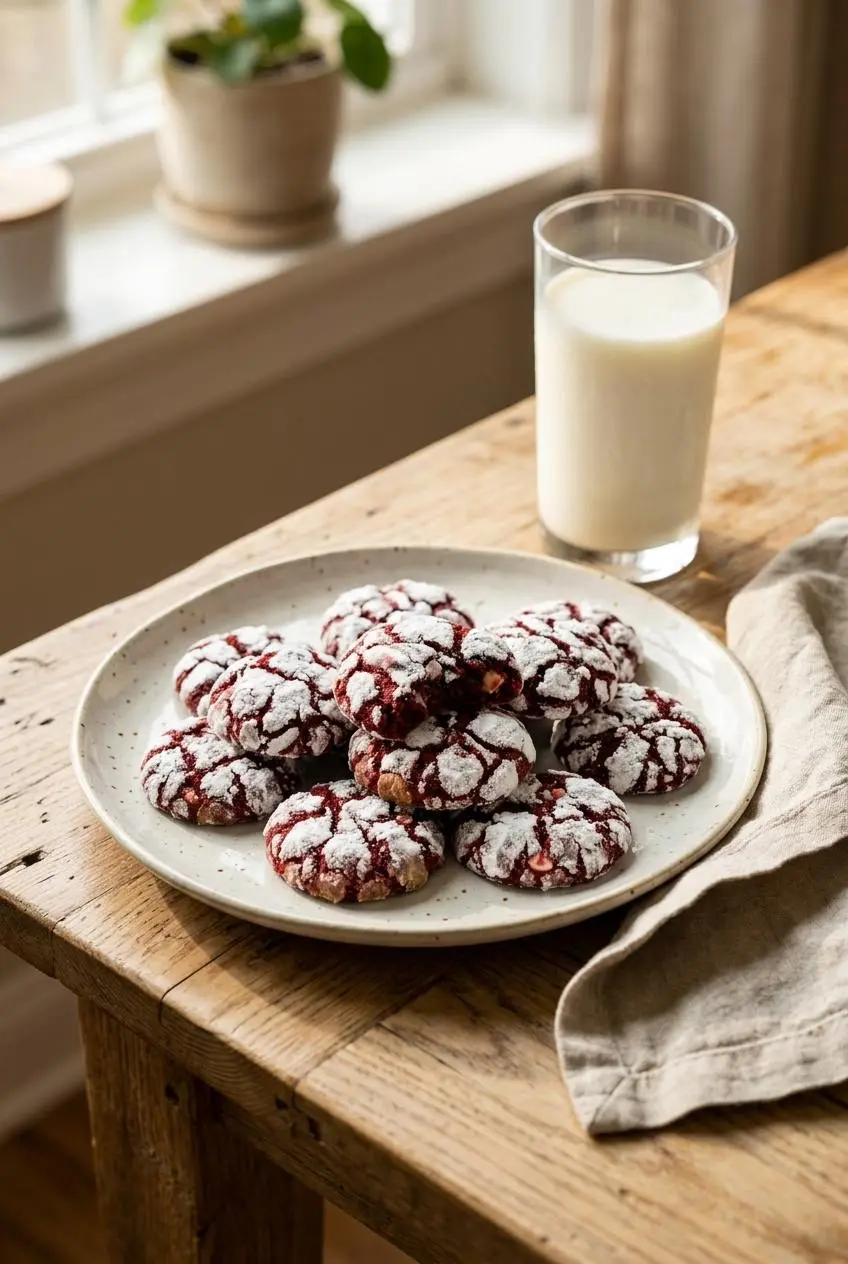
For a cookie exchange, pack gently rather than squeezing the cookies into a tin. Serve with cold milk, hot cocoa, or espresso, and handle them by the edges to preserve the snowy tops.
Conclusion
These cookies deliver the contrast that makes red velvet so inviting: gentle cocoa flavor, a soft center, creamy white chocolate, and a snowy coating. Fully chilled dough and generous double rolling do the most to make that finish work.
Try the optional orange zest accent when you want a brighter aroma, or keep the cocoa and vanilla in the spotlight. Give the dough its chilling time, then let the set edges guide you toward a soft-centered batch.
Frequently Asked Questions
What Is the Secret to Crinkle Cookies?
Chill the dough thoroughly so the portions hold their shape before baking. Roll in granulated sugar first, followed by a thick powdered sugar coating. Use even portions so the cookies expand consistently and open visible cracks.
Why Did My Powdered Sugar Melt and Disappear?
Warm or moist dough can dissolve a thin powdered sugar coating. Skipping granulated sugar removes the buffer beneath the outer coating. Use firm dough and an opaque powdered sugar layer rather than a light dusting.
Can I Prepare the Cookie Dough Ahead?
Mixing and baking already happen separately because the dough needs its refrigerator chill. Keep it covered during chilling to protect the surface from drying. Wait to apply both sugar coatings until you’re ready to bake.
Why Did My Cookies Turn Brownish-Maroon Instead of Bright Red?
Dutch process or very dark cocoa creates a darker background that can mute the red. Use natural unsweetened cocoa and the specified red gel coloring for this dough. Don’t add extra cocoa or lemon juice to chase a different shade, since that changes the recipe’s balance.
Red Velvet Crinkle Cookies

Equipment
- Baking Sheets
- Stand mixer
Ingredients
Cookies
- 2 cups all-purpose flour 280 g
- 1/3 cup unsweetened natural cocoa powder 32 g
- 1 tsp baking powder 5 g
- 1/4 tsp baking soda
- 1/2 tsp salt 3 g
- 1/2 cup unsalted butter, at room temperature 112 g
- 3/4 cup granulated sugar 150 g
- 1/2 cup light brown sugar 100 g
- 2 large eggs 100 g
- 1 tsp vanilla extract 4 g
- 1 tsp lemon juice 5 g
- 1 Tbsp red gel food coloring 21 g
- 1 1/2 Tbsp milk 22 g
- 3/4 cup white chocolate chips 128 g
For Rolling
- 1/2 cup granulated sugar 100 g
- 1/2 cup powdered sugar 60 g
Instructions
- Combine the flour, cocoa powder, baking powder, baking soda, and salt in a medium bowl using a whisk. Break up visible cocoa lumps so the dry mixture has an even color and the leaveners distribute throughout.
- Cream the room-temperature butter with the granulated and brown sugars in a large mixer bowl at medium speed for about 2 minutes. Look for a creamy, slightly lighter mixture as beating incorporates air into the butter.
- Work in the eggs individually, allowing each to blend into the butter mixture before adding the next. The mixture should look cohesive rather than showing streaks of unbeaten egg.
- Mix in the vanilla, lemon juice, and red gel food coloring. Check that the wet mixture has a uniform red color before proceeding.
- With the mixer on low, add the dry mixture gradually and stop as soon as it incorporates, then blend in the milk briefly at low speed and fold in the white chocolate chips. The finished dough should be thick and soft, with no dry flour pockets and chips distributed throughout.
- Cover the dough and refrigerate it for 2 hours. Chilling firms the butter and changes the soft dough into a scoopable consistency similar to firm fudge.
- Heat the oven to 350°F and cover two baking sheets with parchment paper. The lined sheets provide a release surface for the delicate, sugar-coated cookies.
- Put each rolling sugar in its own shallow bowl, lightly coat a medium cookie scoop with nonstick spray, and portion the dough into 1 1/2-inch balls weighing approximately 30 grams each. Consistent portions help the cookies spread and bake at a similar rate.
- Coat each ball in granulated sugar first, then apply a generous powdered sugar coating and arrange the balls 2 inches apart on the prepared sheets. The outside should look chalky white, with enough space around each portion for expansion.
- Bake for 12 minutes, turning the pans halfway through, and optionally tap the sheets sharply once or twice after baking to flatten the cookies slightly. Remove them when the tops have puffed and cracked and the edges have set, while the centers still look soft.
- Leave the cookies on their baking sheets for 5 minutes before moving them to a wire rack, then place them in an airtight container once completely cool. The brief sheet rest helps the soft cookies hold together during transfer, while complete cooling prevents trapped warmth from dampening the coating.