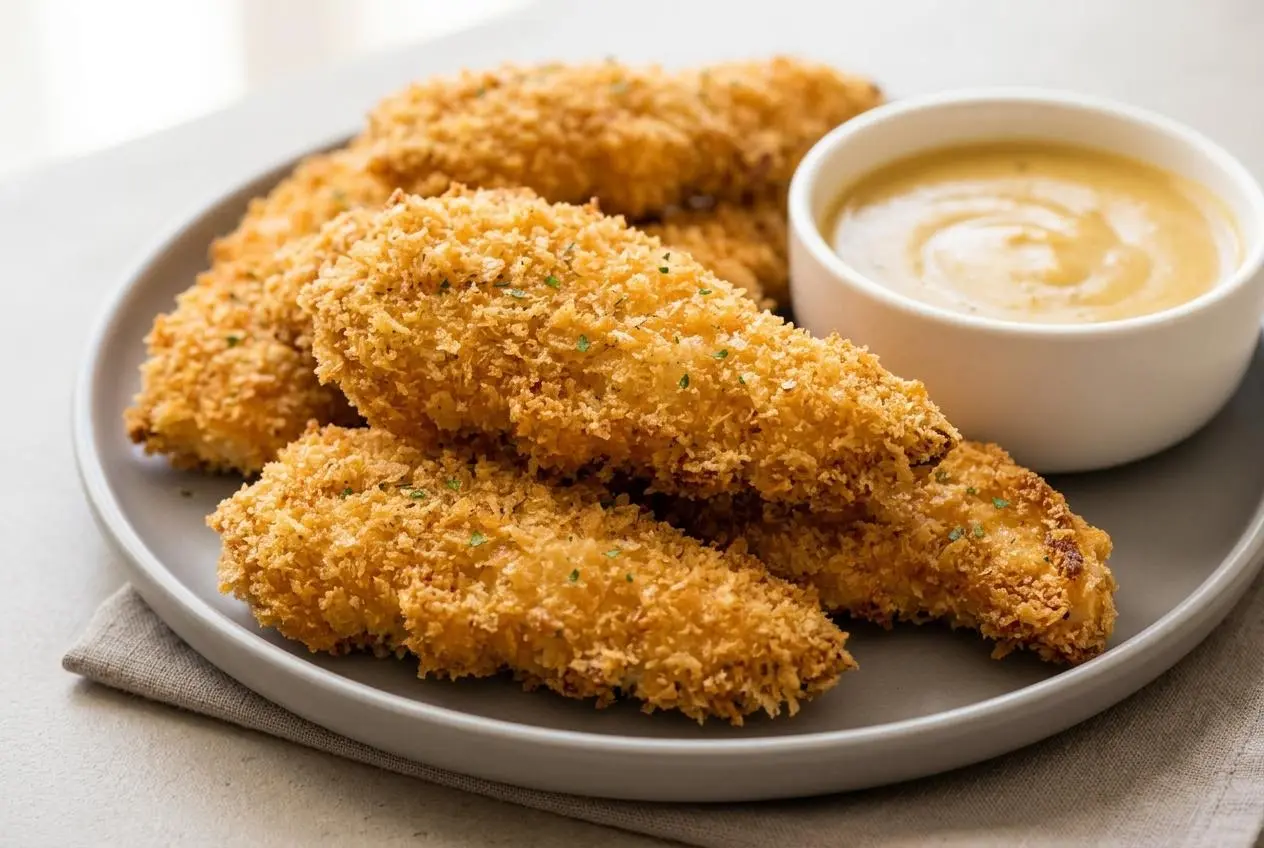
For ultra-crispy oven chicken strips, coat tenderloins in a Dijon-mayo batter, press them into pre-toasted panko, and bake them on a wire rack at 390 °F until golden and cooked through.
This chicken strips recipe delivers a deeply golden crust without a deep fryer or a messy flour-and-egg assembly line. The batter clings well, the panko stays airy, and the chicken remains tender inside.
That toasted breadcrumb aroma is the first sign that dinner is headed somewhere good. The rack does the rest.
Set the wire rack over a rimmed baking tray before handling the chicken, so each breaded strip has somewhere ready to land.
Key Ingredients and Smart Substitutions
Each ingredient earns its place: panko builds crunch, the batter creates a sturdy coating, and tenderloins cook quickly while staying moist under the crisp crust.
Breadcrumb
- 1 1/2 cups panko breadcrumbs
- Oil spray
Batter
- 1 egg
- 1 tbsp mayonnaise
- 1 1/2 tbsp dijon mustard
- 2 tbsp flour
- 1/2 tsp salt
- Black pepper
Chicken
- 500 g/1 lb chicken tenderloins
- Oil spray
Panko breadcrumbs have larger, jagged flakes than standard fine breadcrumbs, so they create a lighter crust with more crisp edges. The oil spray helps those flakes brown evenly rather than leaving dry, dusty spots.
The egg, mayonnaise, Dijon mustard, and flour form one thick, savory batter. Mayonnaise adds richness, Dijon adds tang, and flour gives the mixture enough structure to hold the panko firmly against the chicken.
I use tongs for the transfer from batter to panko because clean fingers make it much easier to press the crumbs on evenly.
Choosing Between Tenderloins and Chicken Breasts
Chicken tenderloins are naturally strip-shaped and cook evenly, which makes them ideal here. Some whole tenderloins have a tough white tendon running through the thick end. To remove it, grip the tendon with a paper towel, hold it against the tines of a fork, and pull the chicken away from the tendon with a steady motion.
Boneless, skinless chicken breasts also work when cut into even strips. Slice across the breast into similarly sized pieces so they finish at roughly the same time. Avoid very thin pieces beside thick ones, since the thin strips can dry out before the larger pieces are done.
The Secret Role of Panko and Dijon Batter
Fine breadcrumbs can make a dense, uniform coating. Panko stays craggy and open, which gives the finished chicken more crisp little ridges. Toasting it first is what brings that golden color before the chicken has spent too long in the oven.
Instead of moving chicken through separate flour, egg, and breadcrumb bowls, whisk the egg, mayo, Dijon, flour, salt, and pepper together. This clinging batter coats the tenderloins in one pass, while the panko gives them a dry, crisp outer layer.
How to Make Crispy Chicken Strips
The key is to brown the crumbs before they touch the chicken, then keep hot air moving around every strip as it bakes.
- Heat the oven to 200 °C/390 °F, or 180 °C fan-forced.
Let the oven fully preheat so the panko toasts and the chicken begins cooking in steady heat. - Scatter the panko over a baking tray, mist it with oil, and bake for 3 to 5 minutes before tipping it into a bowl.
Take it out when it is lightly golden and smells like warm toasted bread. - Set a wire rack inside the baking tray.
The raised surface leaves room for heat to circulate beneath the chicken. - Whisk the batter ingredients in a bowl with a fork, then add the chicken tenderloins and turn them until coated.
The mixture should cover the chicken in a thin, even layer without pooling heavily in the bowl. - Lift one coated tenderloin with tongs and lower it into the toasted panko.
Using tongs keeps the batter where it belongs instead of turning your hands into breadcrumb gloves. - Shower panko over the top of the chicken, press the crumbs firmly onto all sides, and place it on the rack.
The coating should look textured and well attached, with no wet batter showing through. - Mist the breaded chicken lightly with oil, add a small pinch of salt, and bake for 15 minutes, allowing up to 20 minutes for very large pieces.
The crust should be golden and the thickest pieces should feel gently firm with a slight spring when pressed. - Take the chicken from the oven and serve it right away with a sauce of your choice.
The crust is at its crunchiest while the strips are hot and steam has not softened the coating.
Pre-Toasting the Panko Breadcrumbs
Raw panko often stays pale in the oven unless the chicken cooks longer than it needs to. Toasting it first solves that problem. Watch closely near the end of the 3 to 5 minutes because pale crumbs can move from lightly golden to overly dark quickly.
Once ready, the crumbs should smell nutty and toasted, not burnt. Stirring is unnecessary here, but spread them in an even layer so the color develops evenly across the tray.
The One-Bowl Clinging Batter Method
Whisk the batter until the flour disappears and the mixture looks smooth. Tossing the chicken directly in this bowl gives every surface enough coating for the panko to grab onto.
Lift each strip with tongs, let excess batter drip back briefly, then place it in the crumbs. Sprinkle crumbs over the top before pressing. Dragging the chicken through the bowl can pull the batter away, while pressing locks the crust in place.
Baking on a Raised Wire Rack
A wire rack is more than a convenience here. It prevents steam from collecting under the chicken, so the underside can crisp along with the top. There is no need to flip the strips when the rack leaves enough airflow underneath.
Leave a little space between strips. When pieces touch, the trapped moisture softens the coating at the edges.
Essential Tips for Golden Crunch and Troubleshooting
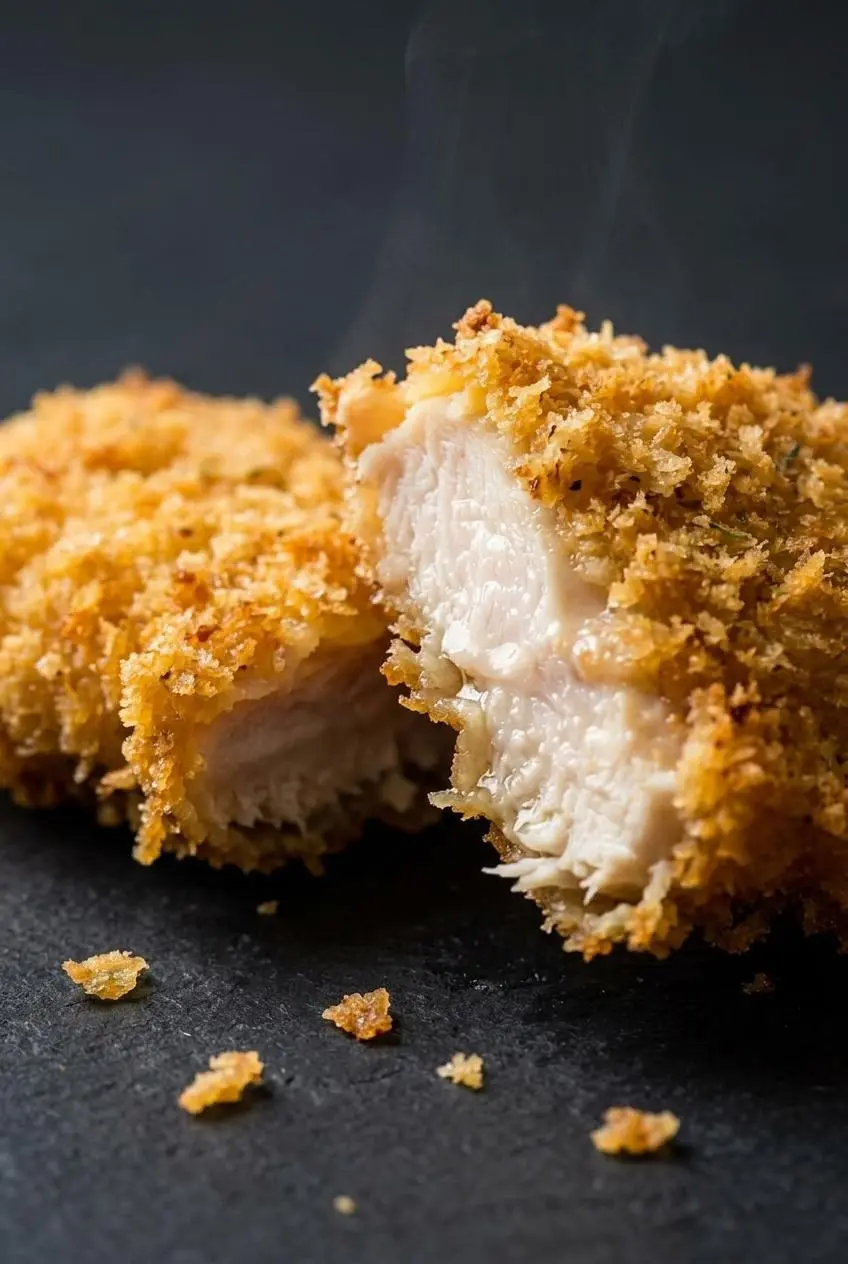
Most crispness problems come down to moisture, weak adhesion, or crowded chicken. These fixes keep the coating golden and firmly attached.
- Breading slides off: Pat the chicken dry before it goes into the batter, especially if the tenderloins feel damp from their packaging. Then press the panko on with a firm, gentle hand rather than a quick dusting.
- Crust looks pale: Toast the panko until lightly golden before coating, then mist the breaded chicken with oil just before baking. Dry floury patches need that light oil coating to brown.
- Bottoms turn soft: Use the raised rack rather than placing the strips directly on parchment or foil. The rack lets steam escape instead of settling beneath the crust.
- Chicken turns dry or stringy: Start checking medium strips at the stated baking time, and avoid extending the bake unless the pieces are unusually large. Use an instant-read thermometer in the thickest part as a final doneness check.
- Want deeper savory flavor: Stir a pinch of smoked paprika and garlic powder into the toasted panko. Keep the addition light so the spices do not overpower the Dijon batter or darken too quickly.
Preventing Breadcrumbs from Falling Off
Dry chicken gives the batter a better surface to grip, so blot tenderloins with paper towels before coating. Once the chicken enters the panko, cover it generously, then press down and turn it to coat the second side.
Handle the strips as little as possible after breading. Moving them repeatedly can crack the crumb layer before it has a chance to set in the oven.
Avoiding Soggy Bottoms and Pale Crust
Use the oil spray twice: once for the panko as it toasts and again over the finished breaded strips. That second mist encourages even browning over the rough panko surface.
Skip a flat-lined tray for this method. The wire rack keeps the strips elevated, which protects the bottom crust from trapped moisture and gives you a more even crunch.
Cooking Variations: Air Fryer and Skillet Options
The oven method is the least fussy option for a full batch, but an air fryer or skillet works well when you want a different finish.
Air Fryer Cooking Instructions
Preheat the air fryer to 390 °F (200 °C). Arrange breaded strips in a single layer with space between them, mist the tops with oil, and cook for 10 to 12 minutes, turning once halfway through. Work in batches rather than stacking the chicken, which can soften the breading.
The air fryer produces a fast, crisp exterior, especially on smaller strips. Check the thickest piece for doneness before serving, since basket models and strip thickness can vary.
Crispy Stovetop Skillet Method
For a skillet version, pour neutral high-heat oil into a heavy pan for shallow frying and keep the heat around 350 °F. Fry in batches for 3 to 4 minutes per side, adjusting the heat if the crumbs darken before the chicken is cooked through.
Transfer the cooked strips to a clean wire rack or paper towels so excess oil can drain away. A crowded pan drops the oil temperature and encourages a greasy coating.
Flavor Adaptations and Seasoning Swaps
- Spicy Cajun crispy strips: Add Cajun seasoning and a little cayenne to the panko for warmth and a bold peppery crust.
- Parmesan garlic herb strips: Mix grated Parmesan with the toasted panko and add dried Italian herbs and garlic powder for a savory, fragrant coating.
- Lemon pepper strips: Blend lemon pepper seasoning into the panko for a bright, zippy finish that works especially well with a creamy dip.
If you prefer smaller, snackable pieces for a party platter, crispy popcorn chicken is a great next move with the same crowd-pleasing crunch.
Make-Ahead, Storage, and Reheating Guide
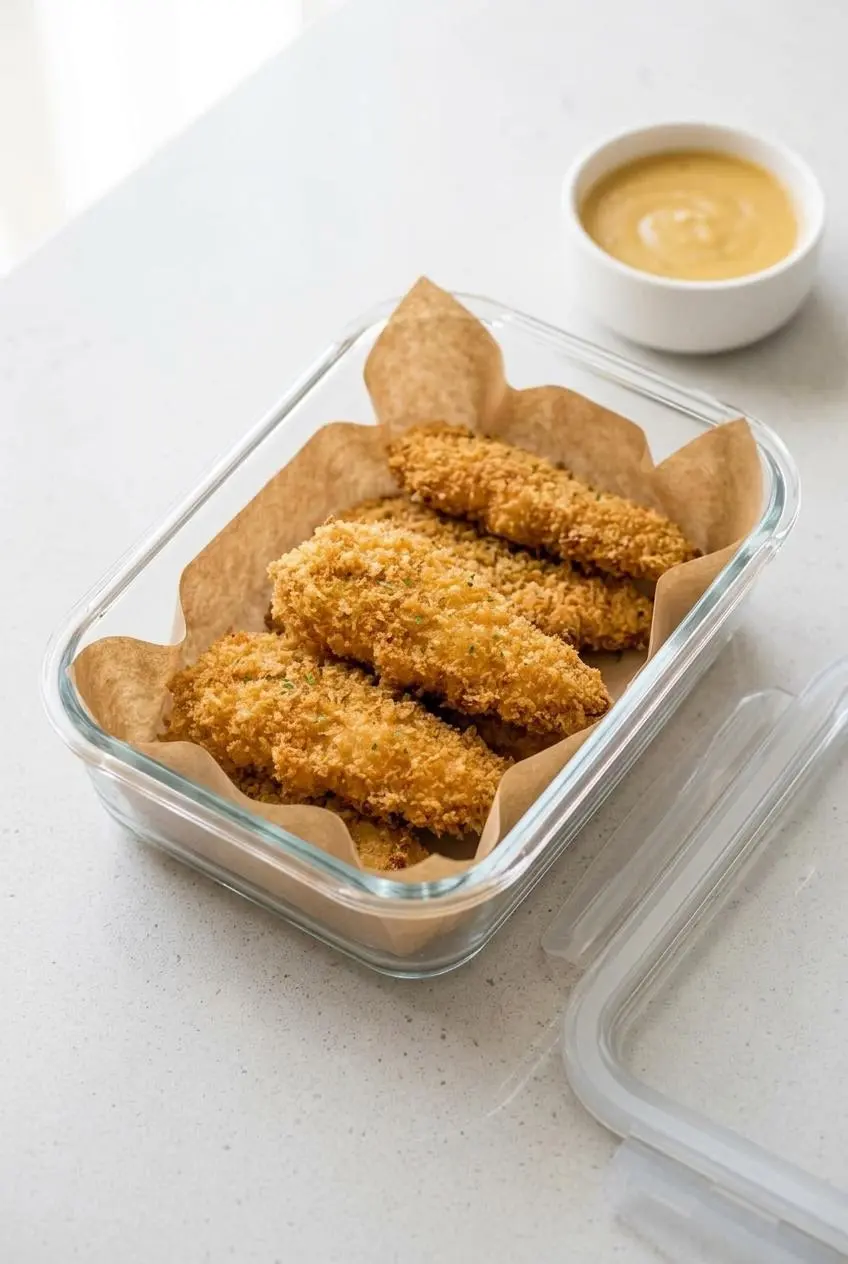
For the best crust, bread the chicken close to baking time and keep it chilled while you finish the rest of the meal. If you need to pause, place the breaded strips in a single layer on a lined tray so their coating stays intact.
Cool cooked strips before placing them in an airtight container in the refrigerator. Keep moisture away from the crust by avoiding a tightly packed pile while the chicken is still steaming.
Keeping Raw and Cooked Strips Crisp
Raw breaded chicken is best baked soon after coating because the panko gradually absorbs moisture from the batter. Keep the pieces separated on a tray if they need to wait briefly, rather than stacking them together.
For cooked leftovers, store strips in a shallow layer once cooled. Separate layers with parchment if needed, which helps prevent the crumb coating from sticking or becoming damp.
Reheating to Restore Maximum Crunch
Use dry heat to bring leftovers back to life. Reheat strips in an oven or air fryer on a rack until the coating is crisp and the chicken is hot throughout, checking the center before serving.
The microwave is convenient but softens the panko quickly. If crunch matters, save it for a different leftover.
Serving Suggestions and Homemade Dips
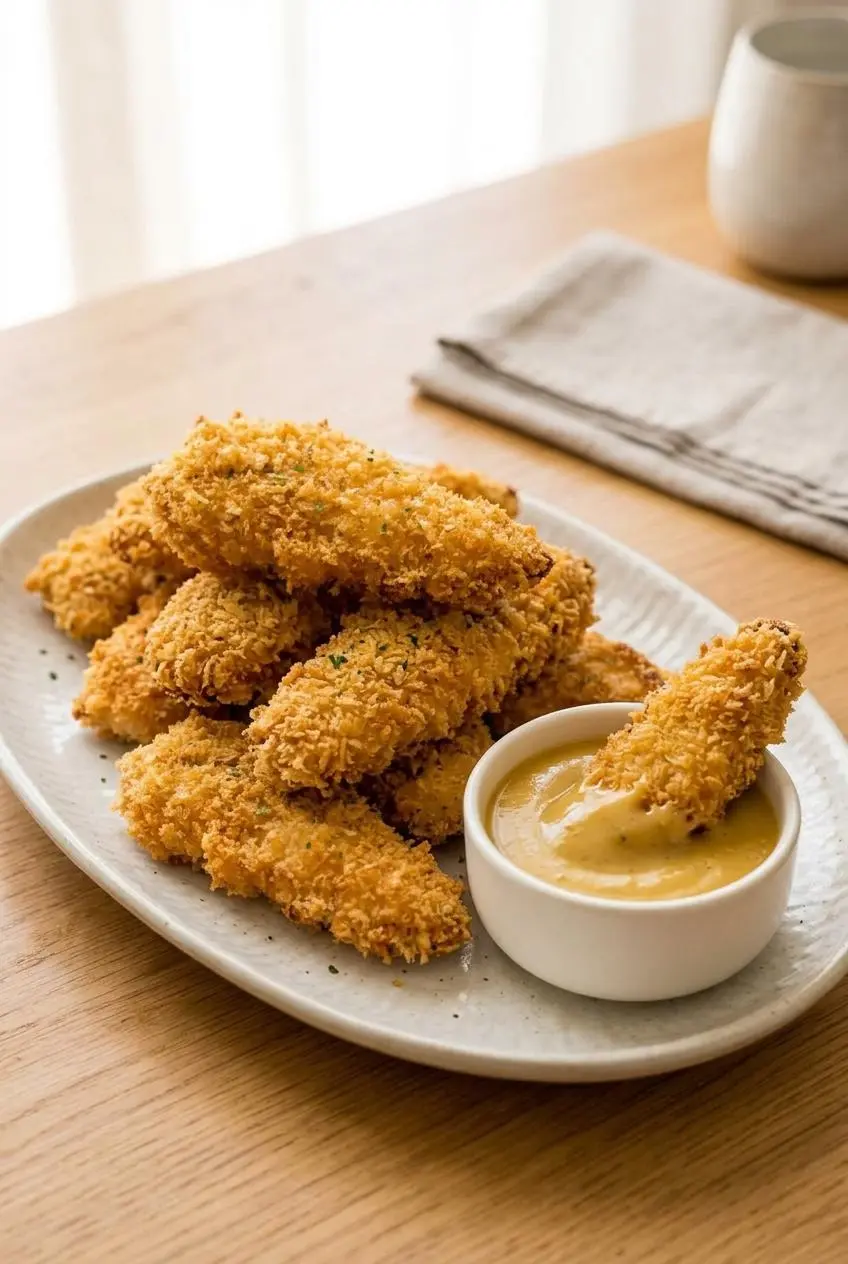
A tangy honey mustard is an easy match for these strips. Stir Dijon, honey, and mayonnaise together until smooth, then serve it alongside the hot chicken. Cool buttermilk ranch and spicy barbecue sauce are equally good choices when you want contrast with the warm, crunchy coating.
- Slice the strips over a crisp green salad for a quick lunch with plenty of texture.
- Wrap them in warm flour tortillas with shredded lettuce and spicy mayonnaise.
- Serve them beside baked potato wedges for a familiar weeknight plate.
- For a creamy sweet heat option, try the sauce approach in crispy bang bang chicken.
- Turn leftover strips into a hearty lunch by adding them to a chicken taco salad.
Conclusion
These strips come together in about 30 minutes, with pre-toasted panko doing the heavy lifting for a golden, crunchy crust. The Dijon batter keeps the coating attached, while the wire rack helps the chicken stay crisp on every side.
Serve them hot with the dip you like most, and keep a few extra napkins nearby for the satisfying crunch.
Frequently Asked Questions
How Do You Make Baked Chicken Strips Truly Crispy?
Toast the panko before breading so it enters the oven already lightly golden. Mist the breaded chicken with oil to encourage even browning. Bake on a raised wire rack so hot air circulates underneath and steam does not soften the bottom crust.
Can You Cook These Chicken Strips in an Air Fryer?
Yes. Preheat the air fryer to 390 °F (200 °C). Cook the breaded strips in one spaced layer for 10 to 12 minutes. Turn them halfway through so both sides become crisp and evenly browned.
How Do You Prevent Breading from Falling Off Chicken Strips?
Pat the chicken dry before it goes into the batter. Use the egg, Dijon, mayo, and flour mixture as the adhesive layer. Cover each strip with panko and press firmly on both sides before transferring it to the rack.
What Internal Temperature Should Chicken Strips Reach?
Check the thickest portion with an instant-read thermometer before serving. The chicken should be cooked through at the center, feel gently firm, and have no raw-looking area when cut into.
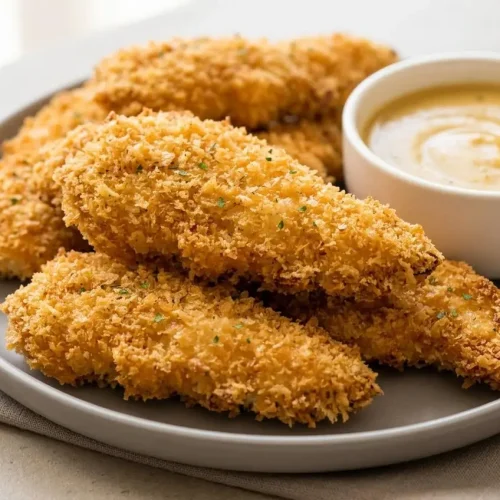
Chicken Strips Recipe

Equipment
- Baking tray
- Wire rack
- Tongs
Ingredients
Breadcrumb
- 1 1/2 cups panko breadcrumbs
- Oil spray
Batter
- 1 egg
- 1 tbsp mayonnaise
- 1 1/2 tbsp dijon mustard
- 2 tbsp flour
- 1/2 tsp salt
- Black pepper
Chicken
- 500 g chicken tenderloins 1 lb
- Oil spray
Instructions
- Heat the oven to 200 °C/390 °F, or 180 °C fan-forced. Let the oven fully preheat so the panko toasts and the chicken begins cooking in steady heat.
- Scatter the panko over a baking tray, mist it with oil, and bake for 3 to 5 minutes before tipping it into a bowl. Take it out when it is lightly golden and smells like warm toasted bread.
- Set a wire rack inside the baking tray. The raised surface leaves room for heat to circulate beneath the chicken.
- Whisk the batter ingredients in a bowl with a fork, then add the chicken tenderloins and turn them until coated. The mixture should cover the chicken in a thin, even layer without pooling heavily in the bowl.
- Lift one coated tenderloin with tongs and lower it into the toasted panko. Using tongs keeps the batter where it belongs instead of turning your hands into breadcrumb gloves.
- Shower panko over the top of the chicken, press the crumbs firmly onto all sides, and place it on the rack. The coating should look textured and well attached, with no wet batter showing through.
- Mist the breaded chicken lightly with oil, add a small pinch of salt, and bake for 15 minutes, allowing up to 20 minutes for very large pieces. The crust should be golden and the thickest pieces should feel gently firm with a slight spring when pressed.
- Take the chicken from the oven and serve it right away with a sauce of your choice. The crust is at its crunchiest while the strips are hot and steam has not softened the coating.