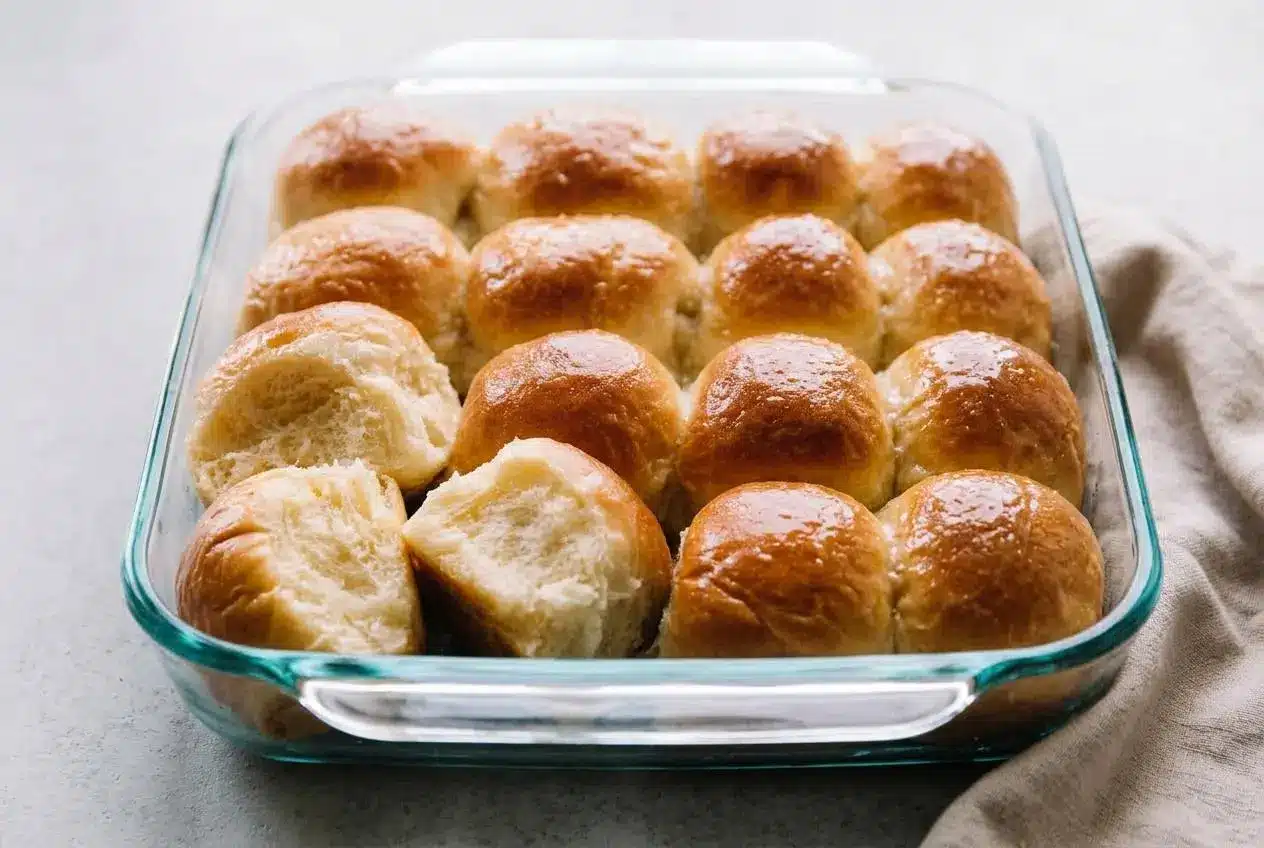
Make soft, buttery rolls by kneading an enriched yeast dough, letting it rise until doubled, shaping smooth rounds, and baking at 350°F until golden.
This dinner rolls recipe makes pillowy homemade rolls with a buttery aroma, a tender crumb, and gently golden tops.
Warm bread filling the kitchen makes any dinner feel cozier. The key is knowing when the dough is ready to move.
Keep an instant-read thermometer nearby so the milk reaches about 110°F without getting too hot for the yeast.
Why These Dinner Rolls Work
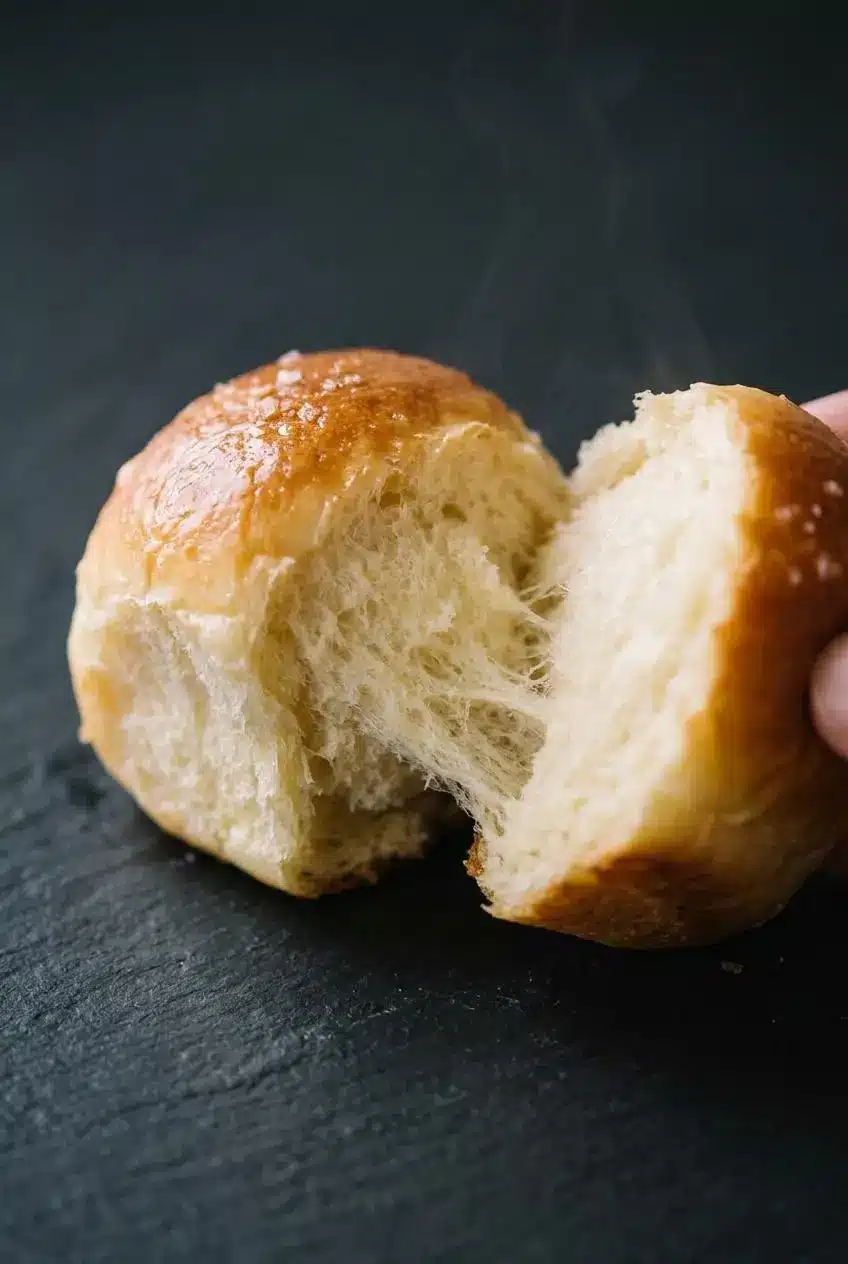
These rolls get their soft, cloudlike texture from enriched dough. Whole milk adds moisture and tenderness, while the egg supports structure so the rolls hold their rounded shape instead of spreading flat.
Softened butter brings a fuller flavor and a tender bite that oil does not quite match. It also helps the crumb stay supple after baking. Sugar gives the yeast fuel early in the process and helps the finished rolls retain moisture.
The dough needs enough kneading to build gluten, but not extra flour to make it feel dry. Aim for dough that is smooth, elastic, and a little tacky rather than dusty or stiff.
Essential Ingredients for Soft Yeast Rolls
Each ingredient contributes to the rolls’ soft structure, rich flavor, balanced seasoning, golden color, or tender moisture.
- 1 cup (240ml) whole milk, warmed to about 110°F (43°C)
- 2 and 1/4 teaspoons Platinum Yeast from Red Star instant yeast (1 standard packet)
- 2 Tablespoons granulated sugar, divided
- 1 large egg
- 1/4 cup (4 Tbsp; 56g) unsalted butter, softened to room temperature and cut into 4 pieces
- 1 teaspoon salt
- 3 cups (390g) all-purpose flour or bread flour (spooned & leveled)
- optional topping: 2 Tablespoons (28g) melted unsalted butter mixed with 1 Tablespoon honey
Milk keeps the crumb moist, yeast supplies lift, and the egg and butter create richness without making the rolls heavy. Salt sharpens the flavor and helps the dough develop a more organized gluten structure.
I prefer to set the butter out before warming the milk, since butter that bends easily blends into the dough without leaving greasy lumps.
Flour Selection: All-Purpose vs Bread Flour
Both flour choices work here in the same amount. All-purpose flour gives the rolls a softer, more delicate bite, while bread flour creates a slightly chewier, bakery-style structure with more spring.
Spoon flour into the measuring cup and level it off rather than scooping directly from the bag. Packed flour can turn a promising dough into dense, heavy rolls. In humid weather, hold back any flour additions until the dough has mixed and kneaded for the full time.
Active Dry Yeast vs Instant Yeast: How to Bloom
Instant yeast works directly in the warm milk mixture and gets a brief rest before the remaining ingredients go in. Active dry yeast benefits from blooming first: stir it into milk between 105°F and 110°F with sugar, then wait about 5 minutes for a foamy surface.
Milk above 120°F can damage the yeast, so check it rather than guessing. If the mixture stays flat and shows no foam, use fresh yeast before continuing.
How to Make Soft Dinner Rolls
A stand mixer makes kneading hands-off, but a bowl, sturdy spoon, and lightly floured counter work well too. The dough will look rough at first, then turn smooth and stretchy as the gluten develops.
Mixing and Kneading the Dough
Mix the dough until it gathers around the hook or pulls mostly away from the bowl sides. By hand, press the dough forward with the heel of your hand, fold it back, turn it, and repeat for the full kneading time.
The finished dough should feel smooth and slightly tacky, with a gentle bounce when poked. For the windowpane test, stretch a small piece between your fingers. It should form a thin, translucent membrane before it tears.
Prepare the Dough
- Combine the warm milk, yeast, and 1 Tablespoon of sugar in the stand mixer bowl, then cover the bowl and leave it for 5 minutes.
The surface should look foamy or creamy as the yeast wakes up. - Add the remaining sugar, egg, butter, salt, and 1 cup flour, then mix on low for 30 seconds before scraping the bowl and adding the remaining flour.
Mix on medium for about 2 minutes, until the dough gathers into a soft mass and releases from most of the bowl sides.
Knead the Dough
- Knead with the mixer for 5 full minutes, or work the dough by hand on a lightly floured surface for 5 full minutes.
The dough should become elastic and slightly tacky; add flour 1 teaspoon at a time only if it remains unworkably sticky.
The First Rise and Testing for Readiness
Yeast dough rises best in a draft-free spot around 75°F to 80°F. A cool kitchen does not ruin the dough, but it can slow the rise considerably.
Wait until the dough has doubled in bulk, usually within the stated rise time. Press a lightly floured fingertip gently into the dough. A dent that lingers softly signals that it is ready to shape.
1st Rise
- Coat a large bowl lightly with oil or nonstick spray, place the dough inside, and turn it once so the surface is covered.
Cover the bowl and let the dough rise in a warm place for 1-2 hours, until it has doubled in size.
How to Shape Smooth Dinner Rolls
Even shaping matters because similarly sized rolls bake at the same pace. After pressing out the large air bubbles, divide the dough into 14-16 pieces as evenly as possible.
Work one piece at a time on an unfloured spot of counter. Cup your hand over it and move your hand in a small circle, dragging the dough lightly against the surface until the top tightens into a smooth dome. Pinch the seam underneath.
Shape the Rolls
- Grease a 9×13 inch baking pan or two 9-inch square or round baking pans.
A lightly coated pan helps the rolls release cleanly after baking. - Deflate the risen dough gently, divide it into 14-16 pieces, and round each piece before setting it seam-side down in the prepared pan.
The tops should look smooth and taut, with space for the dough balls to expand.
The Second Rise and Baking to Golden Perfection
Do not hurry the second rise. The rolls need time to become noticeably puffy and begin touching, which creates their soft pull-apart edges.
Place the pan on a lower oven rack so the centers have time to bake before the tops get too dark. During the final minutes, the kitchen should smell buttery and bread-like, and the tops should develop a deep golden sheen.
2nd Rise
- Cover the shaped dough and leave it to rise for about 1 hour.
The rolls are ready for the oven when they look inflated and their sides are beginning to touch.
Bake the Rolls
- Set an oven rack in a lower position and heat the oven to 350°F (177°C).
This placement encourages the centers to bake through before the tops brown too quickly. - Bake for 20-25 minutes, turning the pan halfway through, and loosely cover the rolls with aluminum foil if the tops darken too fast.
Look for evenly golden tops and a light hollow sound when a center roll is tapped. - Brush the warm rolls with the honey butter topping, if using, and let them cool slightly before serving.
The topping melts into the ridges and gives the rolls a glossy, buttery finish. - Cover leftover rolls tightly and store at room temperature for 2-3 days or in the refrigerator for up to 1 week.
Keep them protected from air so the crumb stays as soft as possible.
Troubleshooting Common Dinner Roll Mistakes
- The dough is very sticky: Keep kneading before adding flour. Enriched dough often feels tacky at first. If it remains too wet to handle after kneading, add flour gradually, 1 teaspoon at a time.
- The dough feels stiff or dry: Too much flour is the usual culprit. Avoid heavily flouring the counter, and stop adding flour once the dough is manageable and springy.
- The rolls are dense: Check that the yeast was fresh and the milk was not overheated. Dense rolls also result when flour is packed into the measuring cup or the second rise is cut short.
- The dough rises slowly: Move the covered bowl to a warmer, draft-free area. An unheated oven with only the light on can provide a gentler place for the dough to rise.
- The tops brown too quickly: Use the lower rack position and tent the pan loosely with foil once the tops have reached a good golden color. This protects the crust while the centers finish baking.
- The centers seem underdone: Give the center rolls the same attention as the outer ones. Their tops should be golden, and the interior should feel light and spring back gently rather than seem gummy.
Make-Ahead and Reheating Guide
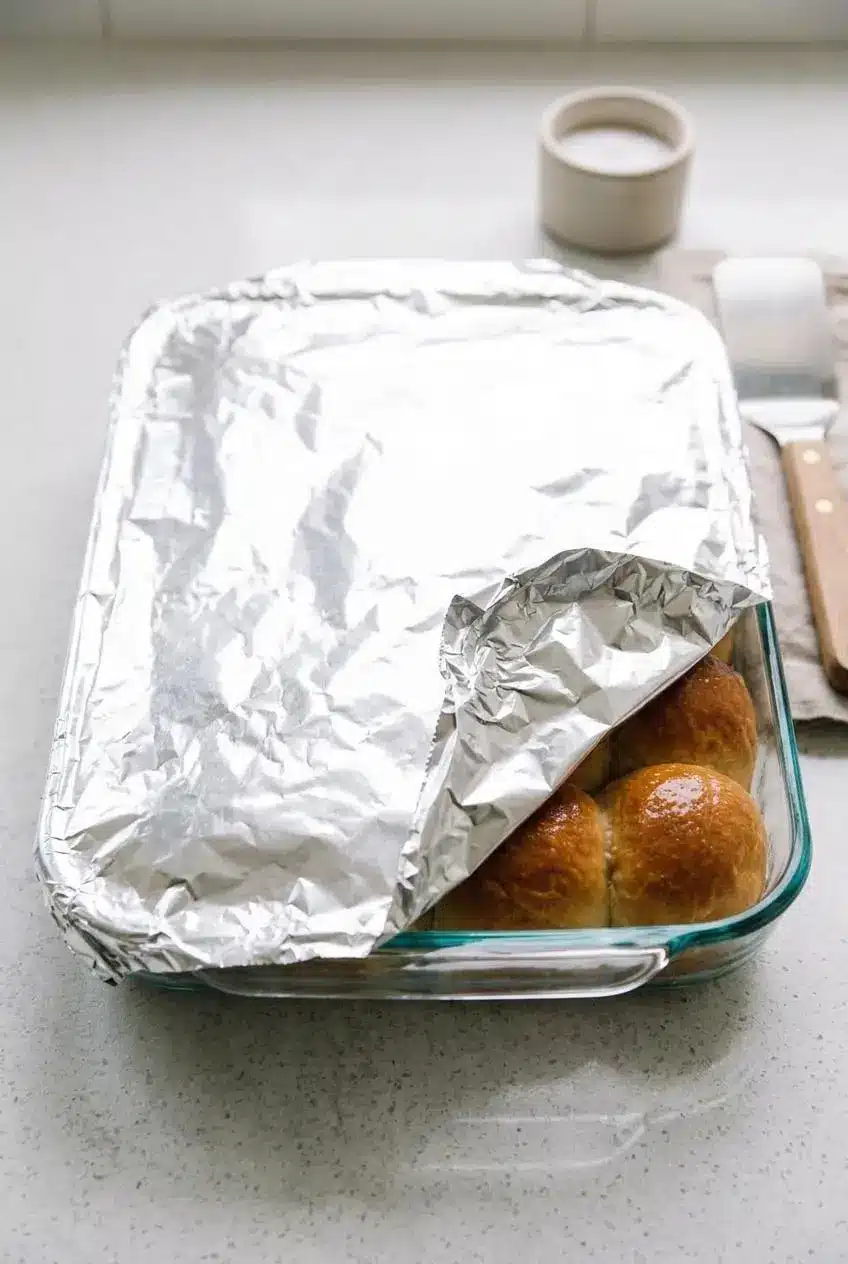
For advance dinner prep, shape the rolls in the pan, cover them tightly, and refrigerate them before baking. Bring the pan back to a warm room temperature and wait until the rolls look puffy before placing them in the oven.
To refresh baked rolls, wrap them loosely in foil and warm them in a low oven until heated through. The foil holds in enough moisture to soften the crumb without turning the crust tough.
Once baked rolls have cooled, keep them tightly covered. If you refrigerate them, maintain the refrigerator at 40°F or below for safe handling of egg-containing foods.
Flavor Variations and Delicious Serving Ideas
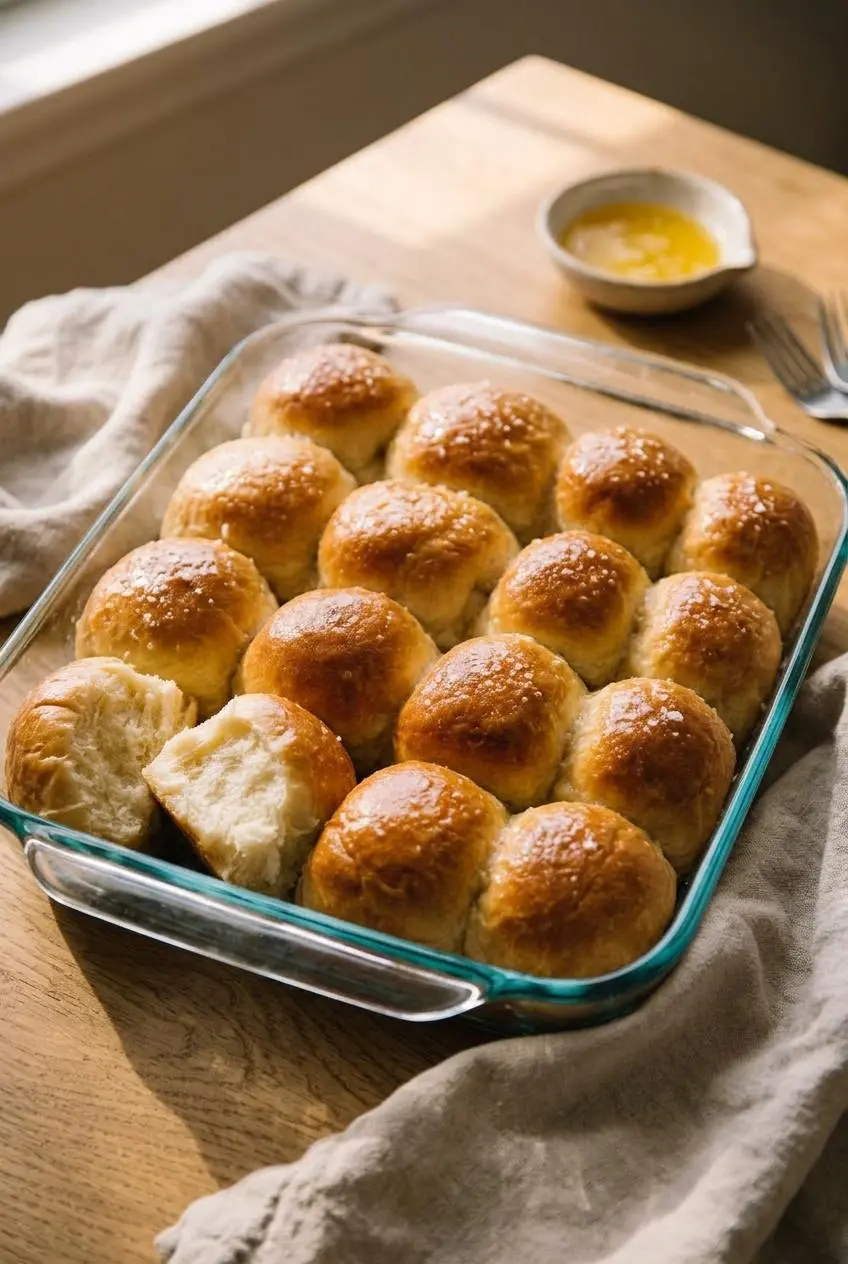
Keep the core dough as written, then make optional changes when you want a more savory or sweeter finish. Add-ins work best when they are folded in gently before the first rise.
Garlic Herb and Cheddar Cheese Add-Ins
- Garlic herb rolls: Fold in minced garlic with chopped rosemary, thyme, parsley, or basil before the first rise for an aromatic dinner side. For a more intensely savory version, try these garlic bread rolls.
- Cheddar chive rolls: Add sharp shredded cheddar and chopped chives before the first rise. The cheese brings salty richness, while chives keep the flavor bright.
- Parmesan finish: Sprinkle grated Parmesan over the tops before baking for a crisp, savory edge and a deeper golden crust.
Sweet Honey Butter and Flaky Sea Salt Glazes
- Honey butter finish: Brush the warm rolls with the optional melted butter and honey topping as soon as they leave the oven.
- Flaky sea salt: Add a light pinch over the honey butter for little bursts of contrast against the sweet, buttery coating.
- Dinner pairing: Serve the rolls alongside tender roast beef to catch the savory pan juices.
- Leftover sliders: Split the rolls and fill them with holiday turkey or ham, or turn them into baked pizza sliders for a warm party tray.
- Breakfast sandwiches: Slice and toast leftover rolls, then fill them with egg and your favorite breakfast fillings.
Conclusion
Homemade dinner rolls are wonderfully manageable when you give the yeast the right temperature, measure flour gently, and knead until the dough turns smooth and elastic.
Let both rises do their work, shape each piece with surface tension, and pull the rolls when their tops are richly golden. Your dinner table will smell amazing.
Frequently Asked Questions
How Do I Know When My Dinner Rolls Are Fully Baked Inside?
Look for a deeply golden crust with a soft sheen across the tops. Tap a center roll lightly. It should sound hollow rather than dull or wet. For extra confidence, check a center roll with an instant-read thermometer and make sure the crumb is fully set rather than gummy.
Can I Make the Dough Ahead of Time and Bake the Next Day?
Yes. Shape the rolls in the baking pan, cover tightly, and refrigerate them before baking. Before baking, let the pan sit in a warm spot until the rolls look puffy and ready to rise further in the oven. Bake them as directed once they have lost their chilled firmness.
Can I Use All-Purpose Flour Instead of Bread Flour?
Yes. Use all-purpose flour or bread flour in the same 1:1 amount. All-purpose flour produces a lighter, softer roll. Bread flour gives the dough more chew and a slightly stronger rise.
Why Did My Dinner Roll Dough Not Rise?
Check the yeast date and replace yeast that has been sitting too long. Milk that is too hot can damage yeast, so keep it close to the stated warming temperature. Move the covered dough to a warmer, draft-free place if the kitchen is cool. Give the dough time to double before shaping, then let the shaped rolls become puffy before baking.
Dinner Rolls Recipe

Equipment
- Electric Stand Mixer with Dough Hook
- 9×13-inch Glass Baking Pan
- Bench scraper
- Pastry brush
Ingredients
- 1 cup whole milk 240ml, warmed to about 110°F (43°C)
- 2 1/4 teaspoons Platinum Yeast from Red Star instant yeast 1 standard packet
- 2 Tablespoons granulated sugar divided
- 1 large egg
- 1/4 cup unsalted butter 4 Tbsp; 56g, softened to room temperature and cut into 4 pieces
- 1 teaspoon salt
- 3 cups all-purpose flour or bread flour 390g, spooned & leveled
- 2 Tablespoons optional topping: melted unsalted butter mixed with 1 Tablespoon honey 28g butter
Instructions
Prepare the Dough
- Combine the warm milk, yeast, and 1 Tablespoon of sugar in the stand mixer bowl, then cover the bowl and leave it for 5 minutes. The surface should look foamy or creamy as the yeast wakes up.
- Add the remaining sugar, egg, butter, salt, and 1 cup flour, then mix on low for 30 seconds before scraping the bowl and adding the remaining flour. Mix on medium for about 2 minutes, until the dough gathers into a soft mass and releases from most of the bowl sides.
Knead the Dough
- Knead with the mixer for 5 full minutes, or work the dough by hand on a lightly floured surface for 5 full minutes. The dough should become elastic and slightly tacky; add flour 1 teaspoon at a time only if it remains unworkably sticky.
1st Rise
- Coat a large bowl lightly with oil or nonstick spray, place the dough inside, and turn it once so the surface is covered. Cover the bowl and let the dough rise in a warm place for 1-2 hours, until it has doubled in size.
Shape the Rolls
- Grease a 9×13 inch baking pan or two 9-inch square or round baking pans. A lightly coated pan helps the rolls release cleanly after baking.
- Deflate the risen dough gently, divide it into 14-16 pieces, and round each piece before setting it seam-side down in the prepared pan. The tops should look smooth and taut, with space for the dough balls to expand.
2nd Rise
- Cover the shaped dough and leave it to rise for about 1 hour. The rolls are ready for the oven when they look inflated and their sides are beginning to touch.
Bake the Rolls
- Set an oven rack in a lower position and heat the oven to 350°F (177°C). This placement encourages the centers to bake through before the tops brown too quickly.
- Bake for 20-25 minutes, turning the pan halfway through, and loosely cover the rolls with aluminum foil if the tops darken too fast. Look for evenly golden tops and a light hollow sound when a center roll is tapped.
- Brush the warm rolls with the honey butter topping, if using, and let them cool slightly before serving. The topping melts into the ridges and gives the rolls a glossy, buttery finish.
- Cover leftover rolls tightly and store at room temperature for 2-3 days or in the refrigerator for up to 1 week. Keep them protected from air so the crumb stays as soft as possible.