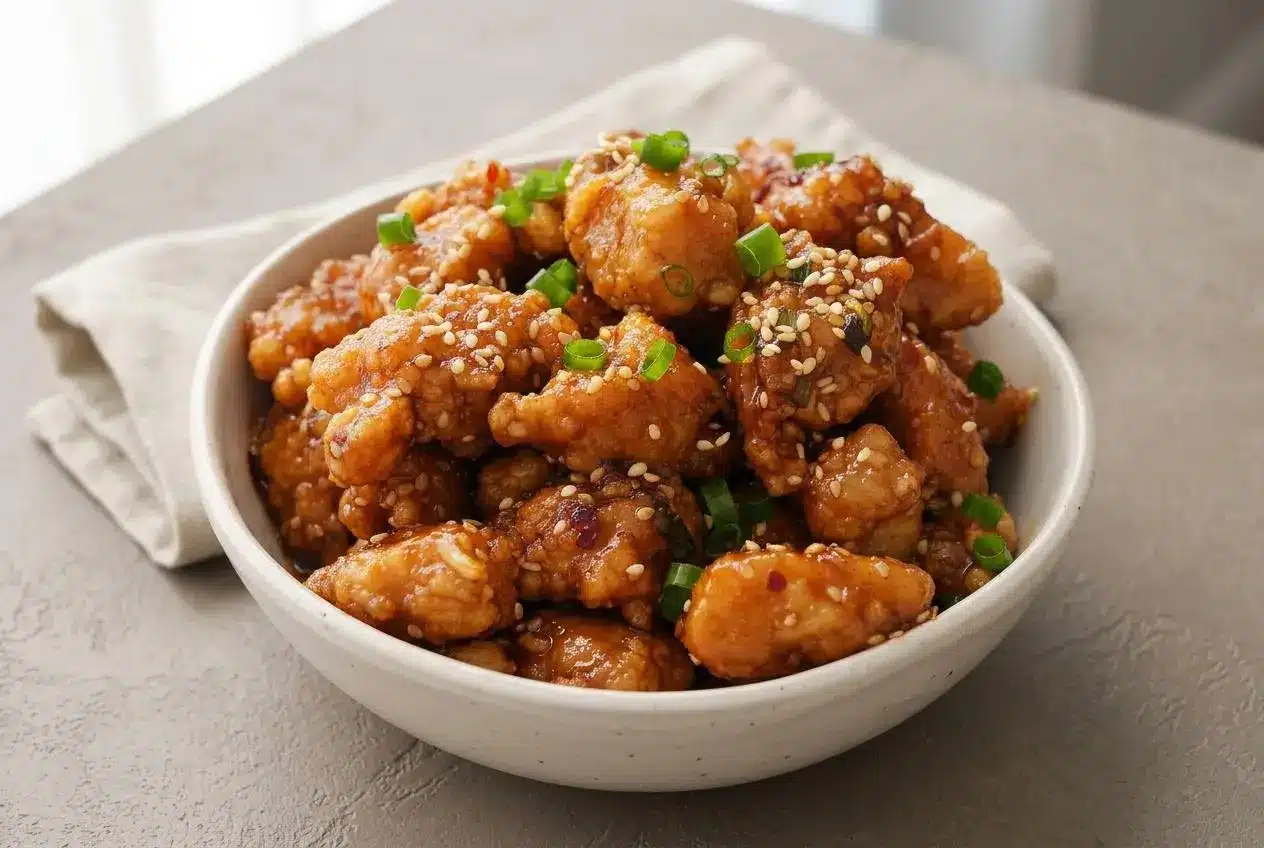
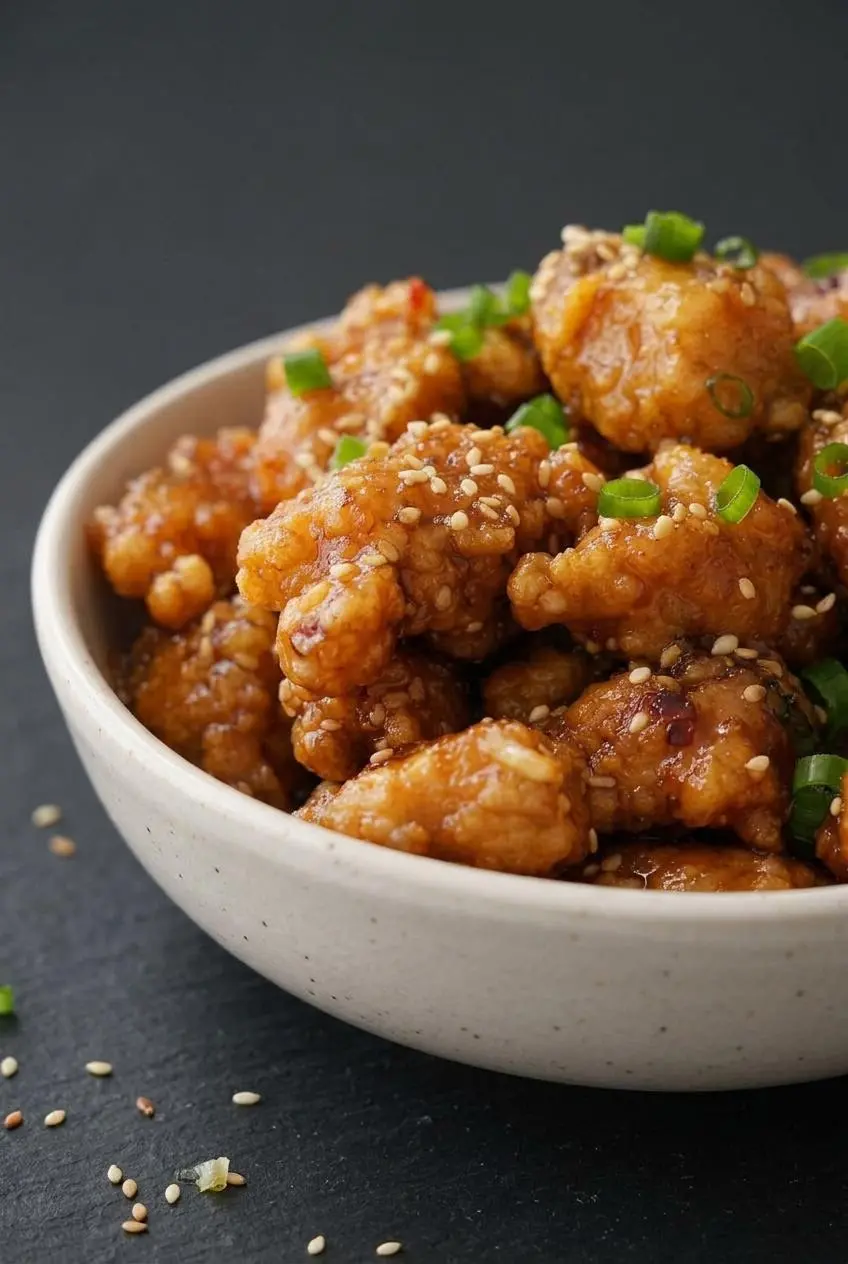
Make honey butter fried chicken by coating seasoned chicken bites in egg and cornstarch, double-frying them at 350°F, and folding them into a glossy butter, garlic, honey, soy, and sesame glaze. The two-stage fry builds a crisp shell that stands up to the sauce.
This Korean-style honey butter fried chicken brings together a crackly crust, juicy chicken, and a sweet-savory coating with plenty of garlic. Honey gives the sauce its sticky shine, while soy sauce keeps the buttery richness from tasting like dessert.
It works as a rice-and-vegetable dinner or a hot appetizer for sharing. Plan on 10 minutes of prep and 20 minutes of cooking for four servings, with extra time if your pan requires more batches. The real payoff comes from a brief rest between fries. That second dip makes the crunch.
Set out a draining plate and measure the sauce ingredients before heating the oil.
Key Ingredients and Their Roles
Egg helps the cornstarch grip the chicken, butter gives the glaze richness, and soy sauce balances the honey’s sweetness. Garlic and sesame oil add aroma, while the slurry helps the sauce cling and the garnishes bring freshness and crunch.
- 400 grams Chicken breast Boneless chicken breast or thigh ( About 0.88lb )
- ¼ tsp White pepper
- 1 tbsp Regular soy sauce
- 1 Egg
- 1 cup Cornstarch
- 1 tbsp Toasted sesame seeds
- Spring onions
- Neutral oil for frying
Honey Butter Sauce
- 2-3 cloves Garlic
- 4 tbsp Honey
- 4 tbsp Butter
- 1 tbsp Brown sugar
- 2 tbsp Soy sauce Light soy or regular soy sauce
- 1 tbsp Sesame oil
- 2½ tbsp Cornstarch slurry ( Mix ½ tsp cornstarch with 2 tbsp water )
- 1 tsp Crushed chilli ( Optional )
Choose your chicken by texture. Breast gives you lean, evenly shaped bites, but it dries out more readily if overcooked. Boneless thigh has a richer flavor and stays more forgiving during frying. Tenderloins also work as an optional swap; their longer shape needs different cooking time.
Cornstarch creates the shell. Compared with flour alone, it produces a lighter, more brittle crunch rather than a bread-like coating. Egg binds that starch to the meat. Stir thoroughly enough to cover the chicken, but break apart heavy clumps so they don’t become thick, gummy spots.
Unsalted butter makes balancing easier. Soy sauce seasons both the chicken and glaze, so unsalted butter lets the garlic, honey, and sesame come through without adding more salt. Brown sugar rounds out the sweetness, while white pepper adds a gentle background warmth.
The slurry controls cling. Honey makes the sauce sticky, but the cornstarch mixture helps it coat each bite instead of collecting underneath. Keep the listed slurry mixture as written rather than increasing the starch to chase a thicker sauce. The finished glaze should flow slowly, not sit in a stiff mound.
I give the slurry another stir immediately before pouring it in because the starch settles quickly.
How to Make Honey Butter Fried Chicken Step by Step
Use a large mixing bowl and a large wok or pan, keeping the chicken pieces similar in size so they cook evenly. A frying thermometer makes oil control much easier.
- Combine bite-size chicken cubes with the egg, soy sauce, and white pepper in a bowl, then work in the cornstarch until evenly coated.
The coating should adhere to every piece without thick pockets of dry starch. - Cook manageable batches in oil heated to 350°F (180°C) for 1 to 2 minutes, then transfer them out and let them cool briefly.
At this stage, the shell should look set and pale gold rather than deeply browned. - Return the rested chicken to the hot oil for another 2 to 3 minutes, allowing additional cooking if needed for doneness.
The crust should become crisp and golden brown, and the center of the thickest piece should reach 165°F (74°C). - Soften the garlic in 2 tbsp butter over medium heat for 1 to 2 minutes, then lower the heat and stir in the soy sauce, honey, brown sugar, remaining butter, sesame oil, slurry, and optional crushed chilli.
A fragrant garlic aroma and a glossy sauce that coats the spoon signal that the glaze is ready. - Fold the fried chicken through the warm glaze with a spoon or silicone spatula, then scatter over the sesame seeds and spring onions.
Each piece should have an even, shiny coating with its crisp edges still intact.
1. Season and Dredge the Chicken
Distribute the egg and seasonings before adding the cornstarch. This gives the starch a moist surface to hold onto. Separate pieces that stick together so oil can reach their edges; a cluster of chicken cooks less evenly than individual bites.
2. Double-Fry at 350°F for Shatter-Crisp Texture
The first fry sets the coating. During the short cooling rest, steam escapes and the surface dries. The second fry deepens the color and firms up the shell, so don’t skip the pause.
Look for golden to amber edges and a hard shell that gives a light, hollow tap against a utensil. Those are crust cues, not proof that the center is cooked; use a food thermometer for doneness.
3. Simmer the Garlic Honey Butter Glaze and Toss
Lower the heat before the honey and sugar enter the pan. Garlic should smell fragrant, not toasted to a dark brown. Stir the slurry into the sauce until it looks glossy and leaves a coating on your spoon, then fold in the chicken just before eating.
Expert Tips and Troubleshooting for Maximum Crunch
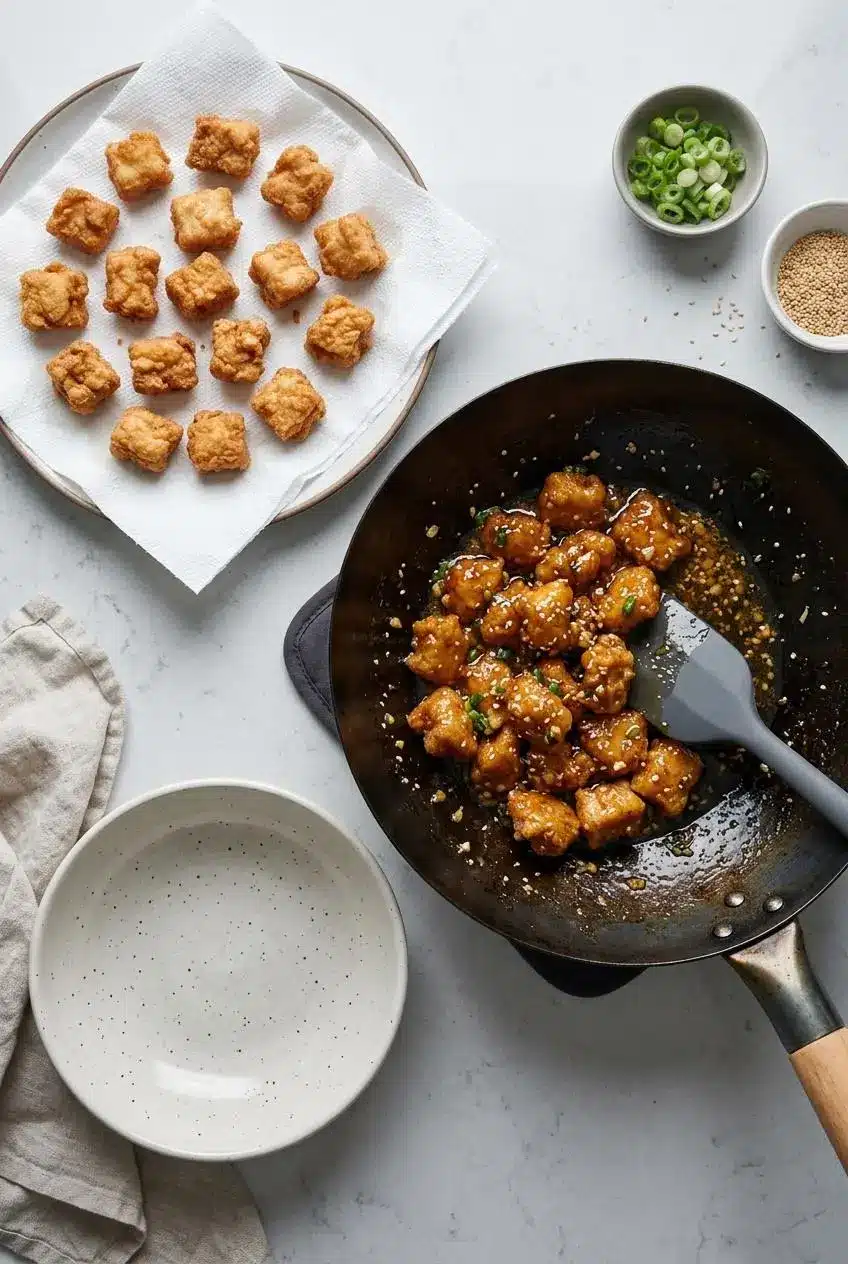
Steady oil temperature matters more than squeezing everything into one batch. Leave room around the pieces and let the oil return to 350°F between batches. The same spacing principle helps when making crispy popcorn chicken.
Drain the fried chicken briefly on paper towels without piling it up. A deep heap traps steam against the lower pieces. Keep the glaze warm rather than bubbling hard when the chicken goes in, and fold gently with a silicone spatula instead of shaking the pan aggressively.
- Greasy or pale coating: The oil likely cooled too much, often from overcrowding. Make the next batch smaller and check the temperature before adding it.
- Soggy chicken after glazing: Watery sauce or a long wait can soften the shell. Thicken the glaze before tossing, and combine only what you’re ready to serve.
- Overly salty glaze: Salted butter can push the balance too far. Use unsalted butter, or reduce the glaze’s soy sauce slightly when choosing salted butter.
- Thin sauce: Settled starch may not have reached the pan evenly. Stir the slurry before adding it and allow the sauce to thicken gently before judging its consistency.
- Bitter garlic or sugar: Excessive heat is the likely cause. Start again if the sauce tastes scorched; adding more honey won’t remove that bitterness.
Popular Variations and Cooking Methods
Keep these optional adaptations separate from the double-fried method. Different coatings and appliances produce different crusts, so expect a change in texture.
Air Fryer and Oven-Baked Method
- Stovetop double-frying: Choose this method for the most evenly blistered, crisp cornstarch shell.
- Air fryer: Coat the chicken, spray generously with cooking oil, and arrange with space between pieces. Cook at 400°F (200°C) for about 15 to 20 minutes, turning halfway, until cooked through before glazing.
- Oven: An optional panko coating gives a more breadcrumb-like crunch. Spray with oil and bake at 400°F (200°C), turning halfway and beginning to check around 15 to 20 minutes; ovens and piece sizes vary.
Glaze after cooking, never before, so the honey doesn’t scorch while the chicken cooks.
Using Chicken Wings, Thighs, or Tenderloins
Use these as approximate frying guides, not guarantees of doneness. Check the thickest part with a thermometer, avoiding bone.
- Breast or boneless thigh cubes: Keep the listed 1 to 2 minute first fry and 2 to 3 minute second fry for similarly sized bites.
- Tenderloins: Allow roughly 3 to 4 minutes for the first fry and 2 minutes for the second, adjusting for thickness.
- Bone-in wings: Plan for a longer cook, roughly 6 to 8 minutes followed by 3 to 4 minutes, with a dedicated fried chicken wings guide useful for preparation details.
Quick Sparkling Water Batter Option
For a wet-batter alternative, combine equal parts flour and cornstarch with cold sparkling water until lightly coating in consistency. Use this instead of the egg-and-cornstarch coating. Tenderloins suit a quicker single-fry approach, but a 20-minute finish depends on their thickness and batch size.
Optional flavor changes include:
- Ginger and rice vinegar: Add to the finished glaze for fresh warmth and a brighter balance.
- Sriracha or cayenne: Add gradually for a hotter sweet-savory coating.
- Extra garlic: Increase the aromatic flavor, keeping the heat gentle.
- Crushed walnuts, peanuts, or pumpkin seeds: Sprinkle on after glazing for a contrasting crunch.
Serving Suggestions, Storage, and Reheating
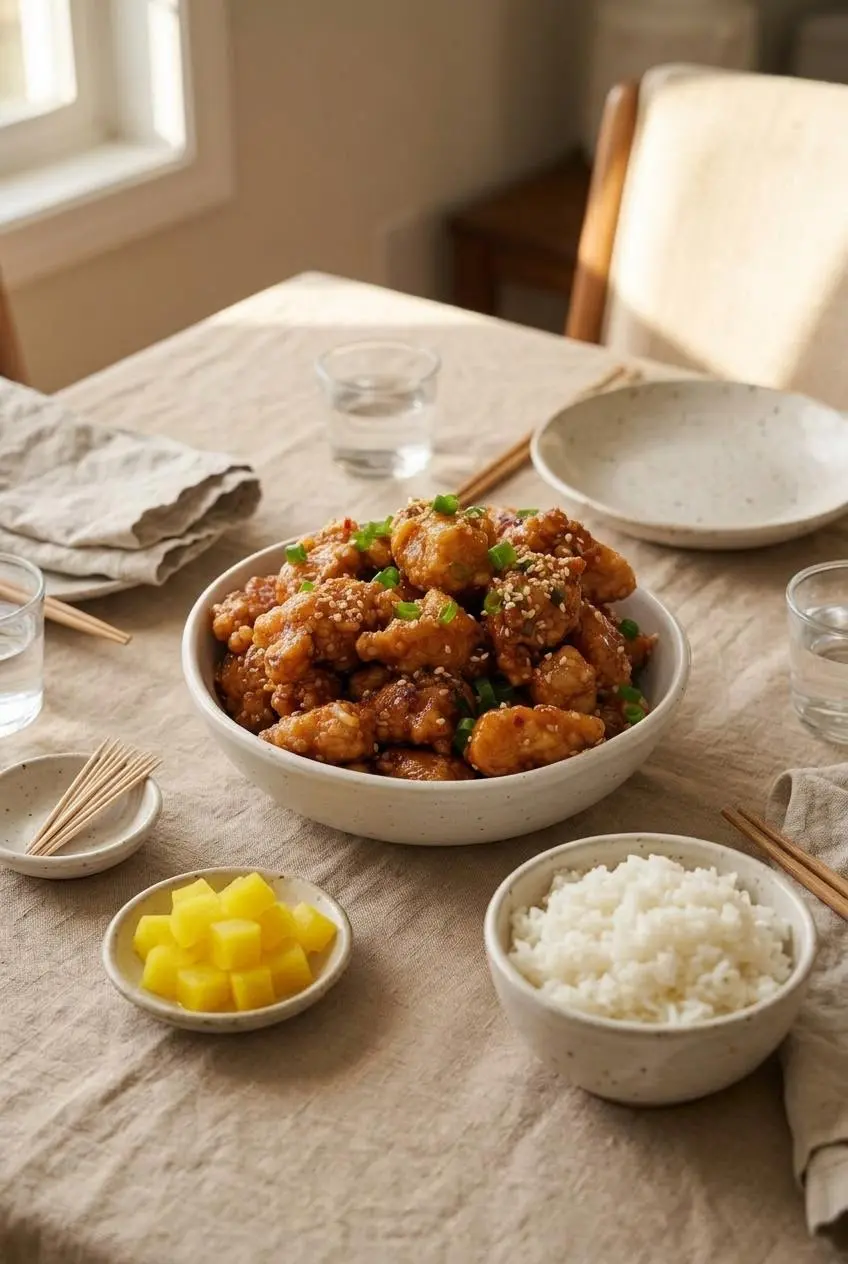
Serve hot, while the coating still has its strongest crunch. Steamed jasmine rice and pickled radish balance the rich glaze for dinner. For game day, offer toothpicks and extra sliced green onions; honey butter cornbread poppers make a complementary party bite.
For proper handling, cook poultry to the minimum internal temperature described above, refrigerate leftovers promptly in shallow containers, and use refrigerated cooked chicken within 3 to 4 days. Cover for storage, and keep any uncombined chicken and glaze separate to protect the coating.
Reheat in an oven or air fryer with space around the pieces, checking frequently because the honey glaze can darken before the center heats through. Follow the appliance’s leftover-reheating guidance. Expect some texture loss from already-glazed chicken; it won’t return completely to its freshly fried crunch.
A microwave heats conveniently, but trapped steam softens the crust. Choose circulating dry heat when texture is the priority, and avoid adding more glaze until after reheating.
Conclusion
A light cornstarch shell and glossy garlic butter glaze give this chicken its sweet-savory crunch. Keep the frying temperature steady, give the chicken its brief rest, and let the second fry build the crust.
Fold in the warm sauce gently just before serving. Next time, try the optional ginger and rice vinegar for a brighter finish, and have the plates ready before you toss.
Frequently Asked Questions
Can I Use Chicken Wings or Tenders Instead of Boneless Chicken Cubes?
Yes. Tenderloins, boneless thighs, and bone-in wings all work. Use the cut-specific frying guides above, but let a thermometer determine doneness rather than the timer alone.
Can I Make Honey Butter Fried Chicken in the Air Fryer Instead of Deep Frying?
Yes. Spray the coated pieces generously with oil and air fry at 400°F (200°C) for about 15 to 20 minutes, turning halfway. Check that the centers are cooked through, then add the glaze.
What Type of Butter Should I Use for the Honey Butter Sauce?
Unsalted butter is the best choice because soy sauce seasons both the chicken and glaze. If using salted butter, reduce the glaze’s soy sauce slightly to keep the flavor balanced.
How Do I Keep Honey Butter Fried Chicken Crispy After Tossing in the Sauce?
Double-fry with the brief rest between rounds, drain without stacking, and thicken the glaze before adding the chicken. Fold gently and serve immediately rather than leaving it sitting in sauce.
How Do I Store and Reheat Leftover Honey Butter Fried Chicken Without Losing Crunch?
Refrigerate in a covered container and follow the storage limit above. Reheat spaced apart in an oven or air fryer, checking the glaze frequently. Some crunch will return, but already-sauced chicken will remain softer than freshly fried chicken.
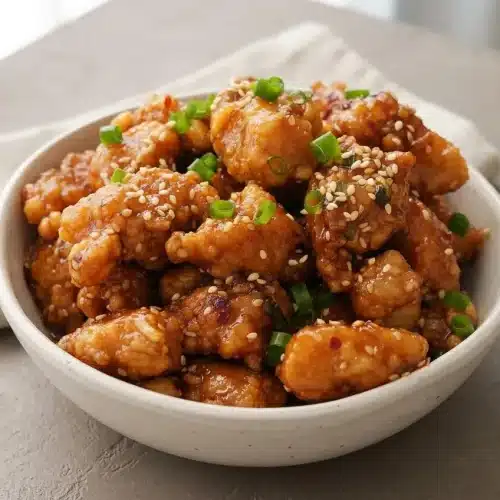
Honey Butter Fried Chicken

Equipment
- Large Mixing Bowl
- large wok or pan
Ingredients
- 400 grams Chicken breast Boneless chicken breast or thigh ( About 0.88lb )
- ¼ tsp White pepper
- 1 tbsp Regular soy sauce
- 1 Egg
- 1 cup Cornstarch
- 1 tbsp Toasted sesame seeds
- Spring onions
- Neutral oil for frying
Honey Butter Sauce
- 2-3 cloves Garlic
- 4 tbsp Honey
- 4 tbsp Butter
- 1 tbsp Brown sugar
- 2 tbsp Soy sauce Light soy or regular soy sauce
- 1 tbsp Sesame oil
- 2½ tbsp Cornstarch slurry ( Mix ½ tsp cornstarch with 2 tbsp water )
- 1 tsp Crushed chilli ( Optional )
Instructions
- Combine bite-size chicken cubes with the egg, soy sauce, and white pepper in a bowl, then work in the cornstarch until evenly coated. The coating should adhere to every piece without thick pockets of dry starch.
- Cook manageable batches in oil heated to 350°F (180°C) for 1 to 2 minutes, then transfer them out and let them cool briefly. At this stage, the shell should look set and pale gold rather than deeply browned.
- Return the rested chicken to the hot oil for another 2 to 3 minutes, allowing additional cooking if needed for doneness. The crust should become crisp and golden brown, and the center of the thickest piece should reach 165°F (74°C).
- Soften the garlic in 2 tbsp butter over medium heat for 1 to 2 minutes, then lower the heat and stir in the soy sauce, honey, brown sugar, remaining butter, sesame oil, slurry, and optional crushed chilli. A fragrant garlic aroma and a glossy sauce that coats the spoon signal that the glaze is ready.
- Fold the fried chicken through the warm glaze with a spoon or silicone spatula, then scatter over the sesame seeds and spring onions. Each piece should have an even, shiny coating with its crisp edges still intact.