To make butterscotch bars, melt the butter, stir it by hand with both sugars, eggs, vanilla, dry ingredients, and butterscotch chips, then bake in a 9×13 pan at 350°F for 26 to 28 minutes until the edges are golden and the center stays soft.
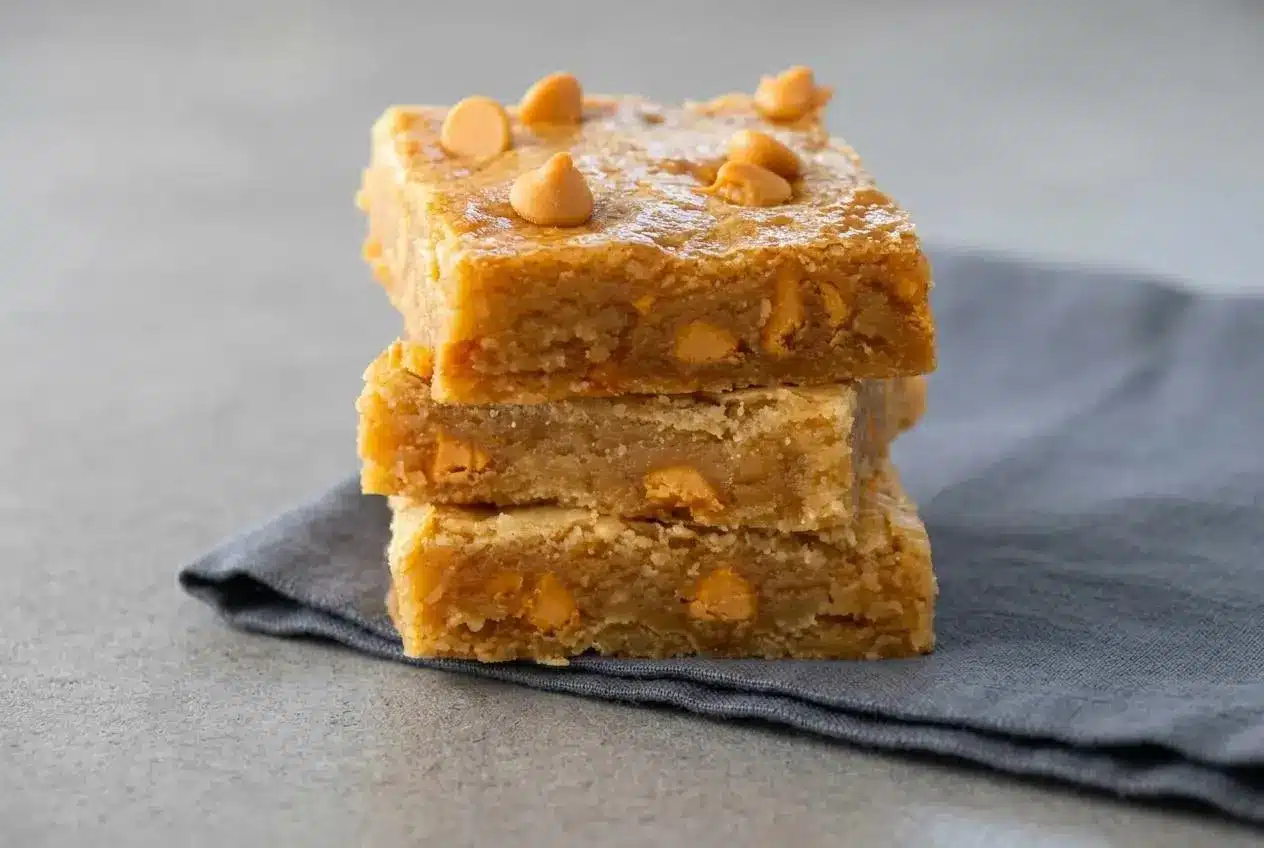
These are thick cookie bars with a deep brown sugar flavor, buttery richness, and a soft center that stays bendy instead of crumbly. Butterscotch Bars land somewhere between blondies and bakery-style dessert bars, with plenty of butterscotch chips in every bite.
The aroma is the first clue you got them right: warm butter, toasted sugar, and that unmistakable caramel-like sweetness filling the kitchen. The real trick is knowing when to stop mixing and when to pull the pan. That’s where the chew happens.
Line the pan with parchment paper leaving overhang on two sides if you want easy lifting and cleaner slices later.
Baked Butterscotch Bars Ingredients and Roles
Each ingredient pulls weight here, from moisture and chew to structure and sweetness, so the bars bake up dense, soft, and balanced instead of dry or flat.
- 1 cup unsalted butter, you will be melting this
- 1 cup light brown sugar
- 1 cup granulated sugar
- 2 large eggs
- 1 tablespoon vanilla extract
- 1 1/2 teaspoon salt, If using unsalted butter, don’t skip the salt!
- 1 teaspoon baking powder
- 1 tablespoon cornstarch
- 2 1/2 cups all-purpose flour
- 1 cup butterscotch baking chips, I use Nestle Tollhouse
Melted unsalted butter gives these bars their rich base and helps create that dense, glossy dough that spreads evenly in the pan. Eggs and flour give the bars structure, while vanilla rounds out the sweetness so the flavor tastes fuller instead of one-note.
Salt matters more than it might seem here. Butterscotch chips are very sweet, so that full measure of salt keeps the bars from tasting cloying and makes the buttery brown sugar flavor stand out. Baking powder adds a little lift, but only a little. You want a soft bar, not a fluffy cake.
Flour is the ingredient most likely to throw off the texture. If too much gets packed into the cup, the bars lose their gooey center and turn dry around the edges. Spoon and level if you can, especially for a dessert bar where chew is the whole point.
The butterscotch chips hold their shape better than many chocolate chips, so you get pockets of mellow sweetness throughout the bars. If you enjoy how those chips bake up in butterscotch cookies, the same idea applies here, just with a softer, thicker bar texture.
I like using a good-quality bag of butterscotch chips because the flavor is rounder and less waxy once the bars cool.
Why Brown Sugar Wins Over White Sugar
Brown sugar is the main reason these bars stay moist and chewy. Its molasses content adds both moisture and a deeper flavor, so the finished bars bend a little when you lift them instead of snapping like a dry cookie square.
Granulated sugar still has an important job. It helps the edges set and keeps the sweetness bright. But if you replaced the brown sugar completely, you would lose that soft center and much of the warm butterscotch character.
Many home bakers wonder if butterscotch and caramel are basically the same flavor. They overlap, but they are not identical. Butterscotch leans on brown sugar and butter for a darker, more molasses-like taste, while caramel usually starts from white sugar cooked until it changes color and flavor.
The Tenderizing Secret of Cornstarch
That spoonful of cornstarch looks small, but it changes the texture in a big way. It softens the crumb and helps keep the bars tender by getting in the way of too much gluten development once the flour is added.
This is why the bars can feel bakery-style without needing fancy steps. Cornstarch helps the center stay delicate and bendable, especially when you mix by hand and pull the pan while the middle still looks softly set.
How to Make Chewy Baked Butterscotch Bars
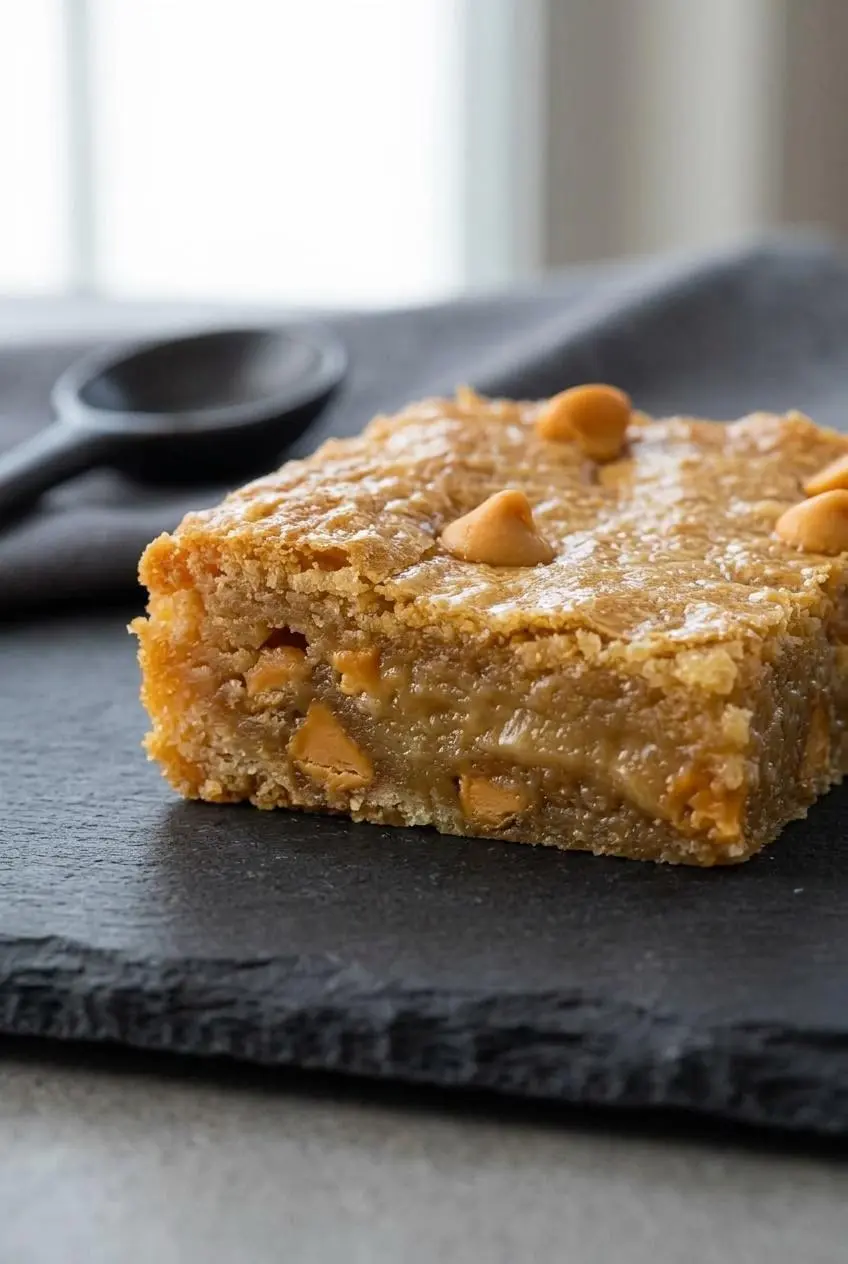
This method is straightforward, but the order and texture cues matter. A little patience with the melted butter and a gentle hand with the dough make the difference between chewy bars and cakey ones.
- Heat the oven to 350°F before you start mixing.
The pan should go into a fully preheated oven so the edges begin setting right away. - Melt the 1 cup unsalted butter in a microwave-safe bowl or in a saucepan, then let it stand briefly so it is still liquid but not piping hot.
It should look fully melted and glossy, not browned or bubbling aggressively. - Stir the melted butter, 1 cup light brown sugar, and 1 cup granulated sugar together in a large mixing bowl using a wooden spoon or spatula.
The mixture will look thick, shiny, and a little grainy, which is exactly right. - Add the 2 large eggs and 1 tablespoon vanilla extract, then stir in the 1 teaspoon baking powder and 1 1/2 teaspoon salt.
Once mixed, the batter should look smoother and slightly looser without turning foamy. - Fold in 1 tablespoon cornstarch and 2 1/2 cups all-purpose flour, then stir in the 1 cup butterscotch baking chips, I use Nestle Tollhouse.
The dough should feel heavy and offer real resistance when you drag the spatula through it. - Generously grease a metal 9×13 pan and line the bottom with parchment paper if you want to lift the bars out later.
The parchment should sit flat so the dough spreads evenly into the corners. - Press the dough into the pan in an even layer and bake for 26 to 28 minutes.
Look for lightly golden edges and a center that no longer looks wet but still appears soft and matte. - Let the bars cool before slicing, then cut into 12 to 24 pieces.
You should smell rich butter and brown sugar right as the pan comes out, and the center will finish setting as it cools.
Why Hand Mixing Beats the Electric Mixer
Hand mixing keeps the texture dense and chewy because it limits how much air gets whipped into the butter, sugar, and eggs. A hand mixer can puff the batter up too much, which makes the finished bars rise more like cake and dry out faster.
A spatula or wooden spoon works best here. The dough should feel thick and resistant by the end, not fluffy or mousse-like. If your arm gets a small workout, you are probably on the right track.
Choosing Your Baking Pan: Metal vs Glass
Pan material changes how these bars bake, and it can shift doneness by several minutes. A metal 9×13 pan is the best match for this recipe because it heats quickly and gives you cleaner edges with a soft center.
Glass pans hold heat longer, which means the corners and edges can keep baking even after the pan leaves the oven. If you use glass, watch closely near the end so the center does not go from softly set to dry while the pan retains heat.
Pan size matters too. A smaller pan makes thicker bars that need more time in the oven, while a larger pan makes thinner bars that can overbake before you expect it. For this dough, stick with the 9×13 size for the texture the recipe is built around.
Troubleshooting Common Baking Pitfalls
If these bars miss the mark, the problem is usually mixing, flour measurement, pan choice, or bake time. The good news is each one is easy to spot once you know what to look for.
- If the center looks glossy and sloshy when the pan moves, it is still raw. If it looks soft, matte, and just slightly underdone, it will finish setting as it cools.
- If the bars rose high and feel airy, too much air probably got mixed into the batter. Stirring by hand helps keep them dense.
- If the corners are done well before the middle, the pan material may be the cause. Metal bakes more evenly for this style, while glass can push the edges too far.
- If the bars taste flat despite all the sweetness, salt may have been reduced. Here, salt sharpens the butterscotch flavor instead of making the bars taste salty.
- If the rise seems weak and the bars bake up heavy in an odd way, old baking powder may be part of the issue. It only plays a small role, but it still needs to be fresh enough to work.
Texture clues help more than the clock. The top should lose its wet sheen, the edges should turn golden brown, and the middle should look softly set rather than firm. That soft matte center is the sweet spot.
If you enjoy comparing how fat and moisture shape bar dough versus cookie dough, these lessons show up in chocolate chip cookies too, where overmixing and extra flour can change chew just as quickly.
How to Fix Dry or Cakey Bars
Dry bars usually come from one of three things: too much flour, too much mixing, or too much oven time.
- Spoon the flour into the measuring cup and level it off rather than scooping directly from the bag. Packed flour makes the dough too stiff.
- Mix with a spatula or wooden spoon instead of a mixer. Less air means a denser crumb.
- Pull the pan as soon as the edges are golden and the middle stops looking wet. Even one or two extra minutes can push the center past chewy into crumbly.
- Wait to slice until the bars have cooled and set. Cutting while they are very hot can make a soft center seem underbaked when it is really just too warm to hold shape.
No-Bake Butterscotch Bars Alternative
If you want the same nostalgic butterscotch mood without turning on the oven, there are good no-bake directions to take. These are separate ideas, though, not swaps for the baked recipe above.
No-bake versions usually lean sweeter and softer, with more candy-bar energy than blondie texture. They are great when you want quick stovetop assembly and a firmer chilled square instead of a warm chewy bake.
No-Bake Peanut Butter Butterscotch Bars
A classic route is melting peanut butter with butterscotch chips until smooth, then stirring that mixture into crushed graham crackers or crispy cereal and pressing it into a pan. Keep the heat gentle and stir often, because overheated butterscotch chips can seize or set up too hard once cool.
If you already love that sweet-salty peanut butter combination, peanut butter bars are another good direction to try when you want a quick dessert bar with no oven time.
For a softer result, stop heating as soon as the mixture melts together. If it boils or cooks too long, the texture can turn stiff instead of pleasantly chewy.
Chewy Oatmeal Butterscotch Bars Variation
If you want more texture in the baked version, replace a small portion of the flour with rolled oats. That keeps the spirit of the original bars while adding a heartier chew and a slightly more rustic crumb.
Use oats as an optional variation, not a full rewrite. The bars will feel a little less smooth and a little more substantial, which pairs especially well with the buttery butterscotch flavor.
How to Store and Freeze Butterscotch Bars
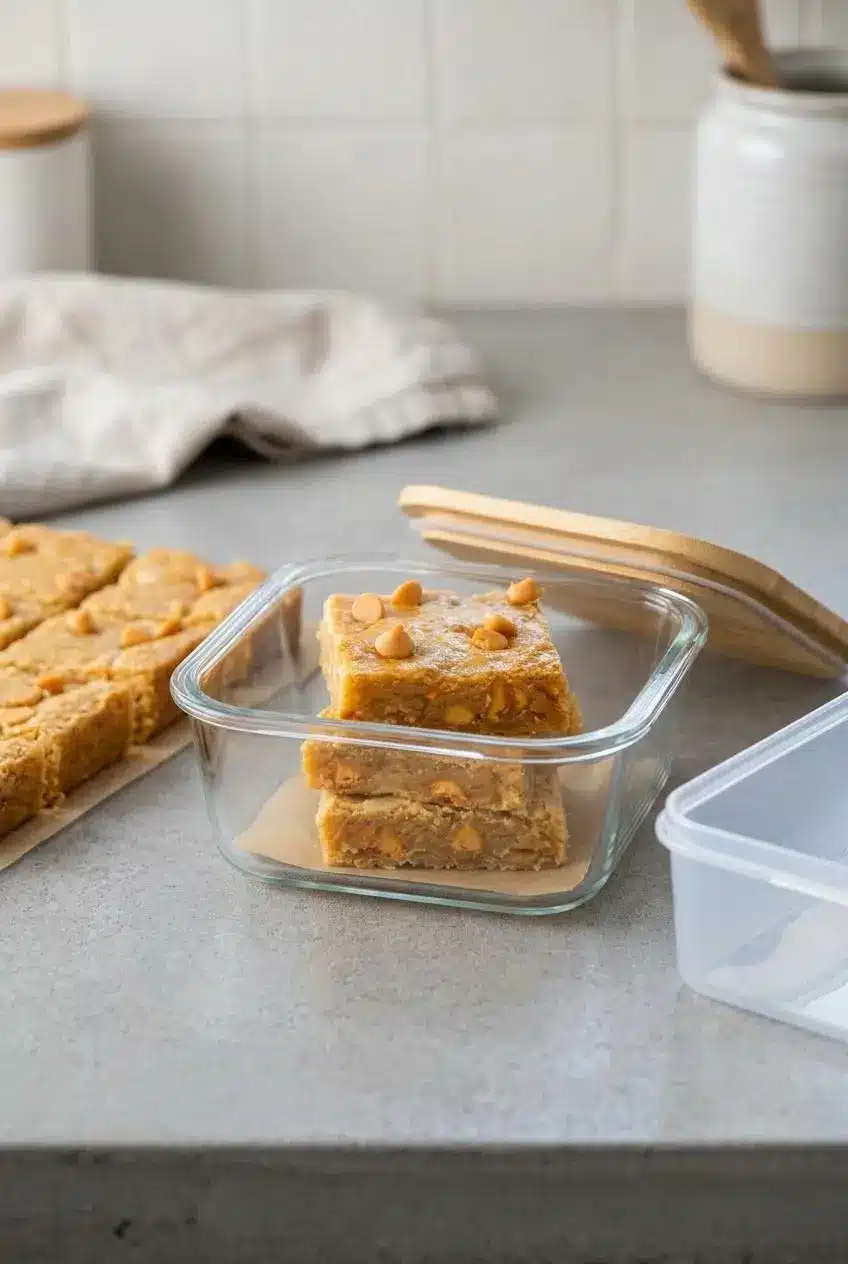
Once the bars are fully cool, keep them at room temperature in a tightly sealed airtight container for up to 4 days. Separating layers with parchment paper helps prevent sticking and keeps the tops looking neat.
Refrigeration is not the best choice for texture here. The cold air tends to firm up the bars and dull that soft chew you worked for. Room temperature storage keeps them more bakery-like.
You can also freeze individual bars by wrapping each square in plastic wrap and placing them in a freezer bag. For butter-based ingredients and general storage practices, safe storage guidance for dairy products supports careful handling and storage planning.
Best Serving and Pairing Ideas
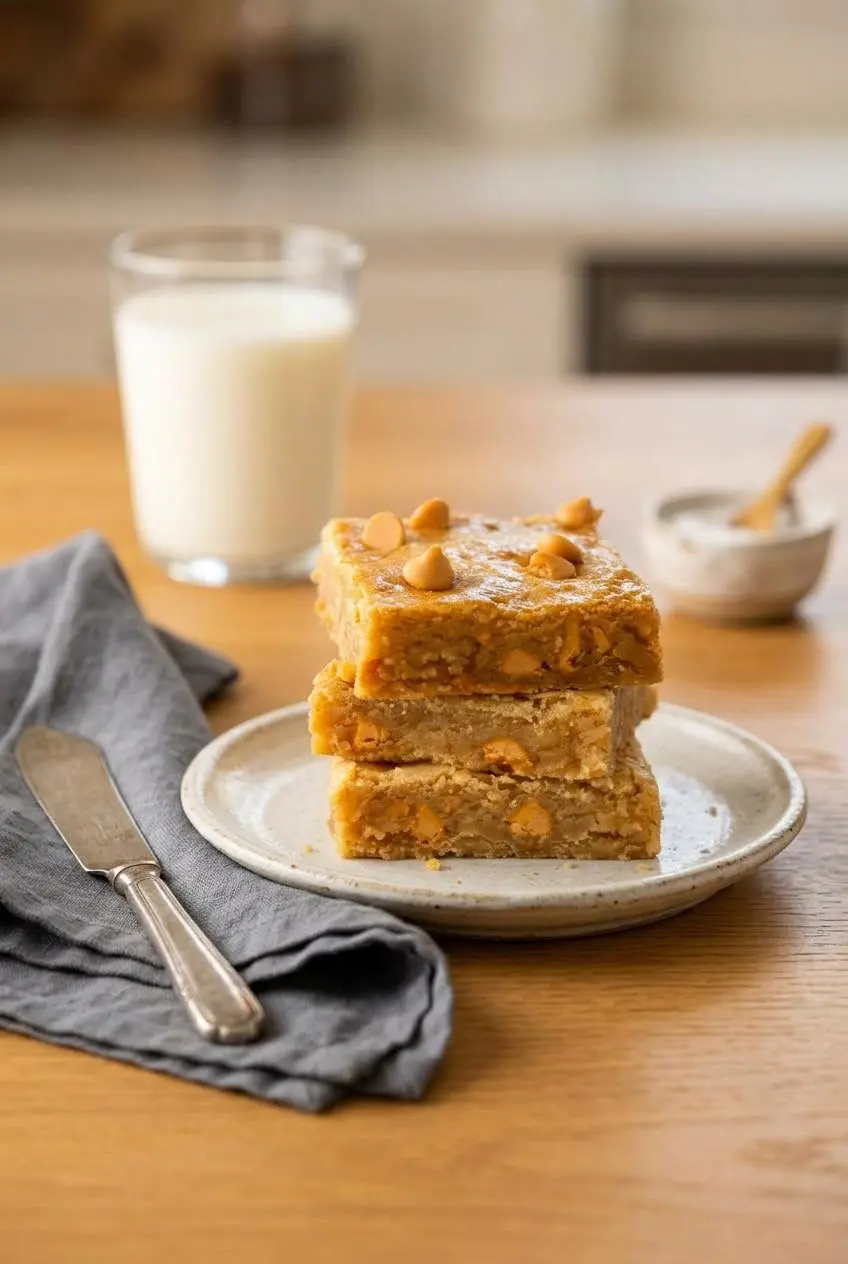
These bars are excellent slightly warm, when the chips are still soft and the center feels extra gooey. A scoop of vanilla bean ice cream balances the sweetness and plays especially well with the buttery brown sugar flavor.
For a more classic bakery feel, serve them fully cooled or even lightly chilled with a cold glass of milk. That firmer texture makes the butterscotch flavor taste a little more concentrated.
If you want to dress them up, a light drizzle of warm butterscotch sauce works well, but the bars do not need much. They are already rich enough to carry dessert on their own.
Conclusion
These bars work because the method stays simple and the texture cues do the heavy lifting. Melted butter, hand mixing, and slight underbaking are what keep the center soft and chewy.
If you watch for golden edges and a matte middle, you will get the bakery-style result this recipe promises. Save the corner piece for yourself if you can.
Frequently Asked Questions
Are butterscotch and caramel the same?
No. Butterscotch is built around brown sugar and butter, so it has a deeper molasses-like flavor. Caramel usually starts with white granulated sugar cooked until it darkens and develops its flavor. They can taste related, but butterscotch is warmer and more buttery.
Why are my butterscotch bars cakey instead of chewy?
The usual cause is too much air or too much flour. An electric mixer can whip too much air into the butter and eggs, making the bars puffier and drier. Overmeasured flour makes the dough stiff and takes away that dense chew. Mix by hand and pull the bars while the center is still softly set.
How should I store these bars to keep them soft?
Keep them tightly covered at room temperature. An airtight container helps hold in moisture and keeps the edges from drying out. Place parchment paper between layers if you stack them. Avoid the refrigerator if texture is your priority, because the bars tend to firm up there.
Can I make these butterscotch bars gluten free?
Yes, with a good baking blend. Use a 1-to-1 gluten-free baking flour that contains xanthan gum. Expect a slightly different crumb, but the bars can still stay soft and chewy. Keep the rest of the method the same and avoid overbaking.
Butterscotch Bars

Equipment
- 9×13 metal baking pan
- Large Mixing Bowl
- Wooden spoon or spatula
- microwave-safe bowl or saucepan
- Sharp chef’s knife
Ingredients
- 1 cup unsalted butter you will be melting this
- 1 cup light brown sugar
- 1 cup granulated sugar
- 2 large eggs
- 1 tablespoon vanilla extract
- 1 1/2 teaspoon salt If using unsalted butter, don’t skip the salt!
- 1 teaspoon baking powder
- 1 tablespoon cornstarch
- 2 1/2 cups all-purpose flour
- 1 cup butterscotch baking chips I use Nestle Tollhouse
Instructions
- Preheat oven to 350oF. While preheating, be sure to read tips and tricks in post above for recipe success.
- Warm the 1 cup unsalted butter in a microwave-safe bowl or saucepan until it is just melted.
- In a large mixing bowl, combine the unsalted butter with the 1 cup light brown sugar and 1 cup granulated sugar. Stir until combined. (I recommend mixing this by hand rather than a mixer.)
- Stir in the 2 large eggs and 1 tablespoon vanilla extract, followed by the 1 teaspoon baking powder and 1 1/2 teaspoon salt.
- Mix in 1 tablespoon cornstarch and 2 1/2 cups all-purpose flour, followed by the 1 cup butterscotch baking chips. Mix the dough until well-combined.
- Generously grease a metal 9×13 pan. If you plan to remove the bars from the pan, I also recommend lining the bottom with parchment paper.
- Spread dough into an even layer in pan. Sprinkle on some extra butterscotch chips for added presentation. Bake for 26-28 minutes, or until edges are slightly golden brown and then center no longer looks wet (they will look a tad underbaked, as this is the key to a soft, gooey bar).
- Cut into 12-24 bars (I like to cut them big) and enjoy! Store in an airtight container for 3-4 days.