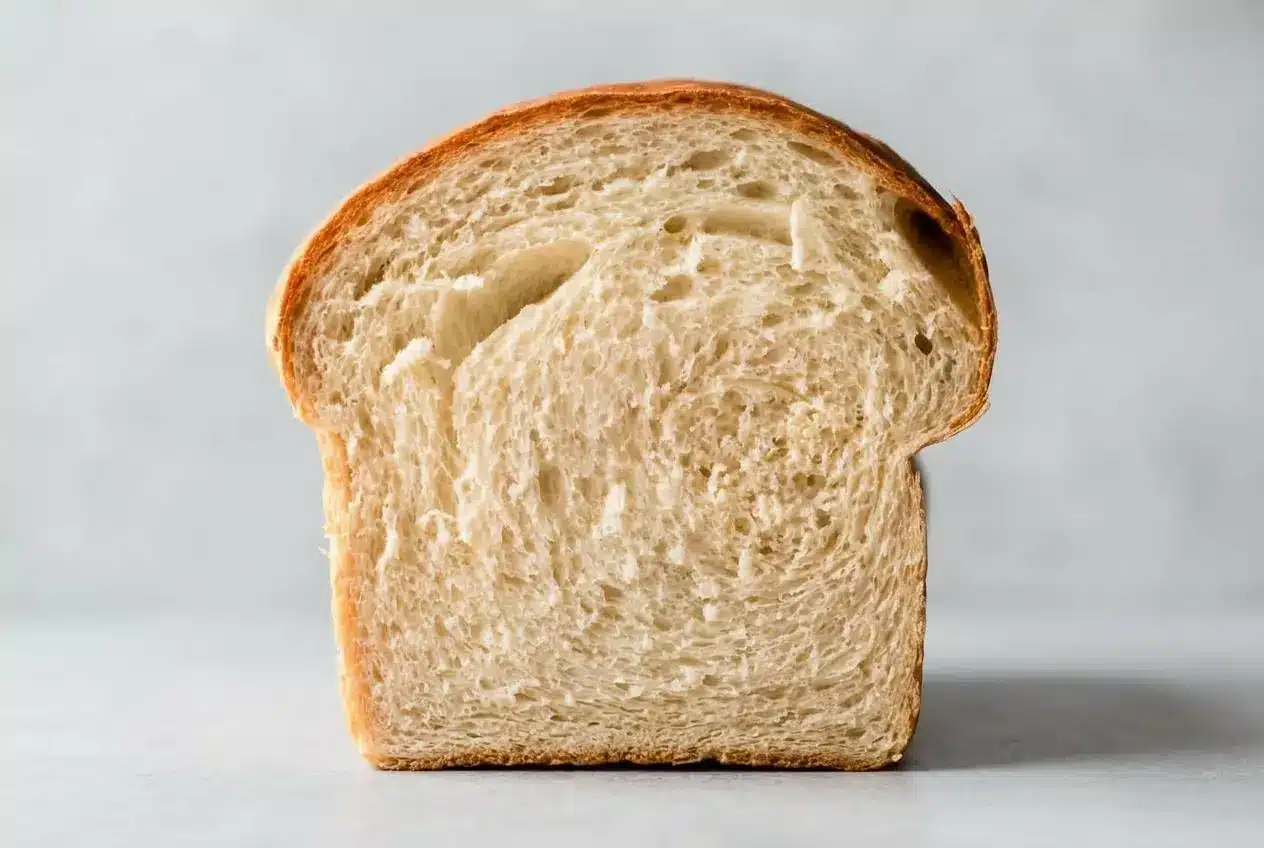
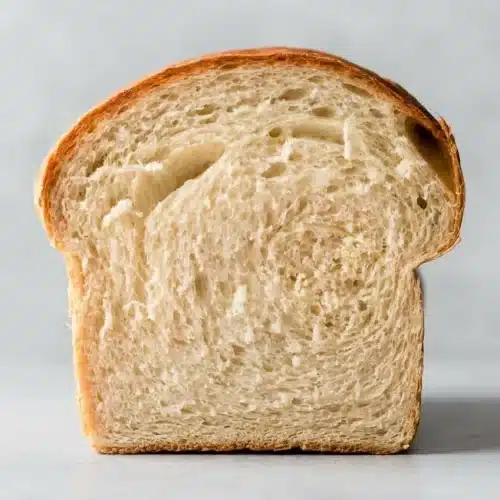
This white bread recipe makes one soft, fluffy 9×5-inch loaf with a buttery crumb and a lightly chewy crust. It takes about 4 hours start to finish, and most of that time is hands-off while the dough rises.
If you want homemade sandwich bread that feels classic, dependable, and actually doable, this is a great place to start. The dough is enriched with milk and butter for a tender loaf that slices beautifully.
It smells incredible while it bakes, and the step-by-step cues make yeast bread much less mysterious. Wait until you hear that hollow loaf tap.
Use an instant-read thermometer for the water and milk if you can, because getting that warmth right makes the yeast much more predictable.
Why You’ll Love This Homemade Bread Recipe
This loaf is designed to be approachable, but it still tastes like real homemade bread should.
- It bakes up soft and fluffy with a rich, buttery crumb that’s perfect for sandwiches.
- The method is straightforward, with clear stages so you know what the dough should look and feel like.
- You can make it with all-purpose flour or bread flour, depending on the texture you want.
- It tastes fresher and fuller than store-bought sandwich bread, especially toasted the next day.
Key Ingredients for Perfect White Bread
Each ingredient has a job here, from building structure and lift to adding tenderness, moisture, aroma, and balanced flavor in the finished loaf.
- 1 cup (240ml) water, warmed to about 110°F (43°C)
- 1/4 cup (60ml) whole milk, warmed to about 110°F (43°C)
- 2 and 1/4 teaspoons (7g) Platinum Yeast from Red Star instant yeast (1 standard packet)
- 2 Tablespoons (25g) granulated sugar
- 4 Tablespoons (1/4 cup; 56g) unsalted butter, softened to room temperature
- 1 and 1/2 teaspoons (9g) salt
- 3 and 1/3 cups (about 420–430g) all-purpose flour or bread flour (spooned & leveled), plus more as needed
Flour gives the loaf its structure, and this recipe works well with either choice. All-purpose flour gives you a slightly softer, more tender crumb, while bread flour creates more chew and a sturdier slice because of its higher protein content. If you prefer a leaner, crustier style, that’s closer to what you’d expect from crusty artisan bread than this sandwich loaf.
The yeast lifts the dough, the sugar gives it a little sweetness and helps feed the yeast early on, and the salt sharpens flavor while keeping the dough balanced. Milk and butter make a big difference here too. Compared with water and oil, they produce a softer crust, a finer crumb, and a richer flavor that really suits sandwich bread.
If you only have active dry yeast, you can still make this loaf. Let it fully dissolve and foam in the warm water and milk before moving on. Instant yeast is a little faster and can be more forgiving, but either can work when the yeast is fresh.
I like to set the butter out before doing anything else so it’s perfectly soft by the time the dough is ready for it.
How to Make Homemade White Bread
This method is very beginner-friendly once you know what to watch for. The dough should move from loose and shaggy to soft, smooth, and slightly tacky.
1. Activate the Yeast
- Whisk the warm water, warm milk, yeast, and sugar together in the bowl of a stand mixer fitted with the dough hook, then cover and let the mixture stand for 5 minutes.
The surface should look foamy or creamy, and it should smell lightly sweet and bready rather than flat or harsh.
Warm is the goal here, not hot. If the liquid feels very hot on your finger, let it cool a bit first so the yeast has a better chance to wake up properly.
2. Mix and Knead the Dough
- Add the butter, salt, and 1 cup flour, mix on low speed for 30 seconds, scrape the bowl, add another cup of flour, then mix on medium until partly combined before adding the remaining flour and mixing about 2 minutes more until a dough forms.
At this stage the dough should start pulling away from the sides of the bowl, and a few small butter pieces are fine before everything smooths out. - Knead the dough for 5 to 8 minutes in the mixer, or turn it onto a lightly floured surface and knead by hand for 5 to 8 minutes, adding flour only 1 teaspoon at a time if it becomes too sticky.
The dough should feel soft and supple, almost like an earlobe, and it should stay slightly tacky rather than dry.
If you’re kneading by hand, use a push, fold, and turn motion. It takes a little arm work, but it’s satisfying, and it gives you a great feel for when the dough is ready.
With a stand mixer, let the dough hook do the steady work while you watch the texture. By hand or by mixer, the goal is the same: smooth dough with enough gluten development to hold a good rise.
3. First Rise (Bulk Fermentation)
- Lightly grease a large bowl with olive oil or nonstick spray, place the dough inside, turn it to coat, cover, and let it rise in a relatively warm spot for 1 to 2 hours until doubled in size.
When it’s ready, the dough will look puffed and airy, and a gentle poke will slowly spring back.
This rise builds both flavor and structure. The yeast is doing more than making the dough bigger, it is also helping the loaf develop a better crumb and a fuller homemade flavor.
4. Shape the Loaf
- Grease a 9×5-inch loaf pan, gently press down the risen dough, then roll it on a lightly floured surface into an 8×15-inch rectangle and roll it up into an 8 inch log before placing it in the pan.
Try to roll it snugly so there are no large gaps, because tight shaping helps the loaf rise taller and slice more evenly.
Good shaping matters more than many first-time bakers expect. A tight, even log gives you that classic tall loaf instead of a bread shape that wanders off on its own.
5. Second Rise (Proofing)
- Cover the shaped loaf with aluminum foil, plastic wrap, or a clean kitchen towel and let it rise for about 1 hour until the dough sits about 1 inch above the rim of the pan.
The dough should look rounded and airy, and it should hold a soft indentation when touched lightly.
This is the stage to watch closely. Under-proofed dough can burst on top in the oven, while over-proofed dough can lose strength and collapse.
6. Bake to Perfection
- Set an oven rack in a lower position and preheat the oven to 350°F (177°C).
Baking lower in the oven helps the top brown more evenly instead of darkening too fast. - Bake the loaf for 32 to 36 minutes, tenting loosely with foil if the top is browning too quickly.
The bread is ready when the top is golden brown and the loaf sounds hollow when tapped. - Cool the bread for a few minutes in the pan on a rack, then remove it from the pan and let it cool before slicing.
If you cut it too early, the crumb can turn gummy instead of soft and fluffy.
For an extra-soft crust, brush the top lightly with melted butter as soon as the loaf comes out of the oven. It’s a small step, but it makes the crust more tender.
Essential Tips for the Softest Bread
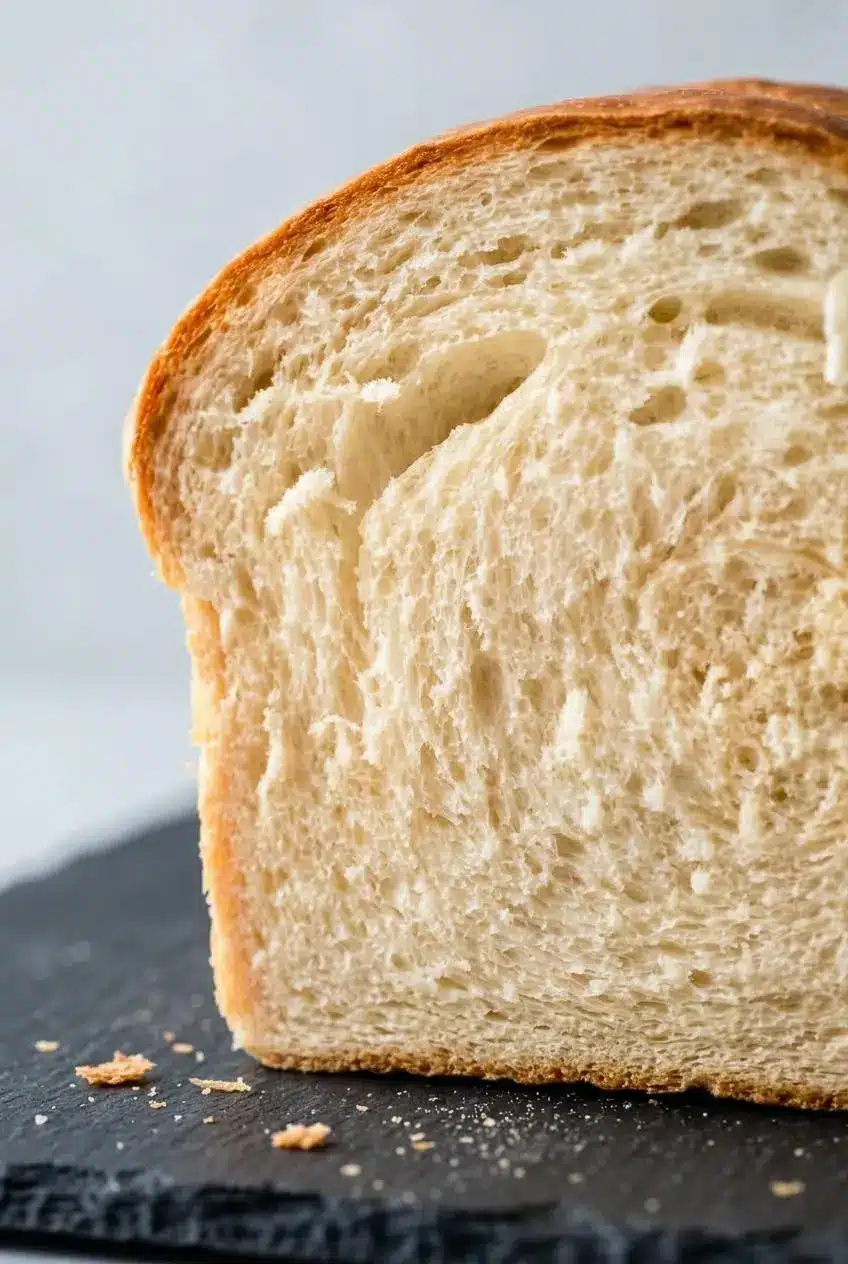
Small details make a big difference with yeast bread. These are the ones that most often separate a lofty loaf from a heavy one.
Measure Your Flour Correctly
Too much flour is the fastest route to dense bread. If you’re measuring by cups, spoon the flour into the measuring cup and level it off rather than scooping directly from the bag. Scooping packs in too much flour without making it obvious.
The weight measurement is especially helpful here. Since flour is the backbone of the dough, using the listed 420–430g gives you the most consistent result from one bake to the next.
The Importance of Kneading (The Windowpane Test)
Kneading develops gluten, which gives the loaf its structure and helps it trap the gas made by the yeast. Without enough kneading, the bread may still rise, but it tends to bake up squat, coarse, or heavy.
The best way to check is the windowpane test. Tear off a small piece of dough and gently stretch it between your fingers. If it thins out enough to let light through before it tears, the gluten is developed. If it rips quickly, keep kneading.
The finished dough should feel smooth, elastic, and soft. It should not feel stiff or chalky.
Control Your Proofing Environment
Yeast dough rises best in a warm, draft-free spot. A cool kitchen can slow everything down, while a very hot spot can make the dough rise too fast and weaken its structure.
Good places to proof include an off oven with the light on, a quiet counter away from drafts, or the top of the refrigerator if your kitchen runs chilly. The dough is ready based on how it looks and feels, not by the clock alone.
For an Even Softer Loaf: The Tangzhong Method (Optional)
If you want an even silkier crumb, you can use tangzhong as an optional upgrade. This method cooks a small portion of flour and water into a paste before you mix the dough, which helps the loaf hold moisture and stay soft longer.
To do it, whisk a small amount of the recipe’s flour with a small amount of the recipe’s water in a saucepan and cook gently until it thickens into a smooth paste. Let it cool until just warm, then mix it in with the liquids at the start. It’s not required, but it can make the loaf extra plush.
Troubleshooting Common Bread Problems
When homemade bread goes sideways, the cause is usually pretty fixable. Use this checklist to pinpoint what happened and what to change next time.
Why Is My Bread Dense and Heavy?
- Too much flour: The dough should feel soft and slightly tacky, not stiff. Measure carefully, and add extra flour only in tiny amounts during kneading.
- Not enough kneading: If the dough never reached a smooth, elastic stage, it may not have built enough gluten. Knead until it passes the windowpane test or at least springs back slowly when poked.
- Under-proofing: If the dough did not double during the first rise or did not crest above the pan during the second rise, it likely went into the oven too soon. Give it enough time in a warm spot.
Why Didn’t My Bread Rise?
- Inactive yeast: If the yeast mixture stayed flat instead of foamy after 5 minutes, start over with fresh yeast. This is the most common cause.
- Liquid that was too hot: Very hot water or milk can damage the yeast. Aim for warm liquid around the temperature listed in the recipe.
- A cold room: Dough rises slowly in a chilly kitchen. Move it to a warmer, draft-free place and give it more time.
Why Is My Bread Gummy?
- Sliced too soon: This is the classic cause. Let the loaf cool before cutting so the crumb can finish setting.
- Loaf needed a bit more baking: If the crust browned quickly but the center stayed underdone, tent with foil during baking and keep going until the loaf is fully baked and sounds hollow.
Creative Ways to Use Your Homemade Bread
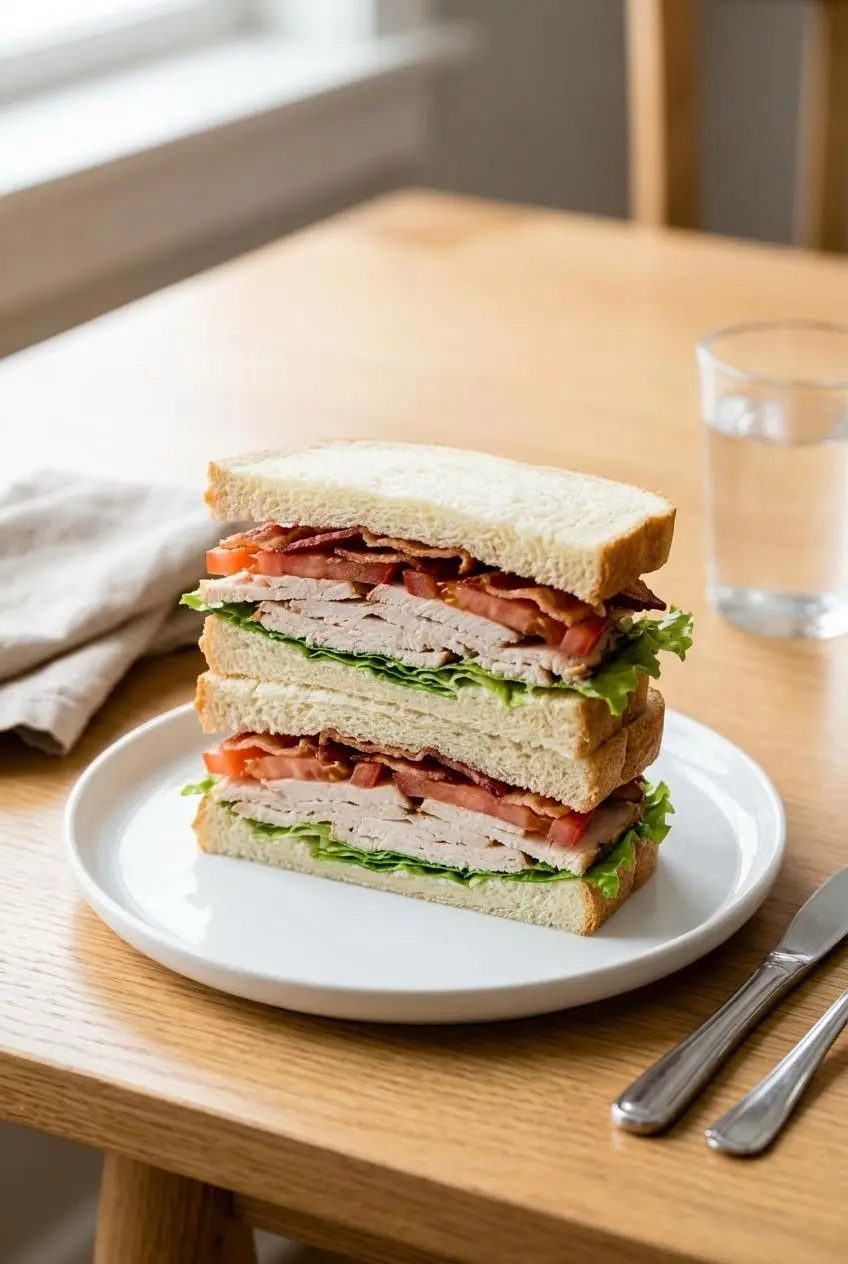
Once you’ve baked a good loaf, there are plenty of delicious ways to make the most of it.
- Use it for classic sandwiches like PB&J, egg salad, or a tall turkey club.
- Toast thick slices and serve them with butter and jam for breakfast.
- Turn it into a golden base for French toast or bread pudding.
- Cube it for croutons to top tomato soup or a big green salad.
- Use it to make cheesy garlic bread when you want the loaf to pull double duty at dinner.
- If you have the heel and a few dry slices left, turn them into homemade breadcrumbs instead of tossing them.
Once you’re comfortable with this loaf, a sweet variation like cinnamon swirl bread is a fun next bake using many of the same skills.
How to Store, Freeze, and Reheat
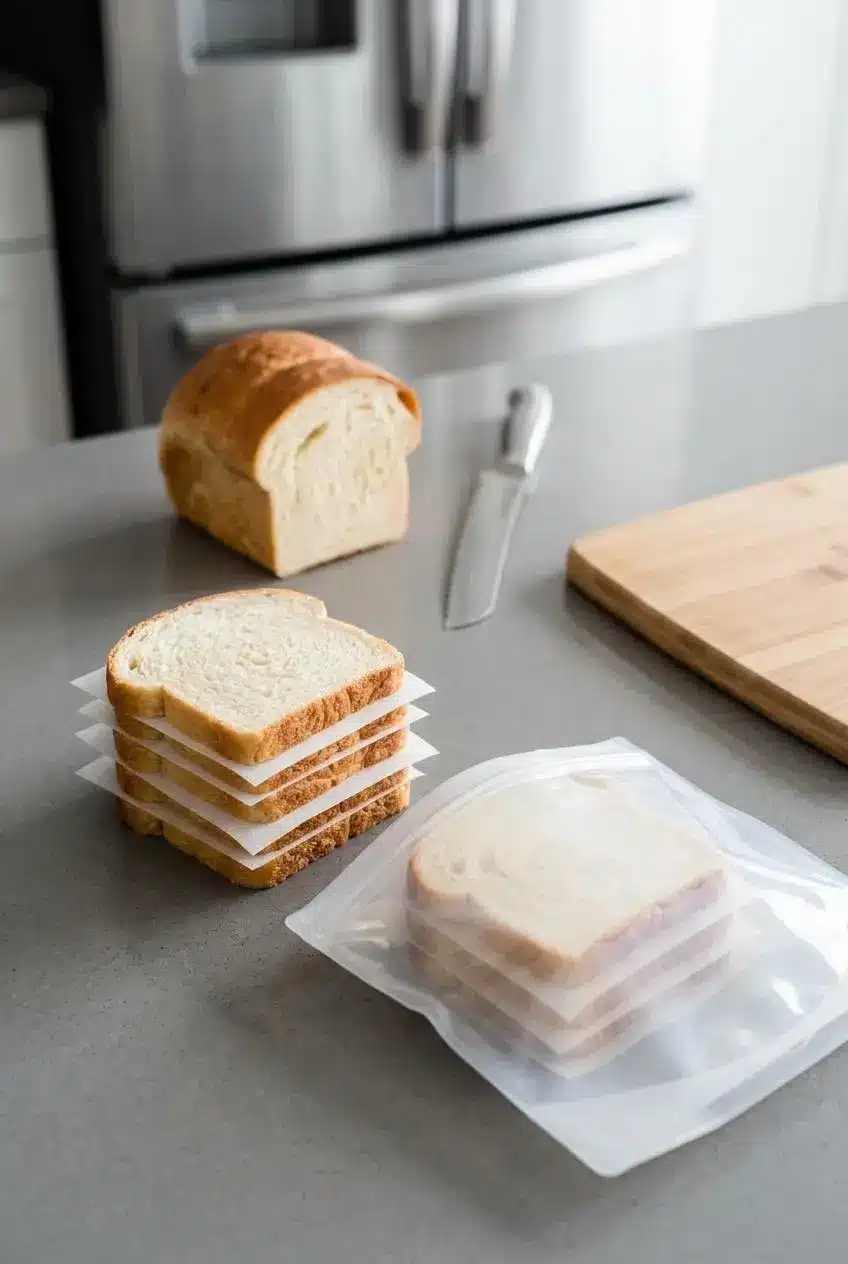
Homemade bread stays at its best when you protect it from air and moisture loss without drying out the crumb.
- Storing: Let the loaf cool completely, then keep it wrapped or sealed at room temperature. Avoid the refrigerator for the finished loaf, because it can stale faster there.
- Freezing: You can freeze the baked loaf whole or in slices once it has fully cooled. North Dakota State University notes in its freezer storage guidance for baked yeast breads that baked yeast breads and rolls can be stored in a freezer at 0°F for 3 to 6 months.
- Reheating: Thaw the bread wrapped so it doesn’t dry out, then warm slices in the toaster or refresh part of the loaf briefly in the oven until soft and fragrant again.
If you’re baking with milk, keep the remaining dairy chilled until you need it. The FDA advises storing dairy products at or below 40°F in its guidance on refrigerator storage for milk and other dairy foods.
Conclusion
Homemade white bread is one of those kitchen projects that feels extra rewarding because the payoff is so immediate. You get a warm loaf, a buttery crumb, and a house that smells like a bakery.
This recipe is reliable, beginner-friendly, and well worth the rise time. Once you bake it once, slicing into that first soft piece gets a whole lot easier to crave again.
Frequently Asked Questions (FAQ)
Can I Make This Recipe With Whole Wheat Flour?
Yes, you can replace up to 50% of the flour with whole wheat flour. Expect the loaf to be denser and a bit heartier in texture. Whole wheat flour usually needs a little more moisture, so pay close attention to the dough feel. For a fully whole wheat loaf, a recipe built specifically for that style works better.
How Do I Know if My Yeast Is Still Active?
Mix it with warm water and a pinch of sugar, then wait 5 to 10 minutes. If it gets foamy and bubbly, it’s active and ready to use. If the mixture stays flat, the yeast is likely no longer strong enough for bread.
What Size Loaf Pan Should I Use?
This recipe is designed for one 9×5-inch loaf pan. An 8×4-inch pan also works, but the loaf will rise taller. Because it sits higher in the pan, it may need a little more baking time. Watch the color on top and tent with foil if it browns too fast.
Why Did the Top of My Bread Crack While Baking?
A crack on top usually means the dough was a bit under-proofed before it went into the oven. The fast oven spring then breaks the surface as the loaf expands. It can also happen if the crust sets too quickly from strong top heat. It’s mostly cosmetic, and the bread is usually still delicious.
How Do I Know When My Dough Has Risen Enough?
For the first rise, look for the dough to double in size. For the second rise, the dough should sit about 1 inch above the loaf pan. Try the poke test too. A gentle poke should spring back slowly instead of snapping back fast.
What Is the Difference Between Using All Purpose Flour and Bread Flour for This Recipe?
Bread flour has more protein, so it develops more gluten. That gives you a loaf with a bit more chew and structure. All-purpose flour makes the crumb slightly softer and more tender. Either one works well in this recipe.
White Bread Recipe

Equipment
- Stand mixer
- 9×5-inch Loaf Pan
- Rolling Pin
Ingredients
- 1 cup water, warmed to about 110°F (43°C) (240ml)
- 1/4 cup whole milk, warmed to about 110°F (43°C) (60ml)
- 2 1/4 teaspoons Platinum Yeast from Red Star instant yeast (7g) (1 standard packet)
- 2 Tablespoons granulated sugar (25g)
- 4 Tablespoons unsalted butter, softened to room temperature (1/4 cup; 56g)
- 1 1/2 teaspoons salt (9g)
- 3 1/3 cups all-purpose flour or bread flour (spooned & leveled), plus more as needed (about 420–430g)
Instructions
Activate the Yeast
- Whisk the warm water, warm milk, yeast, and sugar together in the bowl of a stand mixer fitted with the dough hook, then cover and let the mixture stand for 5 minutes. The surface should look foamy or creamy, and it should smell lightly sweet and bready rather than flat or harsh.
Mix and Knead the Dough
- Add the butter, salt, and 1 cup flour, mix on low speed for 30 seconds, scrape the bowl, add another cup of flour, then mix on medium until partly combined before adding the remaining flour and mixing about 2 minutes more until a dough forms. At this stage the dough should start pulling away from the sides of the bowl, and a few small butter pieces are fine before everything smooths out.
- Knead the dough for 5 to 8 minutes in the mixer, or turn it onto a lightly floured surface and knead by hand for 5 to 8 minutes, adding flour only 1 teaspoon at a time if it becomes too sticky. The dough should feel soft and supple, almost like an earlobe, and it should stay slightly tacky rather than dry.
First Rise (Bulk Fermentation)
- Lightly grease a large bowl with olive oil or nonstick spray, place the dough inside, turn it to coat, cover, and let it rise in a relatively warm spot for 1 to 2 hours until doubled in size. When it’s ready, the dough will look puffed and airy, and a gentle poke will slowly spring back.
Shape the Loaf
- Grease a 9×5-inch loaf pan, gently press down the risen dough, then roll it on a lightly floured surface into an 8×15-inch rectangle and roll it up into an 8 inch log before placing it in the pan. Try to roll it snugly so there are no large gaps, because tight shaping helps the loaf rise taller and slice more evenly.
Second Rise (Proofing)
- Cover the shaped loaf with aluminum foil, plastic wrap, or a clean kitchen towel and let it rise for about 1 hour until the dough sits about 1 inch above the rim of the pan. The dough should look rounded and airy, and it should hold a soft indentation when touched lightly.
Bake to Perfection
- Set an oven rack in a lower position and preheat the oven to 350°F (177°C). Baking lower in the oven helps the top brown more evenly instead of darkening too fast.
- Bake the loaf for 32 to 36 minutes, tenting loosely with foil if the top is browning too quickly. The bread is ready when the top is golden brown and the loaf sounds hollow when tapped.
- Cool the bread for a few minutes in the pan on a rack, then remove it from the pan and let it cool before slicing. If you cut it too early, the crumb can turn gummy instead of soft and fluffy.