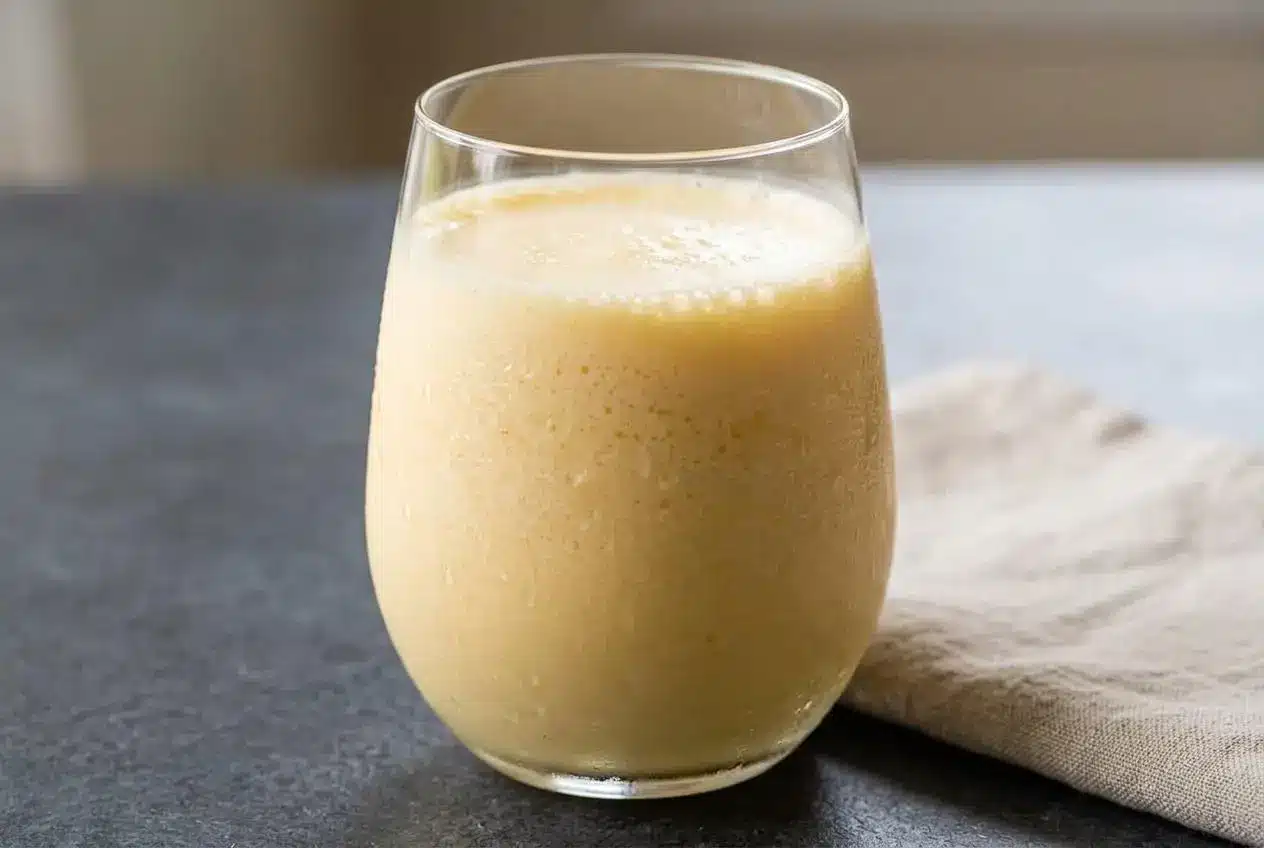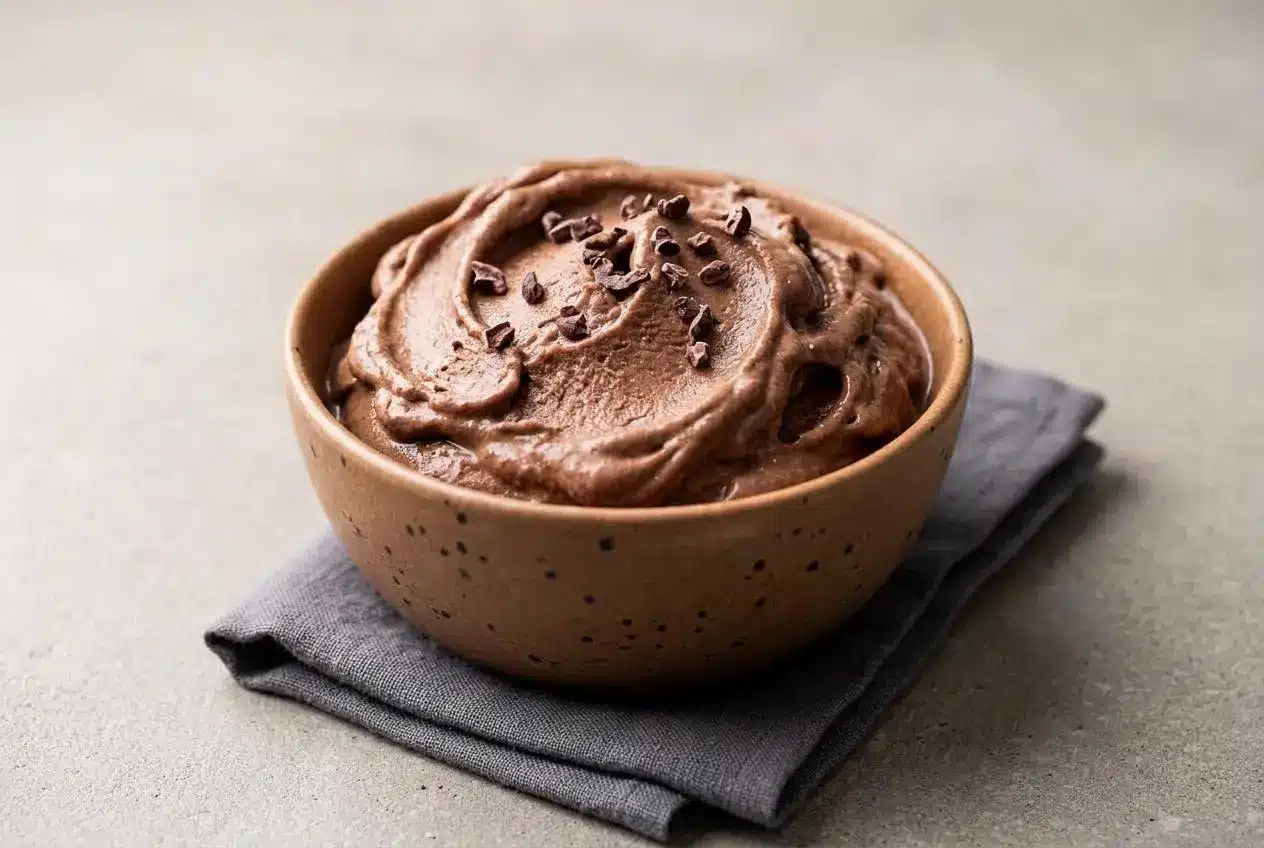
Protein Ice Cream is easy to make at home with frozen fruit, protein powder, and a splash of milk. You can blend it into soft serve, freeze it for scoops, or use a Ninja Creami for an extra smooth finish.
Protein Ice Cream is basically a creamy frozen dessert built from a cold base, protein powder, and just enough liquid to help everything blend. This version keeps the method simple and gives you both chocolate and vanilla options.
You’ll like it because it’s flexible, satisfying, and surprisingly forgiving once you know what affects texture most. A couple of small tweaks make a big difference.
Freeze the banana in small chunks instead of large pieces so your blender catches faster and the mixture turns creamy before it starts to melt.
Why This Protein Ice Cream Recipe Is a Game-Changer
This works because it starts with a reliable, creamy base and leaves room for you to adjust the flavor without changing the whole method. Chocolate and vanilla are built in, but the same structure works for plenty of other combinations.
The texture is the real win here. Banana adds body, protein powder thickens the blend, and nut butter in the chocolate version helps keep the mixture rich instead of icy.
And you do not need fancy equipment to make it work. A high-speed blender, food processor, standard blender, or Ninja Creami can all get you there, with slightly different results.
| Equipment | Best For | Texture Result | Pro | Con |
|---|---|---|---|---|
| High-speed blender | Fast soft serve | Very smooth and thick | Quick and powerful | Can struggle if liquid is too low |
| Food processor | Most home kitchens | Creamy with a little more control | Great with frozen banana | Takes a few scrape-downs |
| Ninja Creami | Firmest, smoothest scoop | Closest to pint-style ice cream | Excellent final texture | Needs a pre-frozen base |
| No-churn freezer method | No special machine | Less airy but still good | Accessible | Needs stirring as it freezes |
Key Ingredients for Creamy Protein Ice Cream
If your homemade ice cream ever turns icy, chalky, or oddly fluffy, the ingredients are usually the reason. The base, the protein powder, and even the type of milk all change the final scoop.
Choosing Your Base: Banana vs. Cottage Cheese vs. Keto
Frozen banana is the base in the main recipe, and for good reason. It blends into a thick, naturally sweet texture that feels close to soft serve, especially when the pieces are fully frozen. It does bring banana flavor, though, so it is best when you do not mind that coming through.
Cottage cheese is a strong banana-free option when you want more protein and a milder flavor. It can make the ice cream especially creamy, but it needs a thorough blend so the texture stays smooth instead of slightly grainy. If that version sounds more like your thing, this cottage cheese ice cream is a helpful next step.
A keto-style base usually swaps banana for heavy cream plus a low-carb milk such as almond milk. That version tastes richer and keeps carbs lower, but it needs a sweetener and careful balancing so it does not freeze too hard or feel greasy.
| Base | Texture | Flavor Profile | Protein | Carbs |
|---|---|---|---|---|
| Frozen banana | Thick, creamy, soft-serve-like | Sweet, fruity | Lower on its own | Higher |
| Cottage cheese | Dense, creamy, smooth when well blended | Mild and tangy | Higher | Lower than banana |
| Keto cream base | Rich and scoopable | Neutral, dessert-like | Depends on powder used | Lowest |
Choosing Your Protein Powder: Whey vs. Casein vs. Plant-Based
A lot of home cooks ask which protein powder actually makes the creamiest ice cream. Texture-wise, plant-based blends and casein usually give you the thickest result because they absorb liquid well and help the mixture hold body.
Whey can still work, especially if you already like the flavor you have on hand. But it tends to blend thinner and can turn a little icy or chalky if the rest of the recipe is too lean.
Casein is often the thickest of the bunch, almost pudding-like once blended. That can be great for scoopability, though sometimes it needs a little more liquid to move through the machine cleanly.
Plant-based powders vary by brand, but blends made from pea and rice often work better than single-source powders. Honestly, if your current powder tastes gritty in a shake, it will probably taste gritty here too.
The Secret to a Smoother Texture
If you want a more pint-like texture, an optional stabilizer can help. A tiny amount of xanthan gum or guar gum can reduce large ice crystals and help the mixture stay smoother after freezing.
This is not required for the official recipe, and the banana base already does a lot of the heavy lifting. But for lower-fat versions, banana-free versions, or whey-heavy blends, it can make a noticeable difference.
Ingredients
Each ingredient has a job here, from sweetness and body to creaminess, chocolate depth, vanilla aroma, and the thick texture that makes the final scoop feel satisfying.
Chocolate
- 2 frozen bananas, peeled and chopped into chunks
- ¼ cup dairy-free milk
- 2 Tablespoons almond butter or peanut butter
- 1 Tablespoon cocoa powder
- 1 scoop chocolate protein powder
- ½ Tablespoon chocolate chips or cacao nibs
Vanilla
- 2 frozen bananas, peeled and chopped into chunks
- ¼ cup dairy-free milk
- 1 scoop vanilla protein powder
- 1 teaspoon vanilla extract or vanilla bean paste
- ¼ teaspoon cinnamon
I always freeze the banana pieces spread out first, then transfer them to a container once firm, because clumped chunks are much harder on the blender.
How to Make Protein Ice Cream
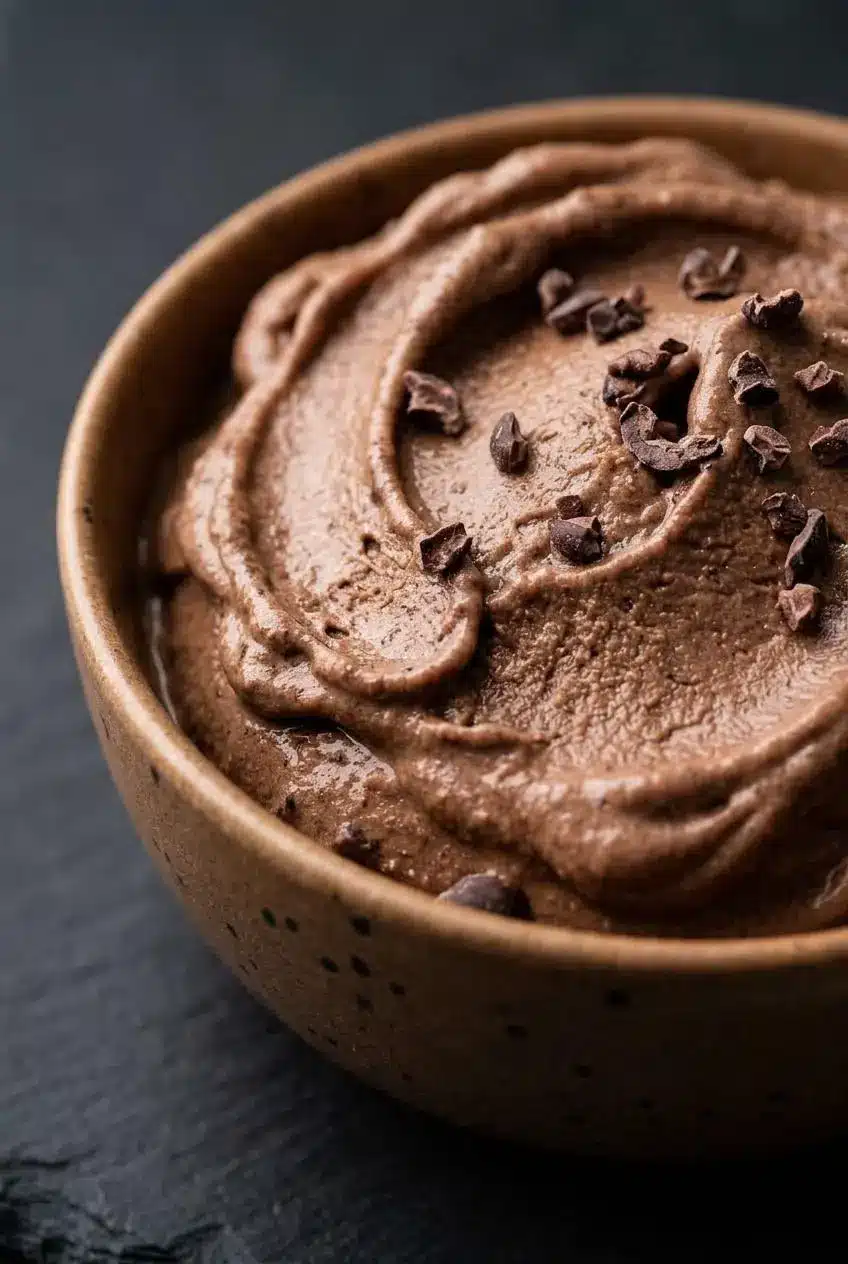
The main recipe is built for a blender or food processor, but you can adapt the same idea for a Creami or a no-churn setup. The key is matching the method to your equipment instead of forcing one approach to do everything.
Method 1: High-Speed Blender or Food Processor
Chocolate
- Add the frozen bananas, dairy-free milk, almond butter or peanut butter, cocoa powder, and chocolate protein powder to a food processor or high-speed blender.
The mixture will look chunky at first, and that is normal. - Blend or process for about 3 to 4 minutes, stopping to stir or scrape down the sides as needed.
Keep going until it looks thick, smooth, and close to soft-serve consistency. - Add the chocolate chips or cacao nibs and pulse briefly to distribute them through the mixture.
You want little flecks throughout, not fully blended shards. - Spoon into bowls and serve right away, or transfer to a parchment-lined loaf pan and freeze for 2 hours if you want firmer scoops.
After freezing, it should hold shape with an ice cream scoop instead of slumping like a smoothie bowl.
Vanilla
- Place the frozen bananas, dairy-free milk, vanilla extract or vanilla bean paste, cinnamon, and vanilla protein powder in a food processor or high-speed blender.
The bowl or pitcher will seem full at first, but it will settle as the fruit breaks down. - Blend or process for about 3 to 4 minutes, pausing to stir when the blades need help catching the frozen pieces.
The finished texture should be creamy and thick, with no visible banana chunks. - Serve immediately for a soft-serve texture, or spread into a parchment-lined loaf pan and freeze for 2 hours for a firmer finish.
Once chilled, it should scoop more cleanly and hold rounded edges.
Method 2: For the Ninja Creami
For a Ninja Creami, blend the chocolate or vanilla base until fully smooth first, then transfer it to your Creami pint without going past the max fill line. Freeze the pint until completely solid, then process it on the ice cream setting that best fits your machine.
If the first spin looks dry or crumbly, add a small splash of milk and run a re-spin. That second pass usually gives you the smoothest texture. If you use your Creami often, you might also like more Ninja Creami recipes.
Method 3: The No-Churn Freezer Method
Blend the base as you would for the regular method, then spread it into a shallow freezer-safe container. A loaf pan works well because the thinner layer freezes more evenly.
As it firms up, stir it vigorously every so often with a fork or whisk to break up ice crystals and keep the texture more even. It will not be quite as airy as a fresh blend or as polished as a Creami pint, but it can still be very good.
Flavor Variations and Custom Mix-Ins
Once you understand the base, you can steer it in almost any direction. The best part? You do not need to reinvent the method every time.
Keto Chocolate Peanut Butter Variation
For a low-carb version, swap the banana base for a mix of heavy cream and low-carb milk, then build in chocolate and peanut butter flavor with cocoa powder, peanut butter, and a protein powder you already know you like. Use a keto-friendly sweetener if needed, and expect a richer, less fruity result.
This variation is best when you want something closer to classic ice cream flavor rather than banana nice cream. A small amount of stabilizer can help keep it smoother after freezing.
Vegan Strawberry Swirl Variation
The main recipe already works well for dairy-free eaters, so this one is an easy pivot. Start with the vanilla version, blend in frozen strawberries, then swirl in a little strawberry jam before the final chill if you want ribbon-like pockets of fruit flavor.
Strawberries add brightness, but they also add extra water, so keep the liquid modest and stop blending as soon as the mixture turns smooth. Too much blending can warm it up fast.
Mix-In and Topping Ideas
Mix-ins are where texture really comes alive. Add crunchy bits at the end so they stay distinct, and save sauces or swirls for just before serving or the final freeze.
| Category | Ideas | Best Time to Add |
|---|---|---|
| Crunchy | chopped nuts, granola, cacao nibs, crushed brownie protein bites | Fold in after blending |
| Fruity | fresh berries, diced strawberries, blueberries | Top just before serving |
| Saucy | peanut butter swirl, date caramel, berry jam | Swirl in before the final chill |
| Dessert-style | cookie crumbs, toasted coconut, dark chocolate shavings | Sprinkle on top at serving |
If you like keeping the high-protein dessert theme going, high-protein cheesecake is another fun one to make next.
Troubleshooting: How to Fix Common Protein Ice Cream Problems
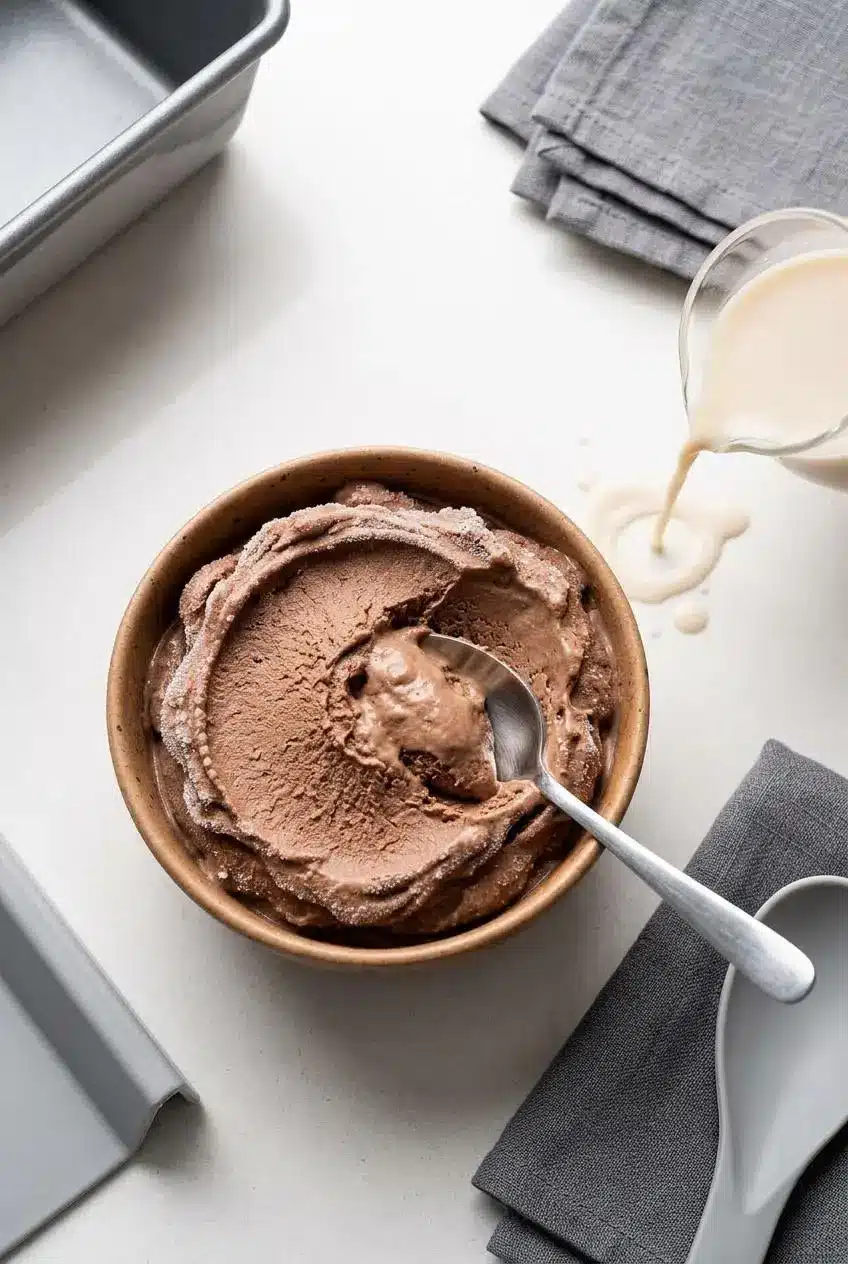
This is where most frustration happens, and usually the fix is simple. A few ingredient and technique changes can turn a disappointing batch into a creamy one.
| Problem | Likely Cause | How to Fix |
|---|---|---|
| Icy texture | Too much liquid, not enough fat or solids, or a base with too much water | Use less liquid, include a creamy ingredient like nut butter, and blend only until smooth. An optional stabilizer can also help. |
| Grainy or chalky taste | Protein powder that does not blend smoothly, especially some whey powders | Try a plant-based blend or casein, or pair whey with a richer base so the texture feels less dry. |
| Freezes rock-solid and is not scoopable | Low fat, low sugar, or too much freezer time after blending | Let it soften briefly before scooping, or re-blend with a splash of milk if the texture is too firm. |
| Too soft or melts too quickly | The mixture warmed up during blending or had too much added liquid | Blend in short bursts, stop once smooth, and give it a short freeze if you want cleaner scoops. |
A lot of home cooks run into the same issue: the blender starts whining and the mixture just spins in place. When that happens, stop and stir before adding more liquid right away. Trust me, a tiny adjustment usually does it.
Homemade vs. Store-Bought: Which Is Better?
If you are deciding between making your own and buying a pint, the answer depends on what matters most to you. Store-bought is convenient, but homemade gives you more control over flavor, texture, and ingredient choice.
Brands such as Enlightened and Protein Pints can be handy when you want something ready to eat. Homemade wins when you want to choose the base, adjust the sweetness, or avoid ingredients you do not love.
| Factor | Homemade | Store-Bought |
|---|---|---|
| Cost per serving | Usually lower once you already have protein powder | Usually higher per pint or serving |
| Ingredient control | Full control over base, sweetness, and add-ins | Limited to what the brand includes |
| Flavor customization | Very high | Depends on available flavors |
| Convenience | Needs prep and blending | Open and eat |
| Texture | Best fresh or properly re-spun | More consistent from pint to pint |
So which is better? For convenience, store-bought has the edge. For customization and freshness, homemade is hard to beat.
How to Store and Serve Your Protein Ice Cream
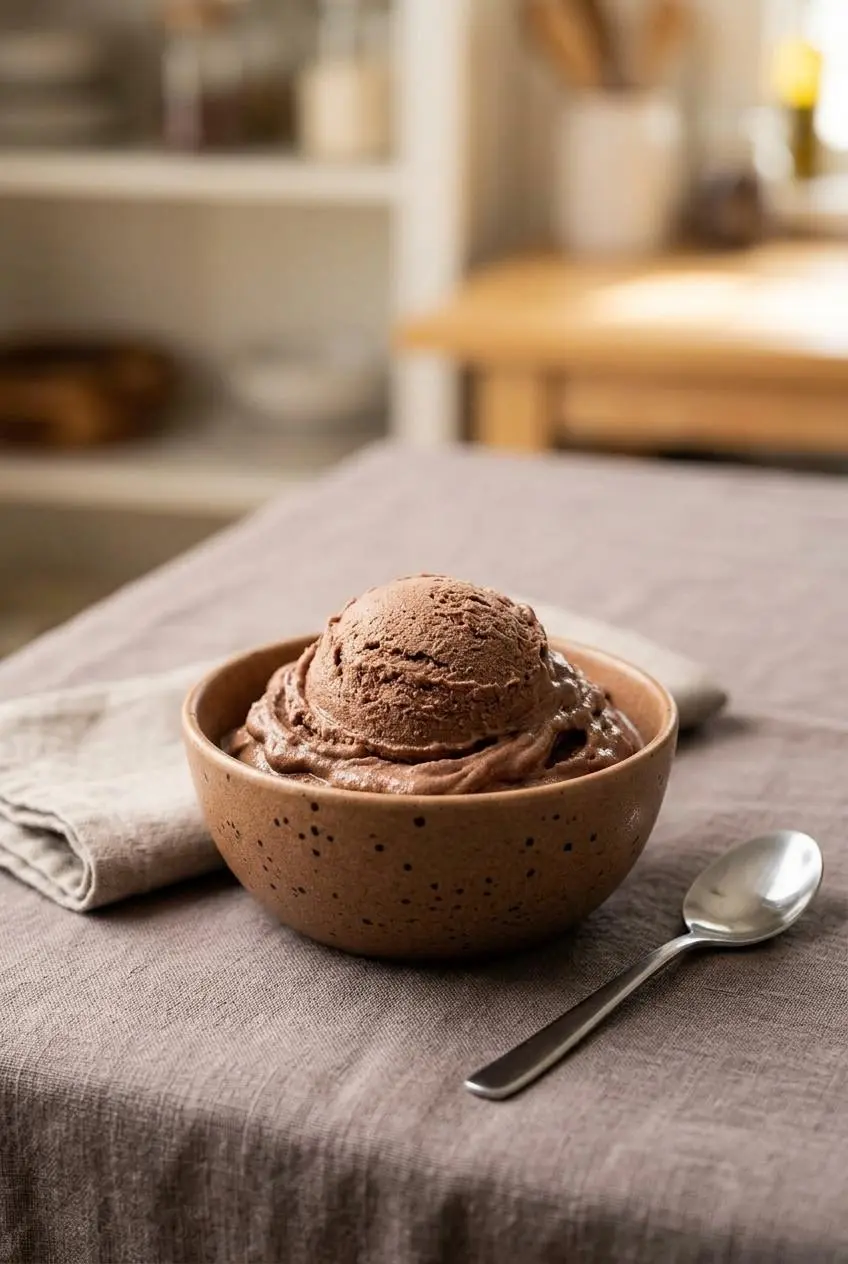
Freshly blended protein ice cream is at its creamiest right away, almost like soft serve. If you want a firmer scoop, freeze it in a tightly covered container and press parchment or wrap directly onto the surface to limit ice crystals.
The official recipe gives you a clear texture path: serve it right after blending for soft serve, or freeze it for 2 hours in a loaf pan if you want a more scoopable result. If it has been in the freezer longer and feels very firm, let it sit at room temperature briefly before scooping.
For longer freezer storage, keep it well covered in an airtight container. For best quality, use it within 1 to 2 weeks, following university extension guidance.
Conclusion
Making protein ice cream at home is easier than it looks, and the texture gets much better once you match the base and protein powder to the result you want.
If you remember one thing, make it this: creamy frozen desserts need enough body, not just cold ingredients. Get that balance right, and you will want to make this again soon.
Frequently Asked Questions
How Do I Make Protein Ice Cream Creamy, Not Icy?
Use a good balance of frozen solids and liquid. Add a creamy ingredient such as nut butter or use a richer base. Blend until smooth, but do not keep running the machine once it starts warming up. Plant-based protein or casein often gives a thicker result than whey. An optional pinch of xanthan gum can help reduce iciness in some versions.
What’s the Best Protein Powder to Use?
For the creamiest texture, plant-based blends and casein usually work best. They absorb more liquid and help the mixture stay thick. Whey can work, but it may turn thinner or a bit chalkier depending on the brand. Choose a flavor you already enjoy, because the powder taste comes through clearly.
Can I Make This Without a High-Speed Blender or Ninja Creami?
Yes, absolutely. A food processor is one of the best alternatives for frozen banana ice cream. A regular blender can work if you stop and stir as needed. You can also use the no-churn freezer method and stir the mixture as it firms up.
How Should I Store Homemade Protein Ice Cream?
Keep it in an airtight container with parchment or wrap pressed onto the surface. That helps limit ice crystals and protects texture. It is best when served fresh or after a short freezer rest for scoops. If it firms up too much, let it soften briefly before serving.
Can I Make Protein Ice Cream Without Bananas?
Yes. Cottage cheese is a popular banana-free option with a creamy, high-protein result. Greek yogurt can also work, though it tastes tangier. For a low-carb version, a cream-and-almond-milk base is another good path.
Is It Cheaper to Make Your Own Protein Ice Cream Than to Buy It?
Usually, yes. The upfront cost of protein powder can feel high, but the cost per serving is often lower. You also get to control the ingredients and flavor. Store-bought still wins on convenience when you want a pint right now.
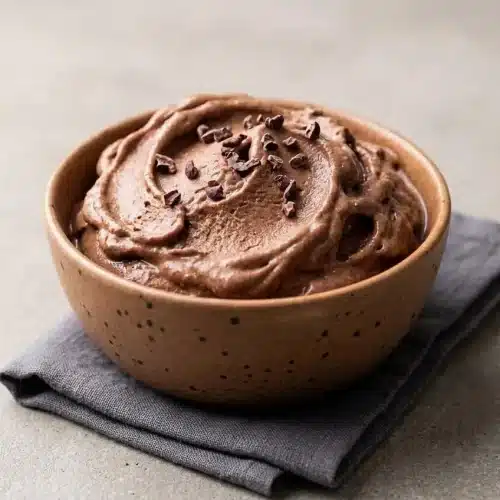
Protein Ice Cream

Equipment
- Food processor
- Blender
Ingredients
Chocolate
- 2 frozen bananas peeled and chopped into chunks
- ¼ cup dairy-free milk
- 2 Tablespoons almond butter or peanut butter
- 1 Tablespoon cocoa powder
- 1 scoop chocolate protein powder
- ½ Tablespoon chocolate chips or cacao nibs
Vanilla
- 2 frozen bananas peeled and chopped into chunks
- ¼ cup dairy-free milk
- 1 scoop vanilla protein powder
- 1 teaspoon vanilla extract or vanilla bean paste
- ¼ teaspoon cinnamon
Instructions
Chocolate
- Add the frozen bananas, dairy-free milk, almond butter or peanut butter, cocoa powder, and chocolate protein powder to a food processor or high-speed blender. The mixture will look chunky at first, and that is normal.
- Blend or process for about 3 to 4 minutes, stopping to stir or scrape down the sides as needed. Keep going until it looks thick, smooth, and close to soft-serve consistency.
- Add the chocolate chips or cacao nibs and pulse briefly to distribute them through the mixture. You want little flecks throughout, not fully blended shards.
- Spoon into bowls and serve right away, or transfer to a parchment-lined loaf pan and freeze for 2 hours if you want firmer scoops. After freezing, it should hold shape with an ice cream scoop instead of slumping like a smoothie bowl.
Vanilla
- Place the frozen bananas, dairy-free milk, vanilla extract or vanilla bean paste, cinnamon, and vanilla protein powder in a food processor or high-speed blender. The bowl or pitcher will seem full at first, but it will settle as the fruit breaks down.
- Blend or process for about 3 to 4 minutes, pausing to stir when the blades need help catching the frozen pieces. The finished texture should be creamy and thick, with no visible banana chunks.
- Serve immediately for a soft-serve texture, or spread into a parchment-lined loaf pan and freeze for 2 hours for a firmer finish. Once chilled, it should scoop more cleanly and hold rounded edges.
Method 2: For the Ninja Creami
- For a Ninja Creami, blend the chocolate or vanilla base until fully smooth first, then transfer it to your Creami pint without going past the max fill line. Freeze the pint until completely solid, then process it on the ice cream setting that best fits your machine.
- If the first spin looks dry or crumbly, add a small splash of milk and run a re-spin. That second pass usually gives you the smoothest texture.
Method 3: The No-Churn Freezer Method
- Blend the base as you would for the regular method, then spread it into a shallow freezer-safe container. A loaf pan works well because the thinner layer freezes more evenly.
- As it firms up, stir it vigorously every so often with a fork or whisk to break up ice crystals and keep the texture more even. It will not be quite as airy as a fresh blend or as polished as a Creami pint, but it can still be very good.