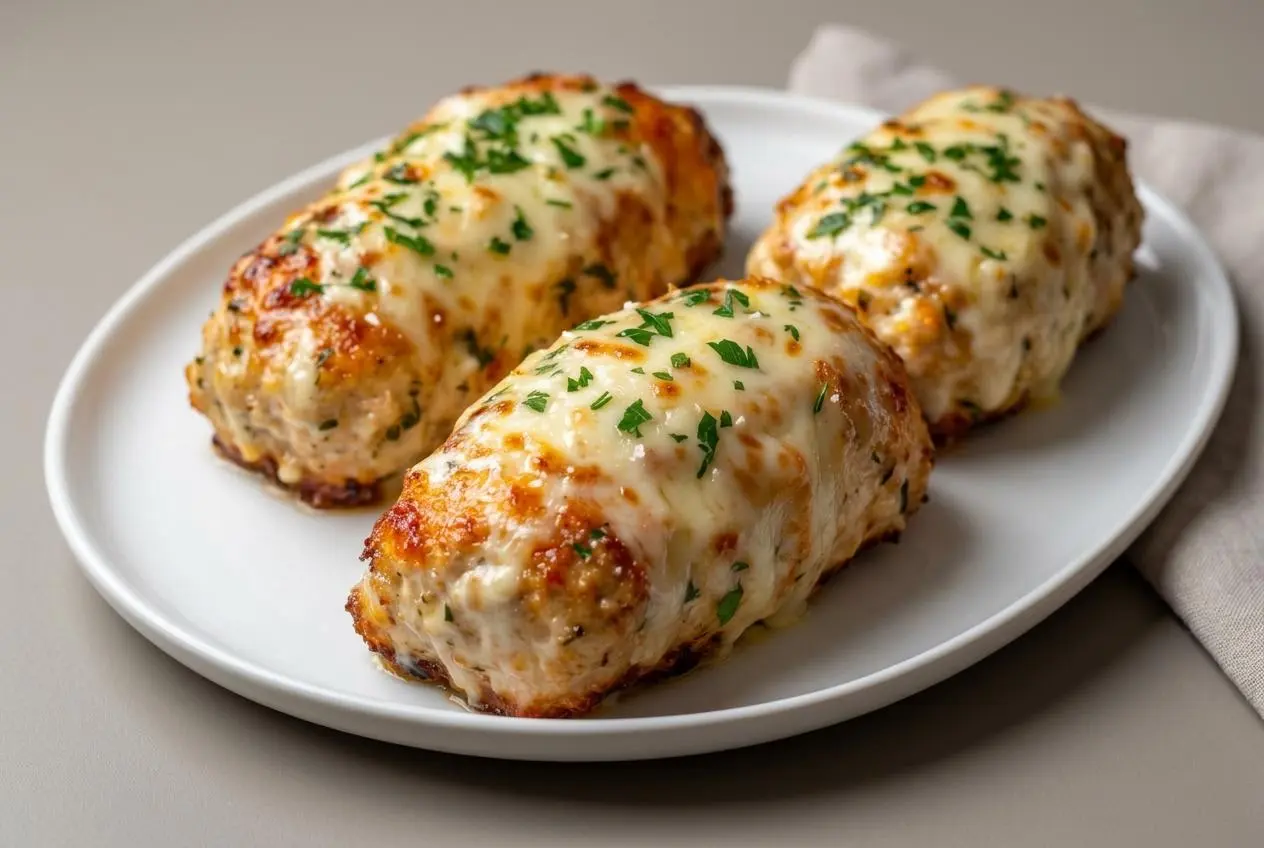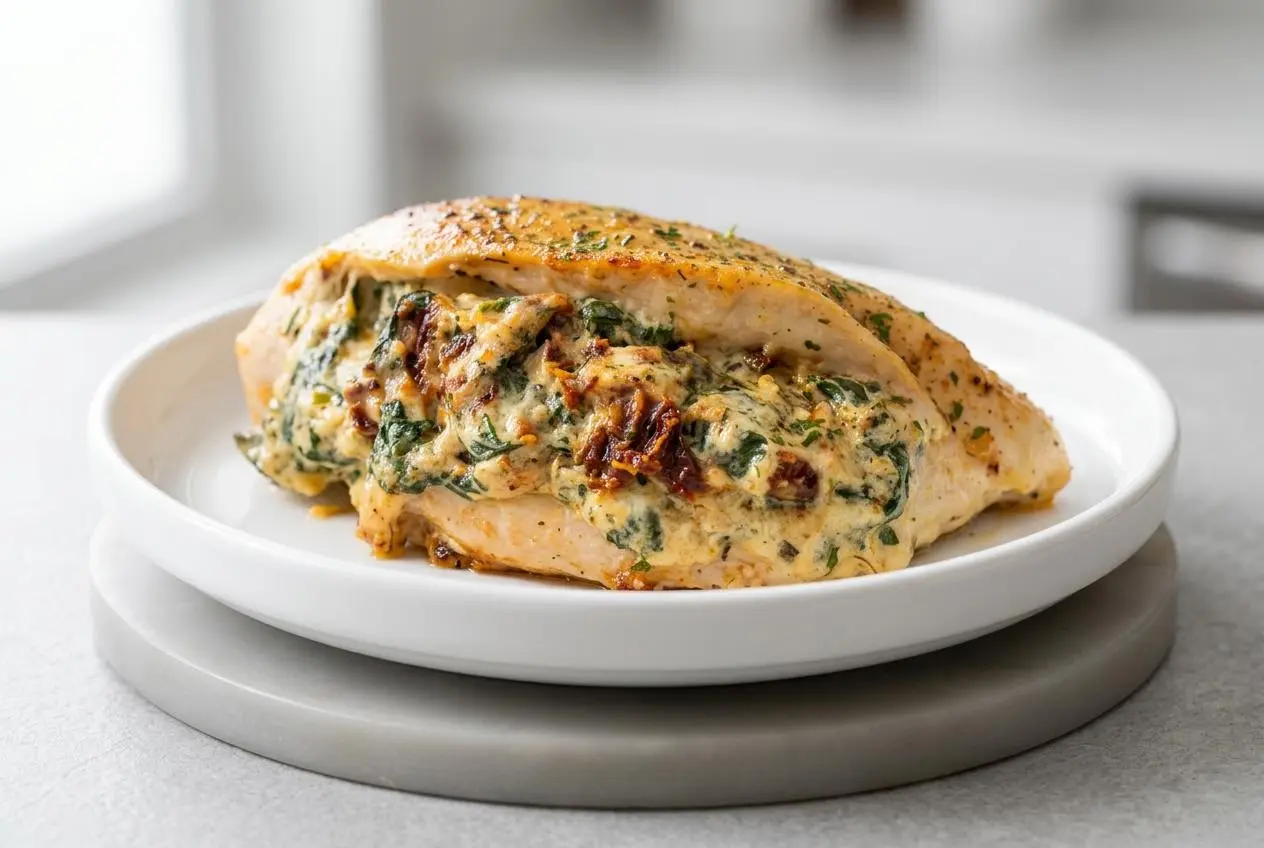
Stuffed Chicken Breast turns out juicy and reliable when you use a thick creamy filling, sear the outside until lightly golden, then finish it in the oven.
Stuffed Chicken Breast is a baked chicken dinner with a pocket of creamy spinach, sun-dried tomatoes, and melty cheese tucked inside each breast. It looks impressive, but the method is very doable on a weeknight.
You get savory garlic, a little tang from the tomatoes, and that golden skillet color that makes chicken feel extra special. The filling stays rich and cozy instead of sliding everywhere. That’s the sweet spot.
Set the cream cheese out early so the filling mixes smoothly instead of fighting you in the bowl.
Ingredients
Each ingredient earns its place here: chicken for structure, cheeses for richness and melt, spinach for color and freshness, garlic and herbs for aroma, and sun-dried tomatoes for bright, savory balance.
- 4 boneless skinless chicken breasts
- Salt and pepper, to taste
- ½ teaspoon paprika
- 1 tablespoon olive oil
Filling
- 2 teaspoons olive oil
- 3 cups packed spinach, roughly chopped
- 4 cloves garlic, minced
- 1/3 cup sun-dried tomatoes, drained/chopped
- 4 oz. cream cheese, softened
- 1 cup shredded mozzarella
- 1/3 cup Parmesan, grated
- ½ teaspoon EACH: dried basil, dried oregano
- ¼ teaspoon onion powder
- 1 pinch red pepper flakes
What makes the filling creamy instead of watery
The filling should be thick and spreadable, not loose. I get the best texture when the cream cheese is fully softened before mixing. It blends into the mozzarella and Parmesan much more evenly that way.
Spinach is the other big factor. After it wilts, let it cool so it does not steam up the bowl, and make sure it is not carrying excess moisture. If your sun-dried tomatoes are packed in oil, draining them well helps keep the filling rich instead of slick. I also personally prefer shredding mozzarella from a block when I can because it melts smoother.
How to Make Stuffed Chicken Breast
This method works because it builds flavor in layers: first the filling, then the chicken pocket, then a quick sear before the oven finishes the job.
Prepare the Filling
- I start by heating the oven to 375° F.
Getting the oven ready first keeps the flow easy once the chicken is stuffed and seared. - I warm 1-2 teaspoons oil in a large skillet over medium heat, then cook the spinach and garlic for 3-4 minutes until the spinach wilts.
You’ll catch that nice whiff of garlic right away. I let this mixture cool so it does not make the cheese filling too soft. - I set the spinach mixture and sun-dried tomatoes aside, then mix the remaining filling ingredients together before folding in the cooled spinach, garlic, and tomatoes.
The best texture here is thick, creamy, and spoonable. If it looks runny, pause and make sure the cooked spinach has cooled enough.
Prepare the Chicken
- I pat the chicken dry and use a sharp paring knife to cut a pocket into each breast.
I keep the knife parallel to the cutting board and stop before the other side so the filling has somewhere to stay. - I spoon the filling into each pocket, then season the tops with salt, pepper, and paprika.
Don’t pack the filling in like you’re stuffing a suitcase. A comfortably filled pocket is much easier to sear. - I heat the oil in a large skillet over medium-high heat until it looks glistening and hot, then sear 2 chicken breasts at a time for 2-3 minutes per side.
I’m looking for golden brown, not dark brown. I flip them gently so the filling stays put.
Bake
- If my skillet is not oven safe, I move the chicken to a baking dish.
An oven-safe skillet is handy, but transferring works perfectly well. - I bake the chicken uncovered at 375° for 17-20 minutes, then rest it for 5 minutes before serving.
The chicken is done when the thickest part reaches 165°, which matches the guidance from this safe minimum temperature chart. Resting keeps the juices where you want them.
A quick skillet sauce for extra flavor
If you want a little something glossy on the plate, use the browned bits left in the skillet after searing. A splash of white wine or chicken broth, a little butter, and a squeeze of lemon can turn into a fast pan sauce in a couple of minutes.
I like this best when the chicken is resting and the pan still has those savory caramelized spots. Scrape them up, simmer briefly, and spoon the sauce around the chicken instead of over the top if you want to keep that golden crust intact.
How to cut and fill the chicken without losing the stuffing
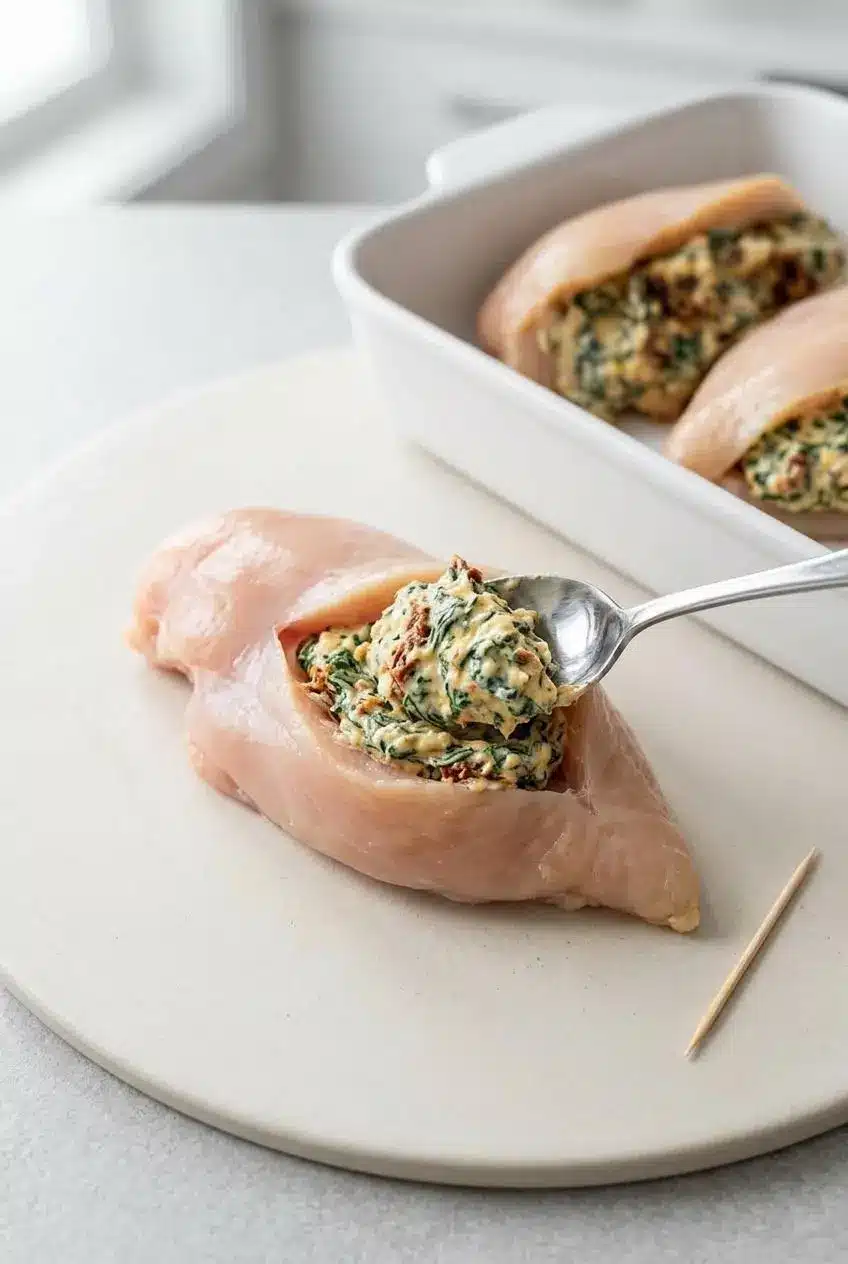
This is the step most home cooks worry about, but it’s really about control. You want a pocket, not a butterfly cut.
Slide the knife into the thickest side of the chicken breast and cut inward, leaving the edges and opposite side intact. Think of it like making a pouch. If you slice all the way through, the filling will try to escape the second it hits the skillet.
If a chicken breast is especially thick in one spot, you can gently pound it a bit for more even cooking before cutting the pocket. Not thin, just more even. And if you prefer the roll-up style, a chicken roulade uses that thinner, rolled approach instead of the pocket method.
Toothpicks are optional here. I only reach for them when a breast is packed a little too full or the opening wants to gape open in the pan.
Why sear then bake works best here
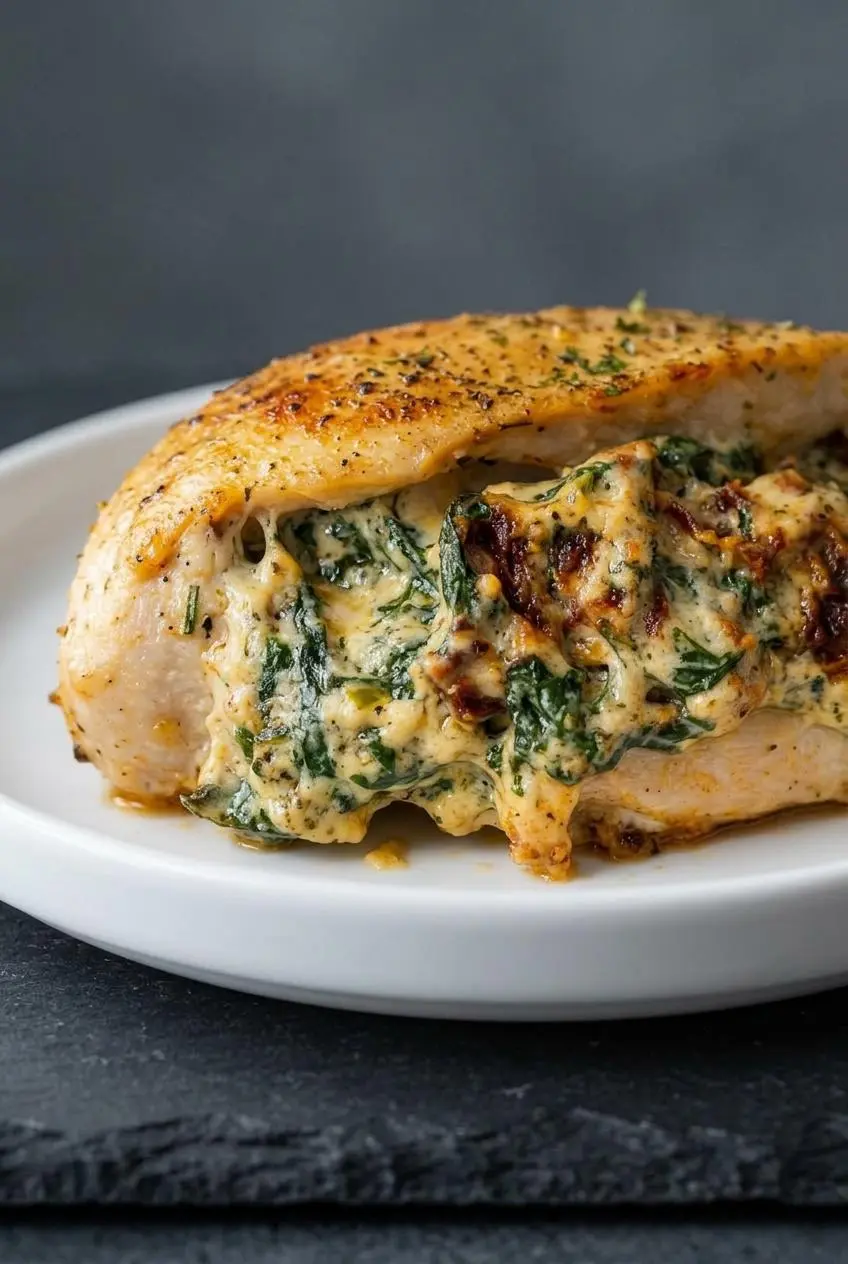
For this creamy filling, sear then bake gives you the best mix of color, flavor, and control. The skillet gives the chicken a golden exterior fast, and the oven finishes the center more gently.
Oven-only works, but the outside tends to stay paler and you miss some of that savory browning. An air fryer can cook chicken beautifully, but creamy stuffed centers can be trickier to manage, especially if the pocket is overfilled. If you want a simpler, non-stuffed option for that appliance, this air fryer method is a great place to start.
Grilling is possible, but it asks more from you. Stuffed breasts can stick, split, or cook unevenly over direct heat. Honestly, the skillet-to-oven route is the one I’d choose when I want dinner to feel dependable instead of dramatic.
Common problems and how to fix them
This recipe is straightforward, but a few small issues show up again and again. Here’s how I fix them without changing the whole method.
| Problem | Likely cause | Fix |
|---|---|---|
| Watery filling | Spinach held extra moisture or the cream cheese was not mixed smoothly | Cool the spinach mixture and keep the filling thick before stuffing |
| Dry chicken | Chicken baked too long or was unevenly thick | Even out very thick breasts, sear for color, then bake just until done |
| Cheese leaking out | Pocket cut through or chicken overstuffed | Cut a deeper pocket instead of a wide opening and use a moderate amount of filling |
| Pale color | Chicken was not dry or skillet was not hot enough | Pat the chicken dry and wait until the oil is hot and shimmering |
A lot of home cooks ask why the filling turns loose. Usually it comes down to moisture management. Let the cooked spinach cool, drain the tomatoes well, and mix the cheeses until the filling feels sturdy enough to mound on a spoon.
If the chicken tears while you’re stuffing it, don’t panic. Just ease the filling back inside and sear that side carefully first. A little cheese peeking out is normal. A full-on lava flow means the pocket was overfilled.
How do you keep stuffed chicken breast from drying out?
Keep the thickness as even as you can, sear for color first, then bake only until the center is cooked through. I also always rest it before slicing. That short pause makes a real difference in how juicy the chicken feels on the plate.
Filling ideas that fit this method
The pocket method is flexible, which is why this recipe is easy to make your own later. The main thing is matching the filling to the cooking style.
Cream cheese based fillings, like the one here, are naturally thick and hold together well. They’re ideal when you want a creamy center that stays inside the chicken more easily. Bread-style fillings can work too, especially if you want a more classic chicken-and-stuffing feel, but they usually need a little more care because they can be looser or bulkier depending on how moist they are.
Good add-in ideas include sautéed mushrooms, chopped bacon, roasted red peppers, feta, or different cheese swaps like fontina, gouda, cheddar, or pepper jack. Wetter fillings need a careful hand so they do not loosen the pocket and leak during searing.
The same technique also works for other combinations, including the ham-and-cheese style used in classic Chicken Cordon Bleu. That’s a fun next move once you’ve got the pocket method down.
What to serve with it for a full dinner
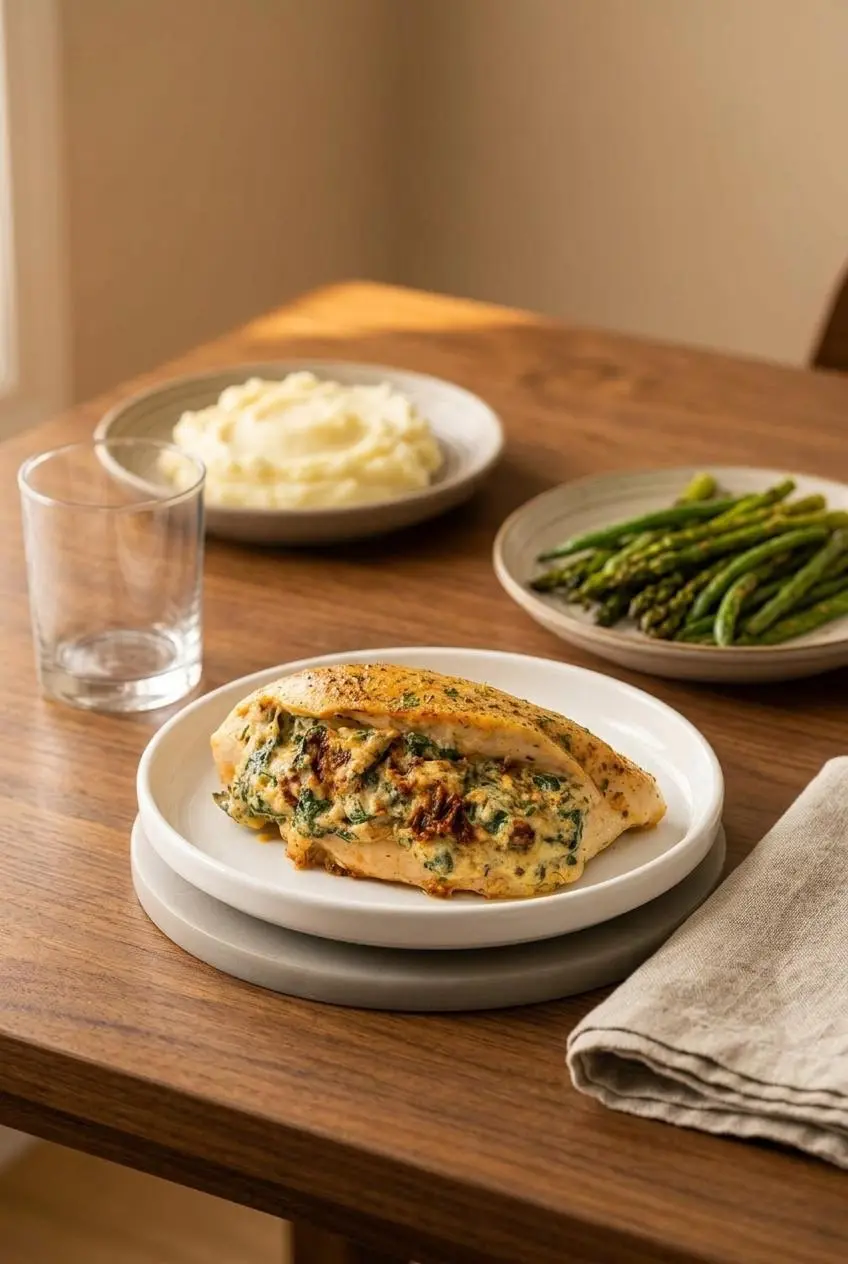
This chicken has a rich, cheesy center, so the best sides either soak up the juices or bring some contrast.
- Mashed potatoes or smashed potatoes for a cozy, comfort-food plate
- Roasted vegetables like green beans, asparagus, or Brussels sprouts for color and balance
- A simple salad with vinaigrette to cut through the creamy filling
- Rice pilaf or lemon rice when you want something fluffy and bright
- Creamy pasta or buttered noodles for a full-on hearty dinner
If you make the optional skillet sauce, potatoes and rice are especially nice because they catch every last bit. No sauce left behind. That’s the goal.
Conclusion
This stuffed chicken delivers exactly what you want: juicy meat, a creamy savory filling, and a sear then bake method that feels steady from start to finish. It looks dinner-party worthy, but it’s absolutely manageable on a regular weeknight.
If you remember one thing, make it the thermometer check and the short rest before slicing. Add the quick skillet sauce if you’re feeling fancy, and dinner will feel like a win.
FAQ
How do I keep the filling from leaking out of the chicken?
Cut a pocket into the side instead of slicing all the way through, and don’t overstuff it. A thick filling stays put better, and toothpicks can help if the opening feels too full.
What is the correct internal temperature for stuffed chicken breast?
Check the thickest part of the chicken with a meat thermometer and cook until it reaches 165°.
Can I make stuffed chicken breast ahead of time?
Yes. You can stuff the chicken ahead, keep it covered in the fridge, and bake it when you’re ready to serve.
Is it better to sear the chicken before baking?
Yes, for this recipe it helps a lot. Searing gives you better golden color and deeper flavor from browning, while the oven finishes the chicken more evenly.
What are some other good filling ideas for stuffed chicken?
Try a bread stuffing style, mushroom and Swiss, broccoli and cheddar, or feta with sun-dried tomatoes or olives. Just keep the filling thick enough to stay in the pocket.
How do I store and reheat leftover stuffed chicken?
Cool it and refrigerate it promptly in a covered container. Reheat gently so the chicken stays moist, and warm leftovers through before serving. Sliced leftovers are also great tucked into quick lunches.
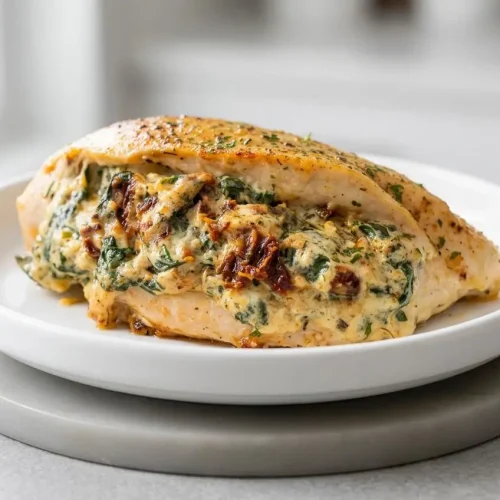
Stuffed Chicken Breast

Equipment
- 12-inch Enamel Cast Iron Skillet
- Sharp Paring Knife
- Meat Mallet
- Digital meat thermometer
Ingredients
- 4 boneless skinless chicken breasts
- Salt and pepper to taste
- ½ teaspoon paprika
- 1 tablespoon olive oil
Filling
- 2 teaspoons olive oil
- 3 cups packed spinach roughly chopped
- 4 cloves garlic minced
- 1/3 cup sun-dried tomatoes drained/chopped
- 4 oz. cream cheese softened
- 1 cup shredded mozzarella
- 1/3 cup Parmesan grated
- ½ teaspoon EACH: dried basil, dried oregano
- ¼ teaspoon onion powder
- 1 pinch red pepper flakes
Instructions
Prepare the Filling
- I start by heating the oven to 375° F. Getting the oven ready first keeps the flow easy once the chicken is stuffed and seared.
- I warm 1-2 teaspoons oil in a large skillet over medium heat, then cook the spinach and garlic for 3-4 minutes until the spinach wilts. You’ll catch that nice whiff of garlic right away. I let this mixture cool so it does not make the cheese filling too soft.
- I set the spinach mixture and sun-dried tomatoes aside, then mix the remaining filling ingredients together before folding in the cooled spinach, garlic, and tomatoes. The best texture here is thick, creamy, and spoonable. If it looks runny, pause and make sure the cooked spinach has cooled enough.
Prepare the Chicken
- I pat the chicken dry and use a sharp paring knife to cut a pocket into each breast. I keep the knife parallel to the cutting board and stop before the other side so the filling has somewhere to stay.
- I spoon the filling into each pocket, then season the tops with salt, pepper, and paprika. Don’t pack the filling in like you’re stuffing a suitcase. A comfortably filled pocket is much easier to sear.
- I heat the oil in a large skillet over medium-high heat until it looks glistening and hot, then sear 2 chicken breasts at a time for 2-3 minutes per side. I’m looking for golden brown, not dark brown. I flip them gently so the filling stays put.
Bake
- If my skillet is not oven safe, I move the chicken to a baking dish. An oven-safe skillet is handy, but transferring works perfectly well.
- I bake the chicken uncovered at 375° for 17-20 minutes, then rest it for 5 minutes before serving. The chicken is done when the thickest part reaches 165°, which matches the guidance from this safe minimum temperature chart. Resting keeps the juices where you want them.