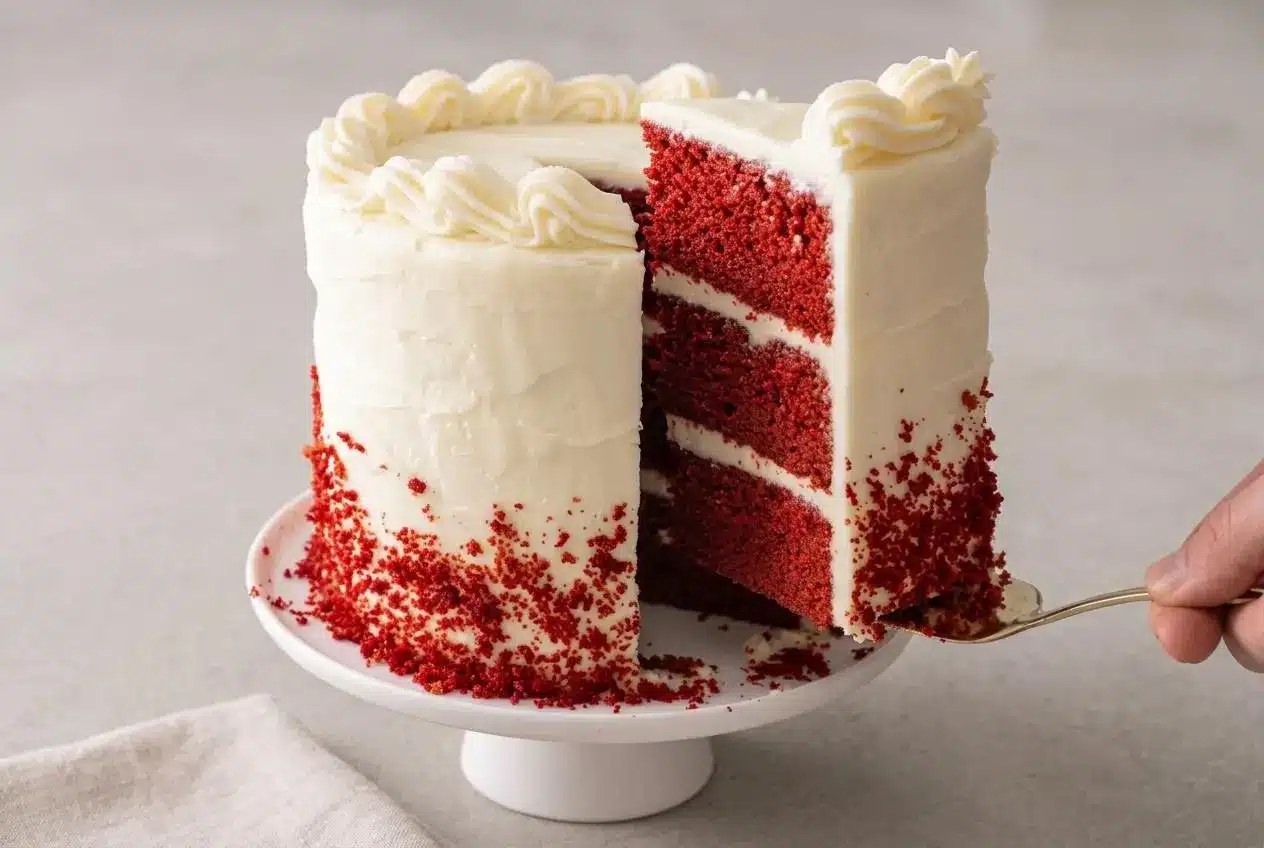
Red velvet cake is a tender vanilla-cocoa layer cake with a distinctive tang from buttermilk and vinegar, finished with thick cream cheese frosting.
This red velvet cake recipe delivers mild cocoa flavor, buttery layers, and a creamy tang that keeps each slice from tasting overly sweet.
Freshly baked layers smell gently cocoa-rich as they cool, and the deep red crumb makes the white frosting pop. The crumb coat is where the magic starts.
Set the butter, eggs, buttermilk, and cream cheese out before mixing so the batter and frosting emulsify smoothly.
What Makes Red Velvet Cake Unique
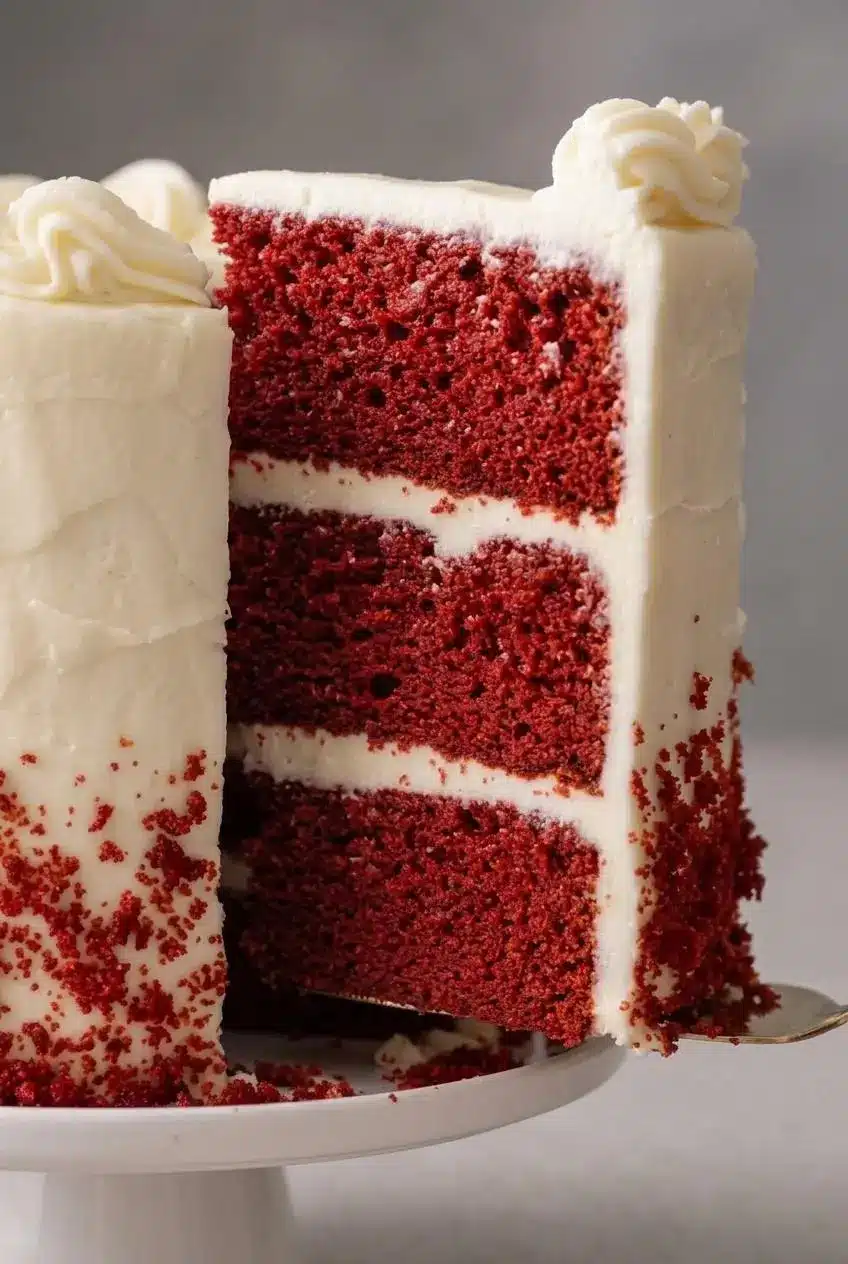
Red velvet has its own flavor profile: mild cocoa, sweet vanilla, tangy buttermilk, and a soft, fine crumb. It uses much less cocoa than a chocolate cake, so the result tastes lighter and brighter rather than deeply fudgy.
Buttermilk and vinegar give the layers their subtle tang while helping baking soda create lift. That reaction supports the cake’s signature velvety texture. Cream cheese frosting adds a cool, rich contrast that balances the sweet crumb.
The color is dramatic, but it is not the whole story. The delicate cocoa balance separates red velvet from a more cocoa-forward black velvet cake, while keeping the same appealingly soft layer-cake character.
Ingredients for Classic Red Velvet Cake
Each ingredient contributes to the cake’s color, lift, buttery structure, gentle cocoa depth, tangy flavor, or smooth, stable frosting.
For the Cake
- 2 ½ cups all-purpose flour (300g)
- 1 teaspoon salt
- 1 teaspoon baking soda
- ½ cup unsalted butter room temperature (113g)
- 1 ½ cups granulated sugar (300g)
- 2 large eggs room temperature
- 2 teaspoons vanilla extract
- 2 tablespoons cocoa powder
- 1 cup buttermilk room temperature (240ml)
- 1 tablespoon white vinegar
- 1 to 2 tablespoons liquid red food coloring
For the Cream Cheese Frosting
- 2 8-ounce blocks cream cheese room temperature (454g)
- 1 ½ cups unsalted butter room temperature (340g)
- 1 teaspoon vanilla extract
- Pinch kosher salt
- 1 ½ pounds confectioners sugar sifted (5½ cups/675g)
Natural cocoa powder gives a restrained chocolate note without overpowering the vanilla. Buttermilk, vinegar, and baking soda create a tender crumb, while full-fat block cream cheese gives the frosting enough body for spreading and piping.
I keep the cream cheese cool rather than very soft, because overly warm cream cheese can turn a fluffy frosting loose and glossy.
How to Make Red Velvet Cake
For the Cake
- Heat the oven to 350 °F, then butter and flour three 6-inch cake pans.
Coat the pans evenly, especially around the bottom edge, so the layers release cleanly. - Sift the flour, salt, and baking soda into a medium bowl.
The dry mixture should look uniform with no visible clumps of baking soda. - Beat the butter on medium speed, add the sugar, and beat for about 3 minutes before adding the eggs one at a time and then the vanilla.
The mixture should become paler, fluffy, and fall from the paddle in a thick ribbon. - Sift the cocoa into the butter mixture and mix only until it disappears, then scrape the bowl.
Stop as soon as the batter looks evenly cocoa-tinted. - Stir the buttermilk, vinegar, and red food coloring together in a liquid measuring cup.
The liquid should be evenly colored before it reaches the batter. - With the mixer on low, add half the dry mixture and half the buttermilk mixture, then repeat with the remaining portions and divide the batter among the pans.
Scrape the bowl as needed and stop mixing when no flour streaks remain. - Bake for about 30 to 35 minutes, cool the layers in their pans for about 10 minutes, then turn them onto a wire rack to cool completely.
The centers should spring back lightly when pressed and the layers must be fully cool before frosting.
For the Cream Cheese Frosting
- Beat the butter and cream cheese with a paddle on medium speed for about 3 minutes.
The mixture should look smooth, pale, and fluffy without cream cheese lumps. - Mix in the vanilla and kosher salt.
Pause once the flavorings are evenly blended. - Sift the confectioners sugar into a separate large bowl.
Sifting removes hard sugar lumps that can catch in a piping tip. - With the mixer on low, gradually add the sugar, scraping the bowl as needed, then beat on medium for about 1 minute and transfer about a cup to a piping bag fitted with a decorative tip.
The finished frosting should hold a soft, spreadable peak rather than slide from the paddle.
For the Assembly
- Set one cake layer on a cake stand or serving plate, spread about ½ cup of frosting over it, repeat with the second layer, then place the final layer on top and frost the top and sides.
Keep the filling level so the stack stays straight as it grows. - Smooth the frosting with a bench scraper or offset spatula, pipe a border if desired, and chill the cake for about 1 hour until the frosting sets.
The surface should feel firm enough to slice neatly; cover leftover cake and store it at room temperature for up to 2 days or refrigerate for up to 1 week.
Essential Baking Chemistry and Ingredient Selection
The Role of Buttermilk, Vinegar, and Cocoa
Buttermilk and white vinegar bring acidity to the batter. When they meet baking soda, the reaction creates carbon dioxide bubbles that help the layers rise with a soft, close crumb. Use natural, non-alkalized cocoa powder here. Dutch-process cocoa is less acidic, can weaken that balance, and may leave the cake darker and less vibrant.
Selecting the Right Cream Cheese and Butter
Choose full-fat brick-style cream cheese, not whipped tub cream cheese. Tub spreads contain extra moisture and can make frosting slack. Room-temperature butter should dent when pressed but still hold its shape; cream cheese should be smooth enough to beat without becoming warm and oily.
Step-by-Step Layering and Decorating Guide
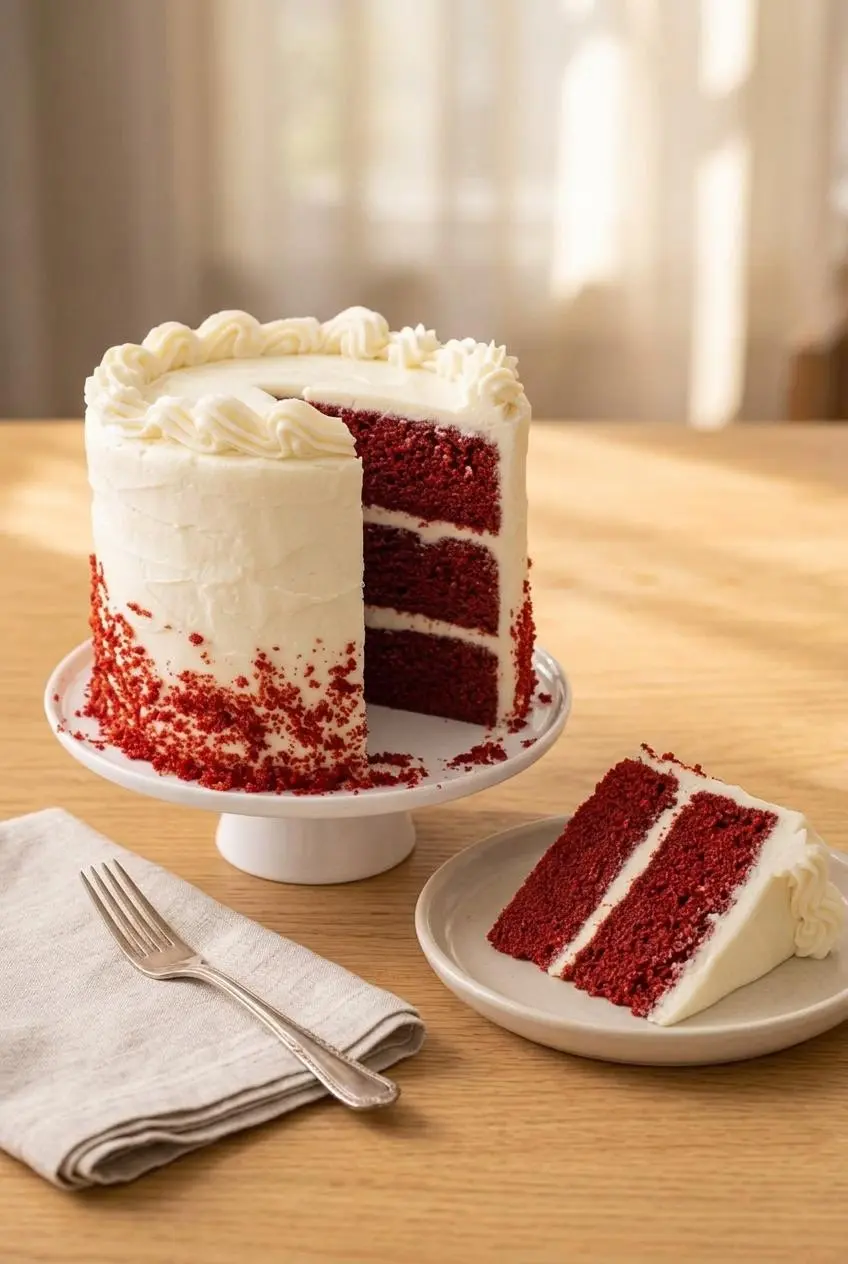
Leveling and Crumb Coating the Cake
If the layers have noticeable domes, trim them level with a serrated knife once fully cool. Save the red trimmings, crumble them finely, and use them sparingly over the finished cake.
Spread a thin coat of frosting over the assembled cake first. This crumb coat catches loose red crumbs, so the final frosting layer stays clean and bright. Chill the cake briefly until that first coating feels firm before adding the final layer of frosting.
Stabilizing and Piping Cream Cheese Frosting
Proper frosting looks smooth and thick enough to leave a clear trail when a spatula passes through it. If the piping bag feels soft in your hands, chill it briefly before piping so the border holds its ridges.
For a celebration finish, use the saved cake crumbs around the top edge or center. The same neat layers and piped border also work beautifully for a festive Valentine’s cake.
Critical Success Tips and Troubleshooting
How to Fix Runny Cream Cheese Frosting
- Thin, glossy frosting: Warm butter or prolonged beating can loosen the mixture. Chill the bowl until the frosting feels firmer, then mix gently on low only until it returns to a pipeable texture.
- Small cream cheese lumps: The dairy was too cold to blend smoothly. Let the bowl sit briefly, then beat just until the lumps disappear.
- Frosting slides between layers: The cake layers or frosting are too warm. Chill until both feel firm before continuing assembly.
Preventing Dense or Rubbery Cake Layers
- Tough crumb: Overmixing after flour goes in develops excess gluten. Keep the mixer on low and stop as soon as the batter comes together.
- Heavy layers: Cold dairy and eggs can leave the batter curdled and uneven. Bring them to room temperature before beginning.
- Dry domes: Unevenly filled pans can bake at different rates. Divide the batter evenly and check for springy centers near the early end of the baking range.
Storage and Make-Ahead Instructions
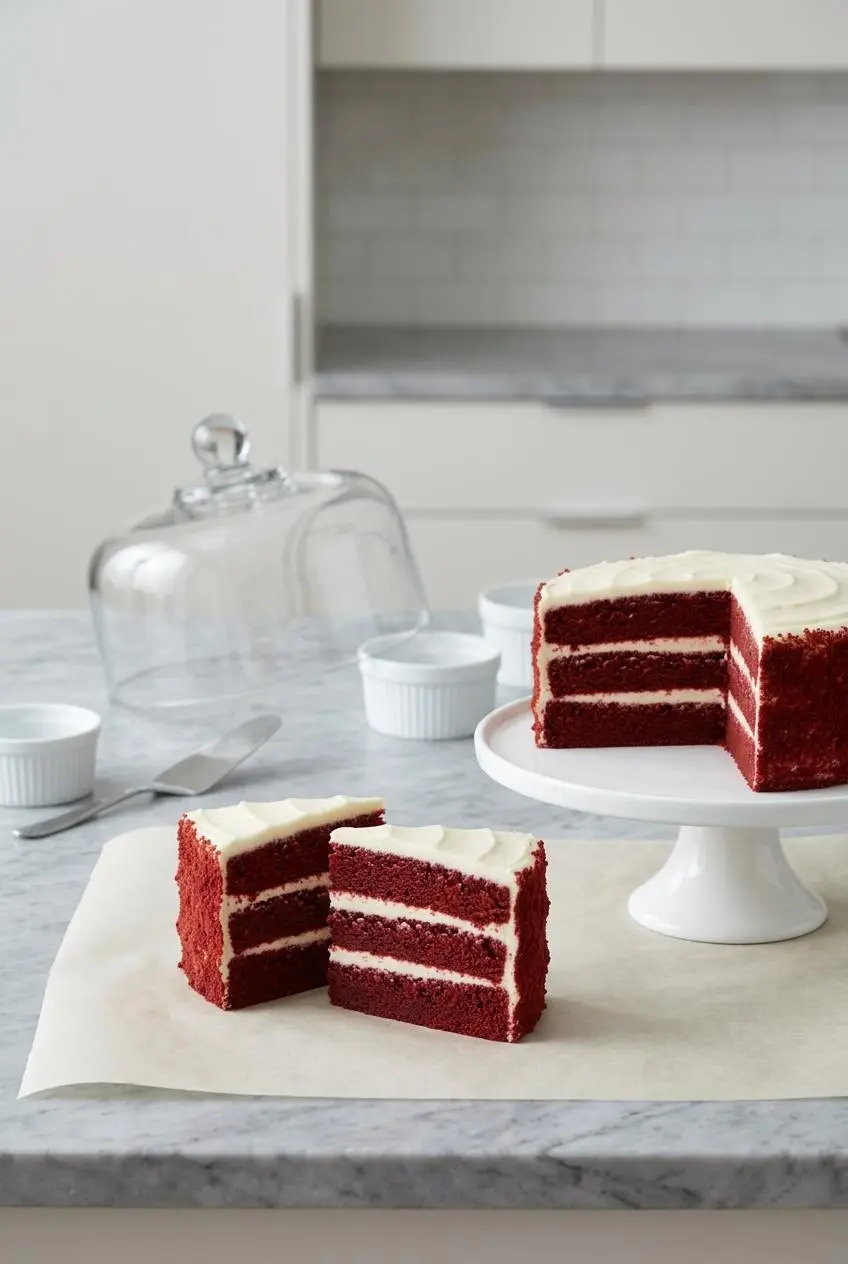
Because the cake has cream cheese frosting, keep leftovers covered and chilled when they are not being served. For the cleanest slices, let a chilled cake sit briefly on the counter until the frosting is creamy rather than stiff.
For advance preparation, bake the layers, cool them completely, and protect them from air with tight wrapping until you are ready to frost. Assemble only when the layers are cool and the frosting is thick enough to hold its shape.
Ingredient Substitutions and Pan Variations
Natural Beet Powder and Dye-Free Options
For a dye-free version, use concentrated beet root powder or a natural liquid food coloring in place of liquid red food coloring. Expect a softer earthy red to magenta shade rather than the classic bold crimson. The cocoa and tang remain the defining flavors.
Adapting for 9-Inch Cake Pans or Cupcakes
For two 9-inch round pans, divide the batter evenly and bake at 350 °F for roughly 25 to 30 minutes, checking for springy centers. For 24 standard cupcakes, bake at 350 °F for 18 to 22 minutes. Individual portions are also a fun route to pink velvet cupcakes.
A classic cooked-flour ermine frosting is an optional vintage Southern alternative to cream cheese frosting. It is lighter and buttery rather than tangy, so it changes the finish while leaving the cake layers untouched.
Conclusion
These red velvet layers bring together a moist, tender crumb, gentle cocoa, bright tang, and silky cream cheese frosting. The contrast between the red cake and white frosting never gets old.
Keep the dairy at room temperature for mixing, cool every layer completely, and frost only when the cake feels firm. Those small details make every slice look as good as it tastes.
Frequently Asked Questions
What Is the Actual Flavor Profile of Red Velvet Cake?
Red velvet cake has mild cocoa flavor rather than intense chocolate flavor. Vanilla adds sweetness, while buttermilk, vinegar, and tangy cream cheese frosting create its distinctive bright finish.
Why Is Vinegar Added to Red Velvet Cake Batter?
Vinegar adds acidity and reacts with baking soda alongside the buttermilk. That reaction creates lift and helps produce the soft, fine texture associated with red velvet cake.
How Do I Prevent Cream Cheese Frosting From Becoming Thin and Runny?
Use full-fat block cream cheese and avoid beating it longer than necessary. Keep the frosting cool, and chill it if it softens before spreading or piping.
Can Red Velvet Cake Layers Be Made Ahead and Frozen?
This method includes make-ahead guidance for fully cooled, tightly wrapped cake layers, but it does not provide freezing directions. Keep the layers protected from air and frost them only after they are completely cool.
Can I Make Red Velvet Cake Without Buttermilk?
Yes. Mix 1 cup whole milk with 1 tablespoon lemon juice or white vinegar, then let it stand for 5 minutes until it looks lightly curdled. Use it in place of the buttermilk for the same acidic role in the batter.
Red Velvet Cake Recipe

Equipment
- 6-inch or 9-inch cake pans
- Mixing Bowls
- Electric hand or stand mixer
- Wire cooling rack
- Piping bag and tip
Ingredients
For the Cake
- 2 ½ cups all-purpose flour (300g)
- 1 teaspoon salt
- 1 teaspoon baking soda
- ½ cup unsalted butter room temperature (113g)
- 1 ½ cups granulated sugar (300g)
- 2 large eggs room temperature
- 2 teaspoons vanilla extract
- 2 tablespoons cocoa powder
- 1 cup buttermilk room temperature (240ml)
- 1 tablespoon white vinegar
- 1 to 2 tablespoons liquid red food coloring
For the Cream Cheese Frosting
- 2 8-ounce blocks cream cheese room temperature (454g)
- 1 ½ cups unsalted butter room temperature (340g)
- 1 teaspoon vanilla extract
- Pinch kosher salt
- 1 ½ pounds confectioners sugar sifted (5½ cups/675g)
Instructions
For the Cake
- Heat the oven to 350 °F, then butter and flour three 6-inch cake pans. Coat the pans evenly, especially around the bottom edge, so the layers release cleanly.
- Sift the flour, salt, and baking soda into a medium bowl. The dry mixture should look uniform with no visible clumps of baking soda.
- Beat the butter on medium speed, add the sugar, and beat for about 3 minutes before adding the eggs one at a time and then the vanilla. The mixture should become paler, fluffy, and fall from the paddle in a thick ribbon.
- Sift the cocoa into the butter mixture and mix only until it disappears, then scrape the bowl. Stop as soon as the batter looks evenly cocoa-tinted.
- Stir the buttermilk, vinegar, and red food coloring together in a liquid measuring cup. The liquid should be evenly colored before it reaches the batter.
- With the mixer on low, add half the dry mixture and half the buttermilk mixture, then repeat with the remaining portions and divide the batter among the pans. Scrape the bowl as needed and stop mixing when no flour streaks remain.
- Bake for about 30 to 35 minutes, cool the layers in their pans for about 10 minutes, then turn them onto a wire rack to cool completely. The centers should spring back lightly when pressed and the layers must be fully cool before frosting.
For the Cream Cheese Frosting
- Beat the butter and cream cheese with a paddle on medium speed for about 3 minutes. The mixture should look smooth, pale, and fluffy without cream cheese lumps.
- Mix in the vanilla and kosher salt. Pause once the flavorings are evenly blended.
- Sift the confectioners sugar into a separate large bowl. Sifting removes hard sugar lumps that can catch in a piping tip.
- With the mixer on low, gradually add the sugar, scraping the bowl as needed, then beat on medium for about 1 minute and transfer about a cup to a piping bag fitted with a decorative tip. The finished frosting should hold a soft, spreadable peak rather than slide from the paddle.
For the Assembly
- Set one cake layer on a cake stand or serving plate, spread about ½ cup of frosting over it, repeat with the second layer, then place the final layer on top and frost the top and sides. Keep the filling level so the stack stays straight as it grows.
- Smooth the frosting with a bench scraper or offset spatula, pipe a border if desired, and chill the cake for about 1 hour until the frosting sets. The surface should feel firm enough to slice neatly; cover leftover cake and store it at room temperature for up to 2 days or refrigerate for up to 1 week.