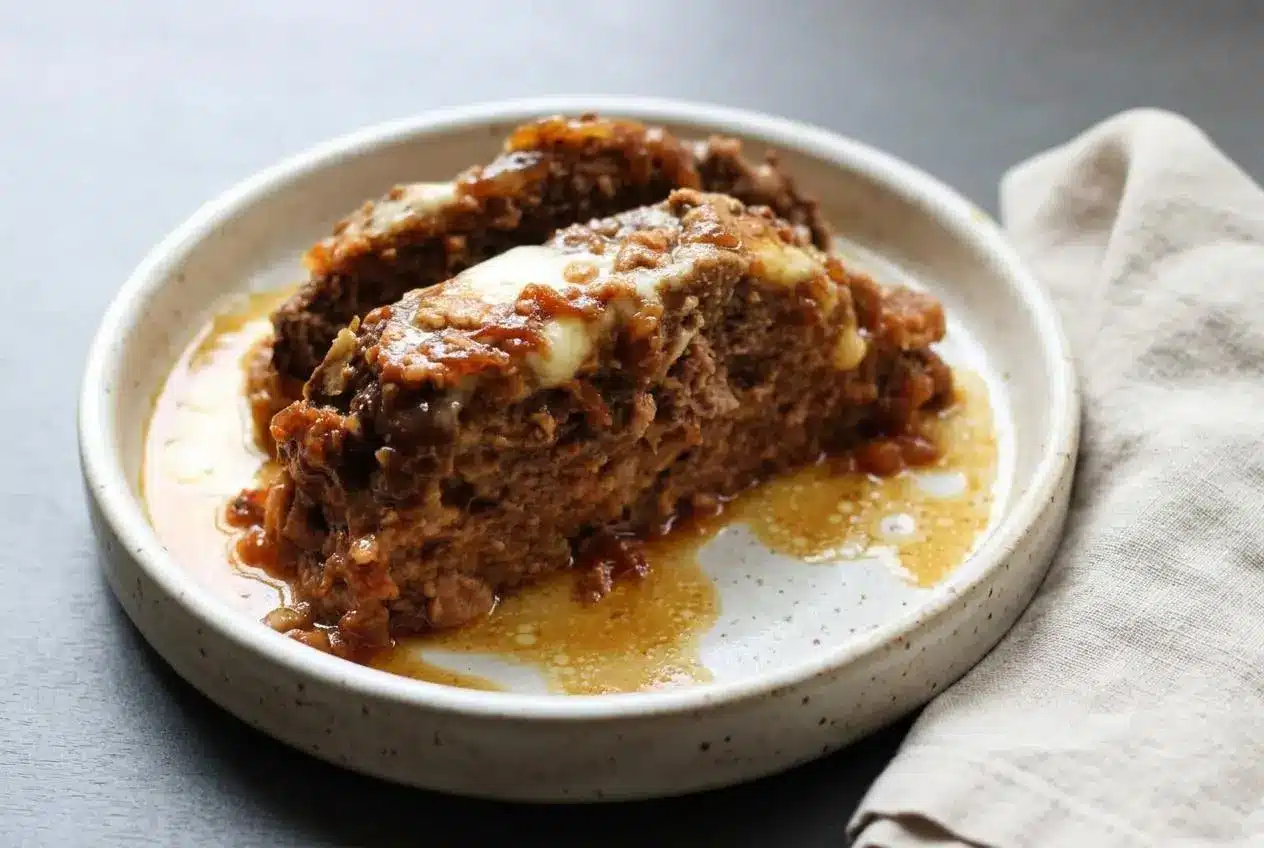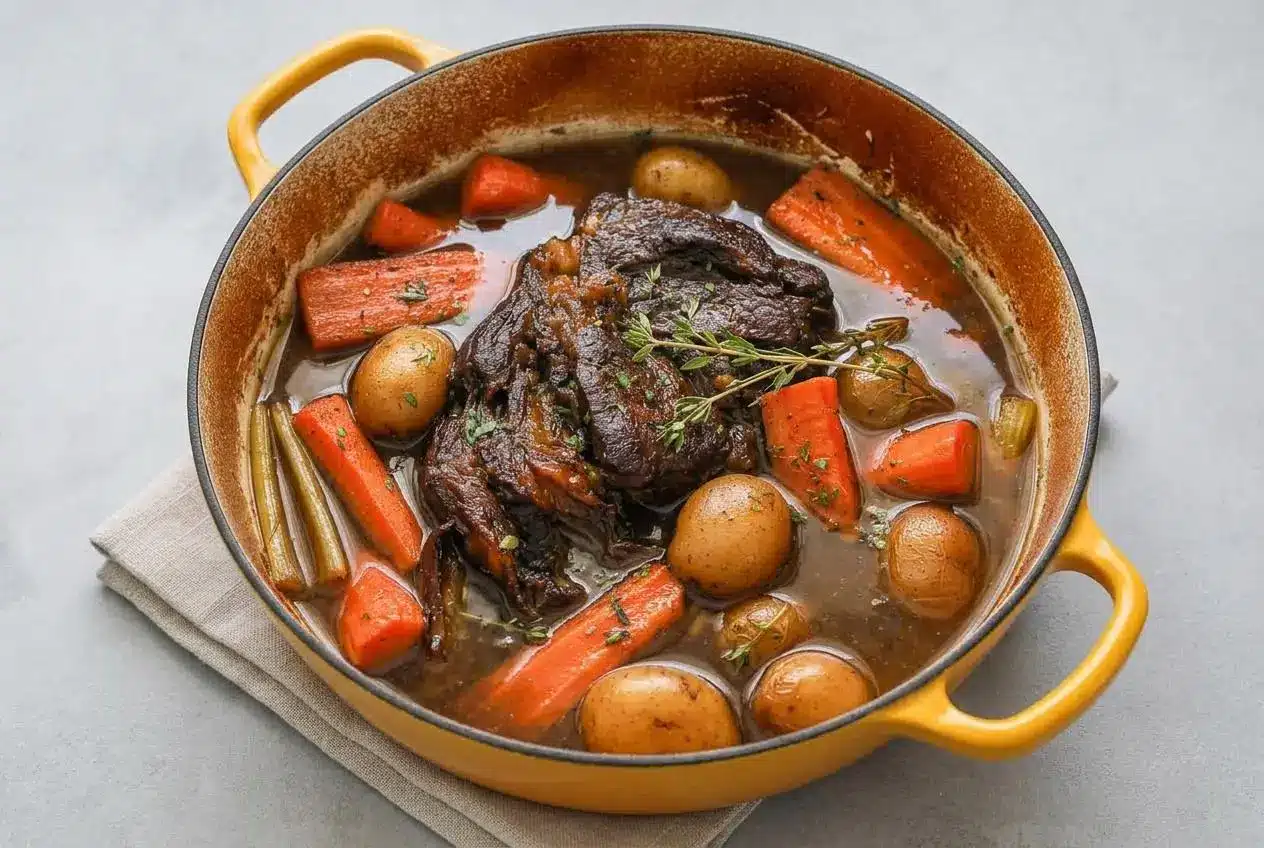
A classic pot roast braises well-marbled chuck roast at 300°F with onions, broth, herbs, and root vegetables until the beef yields easily to a fork.
This pot roast recipe brings together a deeply browned crust, savory herb broth, and tender vegetables in one Dutch oven. The long, gentle cook turns a sturdy cut of beef into a comforting dinner with plenty of pan juices.
The vegetables go in halfway through cooking, so they stay tender without falling apart. That little bit of timing makes a big difference.
Pat the roast dry before seasoning so the meat browns instead of steaming in the hot Dutch oven.
Key Ingredients and Flavor Builders
Each ingredient contributes to the roast’s rich braising liquid, tender texture, aromatic depth, and balanced gravy, while the vegetables absorb flavor without losing their shape.
- 1 tablespoon olive oil
- 3 to 4 pounds beef chuck roast (or rump roast)
- 1 large yellow onion (chopped, or two small onions)
- 2 cups beef broth (or as needed)
- 1 cup red wine
- 4 cloves garlic (coarsely chopped)
- ½ teaspoon dried rosemary
- ½ teaspoon dried thyme leaves
- 1 bay leaf
- 1 pound baby potatoes (or chopped red potatoes)
- 4 carrots (cut into 2-inch pieces)
- 2 ribs celery (cut into 1 ½-inch pieces)
For the Gravy
- all-purpose flour (or cornstarch)
- butter (for optional roux-based gravy)
Beef chuck roast is especially suited to braising because its marbling and connective tissue soften gradually in the moist heat. Rump roast can work, but a leaner roast is less forgiving and benefits from careful cooking until it passes the fork test. That is a different goal from traditional roast beef, which is meant to slice neatly after dry roasting.
Yellow onion and garlic form a sweet, savory foundation as they cook in the pan juices. Rosemary, thyme, and bay leaf give the broth an earthy, familiar aroma. The red wine adds acidity that brightens the beef broth; for an alcohol-free option, use additional beef broth with a small splash of red wine vinegar or Worcestershire.
I always take an extra moment to blot the chuck roast thoroughly because a dry surface develops a darker, more flavorful crust.
Rich Onion Gravy Yankee Pot Roast Variation
For a richer onion-forward variation, place extra sliced onions beneath and around the roast before adding the braising liquid. They soften slowly beneath the meat, turn sweet and jammy, and give the finished juices a fuller onion flavor. Keep this as an optional variation rather than changing the main ingredient list.
Step-by-Step Instructions for Perfect Pot Roast
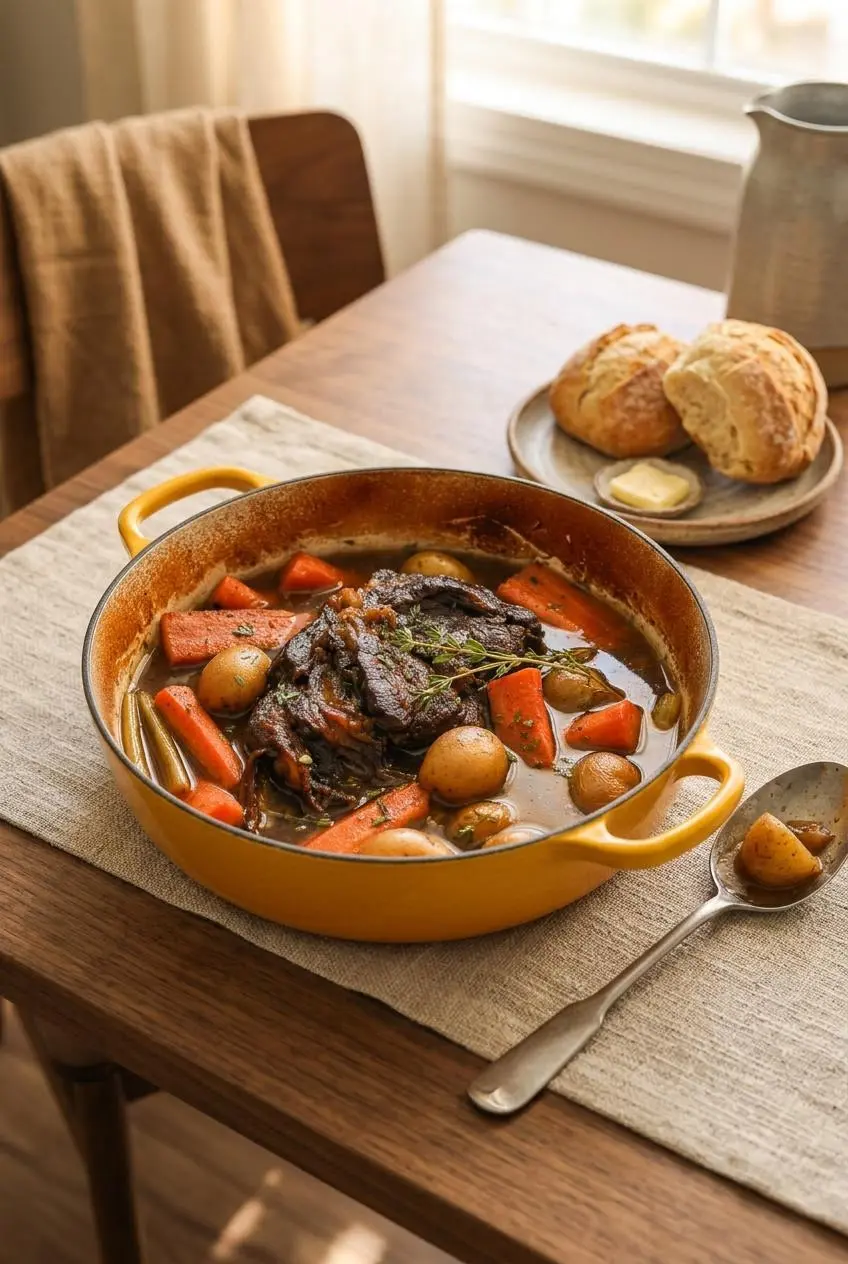
The key to a dependable Dutch oven pot roast is building flavor before the lid goes on, then giving the beef enough quiet time in the oven to soften.
- Heat the oven to 300°F and season the roast with salt and pepper.
Starting with a fully heated oven keeps the braise at a steady, gentle temperature. - Warm the olive oil in a large Dutch oven over medium-high heat, then brown the roast for about 4 minutes per side, adding more oil if needed.
Look for a deep mahogany crust and a lively sizzle rather than pale, gray meat. - Scatter the chopped onion around the browned roast.
The onion should begin to soften at the edges and smell sweeter as it meets the hot pan. - Stir together the beef broth, red wine, garlic, rosemary, and thyme, then pour the mixture around the roast and add the bay leaf.
The liquid will loosen the browned bits from the bottom of the pot and turn a deeper brown. - Bring the liquid just to a simmer over medium-high heat, cover the Dutch oven, and place it in the oven for 2 hours.
Small bubbles around the edges are the goal, not a hard boil. - Add the potatoes, carrots, and celery, cover again, and cook for an additional 2 hours for a 4-pound roast, or until the beef and potatoes are fork-tender.
The vegetables should be tender through the center while still holding their shape. - Remove and discard the bay leaf, then pull the beef into large pieces with a fork or slice it thickly.
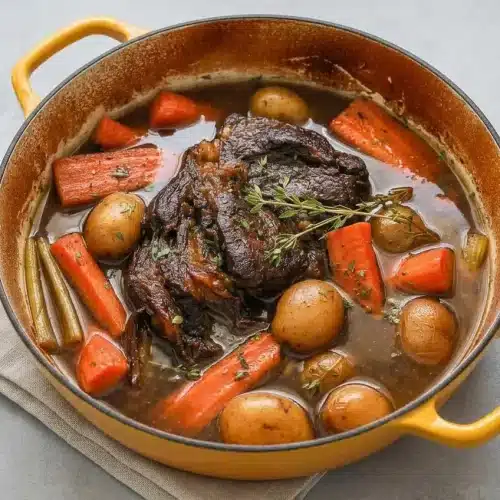
The roast is ready when the meat separates with little resistance and the juices taste deeply savory.
Searing and Fond Deglazing
Don’t rush the sear. Let the roast sit undisturbed against the hot pot long enough to form a dark crust before turning it. That brown layer creates the concentrated flavor that makes the braising liquid taste like more than plain broth.
Once the broth and wine hit the pot, scrape the bottom with a wooden spoon to release the browned fond. As the onions mingle with those pan drippings, their aroma shifts from sharp and raw to mellow and savory. Keep the liquid at a gentle simmer before covering the pot.
Low-Temperature Braising and Staggered Veggies
The first two hours focus on the beef. At 300°F, the covered Dutch oven holds in moisture while the chuck roast gradually becomes more tender.
Add potatoes, carrots, and celery only after that first braising stage. Dense vegetables need time in the broth, but adding them at the beginning leaves them too soft by the time the meat is ready. The final two hours give them enough time to become tender and flavorful without turning mushy.
Making and Thickening the Rich Gravy
After removing the meat and vegetables, spoon off as much surface fat as practical from the braising juices. This step matters because a thickener works best with flavorful liquid rather than a greasy layer.
For a cornstarch gravy, whisk cornstarch with cold water until smooth, then whisk it into simmering juices a little at a time. For a richer finish, cook butter and all-purpose flour together into a roux before gradually whisking in the hot pan liquid. Stop when the gravy looks glossy and coats the back of a spoon.
Cooking Methods: Dutch Oven vs Slow Cooker
Both methods make tender pot roast, but they offer different strengths. The Dutch oven gives you stronger browning and naturally reduced pan juices, while a slow cooker is useful when you want a hands-off meal.
Classic Dutch Oven Method
The 300°F oven method gives the covered roast steady, gentle heat for roughly 3½ to 4 hours, including the vegetable stage. A heavy Dutch oven holds heat evenly, while its tight lid keeps enough moisture in the pot for the collagen-rich chuck to soften.
Use the fork twist test rather than watching the clock alone. Slide a fork into the center of the roast and give it a gentle turn. If it twists easily and pulls strands of beef apart, the braise is ready. If it resists, return the covered pot to the oven and continue cooking until the meat relaxes.
Slow Cooker Conversion
For a slow cooker pot roast, brown the beef in a skillet first, then transfer it with the onions, herbs, and braising ingredients to the cooker. Use slightly less liquid than the Dutch oven method because a slow cooker releases far less moisture during cooking.
Cook on low for 8 to 10 hours. Add the potatoes, carrots, and celery halfway through cooking, around the 4-hour mark, so they retain their structure. If you want thicker gravy, transfer the juices to a saucepan and simmer them before using cornstarch or a roux.
Essential Tips for Fork-Tender Pot Roast
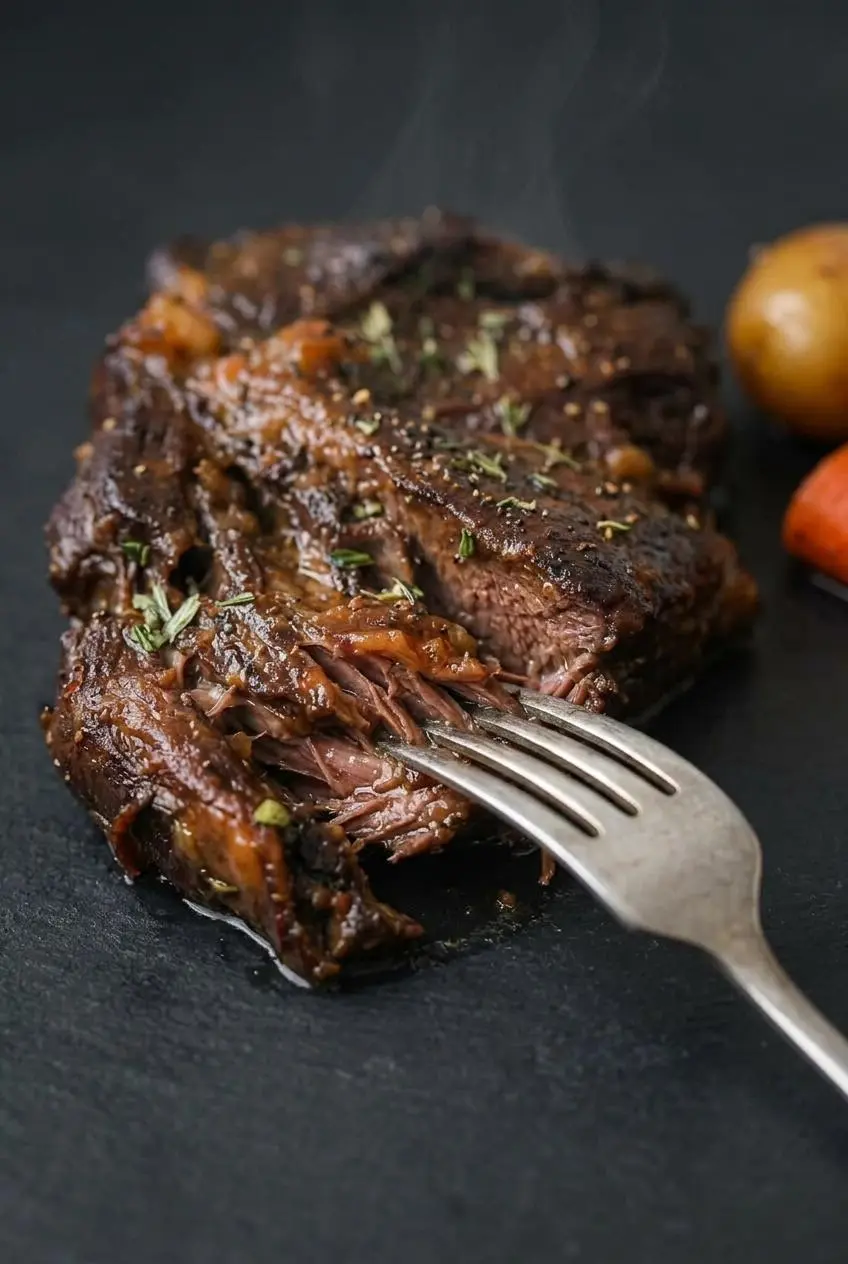
Pot roast is forgiving when you know what to look for. Most problems come from heat that is too aggressive, a roast that needs more time, or vegetables added too early.
- The beef feels tough: Toughness usually means the connective tissue has not softened yet. Keep the roast covered and continue the gentle braise until a fork turns easily in the center.
- The liquid is thin: Remove excess surface fat first, then simmer the juices and thicken with a cornstarch slurry or a butter-flour roux.
- The vegetables are too soft: Add them only after the initial 2-hour braise. Potatoes and carrots need less cooking time than the roast.
- The gravy tastes flat: Taste after reducing it. A spoonful of Dijon mustard and a dash of Worcestershire stirred into the drippings can add deeper savory character.
For a gluten-free gravy, choose one of these options:
- Use a cornstarch slurry for a clear, glossy gravy with a classic pot roast flavor.
- Use an arrowroot slurry for a similar thickened finish without flour.
- Skip flour-based roux methods and let reduced, defatted pan juices shine on their own.
If you prefer bolder, tangier braised beef, Mississippi pot roast offers a different comfort-food direction with punchier seasonings.
Serve the roast and vegetables with creamy garlic mashed potatoes, buttered egg noodles, or warm crusty bread for catching every bit of gravy.
Storing and Reheating Leftovers
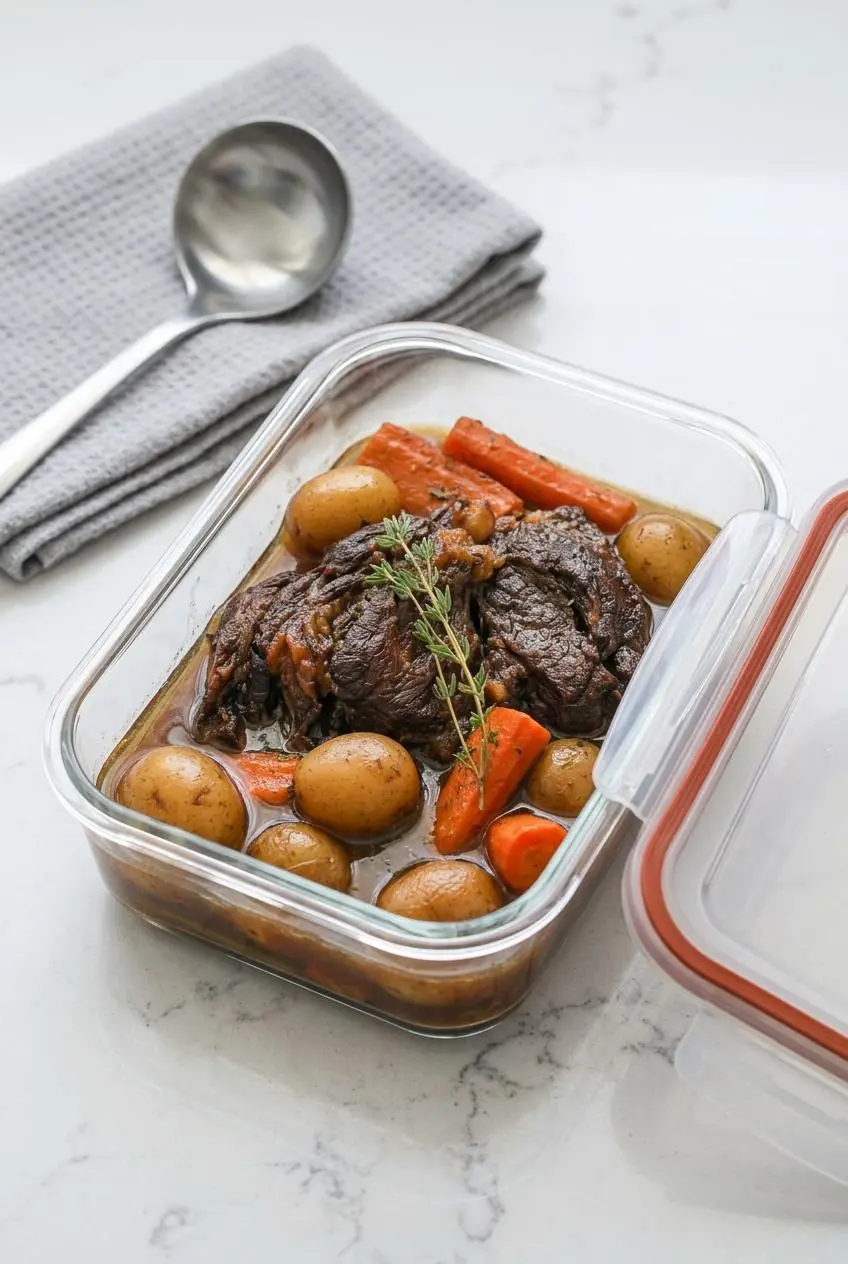
Let leftovers cool, then keep the beef and vegetables in airtight containers with enough pan juices or gravy to protect the meat from drying out. Chill them promptly and keep the containers cold until reheating.
Reheat portions gently in a covered skillet or saucepan over medium-low heat with reserved gravy. Stir occasionally and add a little broth if the sauce has tightened too much. Avoid blasting the meat over high heat, which can make the shredded edges dry.
Leftover pot roast works especially well in shredded beef sandwiches, beef ragu spooned over pasta, or a quick vegetable beef soup. Pull the meat into smaller pieces only when you are ready to use it so it stays moist.
Conclusion
Low-and-slow braising transforms chuck roast into tender beef with savory herb gravy and vegetables that taste like they belong in every bite. The deep sear and gentle simmer do most of the heavy lifting.
Give the roast time, add the vegetables halfway through, and trust the fork twist more than the timer. A comforting Dutch oven dinner is waiting.
Frequently Asked Questions
What Is the Secret to a Tender Pot Roast?
Choose a well-marbled chuck roast, brown it deeply, and braise it gently at 300°F. The roast is done when a fork inserted into the center twists easily and pulls the beef apart without resistance.
Is It Better to Cook Pot Roast in the Oven or Slow Cooker?
A Dutch oven produces deeper browning and a more naturally reduced sauce. A slow cooker is excellent for hands-off cooking, though the liquid usually needs reduction afterward for a thicker gravy.
What Is the Best Cut of Beef for Pot Roast?
Boneless beef chuck roast is the best choice because its marbling and connective tissue soften during braising. Lean cuts such as bottom round can work, but they are more likely to dry out before becoming fork-tender.
How Do You Thicken Pot Roast Gravy Properly?
First skim excess fat from the braising juices, then bring the liquid to a simmer. Whisk in a smooth cornstarch slurry for a glossy gravy, or use a butter-flour roux for a richer, more traditional finish.
Pot Roast Recipe

Equipment
- Dutch oven
Ingredients
- 1 tablespoon olive oil
- 3 to 4 pounds beef chuck roast (or rump roast)
- 1 large yellow onion (chopped, or two small onions)
- 2 cups beef broth (or as needed)
- 1 cup red wine
- 4 cloves garlic (coarsely chopped)
- ½ teaspoon dried rosemary
- ½ teaspoon dried thyme leaves
- 1 bay leaf
- 1 pound baby potatoes (or chopped red potatoes)
- 4 carrots (cut into 2-inch pieces)
- 2 ribs celery (cut into 1 ½-inch pieces)
For the Gravy
- all-purpose flour (or cornstarch)
- butter (for optional roux-based gravy)
Instructions
- Heat the oven to 300°F and season the roast with salt and pepper. Starting with a fully heated oven keeps the braise at a steady, gentle temperature.
- Warm the olive oil in a large Dutch oven over medium-high heat, then brown the roast for about 4 minutes per side, adding more oil if needed. Look for a deep mahogany crust and a lively sizzle rather than pale, gray meat.
- Scatter the chopped onion around the browned roast. The onion should begin to soften at the edges and smell sweeter as it meets the hot pan.
- Stir together the beef broth, red wine, garlic, rosemary, and thyme, then pour the mixture around the roast and add the bay leaf. The liquid will loosen the browned bits from the bottom of the pot and turn a deeper brown.
- Bring the liquid just to a simmer over medium-high heat, cover the Dutch oven, and place it in the oven for 2 hours. Small bubbles around the edges are the goal, not a hard boil.
- Add the potatoes, carrots, and celery, cover again, and cook for an additional 2 hours for a 4-pound roast, or until the beef and potatoes are fork-tender. The vegetables should be tender through the center while still holding their shape.
- Remove and discard the bay leaf, then pull the beef into large pieces with a fork or slice it thickly. The roast is ready when the meat separates with little resistance and the juices taste deeply savory.