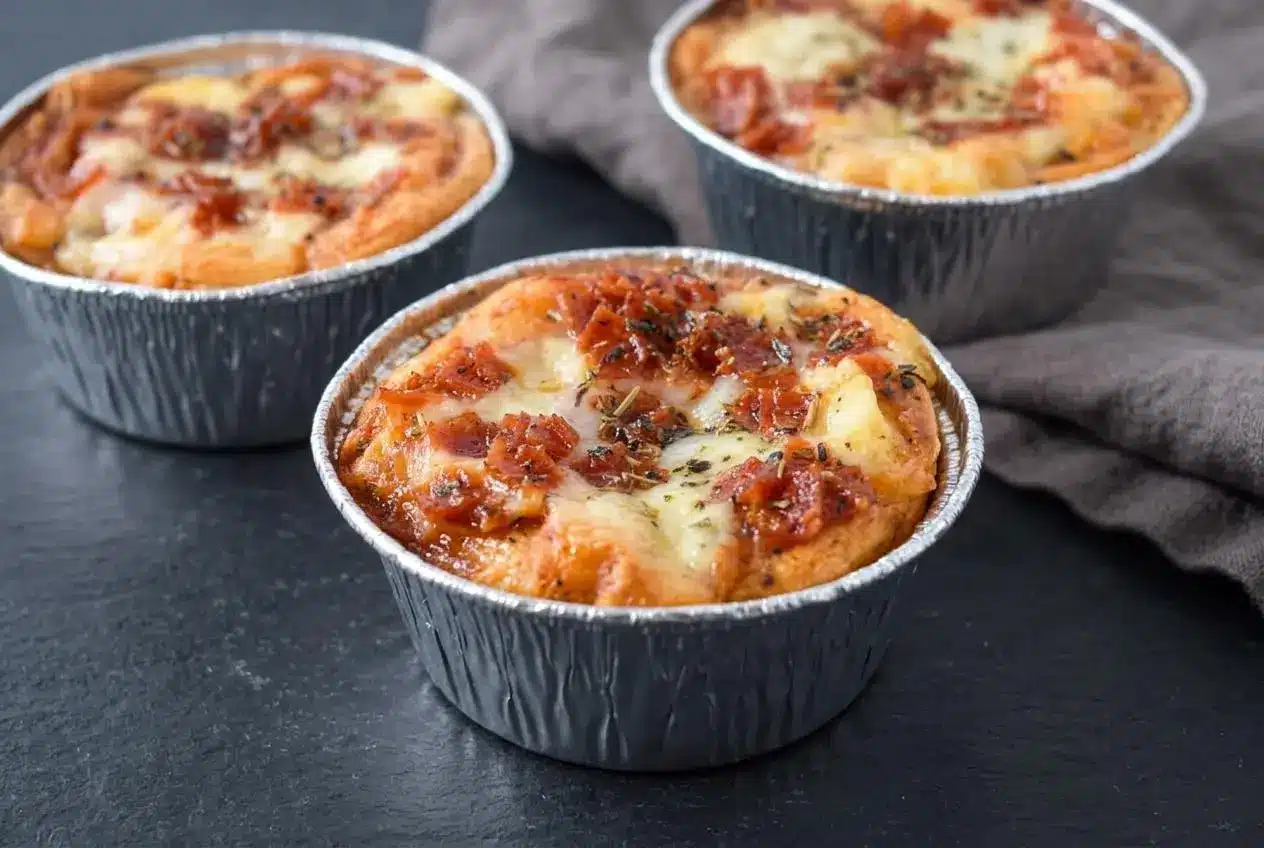
Pizza pot pies are individual pizzas baked in pastry cups. This version uses refrigerated biscuits pressed into muffin tins, filled with sauce, mozzarella, and pepperoni, then baked until golden. Chicago-style versions use filled ramekins covered with pizza dough and inverted onto plates.
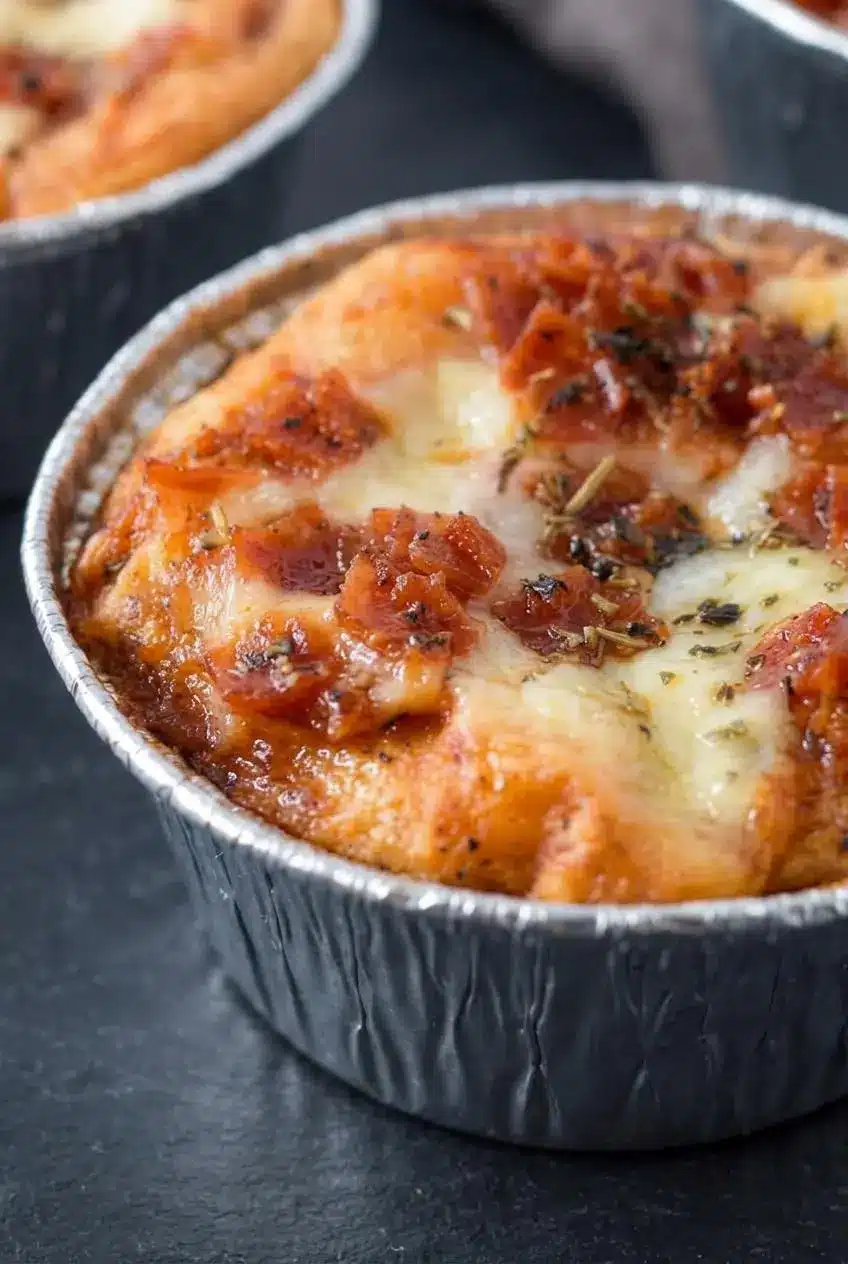
Pull these pizza pot pies from the oven and you’ll find bubbly cheese tucked inside a golden, garlic-buttered crust. The open tops make filling them straightforward, while the biscuit cups give each portion a soft center and browned edges.
The biscuit version takes 20 minutes to prep and up to 23 minutes to bake, making eight cups for four servings. You don’t need to stretch a full pizza crust or manage an upside-down flip. Start with a light touch on the sauce. That’s the crisp-crust trick.
Set out a pastry brush, fork, and paper towel before opening the biscuits so you can shape and fill the cups without stopping.
Ingredients and Why Each One Matters
The biscuits provide structure, seasoned butter adds garlic aroma, and tomato sauce balances the richness of pepperoni and mozzarella. Each ingredient contributes to the tender crust, savory filling, or gooey cheese layers.
- 1 tablespoon Butter (softened (not melted))
- ½ tablespoon Olive Oil
- ¼ teaspoon Salt
- ¼ teaspoon Garlic Powder
- ¼ teaspoon Italian Seasoning (plus extra as topping (optional))
- Pinch of Black Pepper
- Cooking Spray (or oil to grease the tins)
- 8 Refrigerated Biscuits ((16 ounce package))
- ¼ cup Pasta Sauce (or Pizza Sauce, use a meatless variety)
- 3 ounces Pepperoni (chopped)
- 7-8 ounces Shredded Mozzarella
Softened butter matters. When stirred with olive oil and seasonings, it makes a brushable coating that clings to the biscuit walls. Melted butter flows more readily into the bottom, leaving an uneven coating. Aim for butter that yields to pressure but still holds its shape.
The refrigerated biscuits from the 16-ounce package form sturdy, tender cups. Their dough naturally springs back when pressed, so shape them gradually rather than pulling hard at the edges. Chopped pepperoni distributes more evenly than whole slices, and the mozzarella melts around it.
Choose a meatless pasta or pizza sauce so you can control the filling’s grease and moisture. Pepperoni already brings richness. A thick sauce works better here than a loose, watery one because you’re brushing it onto dough rather than filling a deep bowl.
For the pan, use eight 3½-inch round foil muffin cups with a ½-cup capacity, or a standard muffin tin. Individual foil cups need a sheet pan underneath for support. A standard muffin tin keeps everything together, though neighboring biscuit rims may touch as they expand.
I leave the butter on the counter just until a gentle press makes an indentation, so it blends smoothly with the olive oil and spices.
How to Make the Pizza Pot Pies Step by Step
Shape the dough before adding filling, then work in light layers. The goal is a defined biscuit cup with coated walls, not a pocket overflowing with sauce.
- Stir the butter, olive oil, salt, garlic powder, Italian seasoning, and black pepper together in a small bowl.
The finished mixture should look evenly seasoned and soft enough to brush. - Set the oven to 350°F and get your muffin tin or individual muffin cups ready.
Use eight spaces for the eight biscuit cups. - Apply a light coating of cooking spray or oil to the cups, then blot any puddles with a paper towel.
The bottoms should have a thin sheen rather than visible pools of oil. - Separate the packaged biscuits and gently press one across the bottom and up the walls of a cup.
Keep easing the dough back into position as it contracts until it holds the cup shape. - Shape each remaining biscuit in its own muffin cup.
Look for an even dough lining across the base and sides. - Pierce the dough bases and walls in several places with a fork.
These small openings help release trapped air instead of letting bubbles push the filling upward. - Spread the seasoned butter mixture over the inside of each biscuit cup with a pastry brush.
A thin, even coating gives the walls garlic flavor without collecting at the bottom. - Brush about a heaping ½ teaspoon of pasta or pizza sauce over the buttered interior.
The dough should show through a light coating of sauce. - Add a heaping tablespoon of mozzarella to a cup, followed by a heaping ½ tablespoon of chopped pepperoni.
The cheese forms the first layer beneath the meat. - Build another layer with 1 tablespoon of mozzarella and ½ tablespoon of pepperoni.
The alternating layers distribute cheese and pepperoni throughout the filling. - Add a pinch of Italian seasoning over the filling if desired.
This optional topping leaves a light scattering of herbs on the cheese. - Fill the remaining dough cups using the same layering order.
Keep the portions consistent so no cup towers far above the others. - Arrange individual foil cups on a sheet pan before putting them in the oven.
The firm support keeps the flexible cups level during transfer. - Bake for 20 to 23 minutes, watching for browned biscuit rims and melted mozzarella.
The crust edges should be golden and the cheese should look gooey and bubbly. - Carefully release the cups from the muffin pan and transfer them to a plate or platter, or serve them in their individual foil tins.
Lift gently to keep the tender biscuit walls intact.
If your oven has hot spots, check around the 15 to 18 minute mark and rotate the pan 180 degrees if one side is browning faster. This is an optional oven adjustment, not a shorter baking time.
Expert Tips and Troubleshooting Common Mistakes
Most texture problems come from excess moisture, uneven dough, or filling that crowds the cup. Make these adjustments before adding more toppings.
- Soggy bottoms: A heavy pour of sauce wets the biscuit base. Brush on a light coating and serve extra sauce separately for dipping.
- Greasy crust: Pooled cooking spray can leave the bottoms oily. Blot the cups before shaping the dough, leaving only a thin coating.
- Dough that bounces back: Biscuit dough resists stretching. Press gently in repeated passes instead of tugging the rim, which can thin or tear it.
- Puffed-up bases: Undocked dough can form air pockets beneath the filling. Prick both the bottom and sides with a fork before brushing on the butter.
- Watery toppings: Raw tomatoes and fresh mushrooms can release liquid into the crust. If using vegetables, cook off their moisture first and drain them before filling.
- Raw meat additions: Cook sausage, chicken, or other raw meats thoroughly before assembly, then drain excess fat. Don’t rely on the biscuit baking time to cook raw filling.
- Stuck or joined edges: Run a thin spatula around the rims, separating any neighboring biscuits before lifting. Avoid pulling on the top edge alone.
For an optional Parmesan addition, scatter a thin dusting of grated Parmesan beneath the sauce. It adds savory flavor, but it won’t rescue an overly wet filling. You can also finish the baked rims with a pinch of garlic-herb Parmesan.
Customizing Your Crust and Style Variations
These optional variations change the crust or presentation. Keep them separate from the biscuit method, since different doughs and vessels won’t necessarily follow its baking schedule.
Chicago-Style Upside-Down Ramekin Method
For the inverted style, grease 5-inch oven-safe ramekins and place them on a baking sheet. Layer sliced or shredded mozzarella on the bottom, add cooked meat and mushrooms sautéed until dry, then spoon pizza sauce over the filling.
Drape store-bought or homemade pizza dough over each ramekin and seal it around the rim. Bake using guidance appropriate to your dough until the crust turns golden and cooks through. Protect your hands from the hot ramekin, place a plate over it, invert carefully, and release the bowl. The cheese becomes the topping, and the dough becomes the bottom crust.
Using Pizza Dough, Crescent Rolls, or Gluten-Free Dough
- Refrigerated biscuits: These create thicker, tender walls and need repeated gentle pressing to hold their shape.
- Pizza dough: This gives a chewier crust; press it evenly into greased cups without leaving thick folds at the base.
- Crescent rolls: Expect a lighter, flakier cup, and pinch triangle seams firmly together so filling cannot seep through.
- Gluten-free biscuit dough: Handling and browning vary by product, so follow its baking guidance and check that the center cooks through.
Watch thinner crusts closely because their rims can brown before a thick filling heats through. For another way to use the flaky dough, try crescent roll pizza.
Best Meat and Vegetable Filling Ideas
- Italian sausage: Brown and drain it for a savory, hearty swap.
- Cooked bacon or diced ham: These add smoky or salty flavor, so avoid piling them on.
- Black olives: Drain sliced olives before adding their briny bite.
- Artichoke hearts: Drain and chop them so they fit neatly inside the cups.
Keep filling portions modest. Cook raw meats before assembly and remove excess moisture from vegetables to protect the crust.
Prep, Storage, and Reheating Guide
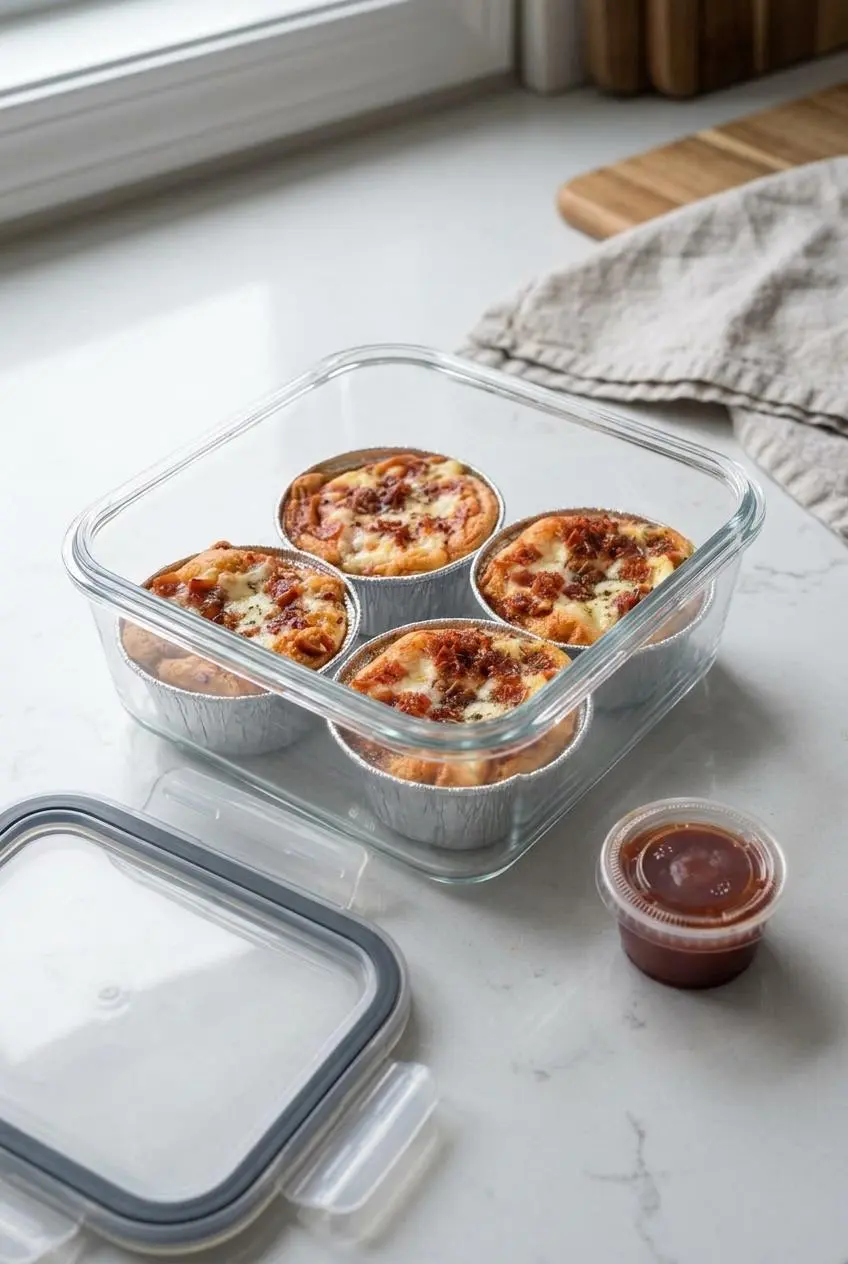
For easier assembly, chop the pepperoni, portion the cheese, and set out the pans before opening the biscuit package. Keep perishable ingredients chilled until you’re ready to use them, and add sauce when you’re ready to fill and bake.
Refrigerate leftovers promptly in a covered container. Keep extra dipping sauce separate so it doesn’t soak into the crust. Once the cups are chilled, a snug lid helps protect them from drying out.
For better leftover texture, use an oven or air fryer rather than relying on the microwave. Arrange the cups in a single layer with space around them, and heat until the filling is hot throughout. Check the bottoms as well as the exposed rims; melted cheese alone doesn’t tell you whether the center is hot.
The microwave is convenient, but it tends to soften the biscuit crust. Whichever method you choose, reheat only the portions you plan to serve and keep dipping sauce separate until they reach the plate.
What to Serve with Pizza Pot Pies
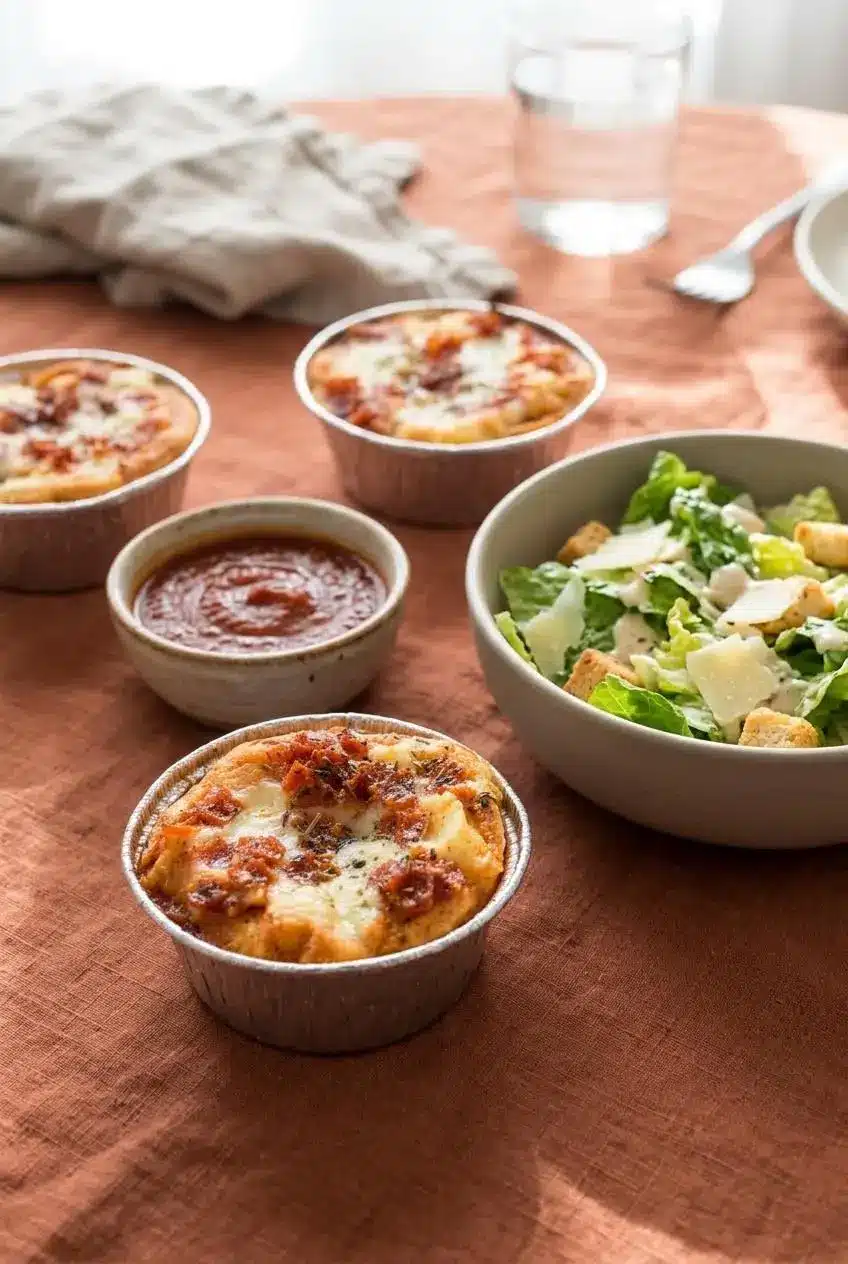
Serve the cups hot, with something fresh or tangy alongside their rich cheese filling.
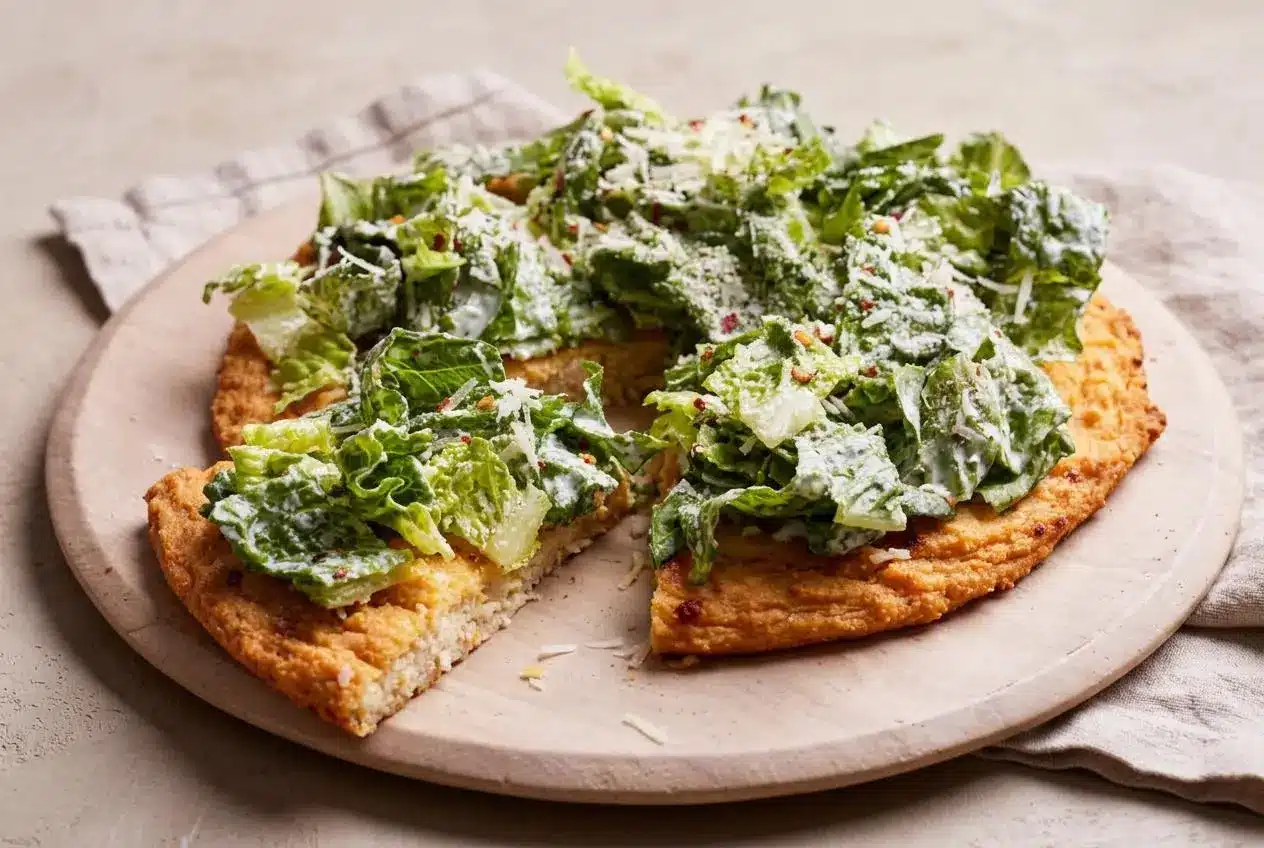
- Family dinner: Pair them with a crisp Caesar salad and warmed marinara or pizza sauce for dipping.
- Antipasto spread: Add crunchy vegetables, olives, and pickled peppers for contrast.
- Game-day buffet: Serve them in individual foil tins, with napkins nearby and mini chicken pot pies as another savory option.
Conclusion
Golden garlic-buttered biscuit cups and layered mozzarella make a satisfying little pizza dinner. Blot excess oil and fork-prick the dough before filling to help the crust hold its shape.
Keep the sauce light, or try the optional Parmesan dusting for extra savory flavor. Bring the dipping sauce to the table and enjoy them while the cheese is gooey.
Frequently Asked Questions
Can Pizza Dough Be Used for Pot Pies?
Yes. Press store-bought or homemade pizza dough into greased muffin cups, or drape it over filled ramekins for the inverted style. Keep the dough thickness even and follow baking guidance appropriate to the dough rather than assuming the biscuit timing applies.
What Is the Difference Between Muffin Tin Pizza Pot Pies and Chicago-Style Pizza Pot Pies?
Muffin tin versions line the cups with biscuit dough and bake with the filling exposed. Chicago-style versions place cheese and filling inside ramekins, cover them with pizza dough, and invert them onto plates after baking.
Can I Use Crescent Rolls or Gluten-Free Dough Instead of Refrigerated Biscuits?
Yes, though the texture and baking behavior will differ. Pinch crescent roll seams firmly together before filling. Follow gluten-free dough package guidance and check for a cooked center; with either swap, watch the rims for early browning.
How Do You Store and Reheat Pizza Pot Pies Without Making Them Soggy?
Keep refrigerated leftovers in a covered container, with dipping sauce stored separately. Reheat in a single layer in an oven or air fryer until hot throughout. These methods generally preserve the crust’s texture better than microwaving.

Pizza Pot Pies

Equipment
- 8 Muffin Cups (3½ inch round tin foil muffin cups – ½ cup capacity or standard muffin tin)
- Sheet Pan
Ingredients
- 1 tablespoon Butter (softened (not melted))
- ½ tablespoon Olive Oil
- ¼ teaspoon Salt
- ¼ teaspoon Garlic Powder
- ¼ teaspoon Italian Seasoning (plus extra as topping (optional))
- Pinch of Black Pepper
- Cooking Spray (or oil to grease the tins)
- 8 Refrigerated Biscuits ((16 ounce package))
- ¼ cup Pasta Sauce (or Pizza Sauce, use a meatless variety)
- 3 ounces Pepperoni (chopped)
- 7-8 ounces Shredded Mozzarella
Instructions
- Stir the butter, olive oil, salt, garlic powder, Italian seasoning, and black pepper together in a small bowl. The finished mixture should look evenly seasoned and soft enough to brush.
- Set the oven to 350°F and get your muffin tin or individual muffin cups ready. Use eight spaces for the eight biscuit cups.
- Apply a light coating of cooking spray or oil to the cups, then blot any puddles with a paper towel. The bottoms should have a thin sheen rather than visible pools of oil.
- Separate the packaged biscuits and gently press one across the bottom and up the walls of a cup. Keep easing the dough back into position as it contracts until it holds the cup shape.
- Shape each remaining biscuit in its own muffin cup. Look for an even dough lining across the base and sides.
- Pierce the dough bases and walls in several places with a fork. These small openings help release trapped air instead of letting bubbles push the filling upward.
- Spread the seasoned butter mixture over the inside of each biscuit cup with a pastry brush. A thin, even coating gives the walls garlic flavor without collecting at the bottom.
- Brush about a heaping ½ teaspoon of pasta or pizza sauce over the buttered interior. The dough should show through a light coating of sauce.
- Add a heaping tablespoon of mozzarella to a cup, followed by a heaping ½ tablespoon of chopped pepperoni. The cheese forms the first layer beneath the meat.
- Build another layer with 1 tablespoon of mozzarella and ½ tablespoon of pepperoni. The alternating layers distribute cheese and pepperoni throughout the filling.
- Add a pinch of Italian seasoning over the filling if desired. This optional topping leaves a light scattering of herbs on the cheese.
- Fill the remaining dough cups using the same layering order. Keep the portions consistent so no cup towers far above the others.
- Arrange individual foil cups on a sheet pan before putting them in the oven. The firm support keeps the flexible cups level during transfer.
- Bake for 20 to 23 minutes, watching for browned biscuit rims and melted mozzarella. The crust edges should be golden and the cheese should look gooey and bubbly.
- Carefully release the cups from the muffin pan and transfer them to a plate or platter, or serve them in their individual foil tins. Lift gently to keep the tender biscuit walls intact.