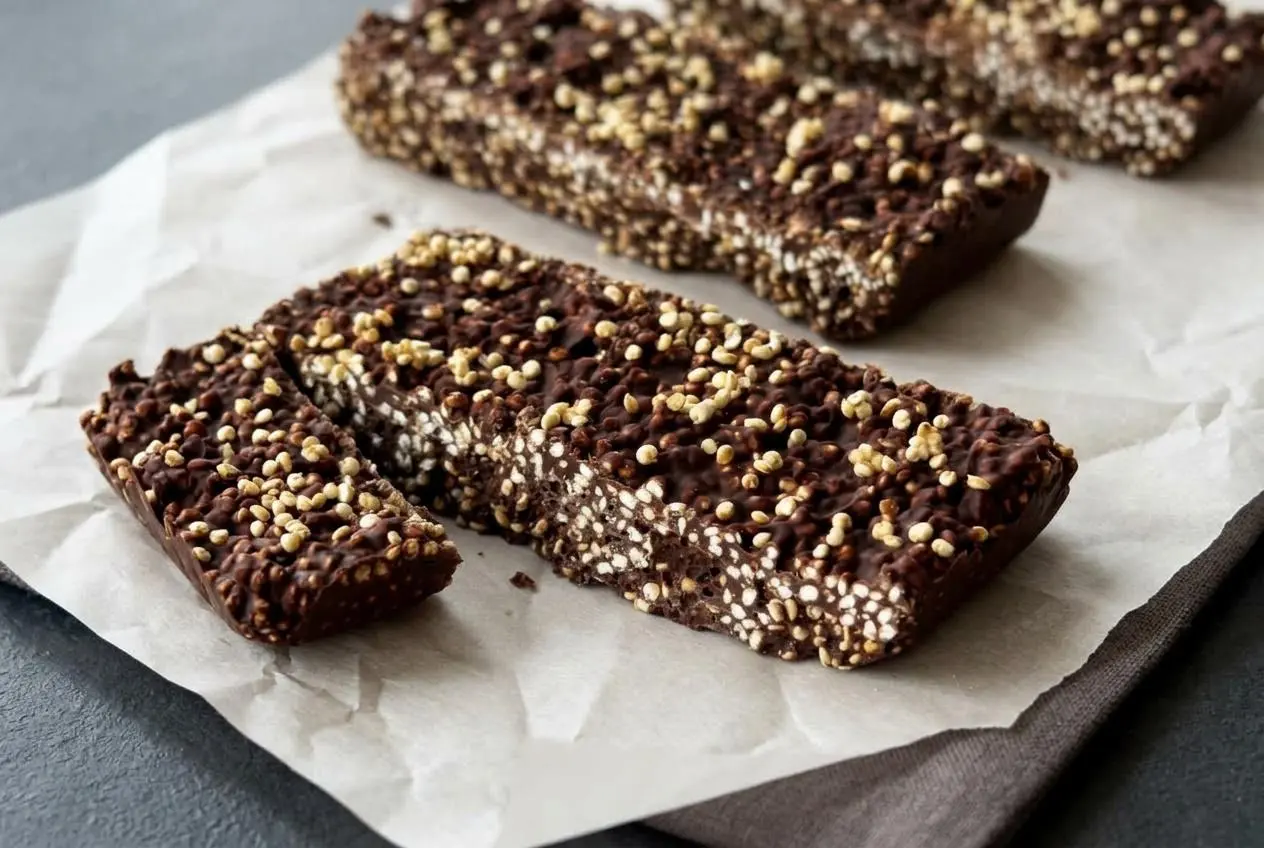
Chocolate quinoa crunch bars are a no-bake treat made by popping uncooked quinoa in a hot skillet, folding the toasted grains into melted chocolate, and chilling until firm. The result is a dense, nutty crunch wrapped in smooth chocolate.
These chocolate quinoa crunch bars bring that familiar candy-bar snap to a homemade snack with two ingredients. A quick skillet toast gives the quinoa its golden color and roasty flavor, while melted chocolate holds everything together.
The recipe takes about 30 minutes, including setting time, and makes four bars. You don’t need candy molds or an oven, but you do need to stay close to the skillet. The crackle is your cue.
Set a heatproof bowl beside the stove before heating the quinoa so you can empty the hot skillet promptly.
Why You Will Love These Chocolate Quinoa Crunch Bars
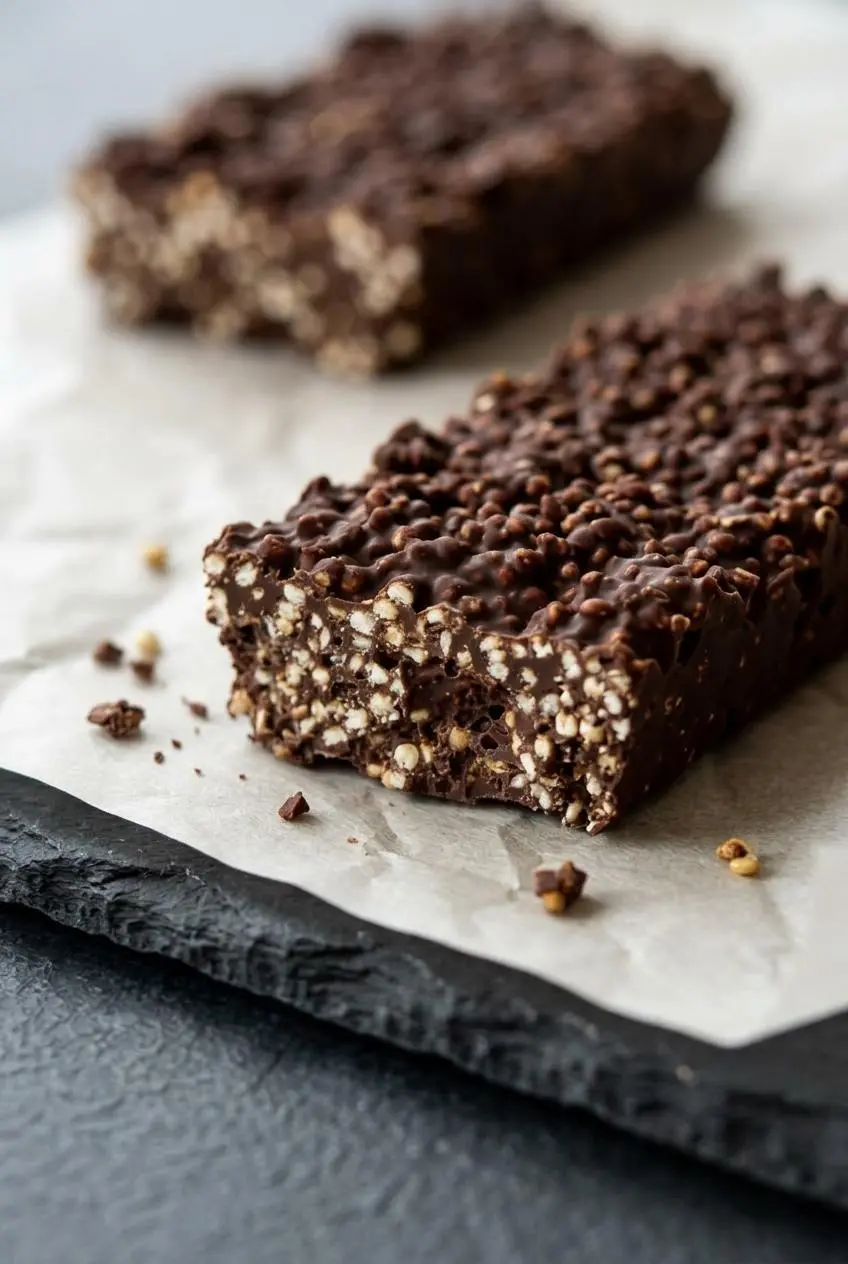
The appeal is the contrast: firm chocolate outside, tiny toasted grains throughout, and a satisfying crunch in every bite. Home-popped quinoa stays relatively small, so expect a compact, nutty texture rather than the airy crispness of puffed rice candy.
- Two ingredients: quinoa supplies the crunch, and chocolate supplies the coating and structure.
- Brief stovetop cooking: small batches toast quickly once the skillet reaches the right heat.
- Flexible sweetness: choose the chocolate you enjoy eating, from bittersweet to milk chocolate.
- Manageable yield: make four bars or cut eight smaller squares for a dessert plate.
Ingredients You Will Need
Quinoa brings toasted aroma and a firm crunch, while chocolate adds sweetness, richness, and the structure that holds the bars together. Your chocolate choice also determines how sweet and firm the finished bars taste.
- 1/2 Cup quinoa
- 1/2 Cup chocolate chips (any type of chocolate)
Choose raw, uncooked quinoa. Boiled quinoa is moist and tender, which works against the crisp texture you want here. White quinoa is a good starting point for a lighter bite; red or tri-color quinoa gives a firmer, heartier crunch. None will expand into large popcorn-like pieces.
Pick chocolate for flavor first. Dark chocolate gives a more cocoa-forward bar, semi-sweet balances sweetness and bitterness, and milk chocolate produces a sweeter result. Sugar-free chips are another option if you like their flavor, though melting behavior and firmness vary by brand. Check the package for melting instructions.
Chocolate alone gives these bars their firm snap. Optional coconut oil or nut butter can soften that texture, but neither belongs in the two-ingredient mixture below. Keep those changes separate until you’re comfortable with the toasted quinoa texture.
I check that toasted quinoa feels dry and has cooled before folding it into chocolate; damp clumps are a reason to pause.
How to Make Chocolate Quinoa Crunch Bars
Prep: 5 minutes. Cook: 5 minutes. Total: about 30 minutes, including setting. Yield: 4 bars.
Have a small skillet, whisk, microwave-safe bowl, parchment paper, and a small glass container or loaf pan ready. Small batches make the quinoa easier to control.
Step 1: Pop the Quinoa in a Skillet
To Pop Quinoa
- Combine the quinoa with water using four parts quinoa to one part water, or choose the alternative of soaking it overnight under enough water to cover it completely.
For the quick method, the grains should look moistened rather than submerged. - Heat a small skillet over medium-high heat, check it with about 10 grains, then work in batches of about 1 tablespoon of moistened quinoa spread in a single layer.
A ready skillet makes the test grains crackle within 15 seconds. - Use a whisk to separate clumps as the moisture evaporates.
The wet-looking grains will become loose and dry as steam escapes. - Shake the skillet when popping begins, empty each batch promptly once golden, and repeat with the remaining quinoa before letting it cool for a few minutes.
Expect rapid crackling, a toasted aroma, and golden-brown grains in roughly 15 to 30 seconds per batch, with burning possible just seconds later.
Listen as well as look: the initial quiet heating changes to quick, popcorn-like crackling. The grains won’t grow dramatically, so don’t keep cooking while waiting for a big expansion.
Step 2: Melt the Chocolate and Fold
To Make Chocolate Quinoa Bars
- Microwave the chocolate chips for 60 seconds and stir thoroughly, or melt them using a double boiler.
The chocolate should become smooth as you stir, without dry lumps or a grainy appearance. - Tip the cooled popped quinoa into the melted chocolate.
The grains should be dry and loose, not steaming or stuck together in damp clumps. - Fold the mixture until the quinoa spreads evenly throughout the chocolate.
Every spoonful should contain coated grains rather than separate pockets of quinoa and chocolate.
Step 3: Chill and Slice into Bars
- Fit parchment into a small glass container or loaf pan measuring between 6 inches x 4 inches and 7.5 inches x 5.5 inches, leaving paper extending over the sides.
The larger container makes thinner bars, while the overhanging paper gives you handles for lifting. - Transfer the mixture to the lined container, level the surface, and add extra popped quinoa on top if desired.
A consistent thickness helps the slab set evenly and makes the portions easier to bite. - Freeze for 20 minutes or until firm, lift out the slab using the parchment, and leave it at room temperature for a couple of minutes.
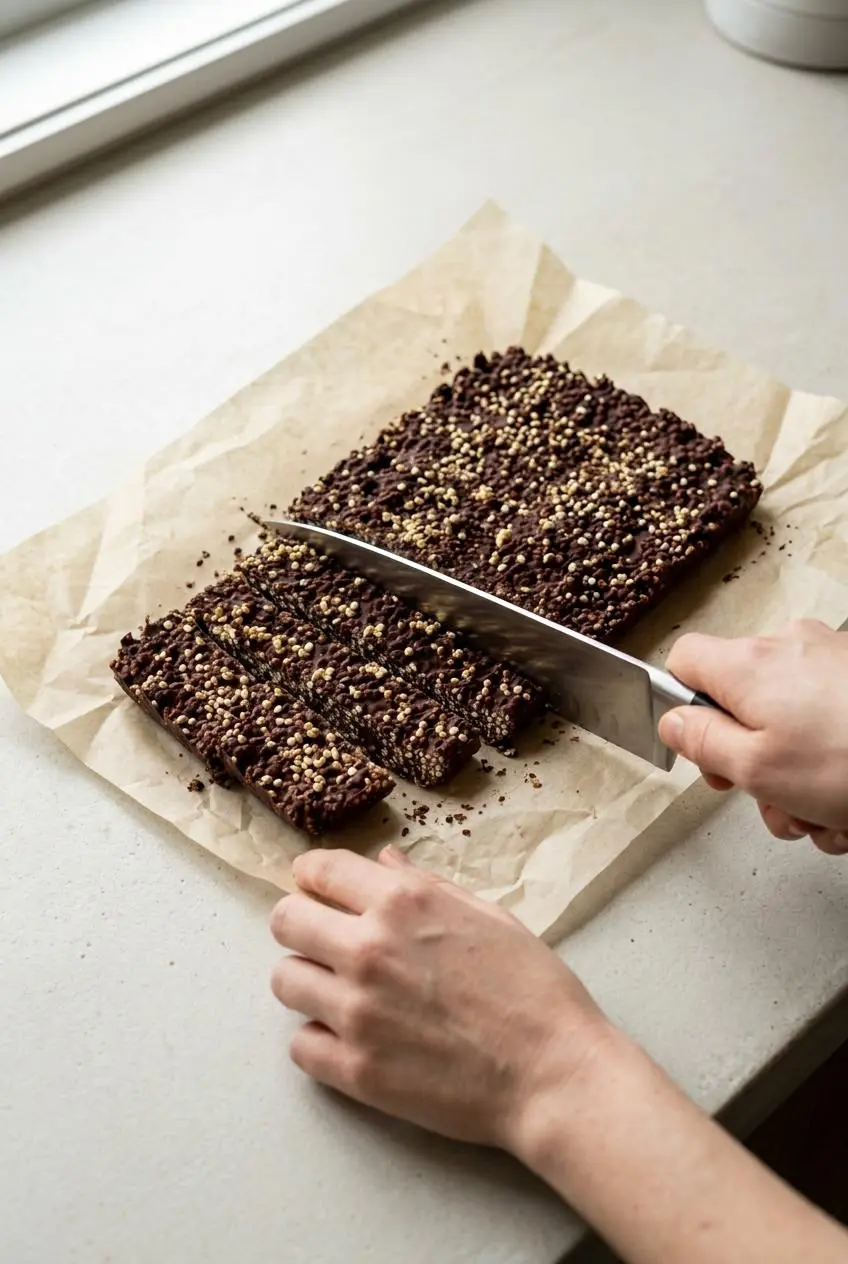
The chocolate should hold its shape but lose some of its hard, brittle chill before cutting. - Divide the slab into four bars, or cut those portions in half for eight squares.
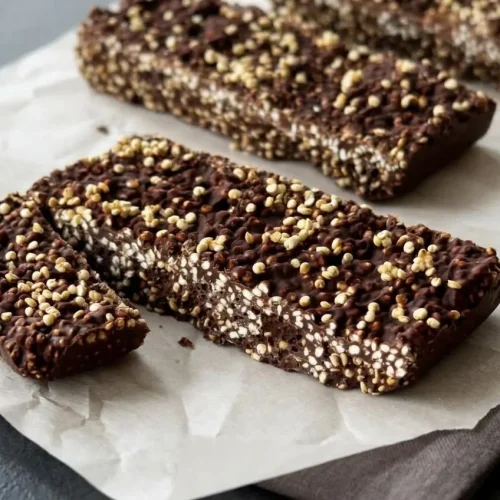
The pieces should hold together with toasted quinoa distributed through each cut face.
Expert Tips and Troubleshooting
Most texture problems come from one of three things: leftover moisture, overtoasted grains, or cutting chocolate while it’s too hard. Each needs a different fix.
Dry Popping vs Moistened vs Overnight Soaking
- Quick moistened popping: use the four-parts-quinoa-to-one-part-water method above when you want to follow this recipe directly. Let the added moisture evaporate before judging the toast.
- Dry-skillet toasting: dry, pre-rinsed quinoa skips the moistening stage. It offers a direct route to toasted grains, but still needs constant attention and small batches.
- Overnight soaking: this optional preparation starts with fully submerged quinoa. Drain it before skillet cooking, then focus on drying and toasting rather than assuming soaked grains are ready for chocolate.
All three approaches aim for the same endpoint: dry, toasted quinoa. Soaking isn’t required, and wet quinoa should never go straight from rinsing or soaking into melted chocolate.
How to Prevent Burnt Quinoa or Seized Chocolate
- Bitter flavor: check whether your quinoa is pre-rinsed and follow its package directions. If rinsing is needed, drain through a fine-mesh strainer and spread the grains on a clean towel to remove surface water; finish drying them in the skillet before the final toast.
- Burnt grains: carryover heat keeps cooking quinoa in a hot pan. Empty each batch as soon as it smells nutty and looks golden; don’t leave it sitting while preparing the next batch.
- Grainy chocolate: damp quinoa or wet utensils can spoil the smooth coating. Keep the bowl and spatula dry, and review how to melt chocolate if melting is the tricky part.
- Shattered bars: let the slab lose its hardest chill before slicing. Dip a sharp knife in hot water, wipe it completely dry, then press through with controlled cuts.
- Fragile portions: an oversized pan spreads this mixture too thin. Stay within the recommended container dimensions instead of stretching it across a baking sheet.
Easy Variations and Customizations
Keep these changes optional: each shifts the texture away from the firm, two-ingredient bar. Additions should leave enough chocolate to coat the grains and hold the mixture together.
Peanut Butter or Almond Butter Quinoa Bars
Stir creamy peanut butter, almond butter, or tahini into the melted chocolate for a softer, more fudge-like bite. Add gradually rather than pouring freely, since too much can leave the bars soft instead of sliceable.
If you enjoy peanut butter bars, this gives you a similar chocolate-and-nut-butter pairing with toasted crunch. An optional swirl of almond butter or gently warmed tahini, espresso powder, and flaky salt adds a roasty, slightly savory finish.
With Cocoa Powder and Coconut Oil
A chip-free coating uses melted virgin coconut oil, Dutch cocoa powder, and a liquid sweetener such as maple syrup or agave. Stir until smooth before adding dry quinoa, and keep the finished treats chilled because this coating softens readily.
This isn’t a direct one-for-one replacement for chocolate chips. The balance of oil, cocoa, and sweetener controls whether it sets, so use a recipe formulated for that coating rather than guessing replacement amounts.
Using Store-Bought Puffed Quinoa
Ready-to-eat puffed quinoa or puffed rice skips skillet popping and gives a lighter, airier crunch. Fold it into melted chocolate gradually, stopping while every piece still has enough coating to bind. Equal volumes won’t necessarily give the same texture as home-popped quinoa.
For an optional dark chocolate bark format, spread the mixture thinner on parchment and choose toppings:
- Flaky sea salt: adds contrast to sweet chocolate.
- Chopped pistachios: bring a richer nutty bite.
- Freeze-dried berries: add tartness without fresh fruit’s moisture.
- Hemp hearts: give a softer seed texture.
Storage and Serving Suggestions
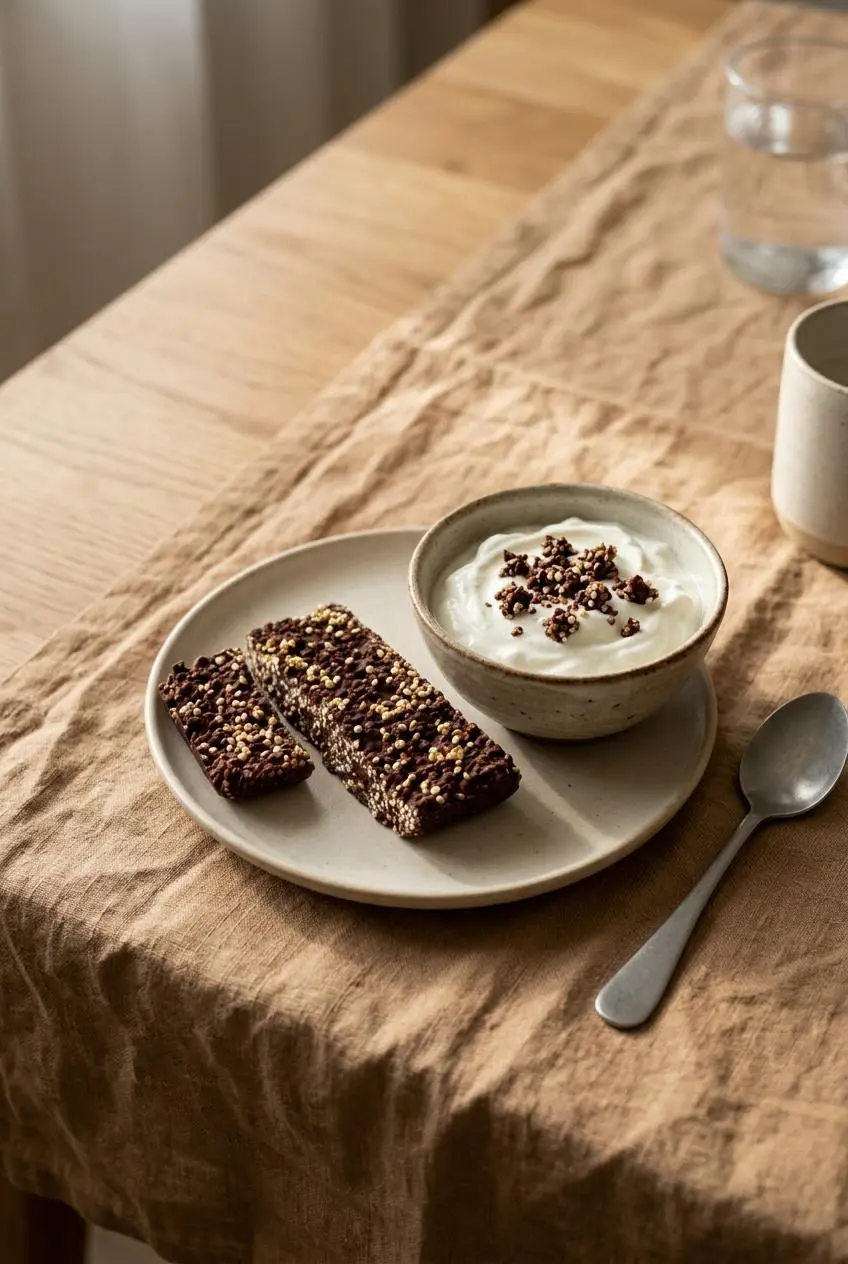
Protect the bars from moisture and warmth to preserve their texture. Store them in a tightly closed container in the refrigerator, with parchment between stacked pieces to prevent sticking.
- Let the chocolate set completely before stacking the bars.
- Keep softer coconut oil and nut butter versions chilled.
- Take out the portion you plan to eat and let the hardest chill soften before biting.
Serve a bar as an afternoon treat or after a run, cut smaller squares for a dessert platter, or crumble a chilled piece over Greek yogurt or a smoothie bowl. For lunchboxes, pack the portions in a firm container and keep them cool so the chocolate doesn’t smear.
For another snack with a different texture, no-bake granola bars offer a chewy contrast to these crisp chocolate squares.
Conclusion
Two ingredients can deliver plenty of texture when the quinoa gets a careful toast. Watch the quick shift to golden grains, cool them before mixing, and give the chocolate time to firm up.
Start with the crisp chocolate version, then try an optional nut butter and espresso swirl if you prefer a softer bite. A dry knife and a brief rest make that first slice much easier.
Frequently Asked Questions
Can I Use Cooked Quinoa Instead of Raw Quinoa?
No. Cooked quinoa holds moisture and gives these bars a soft texture instead of a crisp crunch. Use raw quinoa that you pop and toast, or choose ready-to-eat puffed quinoa.
Are Chocolate Quinoa Crunch Bars Healthy?
They can fit into a balanced eating routine, but they’re still a chocolate treat. Chocolate choice and portion size matter, and this recipe doesn’t establish special health benefits or nutrient retention from popping.
What Color of Quinoa Is Best, and Can I Use Tri-Color Quinoa?
White quinoa is a good choice for a lighter bite. Red and tri-color quinoa also work, but expect a firmer, heartier crunch rather than large, airy puffs.
Do I Have to Soak the Quinoa Overnight Before Popping It?
No. The quick method moistens quinoa using four parts quinoa to one part water immediately before cooking. Dry, pre-rinsed quinoa can also be toasted directly; overnight soaking is optional.
What Is the Difference Between Popped Quinoa and Store-Bought Puffed Quinoa?
Home-popped quinoa stays small and develops a dense, toasted crunch in the skillet. Store-bought puffed quinoa is larger and airier, and ready-to-eat versions need no stovetop preparation.
Chocolate Quinoa Crunch Bars

Equipment
- 5.5″ diameter pan or other small sized pan/skillet
- Whisk
- small glass container or loaf pan
- Parchment Paper
Ingredients
- 1/2 Cup quinoa
- 1/2 Cup chocolate chips any type of chocolate
Instructions
To Pop Quinoa
- Combine the quinoa with water using four parts quinoa to one part water, or choose the alternative of soaking it overnight under enough water to cover it completely. For the quick method, the grains should look moistened rather than submerged.
- Heat a small skillet over medium-high heat, check it with about 10 grains, then work in batches of about 1 tablespoon of moistened quinoa spread in a single layer. A ready skillet makes the test grains crackle within 15 seconds.
- Use a whisk to separate clumps as the moisture evaporates. The wet-looking grains will become loose and dry as steam escapes.
- Shake the skillet when popping begins, empty each batch promptly once golden, and repeat with the remaining quinoa before letting it cool for a few minutes. Expect rapid crackling, a toasted aroma, and golden-brown grains in roughly 15 to 30 seconds per batch, with burning possible just seconds later.
To Make Chocolate Quinoa Bars
- Microwave the chocolate chips for 60 seconds and stir thoroughly, or melt them using a double boiler. The chocolate should become smooth as you stir, without dry lumps or a grainy appearance.
- Tip the cooled popped quinoa into the melted chocolate. The grains should be dry and loose, not steaming or stuck together in damp clumps.
- Fold the mixture until the quinoa spreads evenly throughout the chocolate. Every spoonful should contain coated grains rather than separate pockets of quinoa and chocolate.
- Fit parchment into a small glass container or loaf pan measuring between 6 inches x 4 inches and 7.5 inches x 5.5 inches, leaving paper extending over the sides. The larger container makes thinner bars, while the overhanging paper gives you handles for lifting.
- Transfer the mixture to the lined container, level the surface, and add extra popped quinoa on top if desired. A consistent thickness helps the slab set evenly and makes the portions easier to bite.
- Freeze for 20 minutes or until firm, lift out the slab using the parchment, and leave it at room temperature for a couple of minutes. The chocolate should hold its shape but lose some of its hard, brittle chill before cutting.
- Divide the slab into four bars, or cut those portions in half for eight squares. The pieces should hold together with toasted quinoa distributed through each cut face.