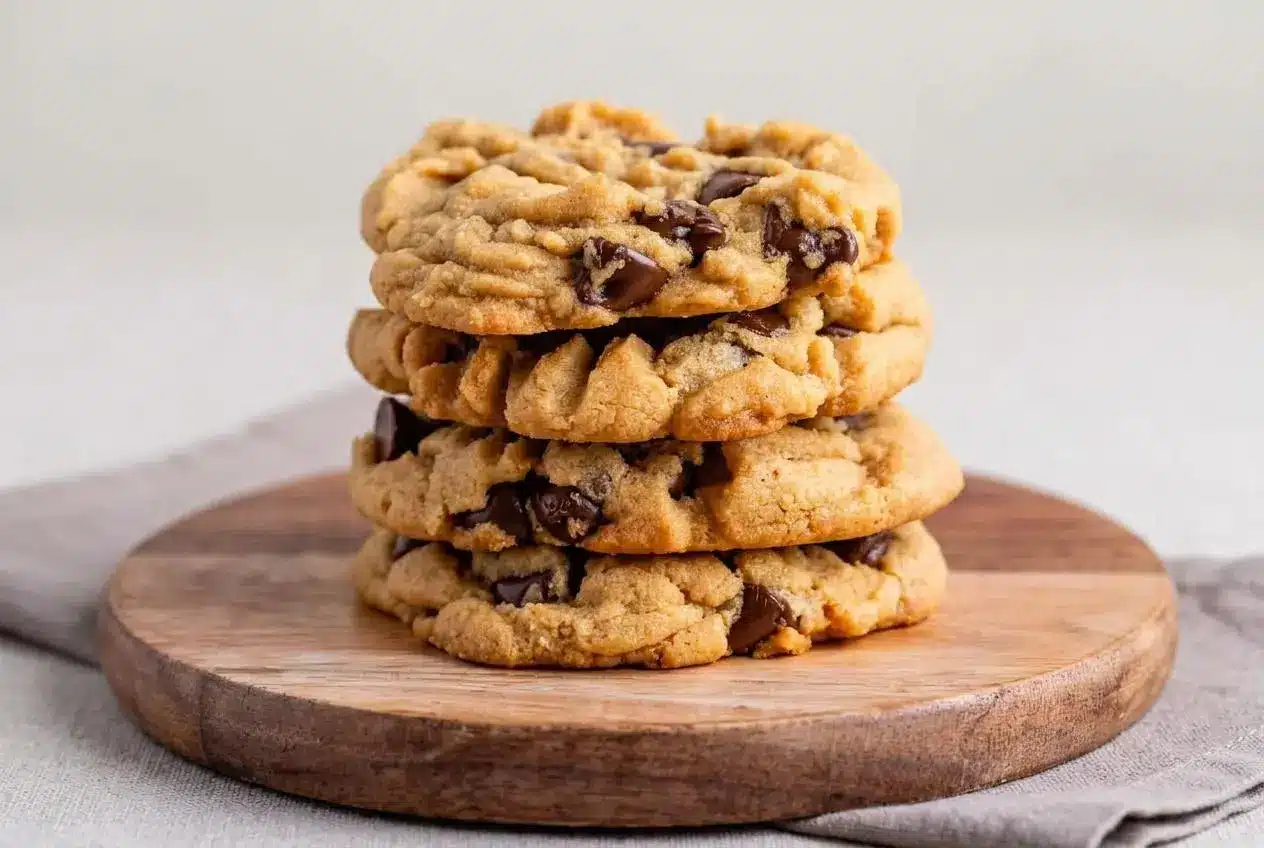
Soft, chewy cookies start with no-stir creamy peanut butter, melted butter, and a 30-minute dough chill that keeps the centers thick instead of dry or crumbly.
These peanut butter chocolate chip cookies balance deep peanut flavor with molten chocolate in every bite. Melted butter makes the dough easy to stir by hand, while brown sugar helps create that dense, satisfying chew.
Pull them when the tops look matte and the centers are still soft. The warm peanut aroma is your early warning that they are nearly ready.
Line the baking sheets with parchment paper before mixing so the chilled dough can go straight into the oven.
Key Ingredients and Why They Matter
Each ingredient contributes to the cookie’s flavor, moisture, structure, spread, and chocolate-to-peanut balance.
- ½ cup (113 g) unsalted butter, melted
- ½ cup (133g) creamy peanut butter
- ¼ cup (50g) granulated sugar
- ⅔ cup (134g) packed brown sugar
- 1 teaspoon vanilla extract
- 1 large egg
- ½ teaspoon baking soda
- ½ teaspoon salt
- 1 ¼ cups (155g) all-purpose flour
- 1 ¼ cups (213g) chocolate chips
Melted butter brings richness and helps create a denser chew, while brown sugar holds onto moisture and adds caramel flavor. The egg gives the dough structure, baking soda encourages spread, and flour keeps the cookies tender enough to bend rather than snap. Chocolate chips provide rich pockets that soften beautifully while the cookies cool.
I reach for a standard no-stir creamy peanut butter here because the dough stays smooth, pliable, and easy to scoop.
Commercial Creamy Versus Natural Peanut Butter
Commercial creamy peanut butter, such as Jif or Skippy, has a stable blend of peanut solids and fat. That consistency gives the dough enough moisture and structure to bake into chewy cookies with neat edges.
Natural peanut butter can separate into oil and dry peanut solids, even after stirring. That extra oil can make the dough greasy and prone to spreading, while the drier solids can leave the finished cookies fragile or crumbly. Save natural peanut butter for toast or sauces rather than this particular dough.
Melted Butter and Brown Sugar Chemistry
Because the butter is melted instead of creamed with sugar, it does not trap as much air in the dough. The result is a slightly denser cookie with a pleasantly chewy middle rather than a cakey crumb.
Packed brown sugar matters just as much. Its moisture and molasses flavor support a soft texture and give the edges a deeper, lightly caramelized taste. Granulated sugar helps the cookies spread and adds a delicate crispness around the rim.
Chocolate Chip Sizing and Finishing Salt
Standard semisweet chocolate chips create generous melted pockets against the peanut butter dough. Mini chips are an optional swap when you want chocolate distributed more evenly through every bite.
- Use semisweet chips for classic chocolate contrast without overwhelming the peanut flavor.
- Use mini chips for more frequent flecks of chocolate and a smoother bite.
- Swap half the chocolate chips for chopped roasted salted peanuts if you want extra crunch.
- Scatter flaky sea salt over the warm cookies if you enjoy a sharper sweet-salty finish.
Step-by-Step Baking Method for Peanut Butter Chocolate Chip Cookies
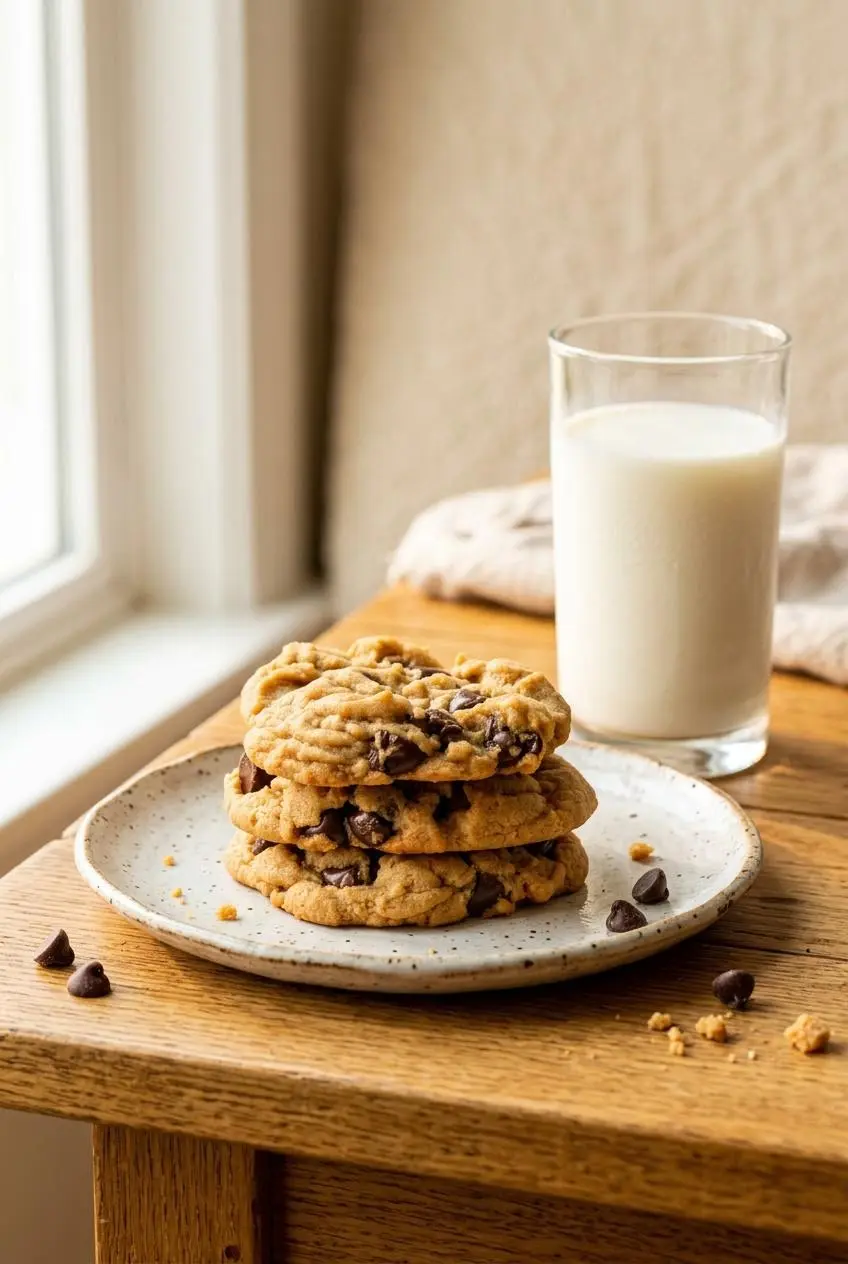
This hand-mixed method works best when you stop mixing as soon as the flour disappears and give the shaped dough its full chill.
- Whisk the melted butter and creamy peanut butter in a large bowl until fully blended, then stir in both sugars.
The mixture should look smooth and glossy, with no oily streaks around the edges of the bowl. - Mix in the vanilla, egg, baking soda, and salt, then gradually fold in the flour before stirring through the chocolate chips.
Stop once the dough comes together and the chips are evenly scattered; it should feel soft and pliable, similar to modeling clay. - Portion the dough into 2-tablespoon balls on parchment-lined or silicone-lined cookie sheets, then press each ball gently with fork tines.
The fork marks should flatten the tops slightly without turning the dough into thin disks. - Chill the shaped dough for 30 minutes, then heat the oven to 350°F.
The dough should feel firmer after chilling, which helps it hold a thicker shape in the oven. - Bake for 8 to 12 minutes.
Take the cookies out when the bottoms are lightly browned and the tops have lost their wet sheen but the centers still look pale, soft, and matte.
Chilling Dough to Regulate Spread
Do not skip the 30-minute chill. Melted butter makes a wonderfully chewy dough, but it also needs time to firm up before baking. Chilling slows the spread so the cookies keep a thicker middle instead of turning into wide, thin puddles.
If the dough looks soft after shaping, that is normal. The chill is what transforms those soft portions into cookies with defined edges and a tender center.
Bakery Style Sizing Adjustments
For larger bakery-style cookies, use 3-tablespoon portions instead of the standard 2-tablespoon scoop. Keep the fork press gentle so the centers stay thick.
Large cookies need 2 to 3 additional minutes in the oven. Watch the surface rather than waiting for firmness: the edges should set first, while the middle remains soft enough to finish setting on the hot pan.
Essential Baking Tips for Perfect Chewiness
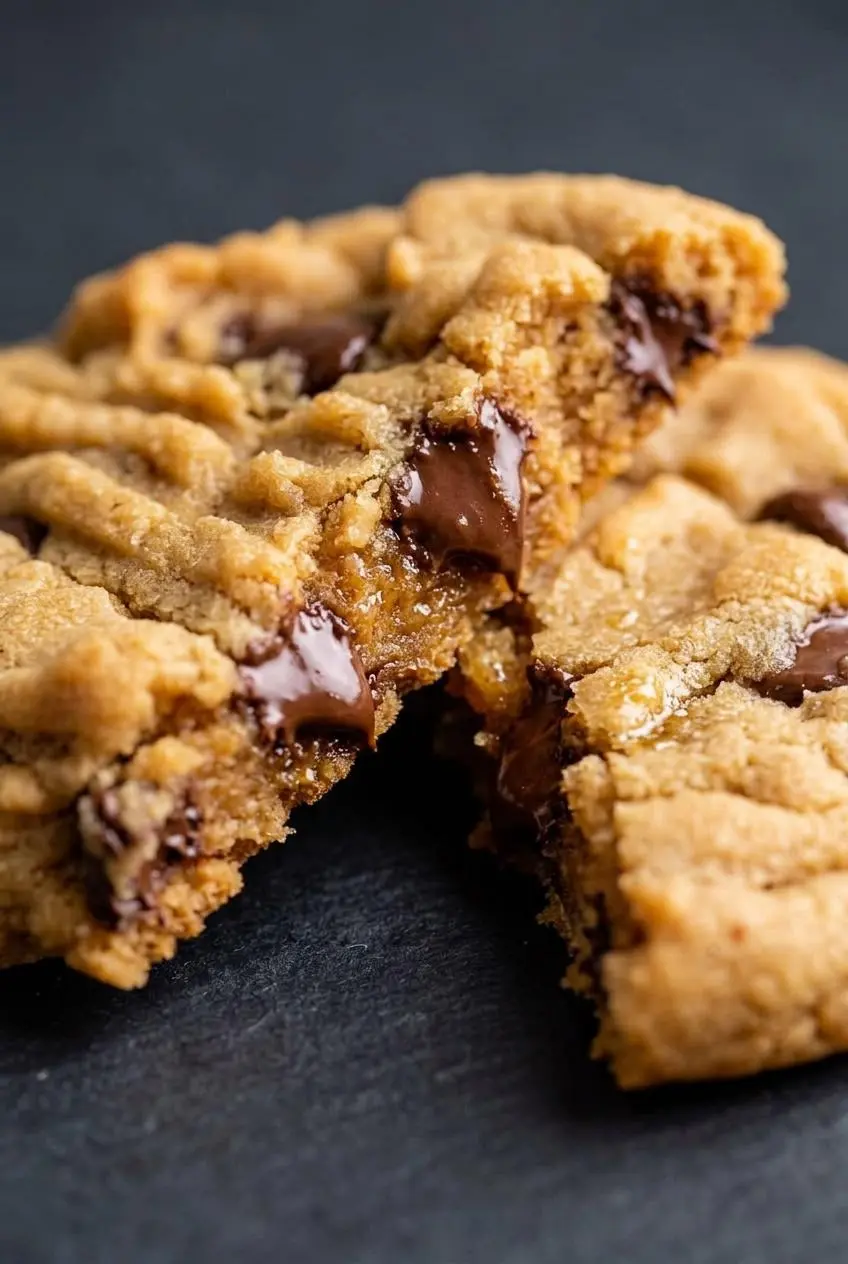
The difference between a chewy cookie and a dry one often comes down to the baking sheet, the oven exit cue, and a little patience after baking.
Use parchment paper instead of greasing the metal pan. Grease adds extra fat under the dough and can encourage more spreading, while parchment helps the bottoms brown evenly and releases the cookies cleanly.
If you want the chocolate flavor to taste slightly deeper, stir a tiny pinch of espresso powder into the melted butter and peanut butter mixture. It should support the chocolate rather than make the cookies taste like coffee.
For a candy-forward peanut butter variation, try Reese’s peanut butter cookies when you are craving a richer peanut butter cup-style dessert.
The Pan Banging Trick for Crinkled Edges
As soon as the cookies leave the oven, gently tap the baking sheet once against the counter or stovetop. This settles any puffed centers and encourages soft ripples around the edges.
Keep the tap light. You want a subtle crinkle, not a dramatic collapse. It is an optional move, but it gives the cookies that relaxed bakery-style texture.
Carryover Cooking on the Sheet Pan
Leave the cookies on the hot pan for 5 to 10 minutes before transferring them to a wire rack. Residual heat finishes setting the delicate centers while preserving the soft middle.
Press a few chocolate chips into the tops right after baking if you want more chocolate showing on the surface. Wait until the cookies hold together before moving them, since they are fragile while hot.
Troubleshooting Common Cookie Problems
A few small adjustments can rescue most peanut butter cookie issues before they reach the oven.
- Crumbly dough: Natural peanut butter or too much flour can leave the dough dry. Stir in 1 tablespoon of warm milk if it feels excessively crumbly and will not hold when pressed.
- Cookies spread too much: Dough that skips the chill can melt outward too quickly. Chill the shaped portions for the full 30 minutes and bake on parchment instead of a greased sheet.
- Cookies feel dense or tough: Flour packed directly into a measuring cup can add too much. Spoon flour into the cup, then level it with a straight edge rather than scooping into the flour container.
- Cookies are dry after baking: They likely stayed in the oven until the centers looked firm. Remove them when the surface turns matte and let the baking sheet finish the setting.
- Want a gluten-free option: A 1:1 gluten-free baking flour can replace the all-purpose flour as an optional adaptation. The texture may vary by blend, so keep the dough chilled and use the same soft-center cue.
If scooping and shaping cookies is not your thing, chewy peanut butter bars offer a pan-baked option with the same cozy peanut butter appeal.
Storage, Freezing, and Make-Ahead Instructions
Let baked cookies cool completely, then keep them in an airtight container at room temperature for up to 3 days. A slice of bread in the container can help the cookies stay soft by sharing moisture with the air inside.
For future baking, place shaped dough balls on a lined baking sheet and freeze until firm before transferring them to an airtight freezer bag. Keep the dough frozen for up to one month. Bake the portions directly from frozen, allowing extra oven time and checking for lightly browned bottoms and matte, soft centers.
Separate frozen dough balls before storing so you can bake only the amount you want. The dough does not need to thaw first, but cold portions may need a little longer to lose their wet surface sheen.
Conclusion
These cookies deliver rich peanut flavor, melted chocolate, and a soft chew without complicated mixing. Commercial creamy peanut butter, melted butter, brown sugar, and the 30-minute chill each play a clear role.
Pull the cookies while the centers still look soft, then let the hot sheet pan do the final bit of work. A warm cookie with a cold glass of milk is hard to beat.
Frequently Asked Questions
What Is the Best Peanut Butter to Use for Baking?
Use commercial no-stir creamy peanut butter for the most dependable texture. Its emulsified fat and peanut solids keep the dough smooth and cohesive. Natural peanut butter can separate into oil and dry solids, which may create greasy dough or cookies that crumble more easily.
Why Did My Peanut Butter Chocolate Chip Cookies Turn Out Crumbly?
Crumbly cookies usually come from natural separating peanut butter, too much flour, or overbaking. Spoon and level the flour instead of packing it into the measuring cup. If the raw dough will not hold together, mix in 1 tablespoon of warm milk. Bake until the centers look matte and soft, not fully firm.
Do I Have to Chill the Cookie Dough Before Baking?
Yes. Chill the shaped dough for 30 minutes so the melted butter firms up before baking. That pause controls spread and helps the cookies keep a thick, tender, chewy middle.
Can I Freeze Peanut Butter Chocolate Chip Cookie Dough Balls?
Yes. Freeze the shaped dough balls on a lined baking sheet until firm, then store them in an airtight freezer bag for up to one month. Bake them directly from frozen and allow extra time as needed. Look for lightly browned bottoms and tops that have turned matte while the centers remain soft.
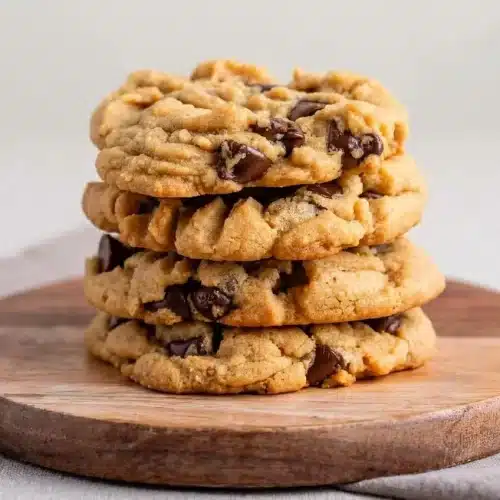
Peanut Butter Chocolate Chip Cookies

Equipment
- Cookie sheets
- Parchment paper or silicone baking mats
- Fork
- 2 tablespoon cookie scoop
Ingredients
- ½ cup unsalted butter melted (113 g)
- ½ cup creamy peanut butter (133g)
- ¼ cup granulated sugar (50g)
- ⅔ cup packed brown sugar (134g)
- 1 teaspoon vanilla extract
- 1 large egg
- ½ teaspoon baking soda
- ½ teaspoon salt
- 1 ¼ cups all-purpose flour (155g)
- 1 ¼ cups chocolate chips (213g)
Instructions
- Whisk the melted butter and creamy peanut butter in a large bowl until fully blended, then stir in both sugars. The mixture should look smooth and glossy, with no oily streaks around the edges of the bowl.
- Mix in the vanilla, egg, baking soda, and salt, then gradually fold in the flour before stirring through the chocolate chips. Stop once the dough comes together and the chips are evenly scattered; it should feel soft and pliable, similar to modeling clay.
- Portion the dough into 2-tablespoon balls on parchment-lined or silicone-lined cookie sheets, then press each ball gently with fork tines. The fork marks should flatten the tops slightly without turning the dough into thin disks.
- Chill the shaped dough for 30 minutes, then heat the oven to 350°F. The dough should feel firmer after chilling, which helps it hold a thicker shape in the oven.
- Bake for 8 to 12 minutes. Take the cookies out when the bottoms are lightly browned and the tops have lost their wet sheen but the centers still look pale, soft, and matte.