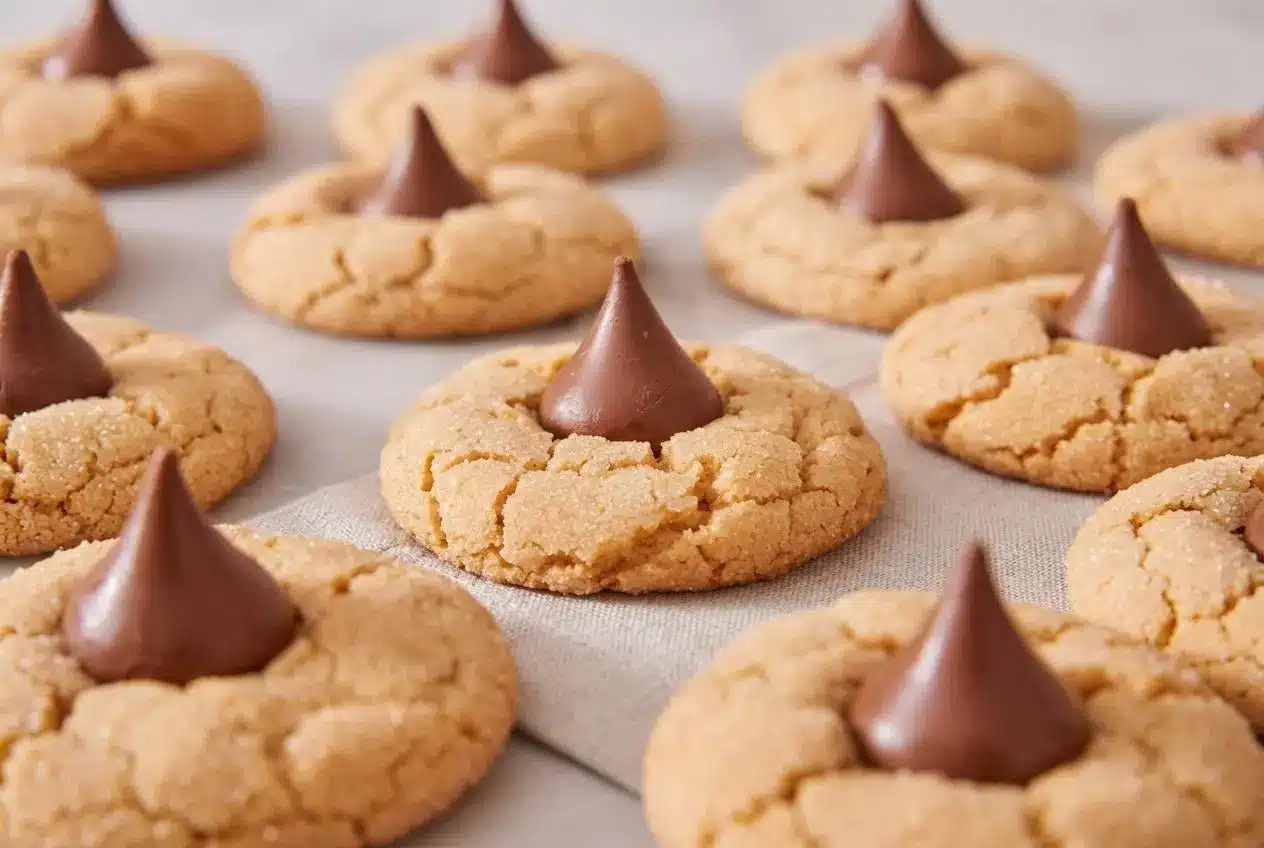
Bake at 375°F for 8 to 10 minutes, until the cookies are puffy and lightly golden underneath, then gently press an unwrapped chocolate kiss into each hot center right away.
These peanut butter blossom cookies bring together a soft brown sugar peanut butter dough and a classic chocolate kiss center. They bake up tender, chewy, and lightly crackled around the edges.
Warm butter and roasted peanut aromas start filling the kitchen near the end of baking, followed by that unmistakable chocolate finish. The kiss-placement trick makes all the difference.
Unwrap all 36 chocolate kisses before you mix the dough so they are ready the moment the baking sheets leave the oven.
Essential Ingredients for Peanut Butter Blossom Cookies
Each ingredient supports the cookie’s flavor, chew, structure, and signature blossom shape, from the rich peanut butter base to the baking soda that creates delicate cracks.
- ¾ cup creamy peanut butter ((188g))
- ½ cup unsalted butter (softened (113g))
- ½ cup granulated sugar (plus more for rolling (100g))
- ½ cup packed light brown sugar ((110g))
- ¼ teaspoon salt
- 1 large egg (room temperature)
- 1 teaspoon vanilla extract
- 1½ cups all-purpose flour ((180g))
- ½ teaspoon baking soda
- 36 Hersey’s chocolate kisses (unwrapped)
Creamy peanut butter gives the dough its savory roasted flavor and helps create a tender, cohesive crumb. Light brown sugar holds moisture for a chewier center, while granulated sugar gives the outside a fine sparkle. Softened butter and a room-temperature egg blend smoothly, creating a more even dough before the flour goes in.
Flour provides enough structure to hold the chocolate center, but measuring it carefully matters. Weighing 180g is the most consistent route, while spooning flour into a measuring cup and leveling it prevents a dry, crumbly dough. Baking soda encourages the gentle lift and fine fissures that make these cookies look like blossoms.
I reach for standard creamy peanut butter with no stirring required because its stable texture keeps the dough smooth and easy to roll.
The Case for Stabilized Peanut Butter
Use conventional, no-stir creamy peanut butter for dependable cookie structure. It contains emulsifiers that keep the peanut solids and oils blended, so the dough stays evenly moist and holds its shape in the oven.
Natural peanut butter can separate into a thick paste and loose oil, even after stirring. That uneven texture may leave the dough oily in places and dry or crumbly in others, making neat, crackled cookies harder to achieve.
Butter vs Shortening in Blossom Dough
- Unsalted butter: Adds fuller flavor and a tender, melt-in-your-mouth texture. It is the choice here for a richly flavored peanut butter cookie.
- Vegetable shortening: Can help cookies keep a taller shape, but it brings less buttery flavor and a slightly different mouthfeel.
- Softened butter: Should give easily when pressed but should not look oily or melted. That texture helps it cream evenly with the sugars.
How to Make Peanut Butter Blossom Cookies and Master Kiss Placement
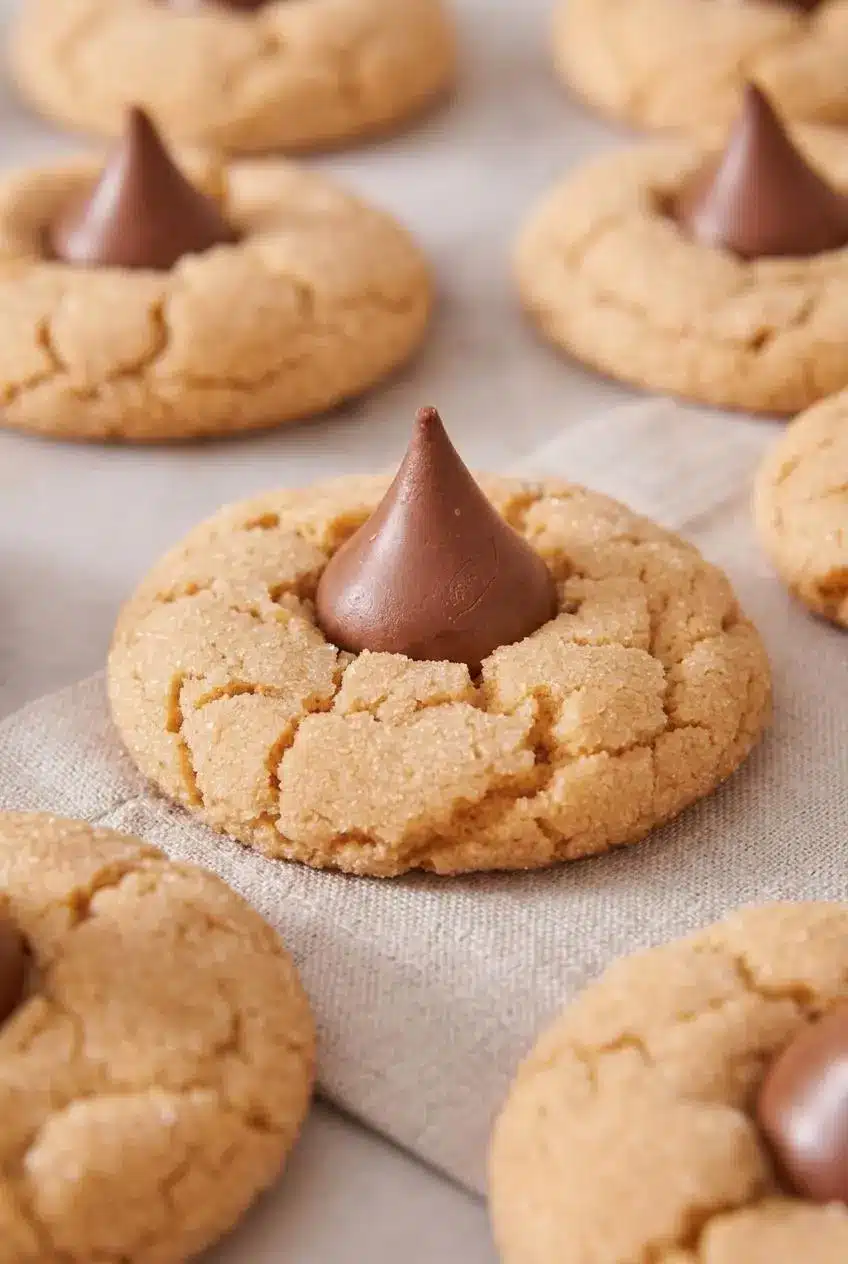
The key is to build a smooth dough, keep the portions even, and press each kiss into the cookie while the base is still hot enough to cradle it.
- Heat the oven to 375°F and cover cookie sheets with parchment paper.
Parchment prevents sticking and helps the cookie bottoms brown evenly. - Beat the peanut butter, softened butter, granulated sugar, brown sugar, and salt in a large bowl or stand mixer fitted with the paddle attachment until creamy and blended.
The mixture should look lighter and fluffy rather than dense or greasy. - Mix in the room-temperature egg and vanilla, scraping down the bowl so no buttery streaks remain.
A smooth, uniform mixture helps the finished cookies bake with an even texture. - Add the flour and baking soda, then mix on low only until the dry flour disappears.
Stop as soon as the dough comes together to keep the cookies tender. - Roll the dough into 1-inch balls, coat them in additional granulated sugar if desired, and arrange them 2 inches apart on the prepared sheets.
Even portions bake at the same pace and leave room for the cookies to spread gently. - Bake for 8 to 10 minutes, then press one unwrapped chocolate kiss into the center of every cookie as soon as the sheets come out of the oven.
The tops should look pale and puffy with fine cracks, while the bottoms should be just beginning to brown. - Leave the cookies on the pans until completely cool and the chocolate centers have set.
The kisses will soften from the cookie’s heat but should retain their defined shape.
Portioning and Rolling the Dough
A cookie scoop helps make consistent 1-inch dough balls, about 1 tablespoon each. This size gives you the right cookie-to-chocolate ratio: enough peanut butter dough for a soft center without creating a broad, flat cookie that overwhelms the kiss.
Roll each portion between your palms until smooth. If using the extra granulated sugar, coat the ball thoroughly before placing it on the baking sheet. The sugar creates the familiar sparkling finish and helps define the surface cracks as the cookie expands.
Baking Cues and Immediate Assembly
Start checking at 8 minutes. The cookies are ready when they look puffed and pale across the top, have hairline cracks near the edges, and show lightly golden bottoms. They may look slightly underdone in the center, which is exactly what keeps them soft after cooling.
Press the unwrapped kisses into the cookies within about 60 seconds of removing the pans from the oven. Use gentle, steady pressure until each kiss sits about halfway into the dough. The hot cookie base anchors the chocolate while the center remains defined.
Do not return the cookies to the oven after adding the chocolate. Residual heat from the pan is enough to soften the kisses. If your kitchen is warm and the kisses become very soft, move the pan to a cool area or chill the cookies briefly once they have begun to set.
No-Mixer Hand Preparation Option
You can make this dough with a large mixing bowl, whisk, and sturdy silicone spatula. Make sure the butter is properly softened, then whisk it vigorously with the peanut butter, sugars, and salt until the mixture looks creamy and cohesive.
Whisk in the egg and vanilla, then switch to a spatula for the flour and baking soda. Fold and press the dough together just until no dry flour remains. A hand-mixed dough may look a little less airy, but it should still roll easily into smooth balls.
Troubleshooting Common Blossom Cookie Mistakes
Small adjustments make a big difference with these cookies, especially when it comes to flour, portion size, and the warmth of the chocolate centers.
- Dry or crumbly cookies: Flour was likely packed into the measuring cup or the dough contained separated natural peanut butter. Weigh 180g of flour when possible, or spoon and level it, then use stabilized creamy peanut butter.
- Cookies spread too wide: The dough balls may have been too large or the butter may have become overly soft. Keep portions at 1 inch and place them on cool, parchment-lined sheets.
- Cookies crack too aggressively: A few cracks are part of the blossom look, but excessive cracking can come from dry dough. Measure the flour carefully and stop mixing once the dough comes together.
- Chocolate kisses turn into soft pools: Unwrap them before baking, press them in immediately after baking, and let the cookies cool without stacking. Move the pans to a cooler spot if the chocolate keeps softening.
- Kisses sit crookedly: Press straight down into the center with gentle pressure. A level, centered kiss looks neater and gives every cookie a balanced bite.
- Cookies are too firm: They likely baked beyond the point of lightly golden bottoms. Pull the pans when the tops are puffy and pale, since the cookies continue setting as they cool.
Creative Candy Swaps and Variations
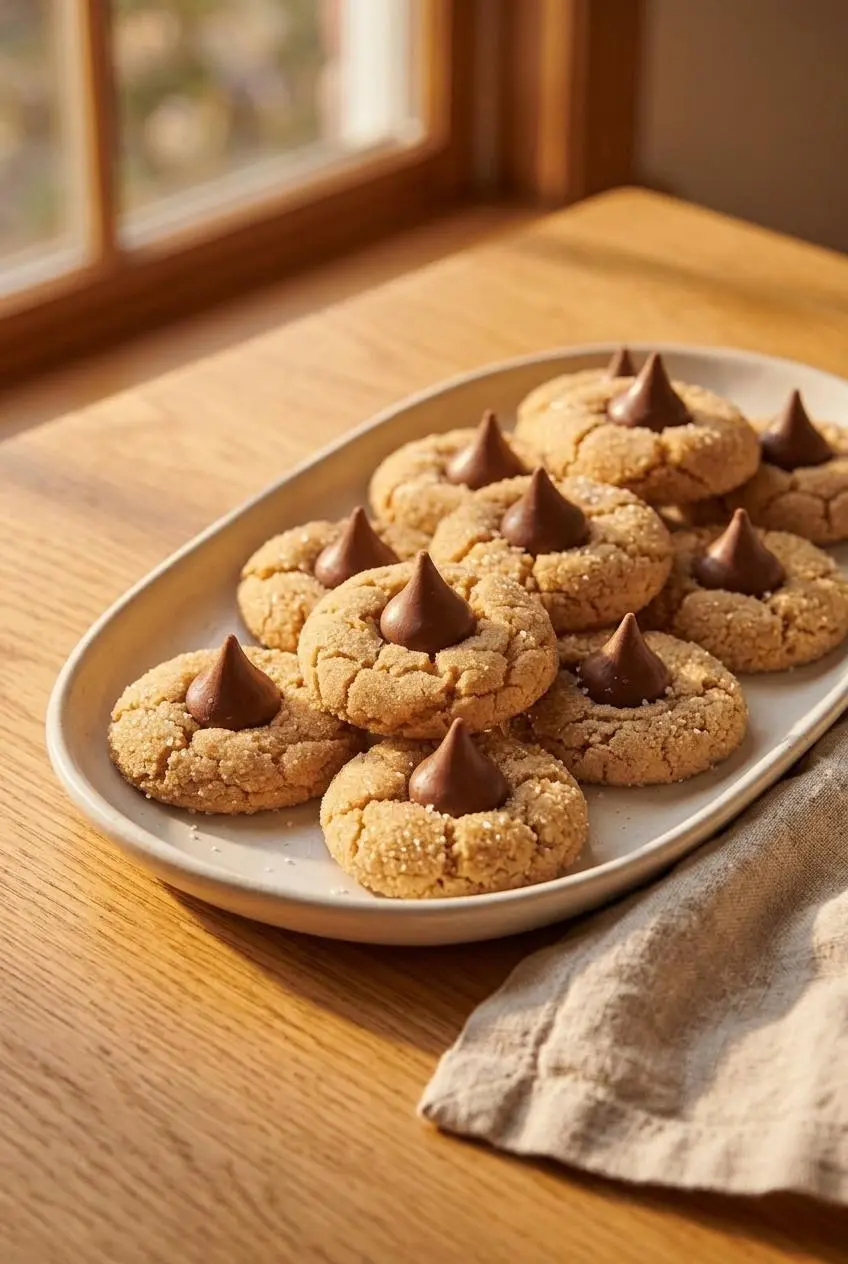
Keep the main dough exactly as written, then change the coating or center for a holiday tray with more color and contrast.
- Turbinado sugar: Roll the dough in coarse turbinado sugar for a deeper caramelized crunch around the soft center.
- Colored sanding sugar: Red and green sanding sugars add holiday sparkle and make the cookies stand out on a cookie exchange platter.
- Flaky sea salt: A tiny pinch over a turbinado-coated dough ball adds a savory edge that sharpens the peanut butter and chocolate flavor.
For a holiday assortment, pair these cookies with festive Christmas butter cookies. The crisp, buttery contrast makes the soft peanut butter centers feel even more special.
Peanut Butter Cup Blossoms
For extra peanut butter flavor, replace the chocolate kisses with unwrapped miniature peanut butter cups. Chill the candies before baking so they are firmer when pressed into the hot cookies and hold their shape more neatly.
The cup creates a wider, richer center than a kiss, so press it gently and avoid pushing it all the way to the pan. If double peanut butter desserts are your favorite, these Reese’s peanut butter cookies are another candy-filled option.
Holiday Sanding Sugars and Dark Chocolate
- Dark chocolate kisses: Bring a less-sweet finish that lets the roasted peanut flavor come through more clearly.
- Striped white chocolate hugs: Add a creamy vanilla-like sweetness and a festive striped top.
- Caramel-filled chocolate squares: Create a softer, gooier center, so let the cookies cool fully before moving them.
- Red and green sanding sugar: Turns the classic cookie into a colorful addition to holiday cookie swaps without changing the dough.
Storing Finished Cookies
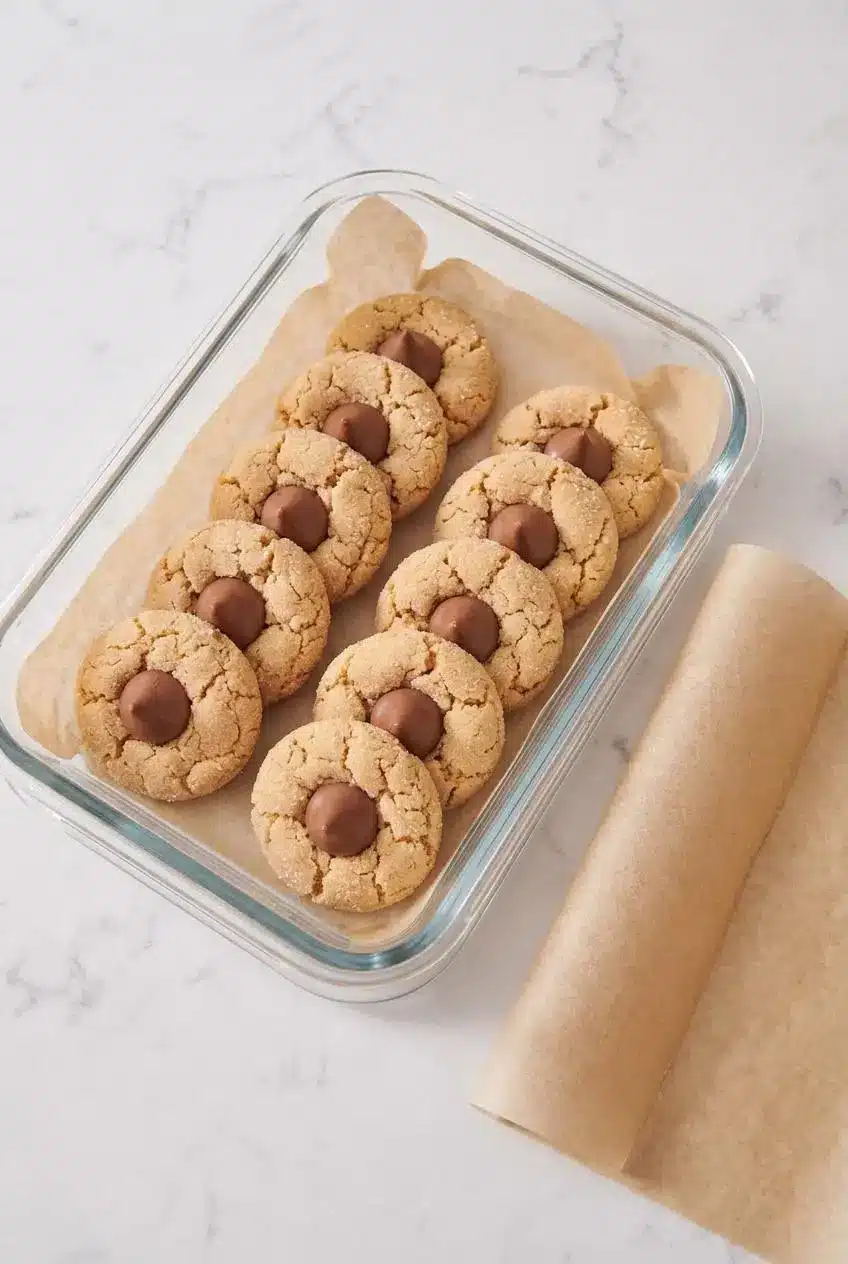
Let the cookies cool completely on their pans before packing them. The chocolate centers need time to firm up, and moving them too soon can leave smears across the tops.
Store the cooled cookies in an airtight container in single layers, separating layers with parchment paper if needed. The official method allows airtight storage for up to 1 week. Avoid stacking while the chocolate is still soft, especially if the cookies will be packed for gifting or travel.
If you need to work ahead, unwrap the chocolate kisses and prepare the parchment-lined baking sheets before mixing the dough. Those small tasks make it easier to portion, bake, and press the candies without rushing at the most time-sensitive moment.
Conclusion
These classic cookies earn their place on every holiday tray with soft peanut butter centers, delicate crackled edges, and a familiar chocolate finish.
Press the unwrapped kisses into the hot cookies right away, then give the chocolate time to set before packing. A little patience keeps every blossom neat and gift-worthy.
Frequently Asked Questions
How Do You Keep Hershey Kisses From Melting on Peanut Butter Blossoms?
Unwrap all the kisses before the cookies go into the oven. Press each kiss into a hot cookie immediately after baking, while the dough is still soft enough to hold it. Cool the cookies on their pans, then move them to a cooler spot if the chocolate becomes overly soft. Do not stack cookies until the chocolate centers have firmed.
Why Are My Peanut Butter Blossom Cookies Dry and Crumbly?
Packed flour is the most common cause. Weigh 180g of flour or spoon it into the measuring cup and level it. Natural peanut butter can separate and create an uneven dough. Use standard stabilized creamy peanut butter instead. Do not overbake. Remove the cookies when the bottoms are just turning golden and the tops still look pale and puffy.
Can I Prepare the Dough in Advance?
This method is designed for baking the dough after mixing, so the cookies keep their intended soft texture and cracked tops. To make the process easier, unwrap the chocolate kisses and line the baking sheets ahead of time, then mix and bake the dough as directed.
Can I Make Peanut Butter Blossoms Without an Electric Mixer?
Yes. Use a large bowl, a whisk, and a sturdy silicone spatula. Whisk the softened butter, peanut butter, sugars, and salt vigorously until creamy. Stir in the egg and vanilla, then fold in the flour and baking soda until the dough is evenly combined.
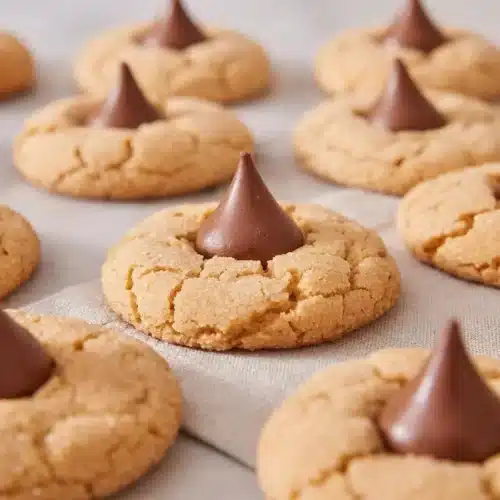
Peanut Butter Blossom Cookies

Equipment
- Stand Mixer or Hand Mixer
- Paddle attachment
- Cookie sheets
- Parchment Paper
- Cookie Scoop
Ingredients
- ¾ cup creamy peanut butter (188g)
- ½ cup unsalted butter softened (113g)
- ½ cup granulated sugar plus more for rolling (100g)
- ½ cup packed light brown sugar (110g)
- ¼ teaspoon salt
- 1 large egg room temperature
- 1 teaspoon vanilla extract
- 1½ cups all-purpose flour (180g)
- ½ teaspoon baking soda
- 36 Hersey’s chocolate kisses unwrapped
Instructions
- Heat the oven to 375°F and cover cookie sheets with parchment paper. Parchment prevents sticking and helps the cookie bottoms brown evenly.
- Beat the peanut butter, softened butter, granulated sugar, brown sugar, and salt in a large bowl or stand mixer fitted with the paddle attachment until creamy and blended. The mixture should look lighter and fluffy rather than dense or greasy.
- Mix in the room-temperature egg and vanilla, scraping down the bowl so no buttery streaks remain. A smooth, uniform mixture helps the finished cookies bake with an even texture.
- Add the flour and baking soda, then mix on low only until the dry flour disappears. Stop as soon as the dough comes together to keep the cookies tender.
- Roll the dough into 1-inch balls, coat them in additional granulated sugar if desired, and arrange them 2 inches apart on the prepared sheets. Even portions bake at the same pace and leave room for the cookies to spread gently.
- Bake for 8 to 10 minutes, then press one unwrapped chocolate kiss into the center of every cookie as soon as the sheets come out of the oven. The tops should look pale and puffy with fine cracks, while the bottoms should be just beginning to brown.
- Leave the cookies on the pans until completely cool and the chocolate centers have set. The kisses will soften from the cookie’s heat but should retain their defined shape.