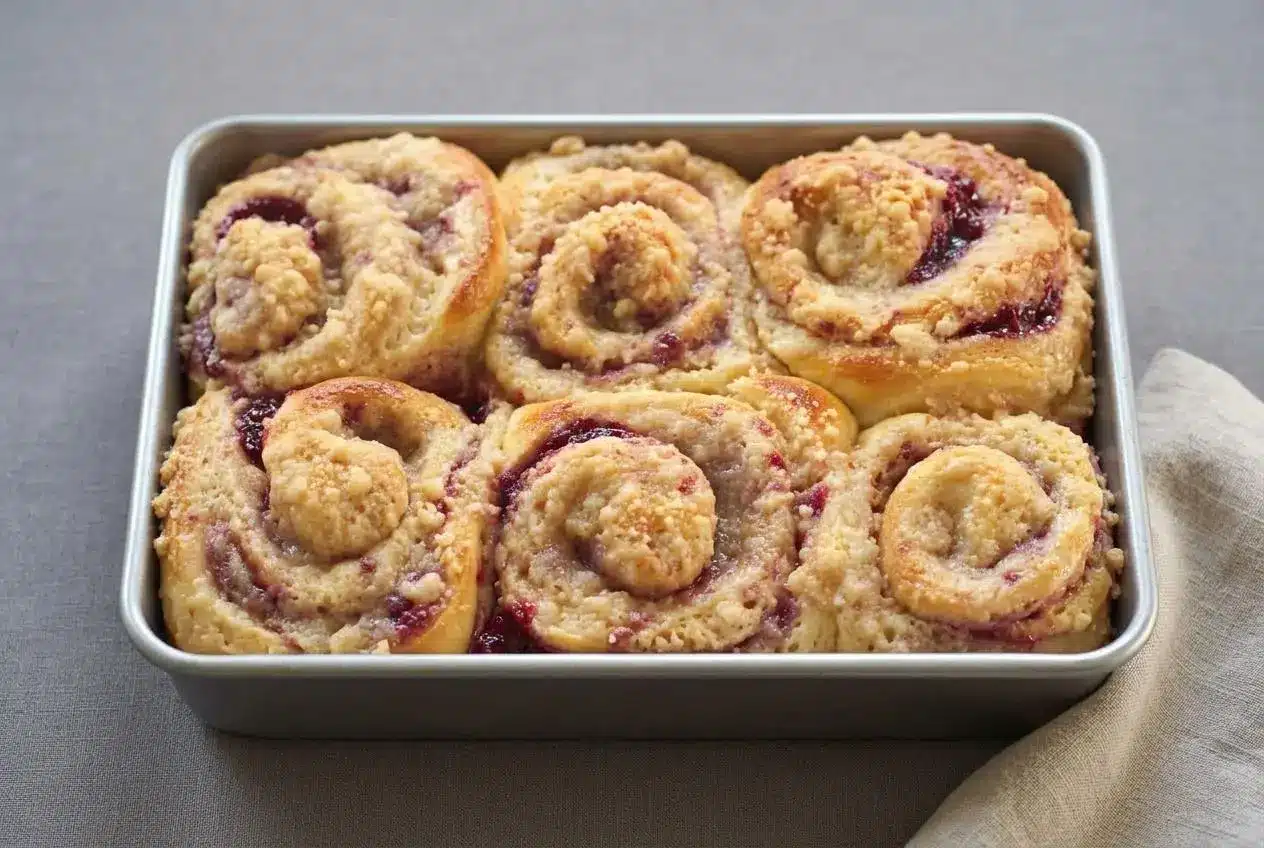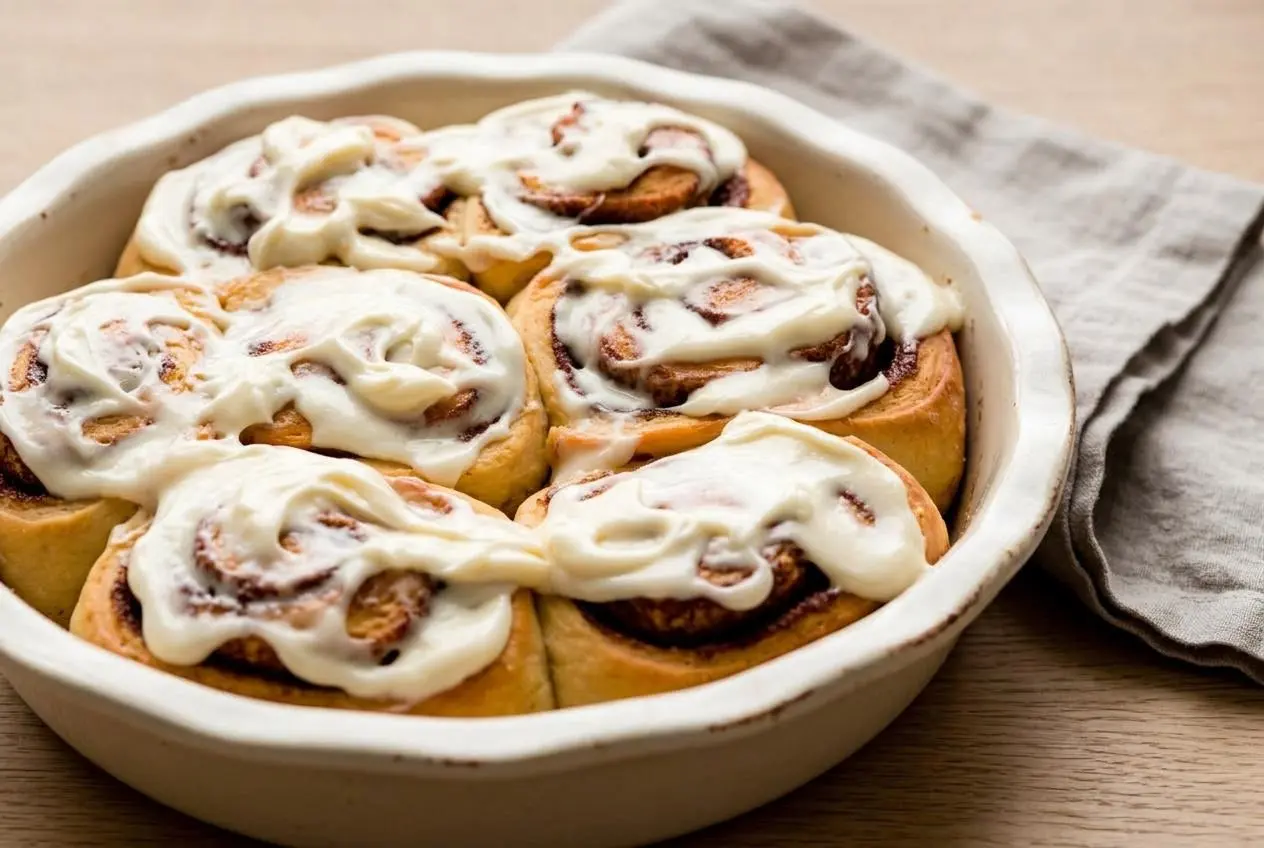
To make overnight cinnamon rolls, prepare the dough, let it rise, fill and shape the rolls, then refrigerate the pan overnight so they can finish proofing and bake fresh in the morning.
These are the kind of cinnamon rolls that make a morning feel special without turning breakfast into a dawn project. The dough is rich, the filling gets deeply gooey, and the cream cheese icing melts right into the swirls.
What makes them especially good is how practical they are. Most of the work happens the day before, and the optional heavy cream trick gives you an extra-soft center and sticky bottom in the best way.
If your kitchen runs cool, set the covered dough in the warmest draft-free spot you have so the first rise stays on track.
Key Ingredients for Perfect Cinnamon Rolls
Each ingredient earns its place here, from building a tender dough to creating that glossy cinnamon swirl and smooth icing that settles into every warm layer.
Dough
- 1 cup (240ml) whole milk, warmed to about 110°F (43°C)
- 2/3 cup (133g) granulated sugar, divided
- 1 and 1/2 Tablespoons (14g) active dry or instant yeast (2 standard packets)
- 1/2 cup (8 Tbsp; 113g) unsalted butter, softened to room temperature and cut into 4 pieces
- 4 and 1/2 cups (563g) all-purpose flour or bread flour (spooned & leveled), plus more as needed
- 2 large eggs, at room temperature
- 1/2 teaspoon salt
- 2 teaspoons oil or butter for the bowl (or use nonstick spray)
Filling
- 1/2 cup (8 Tbsp; 113g) unsalted butter, softened to room temperature
- 2/3 cup (133g) packed light or dark brown sugar
- 1 and 1/2 Tablespoons ground cinnamon
Cream Cheese Icing
- 4 ounces (113g) full-fat brick cream cheese, softened to room temperature
- 1 cup (120g) confectioners’ sugar
- 1 Tablespoon (15ml) heavy cream or milk
- 1/2 teaspoon pure vanilla extract
Whole milk gives the dough a richer flavor and a softer crumb than leaner milk. It helps these rolls stay plush instead of bready. The warm milk also wakes up the yeast, so you should smell that familiar yeasty aroma and see foam on top before moving on.
The eggs and butter matter for texture too. Room temperature eggs blend into the dough more smoothly, and softened butter distributes more evenly, which helps the dough feel supple instead of streaky or greasy.
For flour, all-purpose makes a softer, fluffier roll, while bread flour gives a slightly chewier bite and a bit more pull in the layers. Either works well. If you enjoy baking with a starter instead of commercial yeast, sourdough cinnamon rolls are a great naturally leavened variation.
Brown sugar in the filling is what gives you that classic sticky, almost caramel-like middle. It melts into the butter as the rolls bake and creates the gooey swirl everyone wants.
I always use a thermometer for the milk temperature because it is the easiest way to keep the yeast active without guessing.
How to Make Overnight Cinnamon Rolls
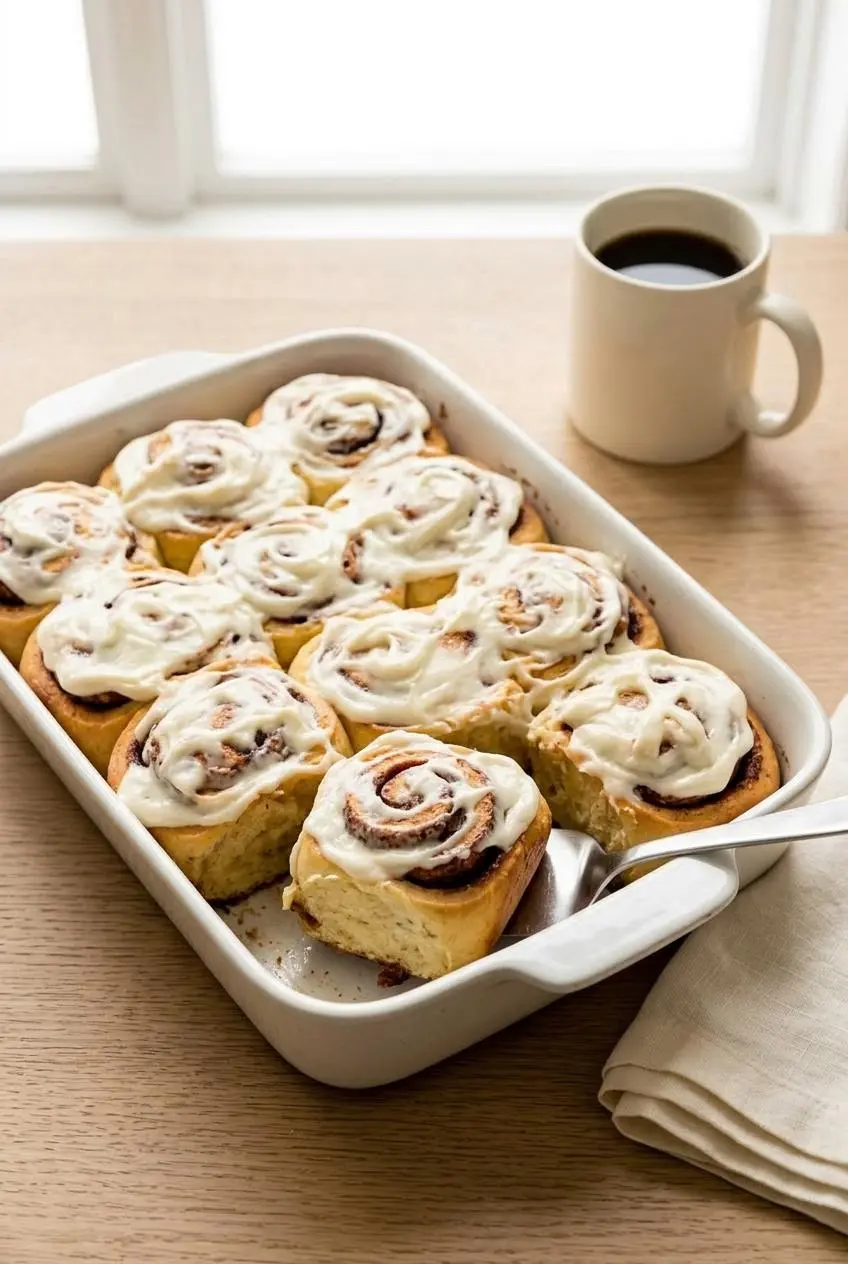
This method is straightforward once you know what each stage should look like. The big goal is a soft dough, a tight roll, and a chilled overnight rest that sets you up for an easy bake the next morning.
- Whisk the warm milk, 2 Tablespoons of sugar, and the yeast in the bowl of a stand mixer fitted with a dough hook or paddle, then cover and let it stand for 5 to 10 minutes.
The surface should look foamy and smell pleasantly yeasty, which tells you the yeast is active. - Mix in the remaining sugar and the softened butter on medium speed until the butter breaks into small pieces, then add about 1 cup of the flour, the eggs, and salt and beat on low for 30 seconds.
The mixture will look shaggy and loose at first, which is exactly right at this stage. - Scrape down the bowl, add the remaining flour, and beat on medium speed for about 2 minutes until the dough gathers and starts pulling away from the sides.
The dough should stay soft, and if it is truly unmanageable, add extra flour only 1 Tablespoon at a time. - Knead the dough on low in the mixer for 5 full minutes, or turn it out onto a lightly floured surface and knead by hand for 5 full minutes.
When it is ready, the dough should feel smooth, slightly tacky, and should slowly bounce back when poked. - Grease a large bowl with oil or butter, turn the dough in the bowl to coat it, then cover and let it rise at room temperature for 1 and 1/2 to 2 hours.
By the end of the rise, it should look noticeably expanded and roughly doubled in size. - Grease the bottom and sides of a 9×13-inch baking dish or line it with parchment paper.
Having the pan ready now makes shaping the rolls much easier and keeps the process moving. - Deflate the risen dough gently, transfer it to a lightly floured work surface, and roll it into a smooth, even 12×18-inch rectangle with a lightly floured rolling pin.
If the dough keeps snapping back, let it rest briefly so the gluten can relax before rolling again. - Spread the softened butter over the dough, combine the brown sugar and cinnamon in a small bowl, and sprinkle that mixture evenly across the surface.
An even layer helps every roll bake with a full cinnamon swirl instead of bare spots. - Roll the dough up tightly into an 18-inch log, then cut it into 12 even rolls about 1.5 inches thick with a very sharp knife and place them in the prepared pan.
The tighter log holds the filling in place better and gives you cleaner spirals. - Cover the pan and refrigerate it overnight for 8 to 12 hours instead of doing the room-temperature second rise right away.
The cold rest slows the yeast, develops flavor, and makes the morning bake much easier. - Take the pan from the refrigerator and let the rolls stand at room temperature for about 1 hour, or until they look puffy, then preheat the oven to 350°F (177°C).
They should lose their chill and expand a bit more before baking so the texture stays light. - Bake the rolls for 25 to 28 minutes, rotating the pan halfway through, and loosely tent with foil if the tops brown too quickly.
They are ready when the tops are lightly golden brown and the center roll looks set instead of doughy. - Beat the cream cheese until smooth, add the confectioners’ sugar, heavy cream or milk, and vanilla, then beat on low for 30 seconds before increasing to high for 1 minute.
The icing should be creamy and spreadable with no lumps. - Spread the icing over the warm rolls and serve them while they are still soft and fragrant.
The warmth helps the icing melt slightly into the swirls for that classic bakery-style finish.
The Secret to Ultra-Gooey Rolls
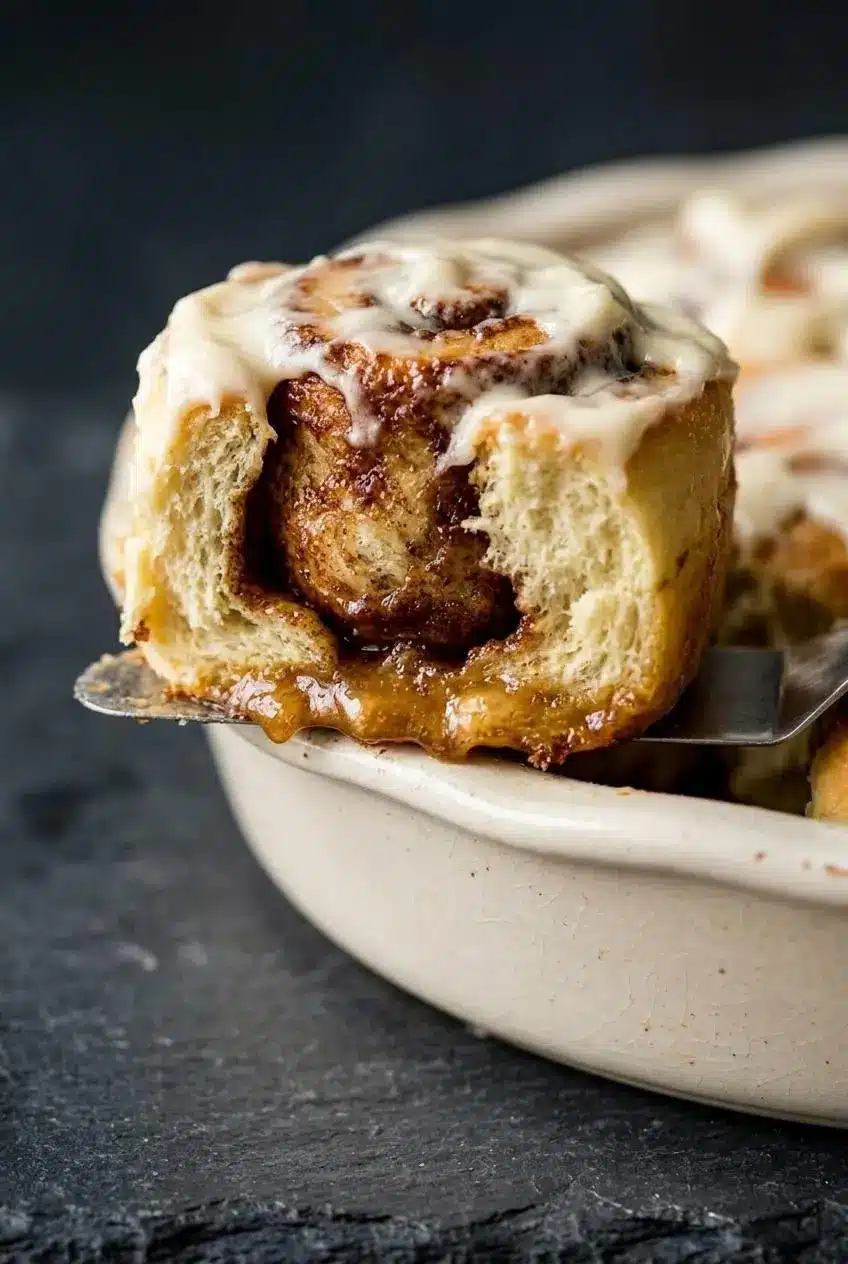
If you want the softest, stickiest version of these rolls, use the heavy cream trick just before baking. It is optional, but it is absolutely worth knowing.
Once the chilled rolls have warmed up and turned puffy, pour 1/2 cup of warm heavy cream over the top right before the pan goes into the oven. The cream slips down between the spirals and into the bottom of the pan.
As the rolls bake, that extra dairy moisture helps protect the dough from drying out and creates a rich, almost self-saucing layer underneath. The result is a more tender center, softer edges, and a gooey bottom that feels a little extra without changing the main recipe.
Tips for Success
A few small choices make a big difference with yeast dough. These are the ones that most often decide whether your rolls turn out pillowy and gooey or a little heavier than you wanted.
Don’t Add Too Much Flour
The dough should feel soft and slightly tacky, not dry or stiff. That tackiness is what leads to fluffy rolls later.
Extra flour is only helpful when the dough is truly impossible to handle. Add it sparingly, 1 Tablespoon at a time. A heavy hand here is one of the fastest ways to end up with tough rolls.
How to Tell When Rolls Are Perfectly Baked
Look for lightly golden tops and check the center roll closely. It should look set and puffed, not wet or doughy in the middle.
If the tops are coloring too fast before the center catches up, tent the pan loosely with foil and keep baking until the middle looks done. That visual cue is more reliable here than chasing an unsupported exact temperature number.
Cutting Rolls without Squishing
A squashed log can turn neat spirals into lopsided rolls, so the cutting method matters more than it seems.
Unflavored dental floss works beautifully. Slide it under the log, cross the ends over the top, and pull to slice cleanly. A sharp serrated knife also works well if you use a gentle sawing motion instead of pressing straight down.
Flavor Variations
Once you have the main method down, it is easy to nudge the flavor in a different direction without changing the structure of the recipe. If you love cinnamon roll flavor in other forms, cinnamon roll cheesecake is a fun next bake.
Cream Cheese Icing Variations
- Brown Butter Icing: Brown butter separately, let it cool slightly, then blend it into the icing for a deeper, nutty flavor.
- Maple Icing: Swap the vanilla for maple extract and add a little pure maple syrup for a warmer, breakfasty finish.
- Orange Icing: Stir in fresh orange zest for a bright citrus note that cuts through the richness nicely.
Adding Nuts or Spices
For extra texture, mix finely chopped pecans or walnuts into the cinnamon-sugar filling before rolling. They add a little crunch and make the swirl feel more substantial.
You can also add a pinch of cardamom or nutmeg to the filling for more warmth. If you want a festive twist with a totally different look, red velvet cinnamon rolls are a good place to go next.
Make-Ahead, Storing, and Freezing Guide
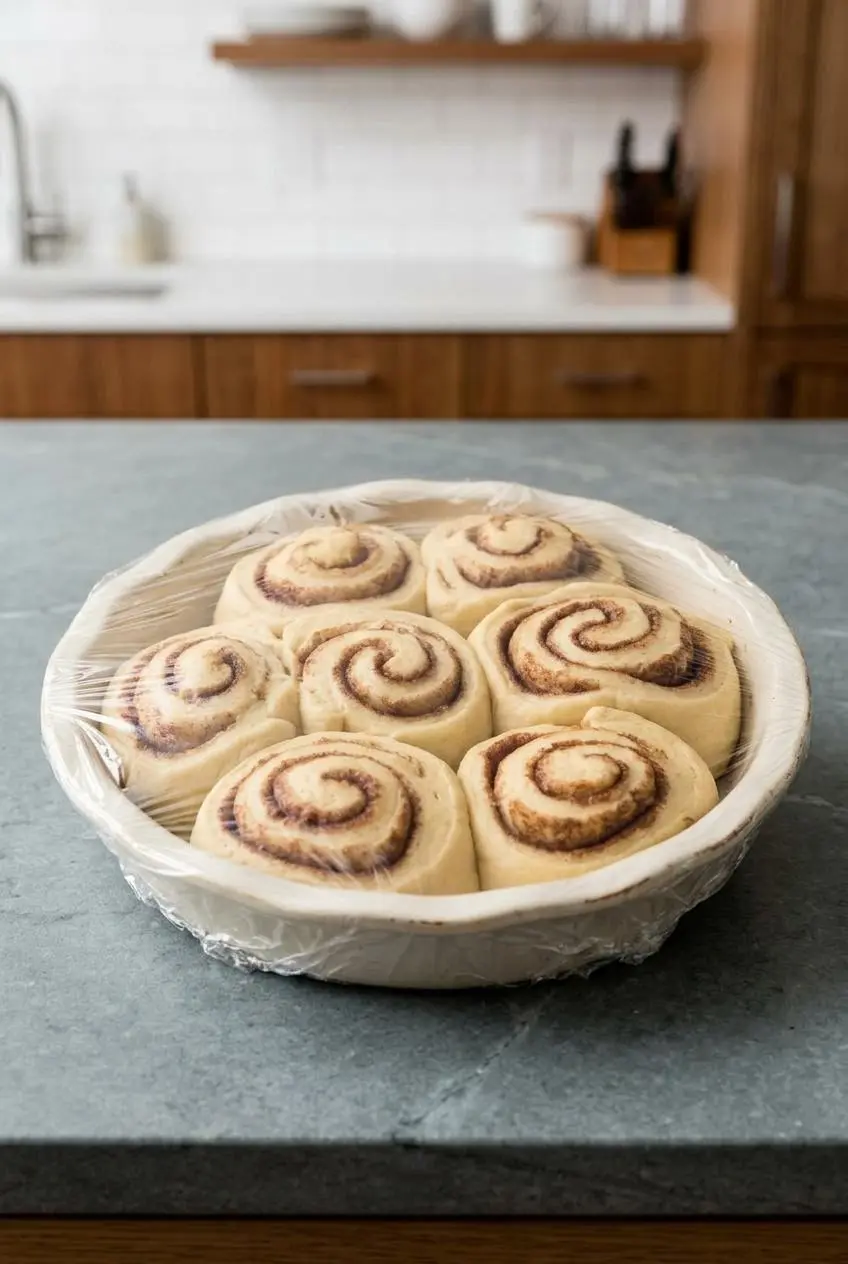
This is where overnight rolls really shine. A clear plan makes the process feel easy, and a little attention to storage keeps the dough from drying out while it chills.
Sample Baking Schedule
- Day 1, late afternoon: Mix and knead the dough, then let it complete the first rise.
- Day 1, early evening: Roll, fill, shape, and place the rolls in the pan.
- Day 1, evening: Cover the pan tightly and refrigerate the shaped rolls for 8 to 12 hours.
- Day 2, morning: Let the pan stand at room temperature for about 1 hour, or until the rolls look puffy.
- Day 2, breakfast time: Bake, ice, and serve warm.
Keep the pan well covered in the refrigerator so the dough surface does not dry out. Because this dough contains milk, eggs, butter, and cream cheese icing, it should be kept properly chilled, and a refrigerator at 40°F or below helps protect those ingredients during storage and make-ahead prep, as outlined in refrigeration and food safety.
Freezing Instructions
You have a couple of workable options if you want to freeze these rolls. The key is to protect them from air and handle thawing gently so the dough or baked texture does not suffer.
- Freezing unbaked rolls: Shape the rolls, place them in the pan, and freeze them well wrapped before the final rise. Thaw them in the refrigerator, then let them stand at room temperature until puffy before baking.
- Freezing baked rolls: Cool the baked rolls completely, wrap them tightly, and freeze either frosted or unfrosted. Thaw them covered, then warm gently so the centers soften again.
For leftovers you want to turn into something new, cinnamon roll French toast is a very good rescue plan.
For everyday storage, keep leftovers tightly covered. Unfrosted rolls can sit at room temperature for up to 2 days, and frosted rolls are better kept chilled because of the dairy in the icing.
Troubleshooting Common Problems
Even a good cinnamon roll recipe can hit a snag. Most problems come down to yeast activity, flour balance, proofing, or shaping, and they are usually fixable next time.
- Problem: My dough didn’t rise. Solution: The yeast may be expired, the milk may have been too hot, or the room may have been too cold. Start by checking for foam during the first yeast rest, and keep the milk close to 110°F so the yeast can activate without being damaged.
- Problem: My rolls are dry and tough. Solution: Too much flour is the most common cause, and overbaking can finish the job. Keep the dough soft, add flour cautiously, and pull the pan once the tops are lightly golden and the center looks set.
- Problem: The filling leaked out. Solution: Roll the dough log tightly and pinch the seam closed if needed. If the rolls over-proof, the filling can loosen and escape more easily during baking.
- Problem: My rolls are dense. Solution: Dense rolls usually mean the dough needed more kneading or more time to puff after refrigeration. The dough should feel elastic before the first rise, and the chilled rolls should look noticeably puffy before they go into the oven.
- Problem: The dough keeps shrinking while I roll it. Solution: The gluten is a bit tight. Let the dough rest for about 10 minutes, then try again and it should relax enough to hold the rectangle shape.
Conclusion
These overnight cinnamon rolls make it much easier to pull off a warm, bakery-style breakfast without doing all the work first thing in the morning. The dough stays soft, the filling turns gooey, and the cream cheese icing finishes everything exactly the way you want it to.
If you want the richest texture, use the optional heavy cream before baking. It is the small extra step that makes the pan feel especially worthy of a holiday morning or slow weekend breakfast.
Frequently Asked Questions (FAQ)
Can I leave the rolls in the fridge for two nights?
It is best to bake them within 24 hours. After that, the yeast can ferment too much and change the flavor. The texture may suffer, and the filling can start to loosen or leak. For the best rise and cleanest swirl, stick to the usual overnight window.
Do I really need a stand mixer to make these?
No, you can make them by hand. Mix the dough with a sturdy spoon until it comes together. Knead on a lightly floured surface for 5 to 10 minutes. It takes a little more effort, but the finished rolls can still turn out beautifully soft.
What is the best way to reheat cinnamon rolls?
The gentlest method depends on whether you are warming one roll or a whole pan. For one roll, microwave it for 20 to 30 seconds. For a pan, cover it with foil and warm it in a 350°F oven for 10 to 15 minutes. If the rolls seem a little dry, keeping them covered while reheating helps protect the texture.
My dough didn’t rise. What went wrong?
The most likely issue is the yeast or the temperature. Expired yeast often will not foam or lift the dough properly. Milk that is too hot can damage the yeast before the dough ever starts rising. A chilly kitchen can slow proofing a lot, so move the bowl to a warmer spot and give it more time if needed.
My dough is very sticky, what did I do wrong?
Maybe nothing. This dough is supposed to feel soft and a little sticky. That softer texture helps create fluffy rolls after baking. Instead of dumping in lots of flour, use lightly floured or lightly oiled hands. A bench scraper can also make sticky dough much easier to handle cleanly.
What’s the purpose of pouring heavy cream on the rolls before baking?
It is an optional trick for extra-gooey rolls. The cream sinks into the gaps between the rolls as they bake. It helps create a soft, rich bottom layer with a caramel-like feel. If you love the center rolls most, this trick is especially worth trying.
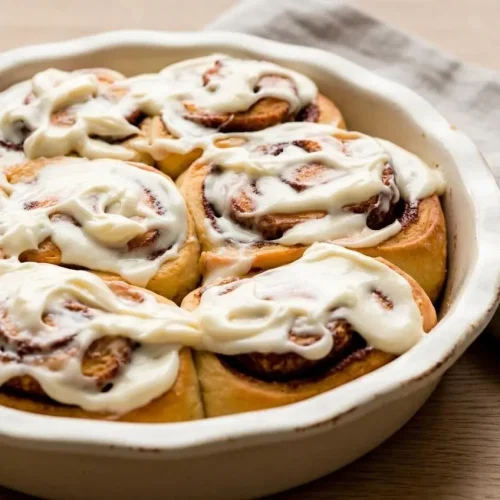
Overnight Cinnamon Rolls

Equipment
- Stand mixer
- 9×13-inch baking dish
- Rolling Pin
Ingredients
Dough
- 1 cup (240ml) whole milk, warmed to about 110°F (43°C)
- 2/3 cup (133g) granulated sugar, divided
- 1 1/2 Tablespoons (14g) active dry or instant yeast (2 standard packets)
- 1/2 cup (8 Tbsp; 113g) unsalted butter, softened to room temperature and cut into 4 pieces
- 4 1/2 cups (563g) all-purpose flour or bread flour (spooned & leveled), plus more as needed
- 2 large eggs, at room temperature
- 1/2 teaspoon salt
- 2 teaspoons oil or butter for the bowl (or use nonstick spray)
Filling
- 1/2 cup (8 Tbsp; 113g) unsalted butter, softened to room temperature
- 2/3 cup (133g) packed light or dark brown sugar
- 1 1/2 Tablespoons ground cinnamon
Cream Cheese Icing
- 4 ounces (113g) full-fat brick cream cheese, softened to room temperature
- 1 cup (120g) confectioners’ sugar
- 1 Tablespoon (15ml) heavy cream or milk
- 1/2 teaspoon pure vanilla extract
Instructions
- Whisk the warm milk, 2 Tablespoons of sugar, and the yeast in the bowl of a stand mixer fitted with a dough hook or paddle, then cover and let it stand for 5 to 10 minutes. The surface should look foamy and smell pleasantly yeasty, which tells you the yeast is active.
- Mix in the remaining sugar and the softened butter on medium speed until the butter breaks into small pieces, then add about 1 cup of the flour, the eggs, and salt and beat on low for 30 seconds. The mixture will look shaggy and loose at first, which is exactly right at this stage.
- Scrape down the bowl, add the remaining flour, and beat on medium speed for about 2 minutes until the dough gathers and starts pulling away from the sides. The dough should stay soft, and if it is truly unmanageable, add extra flour only 1 Tablespoon at a time.
- Knead the dough on low in the mixer for 5 full minutes, or turn it out onto a lightly floured surface and knead by hand for 5 full minutes. When it is ready, the dough should feel smooth, slightly tacky, and should slowly bounce back when poked.
- Grease a large bowl with oil or butter, turn the dough in the bowl to coat it, then cover and let it rise at room temperature for 1 and 1/2 to 2 hours. By the end of the rise, it should look noticeably expanded and roughly doubled in size.
- Grease the bottom and sides of a 9×13-inch baking dish or line it with parchment paper. Having the pan ready now makes shaping the rolls much easier and keeps the process moving.
- Deflate the risen dough gently, transfer it to a lightly floured work surface, and roll it into a smooth, even 12×18-inch rectangle with a lightly floured rolling pin. If the dough keeps snapping back, let it rest briefly so the gluten can relax before rolling again.
- Spread the softened butter over the dough, combine the brown sugar and cinnamon in a small bowl, and sprinkle that mixture evenly across the surface. An even layer helps every roll bake with a full cinnamon swirl instead of bare spots.
- Roll the dough up tightly into an 18-inch log, then cut it into 12 even rolls about 1.5 inches thick with a very sharp knife and place them in the prepared pan. The tighter log holds the filling in place better and gives you cleaner spirals.
- Cover the pan and refrigerate it overnight for 8 to 12 hours instead of doing the room-temperature second rise right away. The cold rest slows the yeast, develops flavor, and makes the morning bake much easier.
- Take the pan from the refrigerator and let the rolls stand at room temperature for about 1 hour, or until they look puffy, then preheat the oven to 350°F (177°C). They should lose their chill and expand a bit more before baking so the texture stays light.
- Bake the rolls for 25 to 28 minutes, rotating the pan halfway through, and loosely tent with foil if the tops brown too quickly. They are ready when the tops are lightly golden brown and the center roll looks set instead of doughy.
- Beat the cream cheese until smooth, add the confectioners’ sugar, heavy cream or milk, and vanilla, then beat on low for 30 seconds before increasing to high for 1 minute. The icing should be creamy and spreadable with no lumps.
- Spread the icing over the warm rolls and serve them while they are still soft and fragrant. The warmth helps the icing melt slightly into the swirls for that classic bakery-style finish.