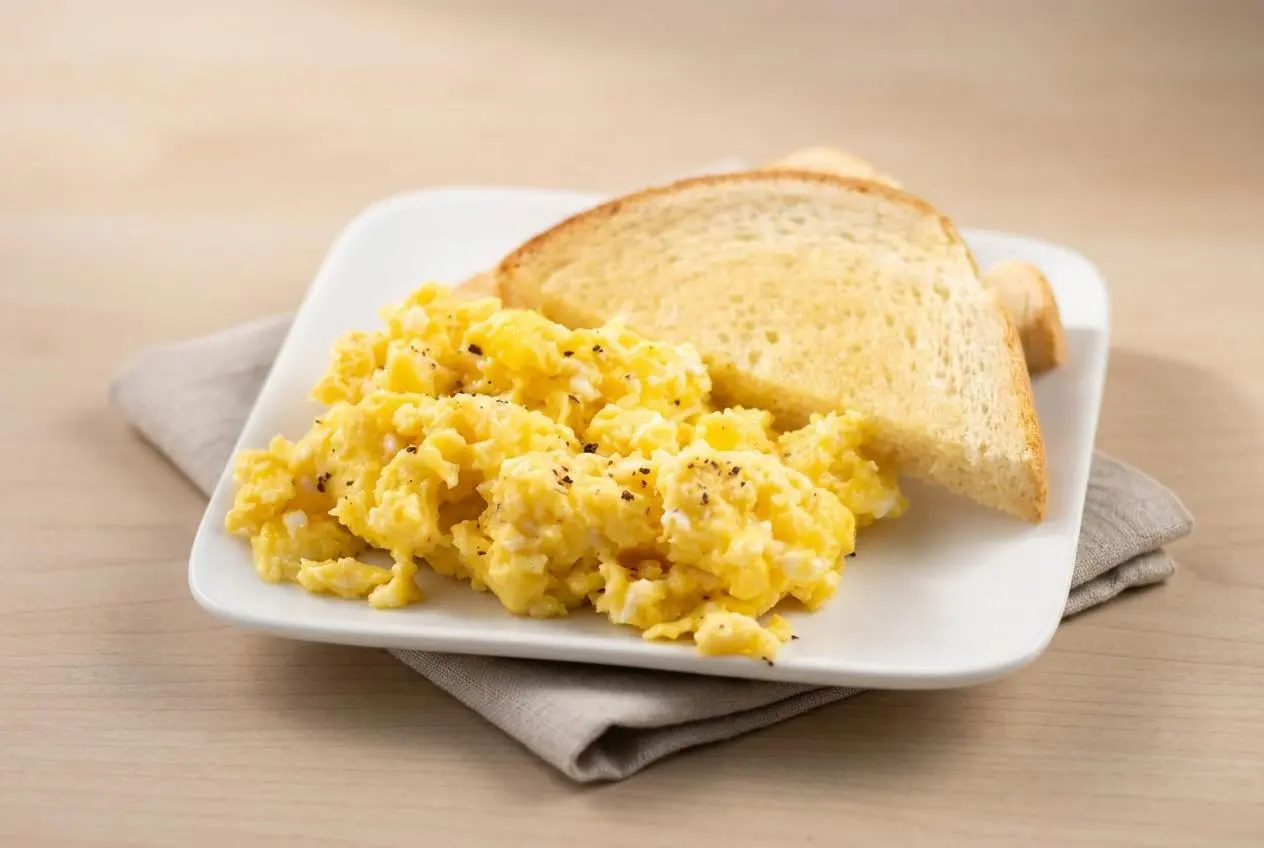
Whisk eggs with milk and seasonings, pour into a well-greased baking dish, and bake at 375°F. Stir every 10 to 15 minutes to turn the setting edges into soft, tender curds instead of one solid egg bake.
Baked scrambled eggs bring soft, fluffy curds and a buttery breakfast aroma to the table without standing over a skillet. They are especially handy when a family brunch needs more than one pan of eggs.
The oven does the steady work while you stir at key moments. The first scrape around the edges is where the magic starts.
Use a wide heatproof spatula so you can gently pull the set egg from the corners and bottom without breaking the curds into tiny pieces.
Ingredients and Their Roles for Tender Baked Eggs
Each ingredient supports a soft, well-seasoned result: eggs provide structure, milk adds moisture, salt builds flavor, and pepper gives the finished curds a gentle savory bite.
- 18 large eggs
- 1/3 cup milk or milk substitute
- 1 tsp salt
- 1/4 tsp pepper
- Additional salt and pepper to taste
Eggs set as their proteins heat, so the milk helps keep that setting process gentler and the curds more tender. Whole milk, half-and-half, or a richer milk substitute can contribute extra softness because fat buffers the egg proteins from tightening too quickly. Salt seasons the eggs throughout, while pepper adds contrast without taking over.
Whisk thoroughly until the yolks and whites become one even yellow mixture. That aeration gives the eggs a lighter feel and prevents streaks of white from setting separately. Grease the dish generously with nonstick spray, butter, or neutral oil so egg proteins do not bake stubbornly into the corners.
I whisk until no clear strands of egg white remain, because those streaks can turn into firmer, less tender bits in the oven.
Step-by-Step Method for Fluffy Baked Scrambled Eggs
The key difference between oven scrambled eggs and a breakfast casserole is periodic stirring. Each gentle scrape moves the cooked outer layer into the center and lets the softer egg mixture reach the hot dish.
- Heat the oven to 375°F and coat an 8×8-inch baking dish generously with nonstick cooking spray.
Make sure the corners and sides are covered, since those areas set first and are most likely to stick. - Whisk the eggs, milk, salt, and pepper in a large bowl until completely blended, or briefly pulse them in a blender on low speed.
The mixture should look smooth and evenly yellow, with no separate ribbons of yolk or egg white. - Pour the egg mixture into the prepared dish and bake it uncovered for 10 to 15 minutes.
Start checking when a glossy layer of soft egg begins setting around the edges. - Take the dish from the oven and use a spatula to draw the setting egg from the sides and bottom toward the center.
Leave some larger folds intact so the eggs develop broad, tender curds rather than fine crumbs. - Return the dish to the oven and continue baking for 30 to 45 minutes total, stirring every 10 to 15 minutes.
Remove the eggs when they are set yet still soft and slightly glossy, since the retained heat continues to firm them. - Taste the eggs and add additional salt and pepper if needed, then serve them warm.
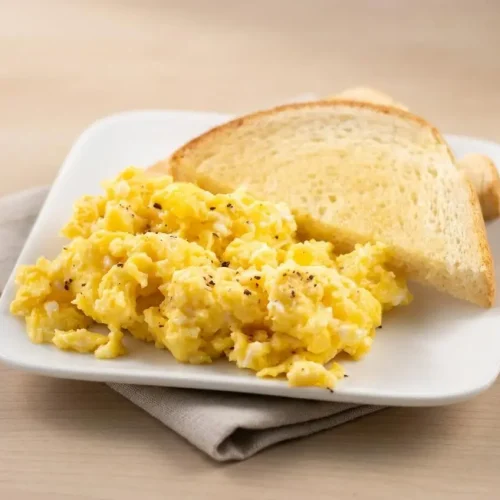
The finished curds should be golden, moist, and fragrant with a buttery egg aroma.
Baking Time, Temperature, and Pan Size Guide
Egg depth controls both texture and timing. A shallow layer cooks more quickly and makes looser curds, while a deeper layer needs more time and more careful scraping to prevent firm edges with a wet center.
Pan Capacity for 12, 18, and 24 Eggs
- An 8×8-inch baking dish can hold 12 to 18 eggs. At the higher end, the egg layer is deeper, so check the center carefully and scrape the edges inward at every stir.
- A 9×13-inch pan can accommodate up to 24 eggs. The wider surface gives the eggs room to cook more evenly and makes it easier to serve a larger brunch group.
- For more than one pan, avoid crowding the oven racks. Leave space around each dish so heat can circulate, and rotate the dishes when stirring if one side of the oven runs hotter.
Do not overfill a shallow dish. Eggs that sit too deep can take longer to set in the center, while the perimeter becomes firm before the middle catches up.
Baking at 350°F vs 375°F
At 350°F, expect a slower bake of about 40 to 50 minutes. This lower temperature is useful when you want especially gentle curds, but the eggs still need regular stirring to avoid a dense center.
At 375°F, the eggs usually finish in 30 to 45 minutes and develop a better balance of speed, soft curds, and light browning at the edges. Higher heat, such as 400°F, can set the outer layer too fast and encourage rubbery curds or liquid separation.
Essential Tips for Tender, Creamy Texture
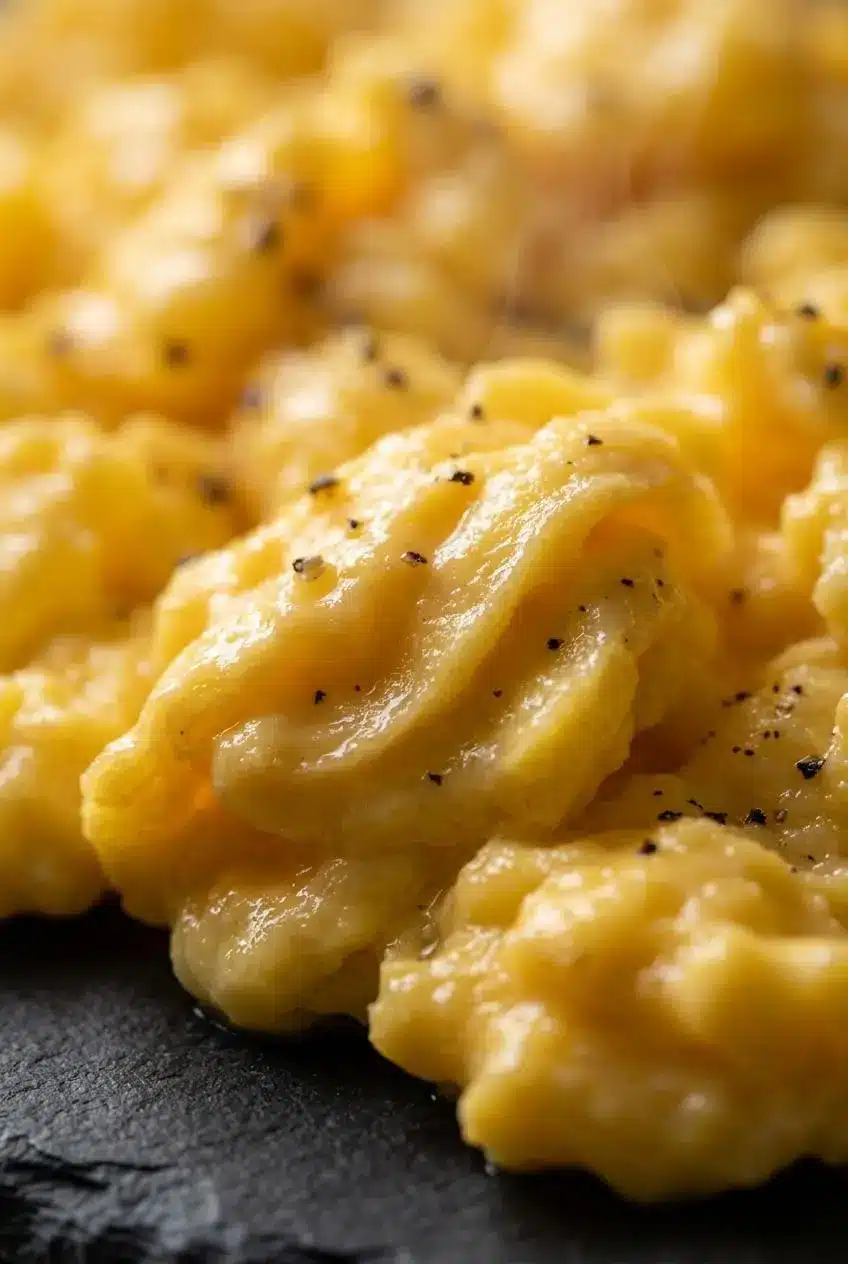
Use a wide spatula and sweep it across the bottom before folding the set edges toward the center. This motion keeps the curds layered and soft, much like the folding technique used for stovetop scrambled eggs, but without constant skillet stirring.
- Whisk with intention. A fully blended egg mixture cooks more evenly and has a lighter, more uniform texture.
- Stir gently, not aggressively. During the final 10 minutes, too much stirring can break soft curds into small pieces that dry out quickly.
- Pull the dish while the eggs still look moist. Dry-looking eggs in the oven often become dry eggs on the plate.
- Keep the dish uncovered. Covering traps steam, which can dilute the curds and leave moisture on the surface.
For an optional savory variation, whisk in a tablespoon of Dijon mustard and melted butter before baking. Dijon adds subtle tang, while melted butter helps the mixture feel richer and can soften the texture of the finished curds.
Flavor Variations and Breakfast Add-Ins
Keep add-ins optional and fold them in during the final 5 to 10 minutes of baking. Adding them near the end keeps vegetables from sinking, cheese from releasing excess oil, and cooked meats from drying out.
Cheesy and Savory Add-In Variations
- Fold in sharp cheddar or Monterey Jack near the end so it melts through the curds without turning greasy. Cheddar brings a bolder bite, while Monterey Jack stays mild and creamy.
- Add crumbled cooked bacon or diced cooked ham just before the final stir for a hearty brunch-style batch. Both work best when already cooked and drained well.
- Use sautéed bell peppers for sweetness and color. Cook watery vegetables first so they do not release moisture into the eggs.
- Finish with chopped fresh herbs, such as chives or parsley, after baking for a bright contrast to the rich eggs.
For a different oven-baked egg option with a creamy dairy element, try baked cottage cheese eggs.
Breakfast Sandwich and Meal Prep Adaptations
For breakfast sandwiches, bake the eggs in a flatter pan and stop stirring during the second half of baking so the eggs set into a more even layer. Let the eggs cool completely, then cut them into portion-sized squares for toasted English muffins with cheddar.
This approach produces clean sandwich portions rather than loose curds. Bake until the center is set but not dry, since reheating can firm the eggs further.
Troubleshooting Common Oven Scrambled Egg Problems
- Watery eggs: Liquid weeping, sometimes called syneresis, usually comes from overcooking or excessive heat. Pull the dish while the curds are still slightly glossy, and sauté high-moisture vegetables before adding them.
- Rubbery curds: Eggs become tough when they stay in the oven too long or cook too hot. Use 375°F, stir on schedule, and do not wait for every bit of shine to disappear.
- Dense, frittata-like texture: Skipping the stirring schedule lets the eggs set as one firm layer. Scrape the bottom and sides inward every 10 to 15 minutes to build distinct curds.
- Stuck corners: The corners cook first and can cling tightly to an under-greased dish. Coat the entire pan before adding the egg mixture, especially the lower edges.
- Bland flavor: Taste after baking and add the remaining salt and pepper gradually. Seasoning is easier to correct at the table than an overly salty pan of eggs.
Make-Ahead, Storage, and Reheating Instructions
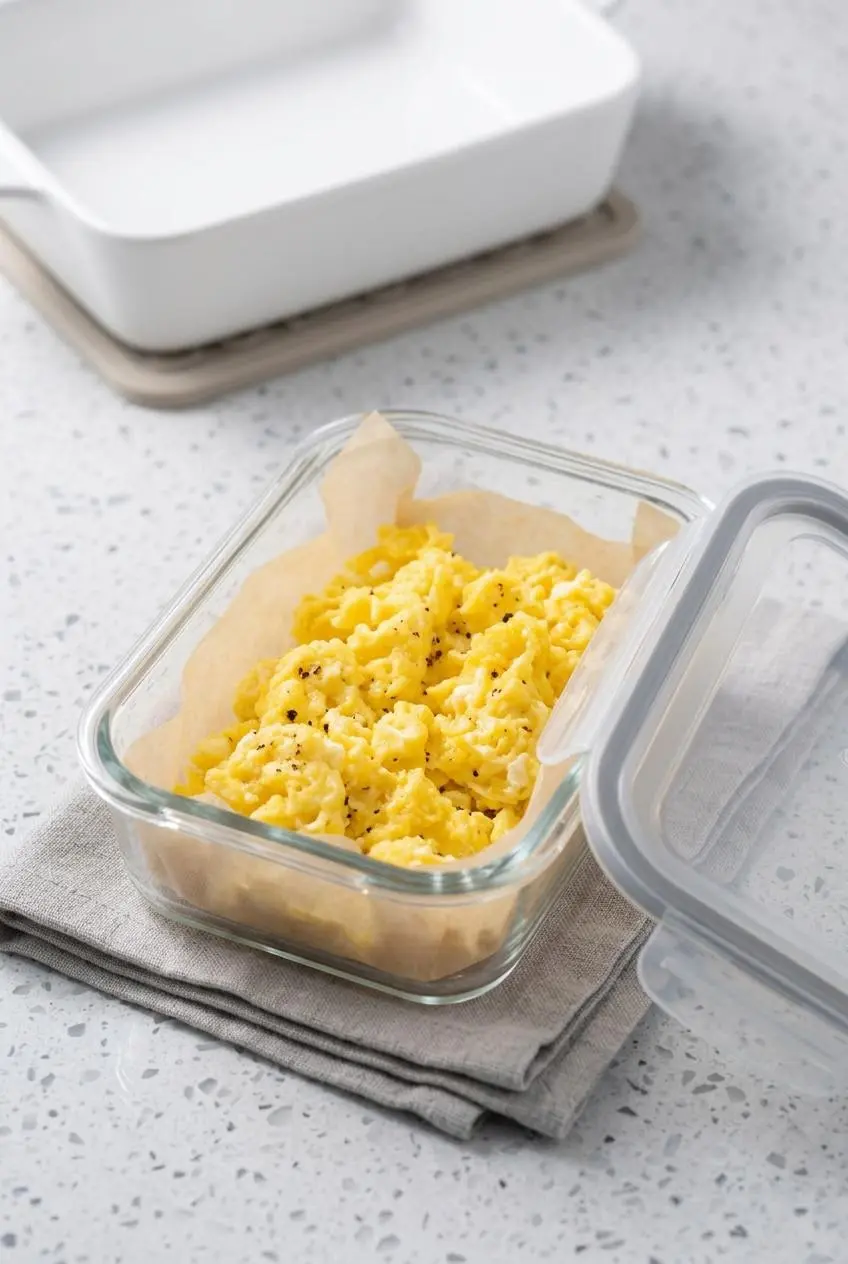
For make-ahead portions, cool the eggs completely, transfer them to a covered container, and refrigerate promptly. Cooked egg dishes should be refrigerated within 2 hours and used within 3 to 4 days for safe refrigerated egg storage.
When preparing eggs for reheating, take them from the oven while they are just set rather than dry. Reheat a portion gently in a covered oven dish, or use short low-power microwave bursts, stirring between bursts when possible. High heat can make the eggs tighten and release moisture.
For sandwich squares, keep the portions in a covered container with parchment between layers if needed to prevent sticking. Reheat only the amount you plan to eat so the remaining eggs stay tender.
Serving Suggestions for Brunches and Gatherings
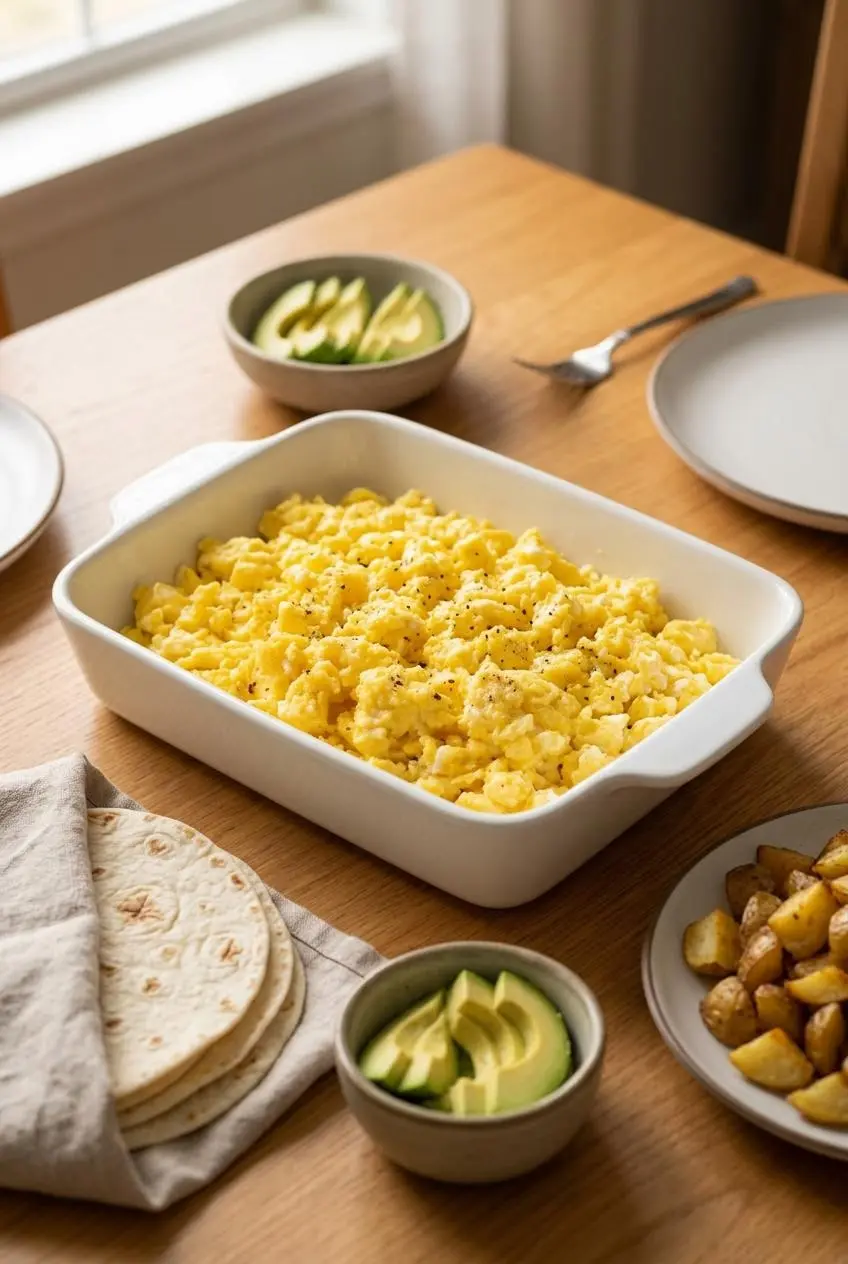
- Spoon the eggs into warm flour tortillas with salsa and avocado for breakfast tacos that guests can assemble themselves.
- Set out toasted English muffins, sliced cheese, and cooked bacon for build-your-own breakfast sandwiches.
- Serve roasted breakfast potatoes alongside the soft eggs for a hearty contrast of crisp edges and fluffy curds.
- Add fresh seasonal fruit to brighten the plate and balance the savory richness.
- Round out a larger spread with warm baked oatmeal for a sweet option alongside the eggs.
If the eggs will sit out for brunch service, use a warmer that keeps them hot without scorching the edges. Stir occasionally and replenish the serving dish with smaller batches rather than leaving one deep pan untouched.
Conclusion
Baking scrambled eggs makes crowd breakfasts far less hectic while still delivering soft, buttery curds. The reliable rhythm is simple: bake uncovered, scrape the set edges inward, and stop while the eggs are still moist.
Serve them straight from the dish, tuck them into sandwiches, or build a brunch buffet around them. A gentle stir and a slightly glossy finish make all the difference.
Frequently Asked Questions
Why Do You Have to Stir Baked Scrambled Eggs While They Cook?
Stirring moves the set egg from the hot edges toward the center and brings softer egg into contact with the baking dish. That redistribution creates separate fluffy curds. Without it, the eggs tend to set into a single, firmer layer more like a frittata.
What Is the Best Oven Temperature for Baking Scrambled Eggs?
For this method, 375°F is the sweet spot. It cooks a large batch efficiently while giving you time to stir and protect the curds from drying out. A 350°F oven works more slowly and gently, while higher temperatures can make the edges set too fast and turn rubbery.
Can You Make Baked Scrambled Eggs Ahead for Breakfast Sandwiches?
Yes. Bake the eggs in a flatter layer, allow them to cool completely, and slice them into squares for English muffins or other breakfast sandwiches. Keep the squares covered and chilled, then reheat them gently so they stay moist rather than tough.
How Do You Keep Oven Scrambled Eggs From Getting Rubbery or Watery?
Use dairy for a softer texture, cook watery vegetables before adding them, and avoid baking the eggs until fully dry-looking. Remove the dish when the curds are set but still glossy. That remaining moisture helps the eggs finish tenderly from the heat held in the pan.
Baked Scrambled Eggs

Equipment
- 8×8-inch Baking Dish
- Large mixing bowl or blender
- Whisk
- Spatula
Ingredients
- 18 large eggs
- 1/3 cup milk or milk substitute
- 1 tsp salt
- 1/4 tsp pepper
- Additional salt and pepper to taste
Instructions
- Heat the oven to 375°F and coat an 8×8-inch baking dish generously with nonstick cooking spray. Make sure the corners and sides are covered, since those areas set first and are most likely to stick.
- Whisk the eggs, milk, salt, and pepper in a large bowl until completely blended, or briefly pulse them in a blender on low speed. The mixture should look smooth and evenly yellow, with no separate ribbons of yolk or egg white.
- Pour the egg mixture into the prepared dish and bake it uncovered for 10 to 15 minutes. Start checking when a glossy layer of soft egg begins setting around the edges.
- Take the dish from the oven and use a spatula to draw the setting egg from the sides and bottom toward the center. Leave some larger folds intact so the eggs develop broad, tender curds rather than fine crumbs.
- Return the dish to the oven and continue baking for 30 to 45 minutes total, stirring every 10 to 15 minutes. Remove the eggs when they are set yet still soft and slightly glossy, since the retained heat continues to firm them.
- Taste the eggs and add additional salt and pepper if needed, then serve them warm. The finished curds should be golden, moist, and fragrant with a buttery egg aroma.