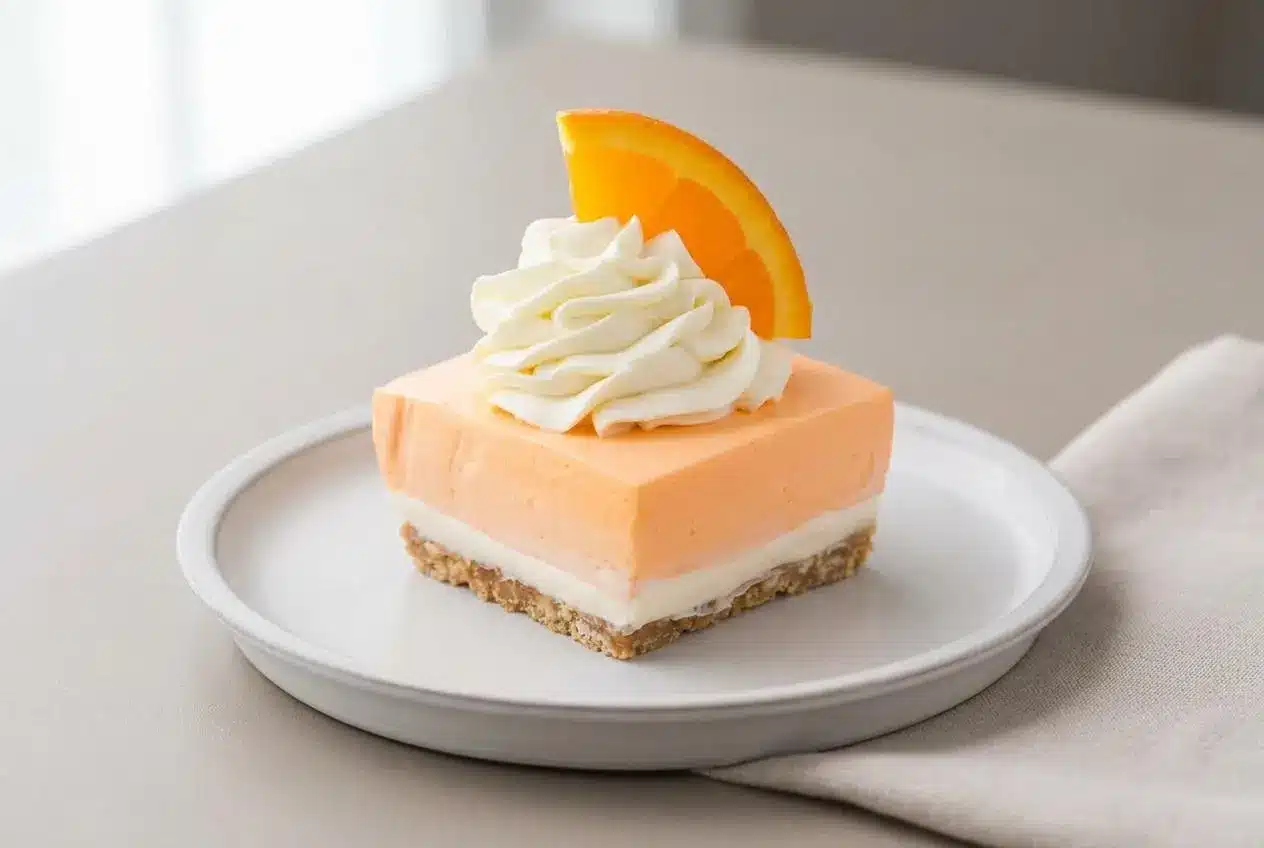
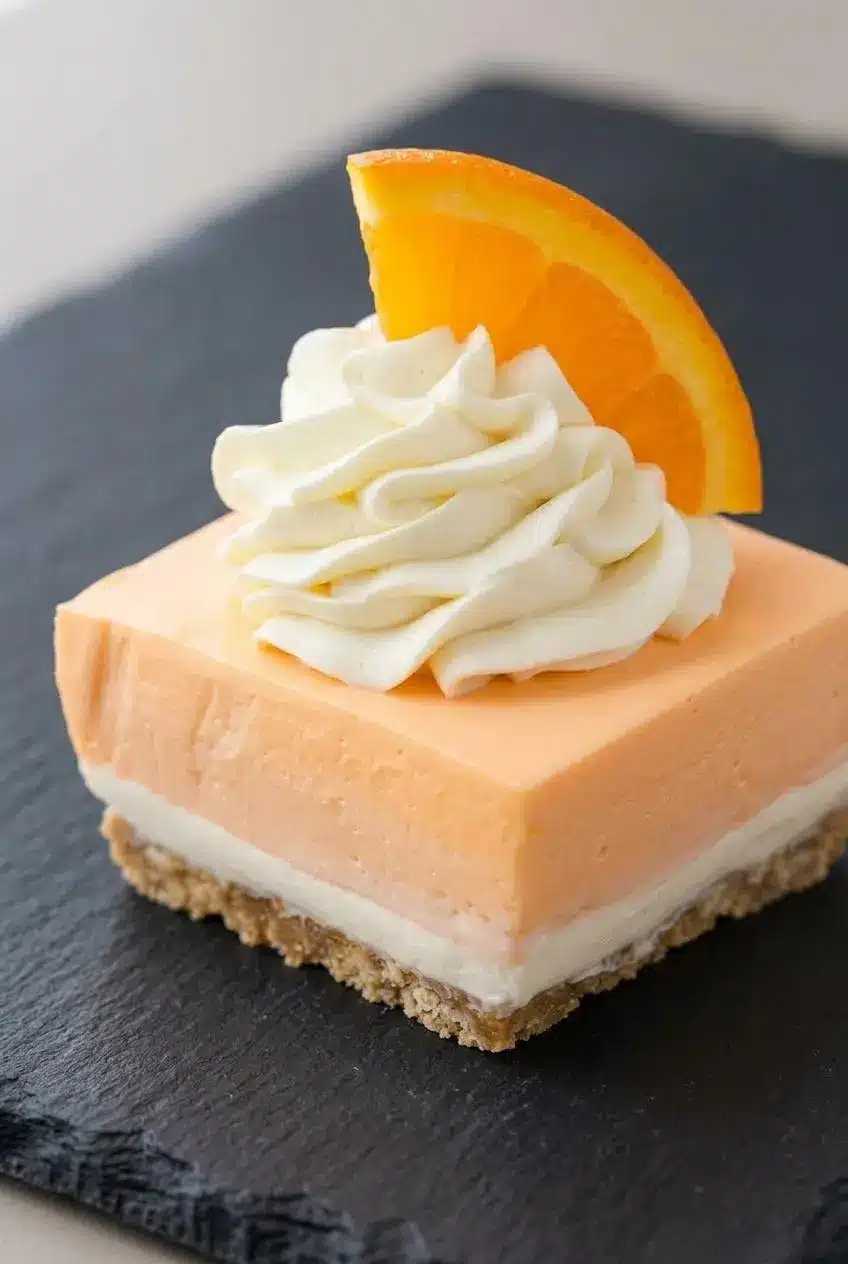
This Orange Creamsicle Dessert is a refreshing no-bake treat with bright orange cream, a rich vanilla cheesecake layer, and a crunchy cookie crust that chills into neat, creamy bars.
Orange Creamsicle Dessert tastes like a classic summer ice cream bar in sliceable form. The texture lands between velvety cheesecake and fluffy mousse, with just enough citrus tang to keep it from feeling too sweet.
It works especially well for parties because you can make it ahead, lift it out of the pan, and cut tidy squares. The key is knowing exactly when the orange layer is thick enough to spread.
Set the cream cheese out early so it loses its chill completely before you start mixing.
Essential Ingredients and Culinary Roles
Each ingredient has a job here, from creating a crisp base to building airy structure, smooth texture, bright color, and that familiar orange and vanilla balance.
Nilla Wafer Crust
- 1 1/3 cups Nilla Wafer Cookie Crumbs
- 5 tablespoons unsalted butter
Orange Cream Layer
- 3 ounces orange gelatin
- 3/4 cup boiling water
- 3/4 cup cold water
- 8 ounces cream cheese
- 1/4 cup powdered sugar
- 2 teaspoons orange extract
- 8 drops orange Wilton Gel Food Color
- 2 cups Cool Whip
Cheesecake Layer
- 8 ounces cream cheese
- 1 cup confectioners’ sugar
- 1 teaspoon pure vanilla extract
- 1 cup Cool Whip
Room-temperature cream cheese matters more than anything else in this recipe. If it is still cold in the center, it will stay grainy and leave little lumps in both creamy layers.
The orange gelatin is mixed with less water than standard box directions usually call for, which helps the top layer set up firmly enough for clean slicing. That smaller amount of liquid also keeps the orange cream from turning loose once it is folded with the whipped topping.
Cool Whip gives these bars reliable structure and a light finish. It holds the cheesecake layer fluffy and helps the orange layer stay spreadable instead of slumping. If you want to use real whipped cream, it needs extra stabilization, which is covered in the FAQ.
I like to press the cream cheese gently with a finger before mixing. If it still feels cool or stiff, I wait a bit longer because fully softened cream cheese makes the whole dessert smoother.
Step-by-Step Layered Creamsicle Bars
This is the section that makes the dessert turn out clean and distinct instead of swirled together. Focus on cold crust, smooth fillings, and patient chilling between stages.
Preparing the Crunchy Cookie Base
Crust and Gelatin Prep
- Line an 8 x 8-inch baking pan with parchment paper and leave enough overhang on the sides to lift the bars out later.
The parchment should sit flat against the pan so the corners stay sharp and the finished dessert releases cleanly. - Microwave the 5 tablespoons of butter for 30 seconds, then stir until fully melted.
You want a smooth liquid with no solid bits left so the crumbs coat evenly. - Pulse the Nilla Wafers in a food processor until they become fine crumbs, then mix them with the melted butter until every bit looks moistened.
The mixture should resemble damp sand and hold together when pressed. - Press the crumb mixture firmly into the bottom of the prepared pan in an even layer, then freeze it for at least 30 minutes.
When it is ready, the crust should feel solid and cold to the touch instead of soft or crumbly. - Dissolve the orange gelatin in 3/4 cup boiling water, stir in 3/4 cup cold water, and chill it for 10 minutes.
The liquid should be cool and fluid, not warm, and not starting to gel around the edges.
That full freeze on the crust is worth it. A firm base keeps loose crumbs from dragging up into the cheesecake layer when you spread the filling.
Mixing the Cheesecake Layer
Assembly
- Beat 8 ounces cream cheese, 1/4 cup powdered sugar, 2 teaspoons orange extract, and 8 drops orange Wilton Gel Food Color until completely smooth.
The mixture should look glossy and evenly orange with no specks of unmixed cream cheese. - With the mixer running, pour the chilled gelatin into the orange cream cheese mixture in a slow stream, then refrigerate the bowl for 1 hour.
After chilling, it should look thicker than before and hold soft swirls when stirred. - In a separate bowl, beat the remaining 8 ounces cream cheese with 1 cup confectioners’ sugar and 1 teaspoon pure vanilla extract until smooth.
The filling should be creamy, pale, and easy to spread with no gritty pockets. - Fold 1 cup Cool Whip into the vanilla cream cheese mixture until no white streaks remain.
Keep the motion gentle so the mixture stays airy and light rather than dense. - Spread the cheesecake mixture over the frozen crust with an offset spatula, smoothing it all the way to the corners.
The layer should sit evenly on top without picking up crumbs from the base.
The vanilla layer is the calm middle layer here. It balances the brighter orange top and gives the bars that classic creamsicle contrast.
Setting the Dreamy Orange Cream Topping
- Fold the remaining 2 cups Cool Whip into the chilled orange mixture until smooth and fully combined.
The finished texture should be thick, fluffy, and velvety enough to mound lightly on the spatula before slowly settling. - Spread the orange cream over the cheesecake layer, then refrigerate the pan overnight or for at least 6 hours.
Once set, the top should feel firm and cool with clean layers visible at the edges of the pan.
Pouring the gelatin slowly back in earlier makes a real difference here. It helps the orange layer stay silky instead of separating, and it gives you that soft cloud texture that spreads neatly without bleeding into the cheesecake.
Nostalgic Orange Dreamsicle Salad Option
If you want the same orange-and-vanilla flavor without slicing bars, turn it into a spoonable bowl dessert instead. This version is softer, fluffier, and better for potlucks where a scoopable dessert makes life easier.
For that quick style, whisk orange gelatin with boiling water and let it cool. Whisk in vanilla pudding, then fold in whipped topping, mandarin oranges, and mini marshmallows until everything is evenly coated and fluffy.
The main difference is texture. The layered bars are firmer and cleaner on a dessert tray, while a classic dreamsicle salad is lighter, looser, and made for a serving spoon.
Troubleshooting Your Orange Creamsicle Dessert
Most problems come down to temperature, timing, or overhandling. These quick fixes will save you from the usual creamy dessert drama.
- Lumpy filling: Cold cream cheese is the usual cause. Let the bowl sit briefly at room temperature, then beat again until smooth before moving on.
- Orange layer setting in the bowl too early: It chilled too long before folding in the Cool Whip. Stir it gently right away and spread as soon as it reaches a softly thickened texture.
- Crumbs mixing into the white layer: The crust was not frozen long enough. The base should feel firm and solid before you add the cheesecake filling.
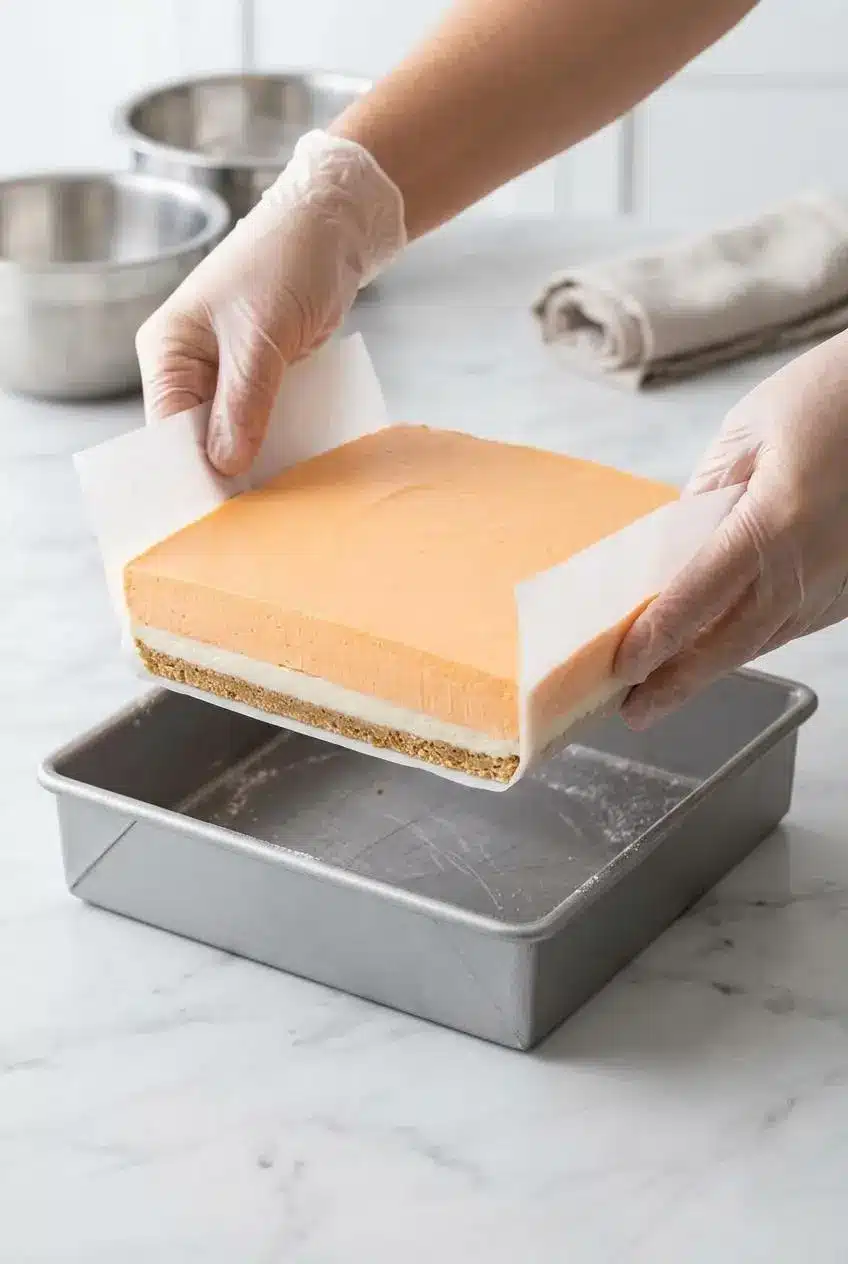
- Messy, smeared slices: The bars need more chill time or the knife is dragging. Lift the dessert out with the parchment overhang, dip a sharp knife in warm water, and wipe it clean between every cut.
- Dense cheesecake layer: The whipped topping was stirred too hard instead of folded. Use broad, gentle strokes to keep air in the mixture.
- Orange top sliding while spreading: The orange mixture is still too loose. It should thicken in the refrigerator first so it glides over the cheesecake layer rather than sinking into it.
Storage and Make-Ahead Instructions
This dessert holds best when kept tightly covered in the refrigerator so the layers stay fresh and the crust does not absorb extra moisture or refrigerator odors.
You can make it ahead, and it is at its best once the layers have had plenty of time to chill and firm up. For the nicest texture, serve it while the crust still has some crunch and the orange top is fully set.
Leftovers should stay chilled because this recipe is built from dairy and whipped topping. Keep your refrigerator at or below 40°F for perishable foods, including dairy-based desserts, as explained by the recommended refrigerator temperature for perishable foods.
Freezing is not a great fit for this one. After thawing, the cream layers can separate and turn watery, and the airy texture tends to lose its smooth finish.
Easy Crust and Flavor Variations
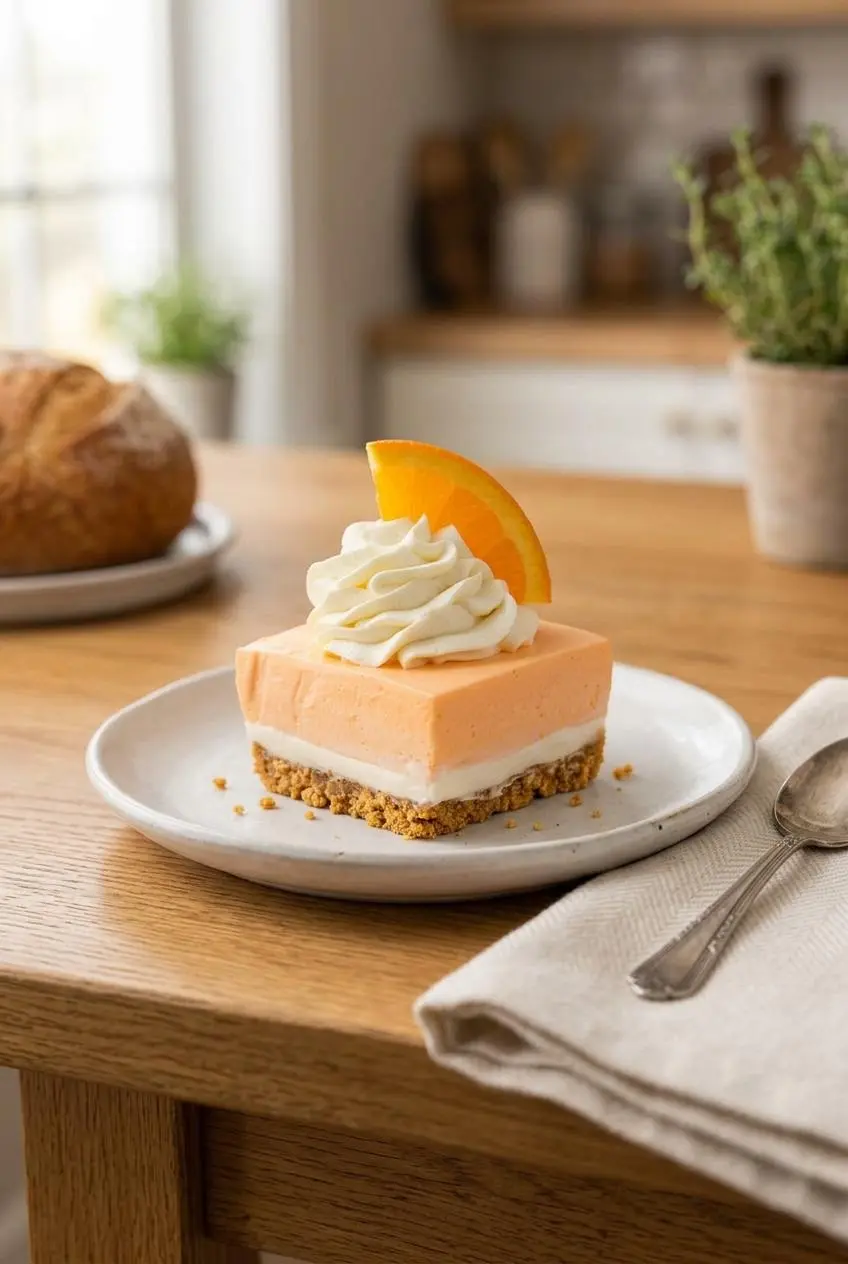
Once you have the layered method down, small changes can shift the flavor without changing the main recipe. Keep these as optional twists rather than part of the core bar formula.
Nostalgic Orange Fluff Salad
- Use the same orange-and-vanilla profile in a bowl dessert when you want something faster and spoonable.
- Fold in mandarin oranges and mini marshmallows after the mixture cools for that classic retro fluff feel.
- If you enjoy this style of dessert, a pineapple fluff dessert gives you the same airy potluck vibe with a different fruit note.
Golden Oreo Crust Upgrade
- Swap the Nilla Wafers for crushed Golden Oreos if you want a deeper vanilla cookie flavor under the citrus topping.
- The result is slightly sweeter and richer, with a more dessert-cookie style base.
- If you love the orange and vanilla combo in other formats too, orange creamsicle cake is a fun baked option for birthdays and summer gatherings.
Conclusion
This dessert shines when you keep the process calm and cold. Softened cream cheese, a well-frozen crust, and a properly thickened orange layer are the three details that make the bars look as good as they taste.
Once you nail those texture cues, the rest is just chill time and a clean knife. Bring these bars out cold, cut them neatly, and enjoy every bright creamy bite.
Frequently Asked Questions (FAQ)
Can I Use Real Whipped Cream Instead of Cool Whip?
- Yes, but it needs to be stabilized.
- Plain homemade whipped cream is softer and can deflate or weep inside layered bars like these.
- A stabilized version made with gelatin or a cream cheese base holds its shape much better.
- If you want the cleanest slices, Cool Whip remains the more reliable option.
How Do I Get Clean Slices When Cutting These Dessert Bars?
- Chill the bars thoroughly before cutting so the orange layer is fully set.
- Use the parchment overhang to lift the whole dessert out of the pan first.
- Dip a sharp knife in warm water, then wipe it clean before every cut.
- For extra tidy edges, cut straight down instead of dragging the blade through the layers.
Can I Make This Dessert Two Days in Advance?
- Yes, you can, and the flavor will still be good.
- The texture is usually best the day after you make it because the layers are set and the crust still has more crunch.
- By the second day, the crust may soften a bit.
- Keep the pan tightly covered in the refrigerator until serving.
Why Did My Orange Cream Layer Get Lumpy?
- The two most common causes are cold cream cheese and adding the chilled gelatin too quickly.
- Start with cream cheese that is fully at room temperature so it beats up smooth from the beginning.
- Pour the gelatin in slowly while mixing to keep the texture even.
- If the mixture already looks rough, let it warm slightly and beat gently until it smooths out.
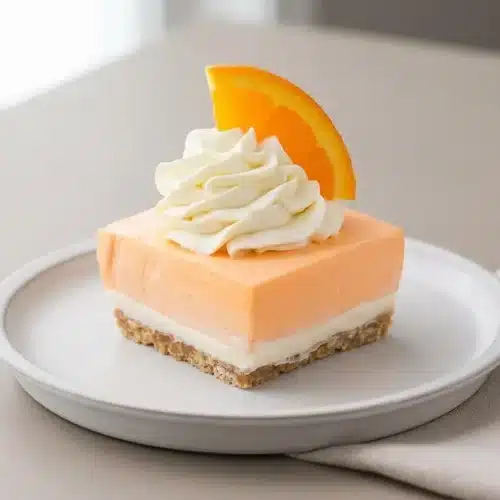
Orange Creamsicle Dessert

Equipment
- 8×8-inch baking pan
- Parchment Paper
- Food processor
- Hand mixer
- Offset spatula
Ingredients
Nilla Wafer Crust
- 1 1/3 cups Nilla Wafer Cookie Crumbs
- 5 tablespoons unsalted butter
Orange Cream Layer
- 3 ounces orange gelatin
- 3/4 cup boiling water
- 3/4 cup cold water
- 8 ounces cream cheese
- 1/4 cup powdered sugar
- 2 teaspoons orange extract
- 8 drops orange Wilton Gel Food Color
- 2 cups Cool Whip
Cheesecake Layer
- 8 ounces cream cheese
- 1 cup confectioners’ sugar
- 1 teaspoon pure vanilla extract
- 1 cup Cool Whip
Instructions
Crust and Gelatin Prep
- Line an 8 x 8-inch baking pan with parchment paper and leave enough overhang on the sides to lift the bars out later. The parchment should sit flat against the pan so the corners stay sharp and the finished dessert releases cleanly.
- Microwave the 5 tablespoons of butter for 30 seconds, then stir until fully melted. You want a smooth liquid with no solid bits left so the crumbs coat evenly.
- Pulse the Nilla Wafers in a food processor until they become fine crumbs, then mix them with the melted butter until every bit looks moistened. The mixture should resemble damp sand and hold together when pressed.
- Press the crumb mixture firmly into the bottom of the prepared pan in an even layer, then freeze it for at least 30 minutes. When it is ready, the crust should feel solid and cold to the touch instead of soft or crumbly.
- Dissolve the orange gelatin in 3/4 cup boiling water, stir in 3/4 cup cold water, and chill it for 10 minutes. The liquid should be cool and fluid, not warm, and not starting to gel around the edges.
Assembly
- Beat 8 ounces cream cheese, 1/4 cup powdered sugar, 2 teaspoons orange extract, and 8 drops orange Wilton Gel Food Color until completely smooth. The mixture should look glossy and evenly orange with no specks of unmixed cream cheese.
- With the mixer running, pour the chilled gelatin into the orange cream cheese mixture in a slow stream, then refrigerate the bowl for 1 hour. After chilling, it should look thicker than before and hold soft swirls when stirred.
- In a separate bowl, beat the remaining 8 ounces cream cheese with 1 cup confectioners’ sugar and 1 teaspoon pure vanilla extract until smooth. The filling should be creamy, pale, and easy to spread with no gritty pockets.
- Fold 1 cup Cool Whip into the vanilla cream cheese mixture until no white streaks remain. Keep the motion gentle so the mixture stays airy and light rather than dense.
- Spread the cheesecake mixture over the frozen crust with an offset spatula, smoothing it all the way to the corners. The layer should sit evenly on top without picking up crumbs from the base.
- Fold the remaining 2 cups Cool Whip into the chilled orange mixture until smooth and fully combined. The finished texture should be thick, fluffy, and velvety enough to mound lightly on the spatula before slowly settling.
- Spread the orange cream over the cheesecake layer, then refrigerate the pan overnight or for at least 6 hours. Once set, the top should feel firm and cool with clean layers visible at the edges of the pan.