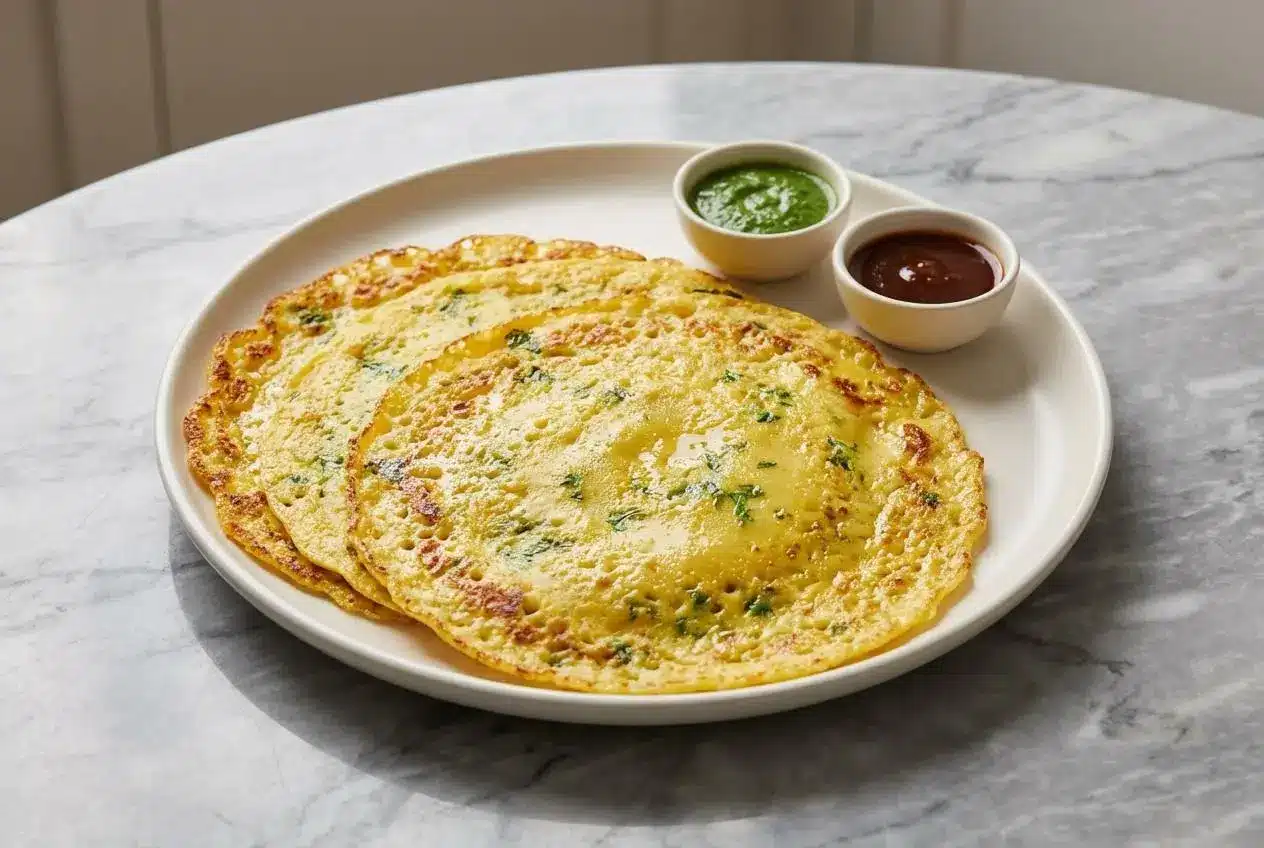
Some breakfasts earn a regular place in the rotation because they are fast, filling, and genuinely satisfying. In my kitchen, Moong Dal Chilla Recipe days usually happen when I want something savory, protein-packed, and crisp around the edges without fussing over a complicated meal.
This savory Indian pancake, sometimes called Moong Dal Cheela or Pudla, is perfect for busy mornings, light lunches, or even a simple weeknight dinner. The method here is built for success, so you get a tender center, beautifully crisp edges, and none of the sticking or tearing that can make homemade chilla frustrating.
Why You’ll Love This Recipe
Crispy edge magic: The little trick I swear by is adding a bit of fine semolina, or sooji, to the batter. It gives this savory Indian pancake the kind of crisp golden rim that makes each bite more exciting.
Soft inside, crisp outside: A good Moong Dal Chilla should never feel heavy or gummy. This version stays tender in the middle while the edges turn lightly crackly and golden on the tawa.
Wholesome and satisfying: Made with dhuli moong dal, ginger, cumin, and herbs, it is a naturally gluten-free breakfast when your hing is wheat-free, and it fits beautifully into a vegan recipe routine. I love that it feels light, but keeps you full for hours.
Weekday-friendly: Once the dal is soaked, the rest comes together quickly. It is one of those Indian breakfast recipes that feels special on a weekend, yet is easy enough to pull off on a regular morning.
Ingredients and Substitutions
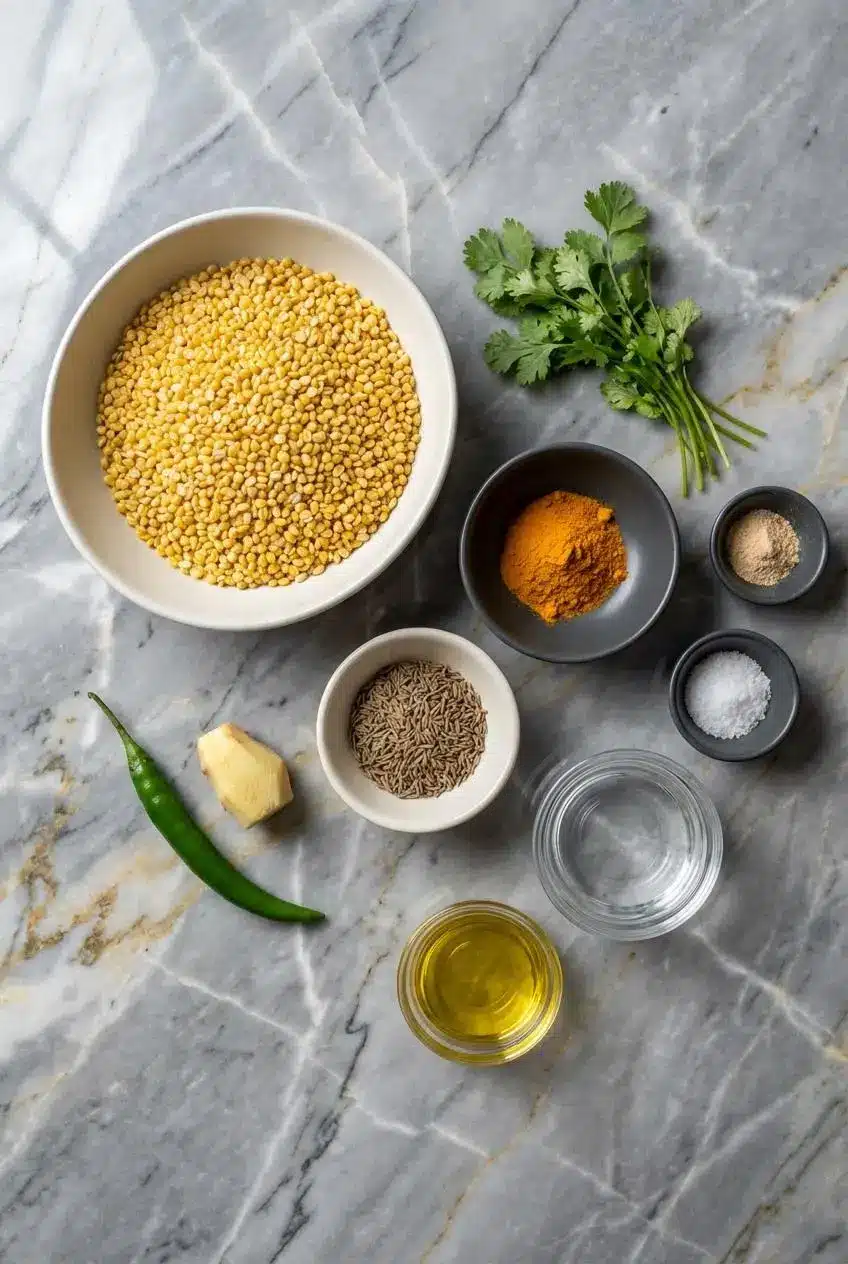
These ingredients are simple, pantry-friendly, and built around split yellow lentils for a smooth batter with earthy flavor and a lovely golden color.
Ingredients
- 1 cup moong dal
- 1 chilli
- 1 inch ginger
- 1 tsp cumin / jeera
- ¼ tsp turmeric
- 2 tbsp coriander
- pinch hing / asafoetida
- ½ tsp salt
- 3 tbsp water
- oil for roasting
Ingredient Notes & Substitutions
Moong dal: For the classic version, use dhuli moong dal, which is split and skinned yellow lentils. It gives you the smoothest batter and the familiar soft texture, while split green moong or whole green moong creates a darker, earthier, slightly coarser result.
Semolina: My foolproof crispiness trick is 2 tablespoons of fine semolina, or sooji/rava, stirred into the batter before resting. If you prefer a similar effect with another pantry staple, fine rice flour works well too, though the texture is a touch different.
Hing: Asafoetida adds a savory depth that makes lentil-based batters taste fuller and rounder. If your hing contains wheat and you need the dish strictly gluten-free, simply leave it out or use a certified gluten-free hing.
Green chilli and ginger: These two shape the personality of the batter. I like a fresh, bright heat, but you can easily dial the chilli down for kids or increase the ginger for a warmer, sharper bite.
Coriander: Fresh coriander lifts the earthy flavor of the lentils and makes the batter taste fresher. If you are out of it, a little chopped spinach or very finely minced scallion can bring a different, but still delicious, flavor.
How to Make Moong Dal Chilla Recipe
Soak and Blend the Dal
- Place the moong dal in a large bowl, rinse it well, and soak it in plenty of water for 3 hours. If I plan ahead, I sometimes soak it overnight, which makes the lentils even easier to blend and gentler on the stomach.
- Once the dal has softened, drain it thoroughly and transfer it to a blender jar. Add the chilli, ginger, and cumin, then blend until the mixture becomes smooth and creamy, adding just enough water only if the blades need help moving.
Mix the Batter
- Scrape the smooth lentil paste into a mixing bowl. Stir in the turmeric, coriander, hing, and salt so the seasoning is evenly distributed through the batter.
- Add the 3 tablespoons of water and mix until you have a thick, flowing batter that pours easily but does not look watery. At this stage, stir in 2 tablespoons of fine semolina, then let the batter rest for 15 minutes so it hydrates properly and helps create those crisp edges.
Cook the Chillas
- Heat a hot tawa or skillet over low-medium heat, then pour a ladleful of batter in the center and gently spread it outward into a thin round. The batter should glide in a circle rather than clump up immediately, which tells you the pan temperature is right.
- Drizzle about ½ teaspoon of olive oil over the chilla and around the edges. Cover and cook on a medium flame for 1 minute, until the surface loses its wet shine and the underside turns golden in spots.
- Flip carefully, then cook the other side while pressing gently with a spatula so it makes even contact with the pan. When both sides are lightly golden and the edges feel crisp, serve the moong dal chilla hot with green chutney.
Secrets for the Perfect Crispy Chilla
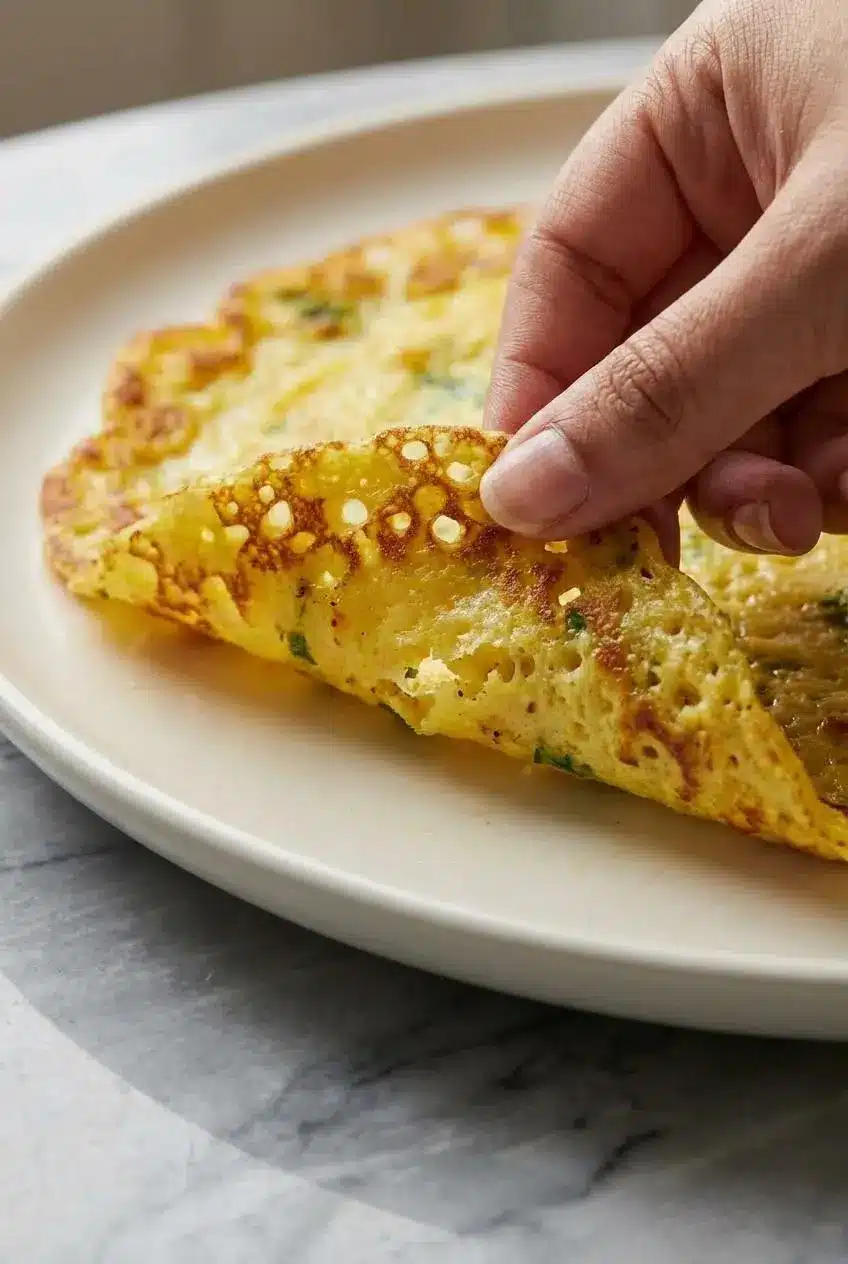
The science of soaking: Soaking does more than soften split yellow lentils. It helps the dal blend into a smoother batter, reduces that raw, gritty feel, and makes the finished chilla easier to digest and more pleasant to eat.
The right batter consistency: This is where most home cooks either nail it or struggle. Aim for something like classic American pancake batter, thick enough to coat the back of a spoon, but loose enough to pour and spread without tearing, and add any extra water 1 tablespoon at a time if needed.
Why the semolina rest matters: The 15-minute rest after adding sooji is not optional if you want reliable crispness. The semolina absorbs extra moisture, swells slightly, and helps create a delicate, crisp lattice around the edges instead of a soft, damp finish.
Choosing Your Pan: Cast Iron vs. Non-Stick
Cast iron for the crispiest finish: A well-seasoned cast iron skillet or traditional tawa holds heat beautifully, so the chilla browns evenly and develops deeper golden edges. I use a little more oil on cast iron, and I wait until a drop of water sizzles away right away before pouring the batter.
Non-stick for easy cooking: If you are new to making chilla, non-stick is wonderfully forgiving. The texture will be slightly softer than cast iron, but the chillas release easily and you can use less oil, just keep the heat moderate so the coating stays protected.
The temperature trick that helps both: Between chillas, I like to wipe the pan lightly with a damp paper towel or rub it with an oiled onion half. That tiny reset cools the surface just enough, so the next ladle of batter spreads thinly instead of seizing on contact.
Moong Dal Chilla vs. Pesarattu: What’s the Difference?
The biggest difference is the lentil. Moong Dal Chilla is usually made with dhuli moong dal, while Pesarattu, a beloved Andhra breakfast, is traditionally made with whole green moong, sometimes along with a little rice.
That change in lentils affects both texture and flavor. Chilla is usually softer, smoother, and more delicate, while Pesarattu has a heartier, slightly coarse bite and a stronger earthy bean flavor because the green skin stays on.
The serving style is different too. Pesarattu is often topped with finely chopped raw onions and sometimes cooked as Onion Pesarattu, while Moong Dal Cheela is more commonly served plain, folded, or stuffed with fillings like paneer bhurji or vegetables.
Pro Tips & Troubleshooting
Pro Tips
- Spread the batter when the pan is on low-medium heat, then let it cook on medium heat for better control and more even browning.
- Wipe the hot pan lightly between chillas with a damp paper towel or an oiled onion half. This helps the batter spread neatly instead of catching instantly.
- For the crispiest Moong Dal Chilla, use a cast iron skillet or tawa that is properly seasoned and evenly heated.
- If you are making these for toddlers, spread the batter a little thicker and cook it covered on low heat so the inside stays especially soft and tender.
Family breakfasts often need a little flexibility, and softer chillas are wonderful for younger eaters. If you enjoy that kind of pancake-style breakfast, these fluffy Greek yogurt pancakes are another gentle, family-friendly option with a soft bite and easy appeal.
Common Mistakes to Avoid
- Do not make the batter too thin, or the chillas can turn papery, fragile, and dry instead of tender with crisp edges.
- Do not leave the batter too thick, or it will resist spreading and may stay heavy or slightly raw in the middle.
- A smoking hot pan is just as troublesome as a cold one. If the pan is too hot, the batter grabs immediately and tears when you try to spread it.
- Skipping the soak or shortening it too much can leave you with a rougher batter and less pleasant texture.
- Do not skip the 15-minute rest after adding semolina, because that is what helps the batter cook up crisp rather than dense.
Serving & Storage
Serving Suggestions
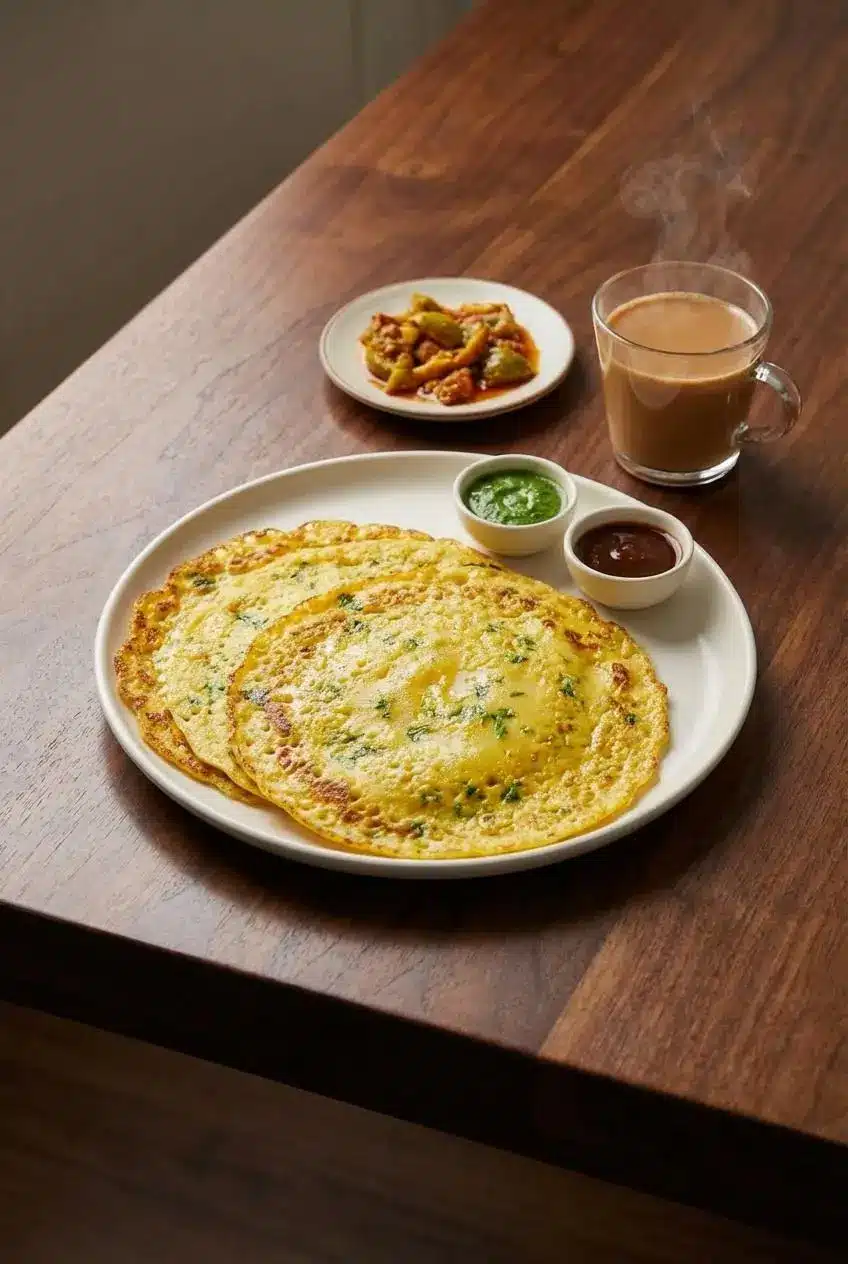
Serve these hot off the tawa with green coriander-mint chutney and sweet tamarind chutney for the classic contrast of fresh, spicy, and tangy. A spoonful of Indian pickle on the side and a mug of masala chai turn it into the kind of breakfast that feels both comforting and complete.
For a more filling plate, add a stuffing before folding, such as paneer bhurji, spiced mashed potatoes, or sautéed mixed vegetables. I also love using chilla as a healthy wrap for tofu scramble or a crunchy salad when I want a quick lunch instead of breakfast.
If savory, filling breakfasts are your thing, it is nice to keep a few different protein-rich options in the rotation. On mornings when you want something with a different texture, this idea pairs nicely with exploring protein cottage cheese pancakes as another satisfying start to the day.
Storing, Freezing, and Reheating
The batter keeps well in an airtight container in the refrigerator for up to 2 days. It usually thickens as it sits, so give it a good stir and loosen it with about 1 tablespoon of water if needed before making the next batch.
Cooked chillas freeze beautifully for meal prep. Stack them with parchment paper between each one, tuck them into a freezer-safe bag, and freeze for up to 1 month.
To reheat, warm them on a hot tawa for about 1 minute per side until heated through and crisp again. A microwave works in a pinch, but the texture will be softer and less crackly around the edges.
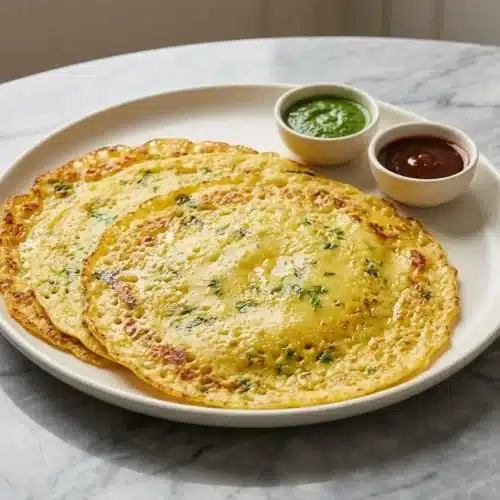
Crispy Moong Dal Chilla Recipe

Equipment
- Blender
- large bowl
- Mixing Bowl
- Tawa or Skillet
- Spatula
- Ladle
Ingredients
- 1 cup moong dal
- 1 chilli
- 1 inch ginger
- 1 tsp cumin / jeera
- ¼ tsp turmeric
- 2 tbsp coriander
- 1 pinch hing / asafoetida
- ½ tsp salt
- 3 tbsp water
- oil for roasting
Instructions
Soak and Blend the Dal
- Place the moong dal in a large bowl, rinse it well, and soak it in plenty of water for at least 3 hours or overnight.
- Once softened, drain the dal thoroughly and transfer it to a blender. Add the chilli, ginger, and cumin, then blend until the mixture becomes smooth and creamy. Add a small amount of water only if the blender blades need help moving.
Mix the Batter
- Scrape the smooth lentil paste into a mixing bowl. Stir in the turmeric, coriander, hing, and salt until evenly combined.
- Add the 3 tablespoons of water and mix until you have a thick, flowing batter that pours easily but is not watery.
Cook the Chillas
- Heat a tawa or skillet over low-medium heat. Pour a ladleful of batter into the center and gently spread it outward into a thin, even circle.
- Drizzle about ½ teaspoon of oil over the chilla and around the edges. Cover and cook on a medium flame for about 1 minute, until the surface loses its wet shine and the underside is golden.
- Carefully flip the chilla, pressing gently with a spatula. Cook the other side until both sides are lightly golden and the edges feel crisp.
- Serve the moong dal chilla hot with green chutney or your favorite accompaniments.
Notes
Conclusion
Once you know the rhythm of the batter and the pan, Moong Dal Chilla becomes one of those recipes you can make almost from memory. The simple semolina trick makes a real difference, giving you crisp edges, a tender center, and a result that feels wonderfully reliable.
If you make a batch, play with the fillings, the spice level, or even the thickness to suit your table. This is the kind of wholesome, high-protein breakfast that rewards a little practice and quickly becomes a favorite.
Frequently Asked Questions
Why are my moong dal chillas not crispy?
Can I make the batter ahead of time? How do I store it?
What’s the difference between yellow moong dal and green moong dal for this recipe?
What are the best fillings for stuffed moong dal chilla?
Why is my chilla batter breaking or sticking to the pan?
Is Moong Dal Chilla a healthy and protein-rich choice?