Back in my corner of the US, old-school cooking fats are having a real comeback, from carnivore diet cooks chasing a better sear to grandmothers guarding their flaky-crust secrets like family heirlooms. If you’ve been searching how to make beef tallow that’s actually white, clean, and not aggressively “beefy,” you’re in the right kitchen.
This is the exact method I use to turn inexpensive butcher trimmings into liquid gold, the kind that cools into a firm, buttery block and behaves beautifully in both high-heat cooking and delicate baking. The little “soak and double melt” twist is what saves most batches.
Why You Will Love This Recipe
Osmotic Purge Magic: In my kitchen, a 2-hour ice-water soak with a tablespoon of coarse salt pulls out leftover blood and water-soluble proteins, and that’s what keeps beef tallow from smelling heavy and looking dingy.
Double Render Purity: Cooling the rendered fat into a solid block, scraping off the grey “shadow” on the bottom, then melting again for 15 minutes creates a cleaner, more shelf-stable rendered fat that sets up snow-white.
Odorless Enough for Pastry: When the impurities are truly gone, tallow becomes a mild, neutral shortening-style fat, the sort that can quietly make something like cornish pasty dough taste richer without announcing “this is beef.”
Kitchen and Skincare Friendly: This method produces a clean, firm fat that’s just as happy in a skillet as it is whipped into a simple balm, especially when you want it mild and nearly scent-free.
Ingredients and Substitutions

You only need one thing, but the quality of that one thing matters. Choose clean beef fat with as little meat attached as possible, because those tiny red bits are what darken tallow and add odor.
Ingredients
- 3 pounds beef fat, trimmed of muscle and meat
Ingredient Notes & Substitutions
Suet (kidney fat) vs. regular trimmings: Suet, sometimes called kidney fat or leaf fat, is the cleanest, mildest option and tends to make a firmer, paler tallow. Regular beef fat trimmings render beautifully too, but the flavor usually leans more savory and “steaky.”
What to ask your butcher for: I ask for beef fat trimmed of meat, and I mention I’m rendering it, most butchers know exactly what you mean and often sell it cheaply. If you can get suet, grab it, it’s prized for its clean finish.
If your fat has meat on it: Trim as best you can before you begin. Those little red streaks are protein, and protein is what toasts and perfumes the batch if it stays in the pot.
How to make how to make beef tallow
Prep and Purge
- Cut the beef fat while it’s semi-frozen, it should feel stiff but still sliceable, which keeps it from smearing on your knife. Chop it small, or run it through a meat grinder, then soak it in ice water mixed with 1 tablespoon of coarse salt for 2 hours until the water looks a little cloudy.
- Drain thoroughly and let it sit in the strainer for a few minutes. You want the pieces to feel cold and clean, not dripping, because excess water slows rendering and can cause sputtering later.
Slow Cooker Rendering on LOW
- Put the chopped fat into a slow cooker set to LOW, and keep the lid OFF the whole time so moisture can escape instead of raining back down as condensation. Let it gently simmer, never boil, for roughly 6 to 8 hours, stirring occasionally so nothing sticks and scorches along the sides.
- As it goes, you’ll see the pieces shrinking and taking on color, and you’ll smell a clean, lightly beefy aroma, not a burnt one. Stir with a gentle hand, especially around the edges where hot spots can toast the proteins.
- You’re looking for this doneness cue: at least half the pieces have browned and sink under a pool of clear liquid fat. Stop there, because pushing it too far can turn the whole batch darker and give it that borderline burnt flavor.
Strain, Then Cool Into a Block
- Set a fine mesh strainer over a large glass bowl, then line it with ultra-fine cotton cheesecloth. Pour or ladle the hot liquid through slowly, and you’ll notice the tallow looks clearer by the second it hits the bowl.
- Let it drain until the stream slows to a drip. When it’s cool enough to handle, squeeze the cheesecloth to coax out the last bit of fat, then set the cracklings aside, they’re salty, crispy little treasures.
Double Render and Jar
- Let the strained tallow cool until it becomes a solid block, a flexible silicone bowl makes the “pop-out” easy. Flip it out, then scrape off the bottom layer of grey impurities until the underside looks clean and pale.
- Melt that cleaned block one final time for 15 minutes, just long enough to flash off any microscopic moisture. Pour into wide-mouth mason jars, and let the jars cool completely before you screw on the lids.
Chef Secrets for Perfect Pure Tallow

The biggest difference between “fine” and “wow” is what you remove before heat ever touches the fat. The salt-and-ice soak is an osmotic purge, it tugs out watery, blood-tinged compounds that love to cling to fat and later smell extra beefy once warmed.
The second secret is the double render, because the first cooling reveals the truth. That grey layer on the bottom is exactly what would have flavored, darkened, and shortened the shelf life of your finished tallow.
Heat control is everything. Low and slow keeps proteins from toasting, and toasted proteins are what push tallow toward yellow, pungent, and “roasty” in a way you cannot un-do.
Tallow is also a high-heat champion, with a smoke point that typically lands around 400 to 420°F, while butter is much lower and many seed oils degrade in their own ways when pushed hard. The phrase superior high-heat cooking benefits really shows up the first time you sear without smoke and bitterness.
That high smoke point is why I love it for cast iron, especially when you want a real crust on burger patties without scorching the pan. A skillet batch of french onion burgers gets a deeper, cleaner sear when the cooking fat stays steady instead of burning.
Pro Tips & Troubleshooting
Pro Tips
- Keep the slow cooker lid OFF the entire time, trapped condensation drips back in and that leftover water is what invites mold later.
- Chop the fat while it is semi-frozen, it slices neatly and you get even little pieces that render at the same pace.
- Use ultra-fine cotton cheesecloth, a standard strainer can let microscopic meat proteins slip through, and those are the sneaky spoilers.
- Stir occasionally and scrape the sides, little bits stuck to the wall of the slow cooker can scorch and perfume the whole batch.
Common Mistakes to Avoid
- Leaving small bits of red meat on the fat, those proteins brown fast and make the final tallow darker and stronger-smelling.
- Rendering too hot, high temperatures toast impurities and the finished fat tastes burnt instead of mild and buttery.
- Overcooking past the “half browned and submerged” stage, that’s when the clear fat can start picking up bitter, overdone notes.
- Grainy tallow from uneven cooling, the fix is simple: gently re-melt, then cool it more quickly so it sets evenly and smooth.
Serving & Storage

Culinary and Skincare Uses
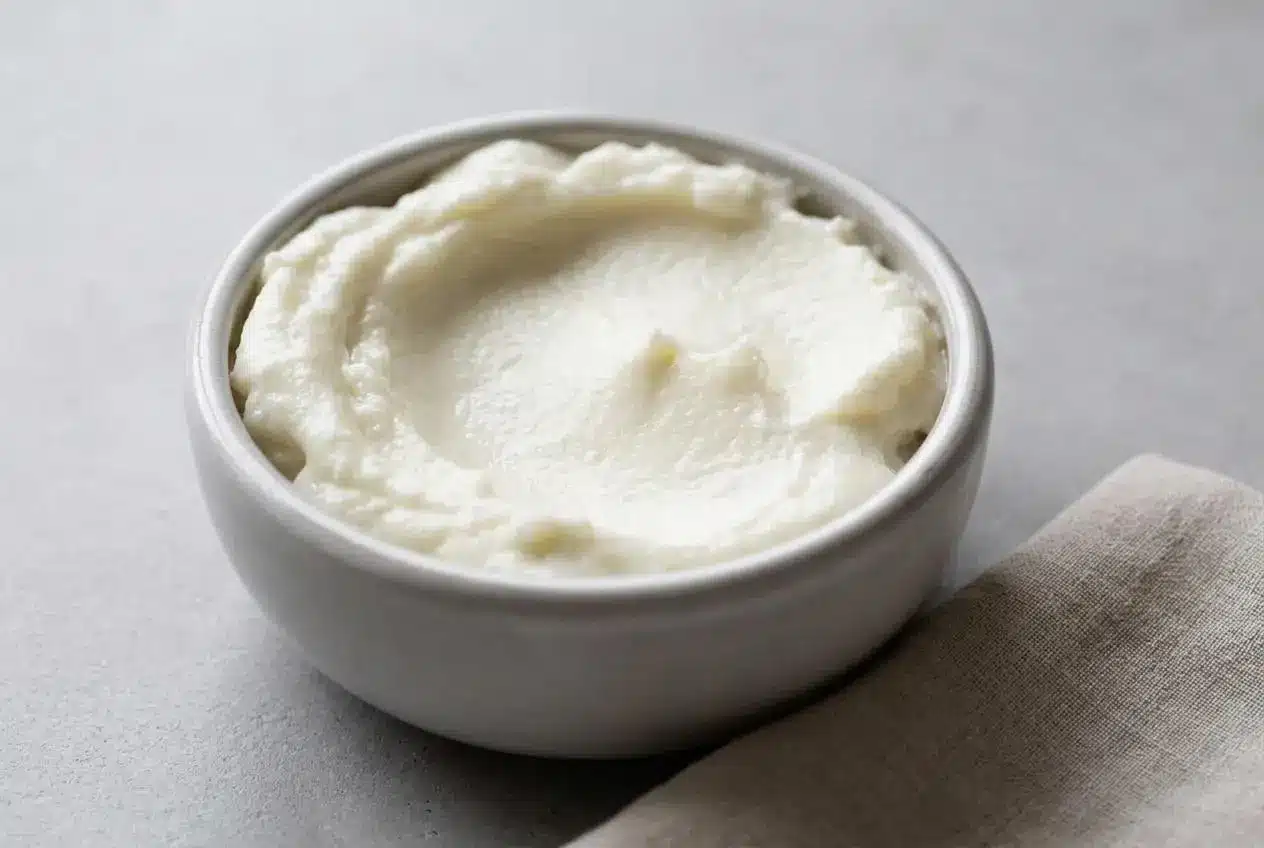
When it’s done right, beef tallow is rich but mild, buttery, solid, and clean, with a soft snap when you press a spoon into it. It should smell faint and pleasant, not loud.
For cooking, it shines in deep-frying french fries or hashbrowns, and it’s a dream for searing steaks in a cast iron skillet. It also makes diner-style crispiness easy, and a batch of crispy potato waffles gets that shattery edge when the pan stays hot and dry.
For baking, treat it like shortening when you want flaky layers, especially in pie crusts and savory pastry. For skincare, this purified, low-odor version is the one I reach for when whipping a balm or starting a simple soap recipe, because it doesn’t fight your essential oils or fragrances.
Storage Instructions
Pour into clean jars and store in a cool, dark place once fully set. If your tallow is truly dry and well-strained, it can sit at room temperature, but heat and light will shorten its best quality window.
For maximum keeping power, refrigerate it for at least 3 months. For long-term storage, freeze it even longer, and thaw in the fridge so it stays clean and stable.

How To Make Beef Tallow

Equipment
- Slow cooker
- Fine mesh strainer
- Ultra-fine cotton cheesecloth
- Wide-mouth mason jars
- Flexible silicone bowl
Ingredients
- 3 pounds beef fat, trimmed of muscle and meat
Instructions
Prep and Purge
- Cut the beef fat while it is semi-frozen, it should feel stiff but still sliceable. Chop it small, or run it through a meat grinder, then soak it in ice water mixed with 1 tablespoon of coarse salt for 2 hours until the water looks a little cloudy.
- Drain thoroughly and let it sit in the strainer for a few minutes. You want the pieces to feel cold and clean, not dripping, because excess water slows rendering and can cause sputtering later.
Slow Cooker Rendering on LOW
- Put the chopped fat into a slow cooker set to LOW, and keep the lid OFF the whole time so moisture can escape instead of raining back down as condensation.
- Let it gently simmer, never boil, for roughly 6 to 8 hours, stirring occasionally so nothing sticks and scorches along the sides.
- Stop when at least half the pieces have browned and sink under a pool of clear liquid fat. Pushing it too far can turn the whole batch darker and give it a borderline burnt flavor.
Strain, Then Cool Into a Block
- Set a fine mesh strainer over a large glass bowl, then line it with ultra-fine cotton cheesecloth. Pour or ladle the hot liquid through slowly to filter out impurities.
- Let it drain until the stream slows to a drip. When it is cool enough to handle, squeeze the cheesecloth to coax out the last bit of fat, then set the crispy cracklings aside.
Double Render and Jar
- Let the strained tallow cool in a flexible silicone bowl until it becomes a solid block. Flip it out, then scrape off the bottom layer of grey impurities until the underside looks completely clean and pale.
- Melt that cleaned block one final time for 15 minutes, just long enough to flash off any microscopic moisture. Pour into wide-mouth mason jars, and let the jars cool completely before you screw on the lids.
Notes
Nutrition
Conclusion
Rendering your own beef tallow is one of those old-fashioned kitchen habits that feels almost too practical, it saves money, reduces waste, and gives you a cooking fat that performs like a pro. The osmotic purge and double render are what turn it from “homemade” into genuinely pure.
If you give it a go, pay attention to the smell and color at each stage, your senses will tell you when you nailed it. And if you end up with a slightly beefier batch, it still earns its keep on the stove.