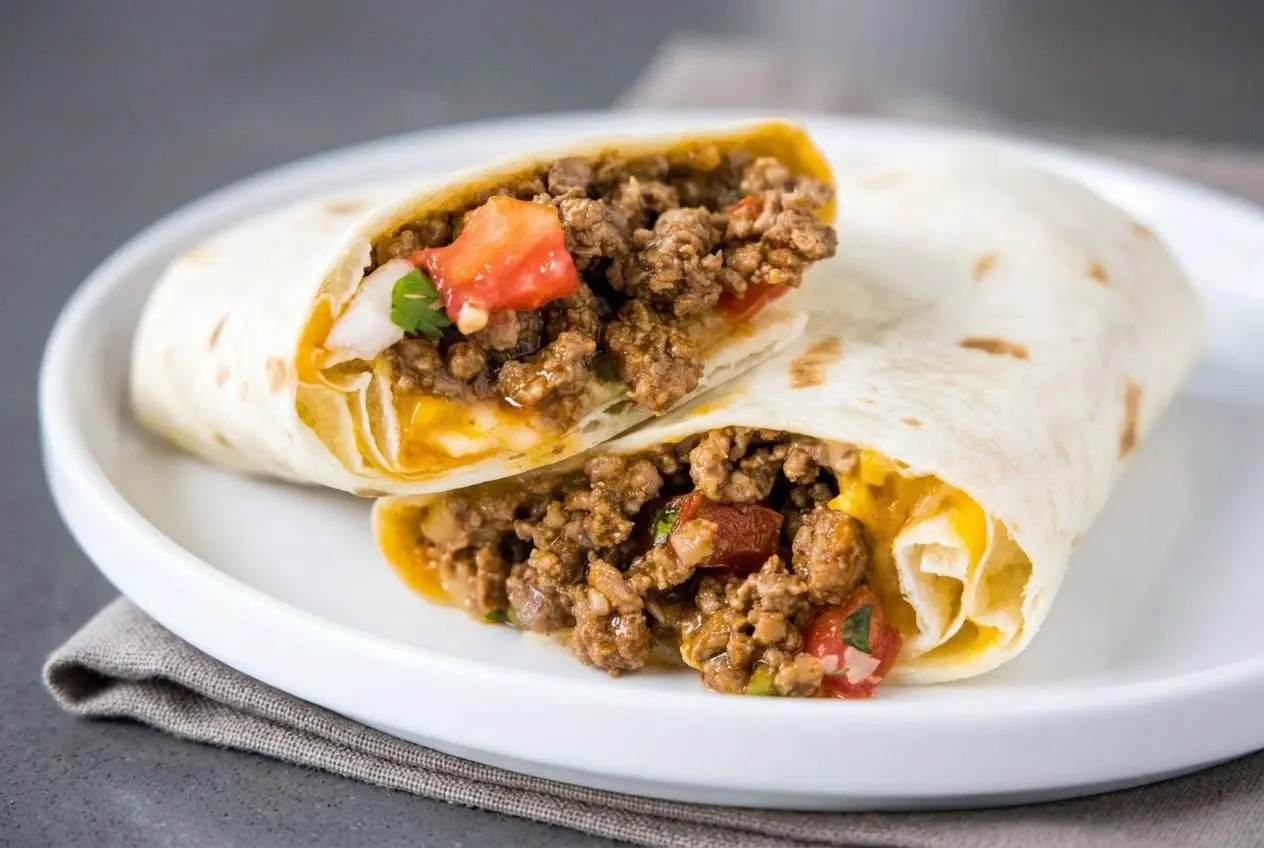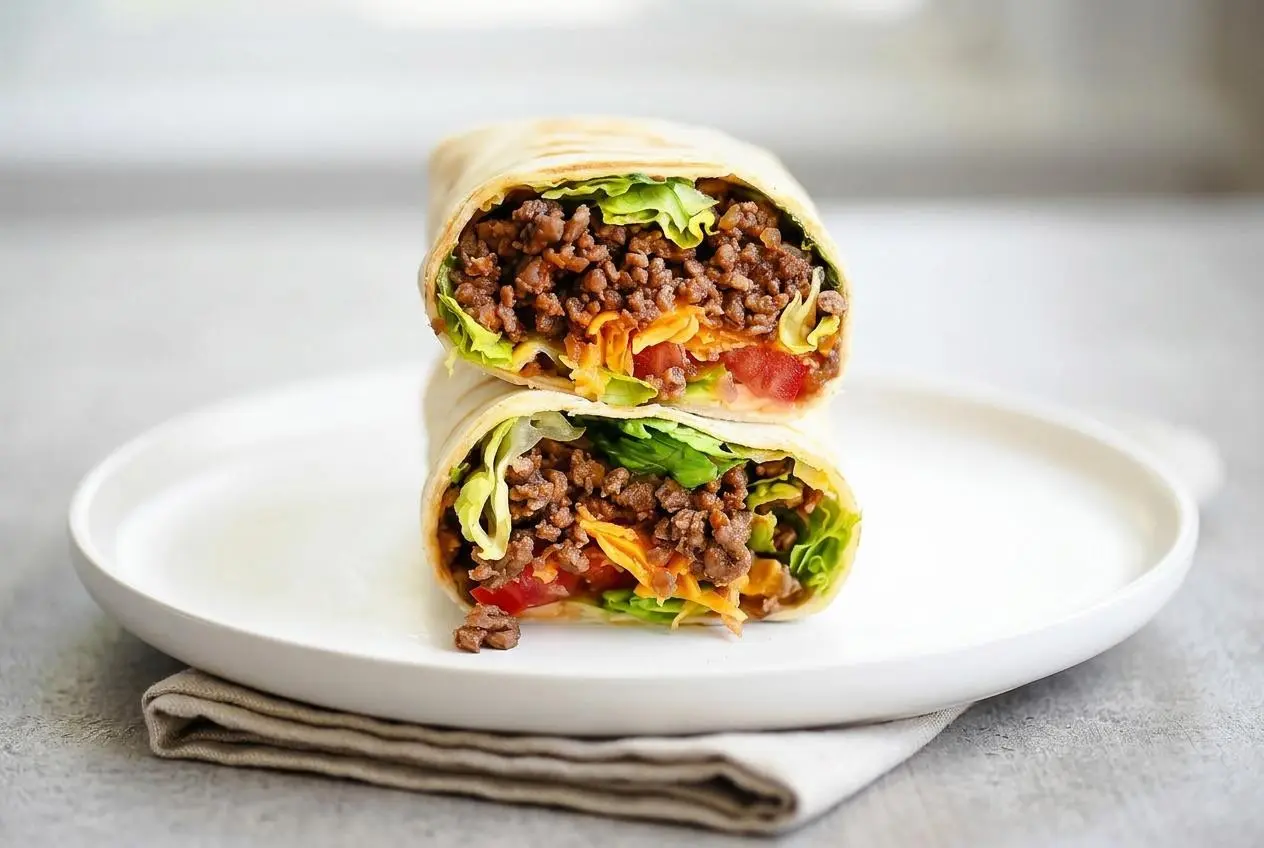
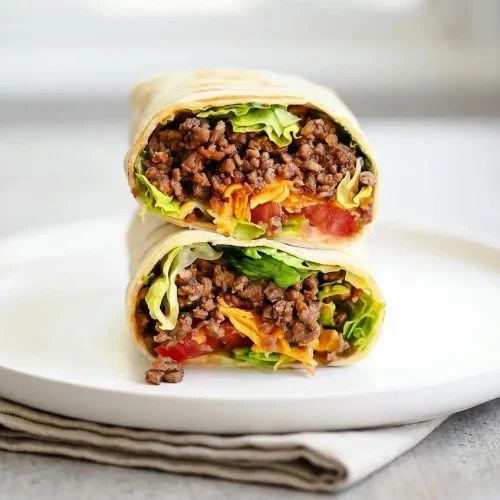
Grilled Cheeseburger Wraps are a fast dinner made with seasoned ground beef, cheddar, and classic burger toppings wrapped in tortillas and grilled until golden and crisp.
These wraps bring cheeseburger flavor into a hand-held, weeknight-friendly meal. You get savory beef, gooey cheese, and that crunchy tortilla edge that makes the whole thing feel extra satisfying.
They’re also easy to adapt whether you’re using an outdoor grill, a skillet, the oven, or an air fryer. The big texture trick is simple: keep the fresh toppings for the end.
Preheat your cooking surface before the wraps go on, or the tortillas will warm up before they crisp.
Why You’ll Love This Cheeseburger Wrap Recipe
This one works because it solves dinner fast and still feels fun to eat.
- Ready in about 20 minutes, which is exactly the kind of timing a busy night needs.
- All the classic burger flavor, tucked into a crispy grilled tortilla.
- Family-friendly and easy to slice in half for serving.
- Flexible enough for an indoor grill, stovetop, oven, air fryer, or flat-top.
- Fresh lettuce, tomato, and onion added at the end keep every bite crisp instead of soggy.
Ingredients You’ll Need
Each ingredient pulls its weight here, building savory depth, melt, crunch, moisture, and that classic burger balance.
- 1 pound lean ground beef
- 1 Tablespoon Worcestershire sauce
- 2 Tablespoons ketchup
- 1 teaspoon dried minced onion
- pepper and salt to taste
- 4 large flour tortillas
- shredded cheddar cheese
- lettuce
- tomato slices
- sliced red onion
- mustard
Lean ground beef gives you plenty of flavor without leaving too much grease behind. Worcestershire adds deeper savory flavor, ketchup rounds out the beef with sweetness and tang, and dried minced onion gives the filling that familiar burger-shop taste. Flour tortillas stay flexible enough to roll, while cheddar gives the wrap its melty center. Lettuce, tomato, and red onion bring cool crunch and freshness once the hot wrap comes off the grill.
I like to shred cheddar from a block when I can, because it melts more smoothly and gives the filling that extra gooey pull.
How to Make Grilled Cheeseburger Wraps
This method is straightforward, but a few small details make a big difference in texture and structure.
- Cook the ground beef in a large non-stick skillet over medium-high heat, breaking it into crumbles as it browns, then drain off the grease and stir in the Worcestershire sauce, ketchup, dried minced onion, salt, and pepper before lowering the heat for about 5 minutes.
The beef should be fully browned with no pink left, and the pan will smell rich and savory as the seasonings warm through. - Lay out the tortillas and add shredded cheddar down the center of each one, then divide the beef mixture evenly over the cheese, drizzle with a little mustard, add tomato slices, and roll each tortilla up burrito-style.
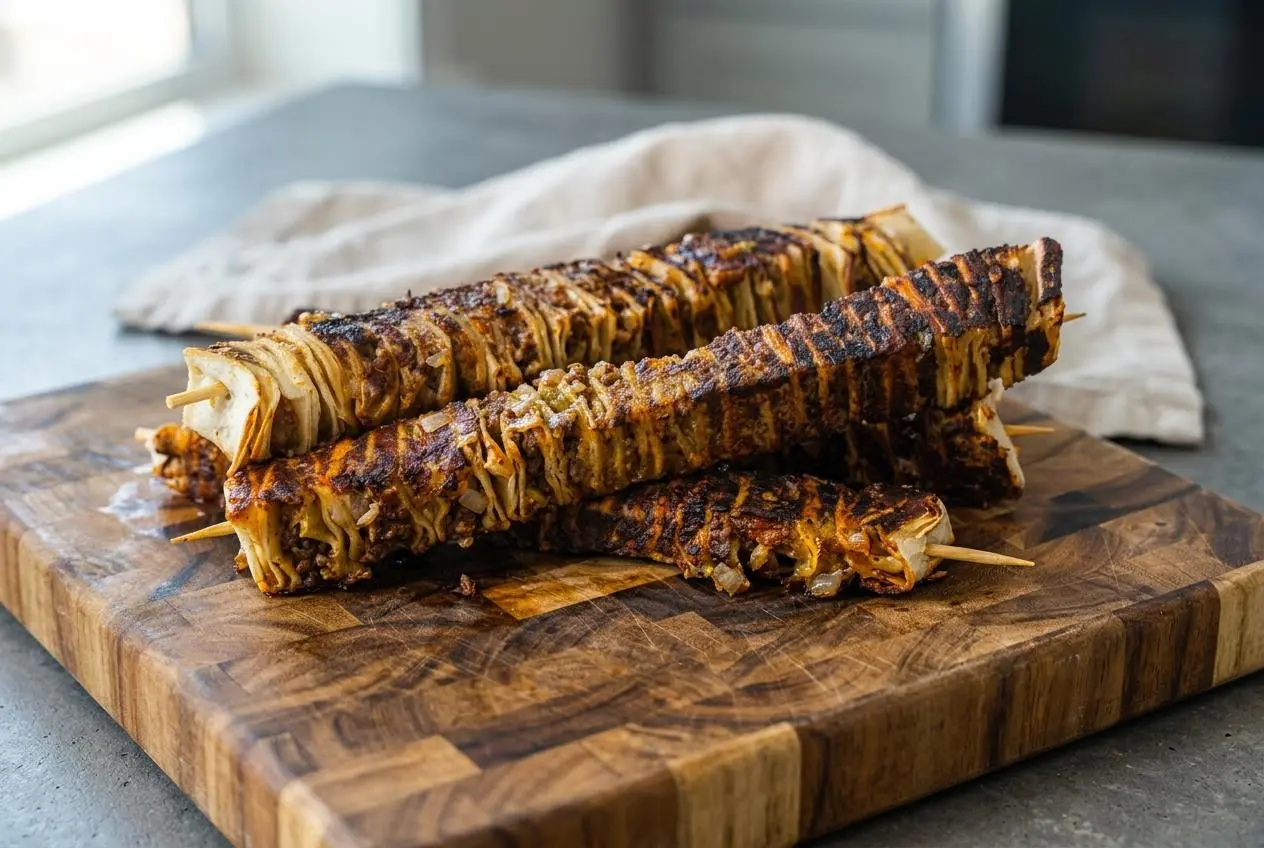
Keep the filling centered and not too thick so the wraps stay closed and don’t split once they hit the heat. - Place the wraps on a preheated indoor or outdoor grill, working two at a time, and cook for 3 to 5 minutes until the outside is golden brown.
The tortillas should show clear grill marks, and the cheese inside should be soft and melted. - Transfer the wraps to a plate, gently open each one enough to add lettuce and sliced red onion, then roll them back up and cut them diagonally before serving.
You’ll get the best contrast here: hot cheesy filling inside, cool crisp vegetables on top, and a nice crunch when you bite in.
If you want to be extra careful with doneness, ground beef should reach 160°F for ground beef.
Tips for Perfect Wraps Every Time
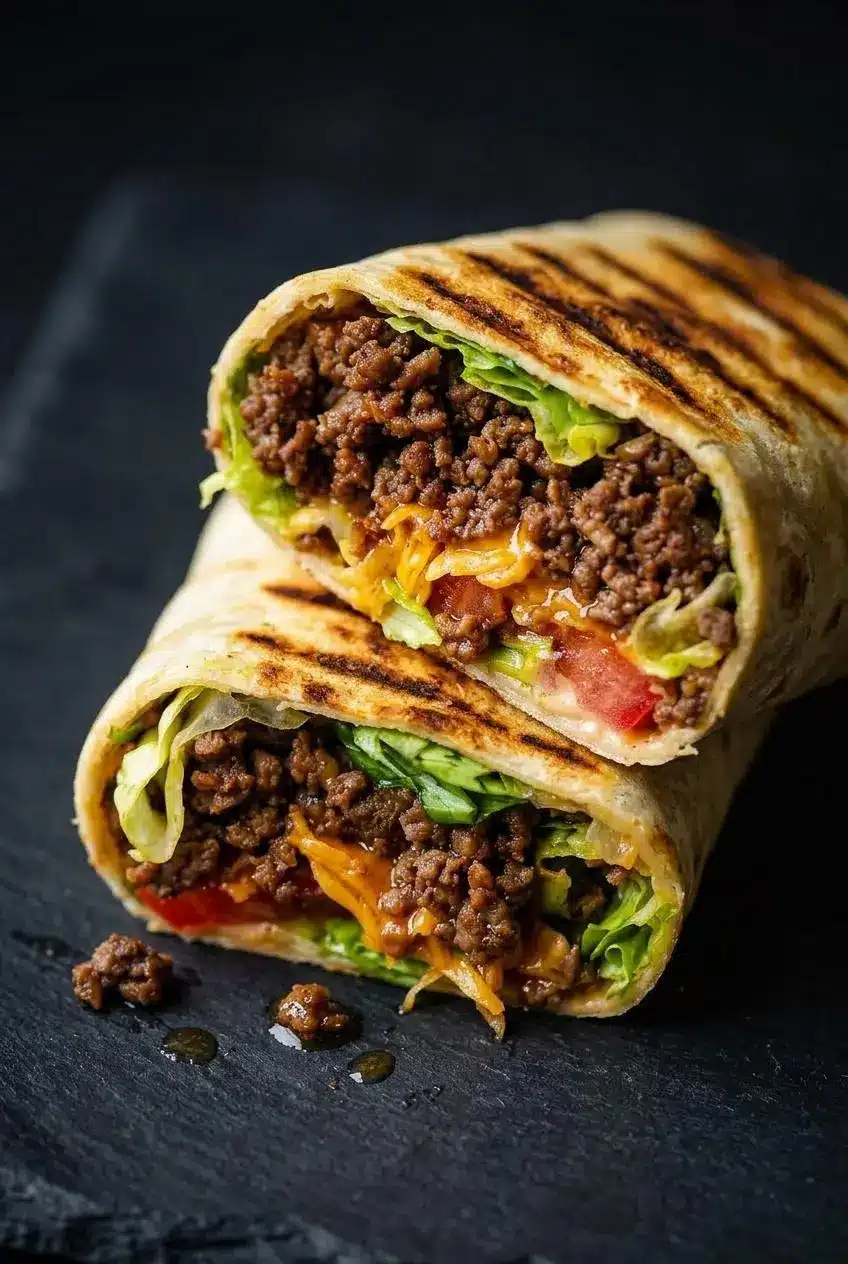
A cheeseburger wrap is easy, but it can go sideways fast if the filling is too wet or the tortilla is overstuffed.
Add the lettuce, tomato, and onion after grilling, not before. Fresh toppings release moisture as they heat, and that softens the tortilla instead of letting it stay crisp. Adding them at the end gives you that warm-and-cool contrast that makes these wraps taste more like an actual cheeseburger.
Drain the beef well before you season and fill the tortillas. Excess grease is the quickest path to a soggy wrap, and it can also keep the tortilla from browning properly.
Don’t overfill the tortillas. You want enough filling for a hearty center, but still enough bare tortilla around the edges to fold in the sides and roll tightly from the bottom, burrito-style.
Cheddar gives the wraps a classic sharp bite, but the texture changes depending on the kind you use. Sharp cheddar brings more flavor, while a meltier cheese like American gives a softer, extra-gooey center if you want more burger-joint vibes.
Troubleshooting Common Issues
| Problem | Likely Cause | Easy Solution |
|---|---|---|
| My wrap is soggy | The beef wasn’t drained well, or wet toppings went in before grilling | Drain the meat thoroughly and add lettuce, tomato, and extra sauce after grilling |
| My wrap fell apart | It was overfilled or rolled too loosely | Use a moderate amount of filling, fold in the sides, and roll tightly from the bottom |
| The filling was greasy | The beef had excess fat left in the pan | Choose lean ground beef and drain it well before seasoning |
| The tortilla browned too fast | The heat was too high | Lower the heat slightly so the tortilla can crisp while the cheese finishes melting |
Alternative Cooking Methods (No Grill Required!)
You’ve got options here, and each one gets the job done a little differently.
Cooking Method Comparison
| Method | Temperature/Heat | Approx. Time | Result (Texture) |
|---|---|---|---|
| Grill | Preheated grill | 3 to 5 minutes | Crisp exterior with grill marks and smoky edges |
| Stovetop | Medium heat | 2 to 3 minutes per side | Golden, evenly toasted, slightly crunchier on the outside |
| Oven | 450°F | 10 to 12 minutes | All-over crisping with a firm tortilla shell |
| Air Fryer | 375°F | 5 to 7 minutes | Very crisp outside with fast, even browning |
| Blackstone | Medium heat | About 2 to 3 minutes per side | Even browning with lots of surface contact |
On the Stovetop (Grill Pan or Skillet)
A grill pan or regular skillet is the easiest swap if you don’t have a grill. Heat the pan over medium, add a light film of butter or oil, then cook the wraps seam-side down first so they stay closed. Flip once the bottom is golden and crisp, then cook the second side until the cheese is melted inside.
This method gives great color and control. It’s especially handy when you want a crisp shell without heating up the whole kitchen too much.
In the Oven
For a hands-off batch, arrange the wraps on a baking sheet and bake at 450°F for 10 to 12 minutes, turning if needed for more even browning. If you want extra color at the end, slide them under the broiler briefly and watch closely.
The oven won’t give grill marks, but it does a nice job crisping the tortillas all over. It’s a smart choice when you’re feeding several people at once.
In the Air Fryer
Air fry the wraps at 375°F for 5 to 7 minutes, placing them in a single layer with a little space between each one. Start seam-side down if your basket allows it, and avoid crowding so the hot air can crisp the tortillas properly.
This is one of the fastest ways to get a crunchy outside. The tortilla gets nicely toasted, and the cheese turns soft and gooey inside without much fuss.
On a Blackstone or Flat-Top Griddle
If you’re making these on a Blackstone, cook them much like you would in a skillet, but take advantage of the larger surface so you can do several at once. Use medium heat, place the wraps seam-side down, and toast each side until golden and crisp.
The big flat cooking surface gives even browning and makes flipping easy. It’s a great method for cookouts or for turning out a full batch without working in tiny rounds.
Variations and Customizations
The base recipe is classic, but it’s easy to change the flavor without changing the main method.
| Variation | What to Change | Best For |
|---|---|---|
| Special Burger Sauce | Mix mayo, ketchup, relish, and a small splash of vinegar, then spread it inside or add a little after grilling | A more classic burger-shop flavor |
| Bacon Cheeseburger Wraps | Add cooked, crumbled bacon to the filling | Extra savory crunch |
| Mushroom Swiss Wraps | Use sautéed mushrooms and Swiss cheese instead of cheddar | A richer, diner-style twist |
| Ground Turkey or Chicken | Swap the beef for ground turkey or ground chicken | A lighter version |
| Low-Carb Serving Style | Skip the tortilla and serve the filling in lettuce cups | Keeping the burger flavor with a different wrap |
If you love playful cheeseburger flavors in other hand-held dinners too, Cheeseburger Bombs are a fun next stop.
What to Serve with Cheeseburger Wraps
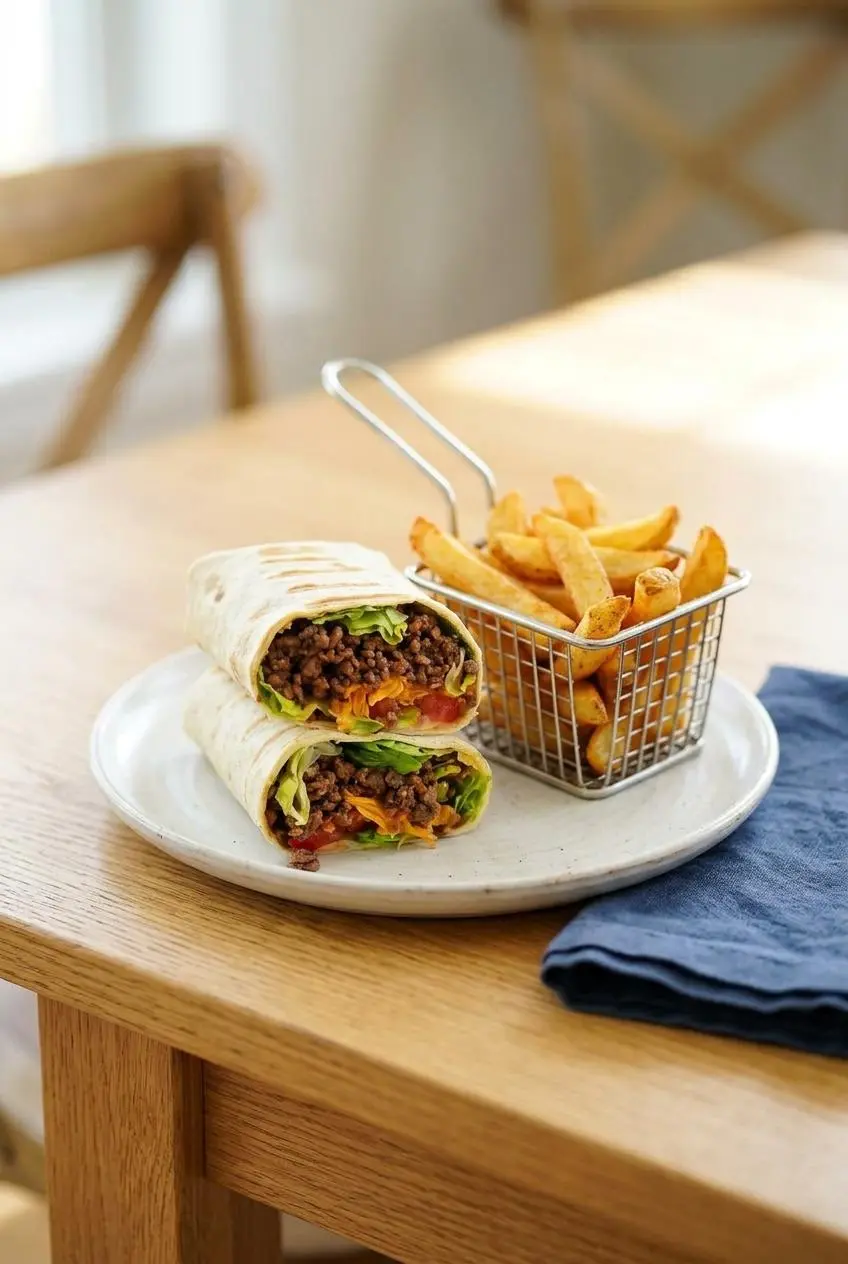
These wraps are rich and savory, so they pair well with sides that bring either crunch or a little freshness.
- Baked steak fries or sweet potato fries for a classic burger-night feel
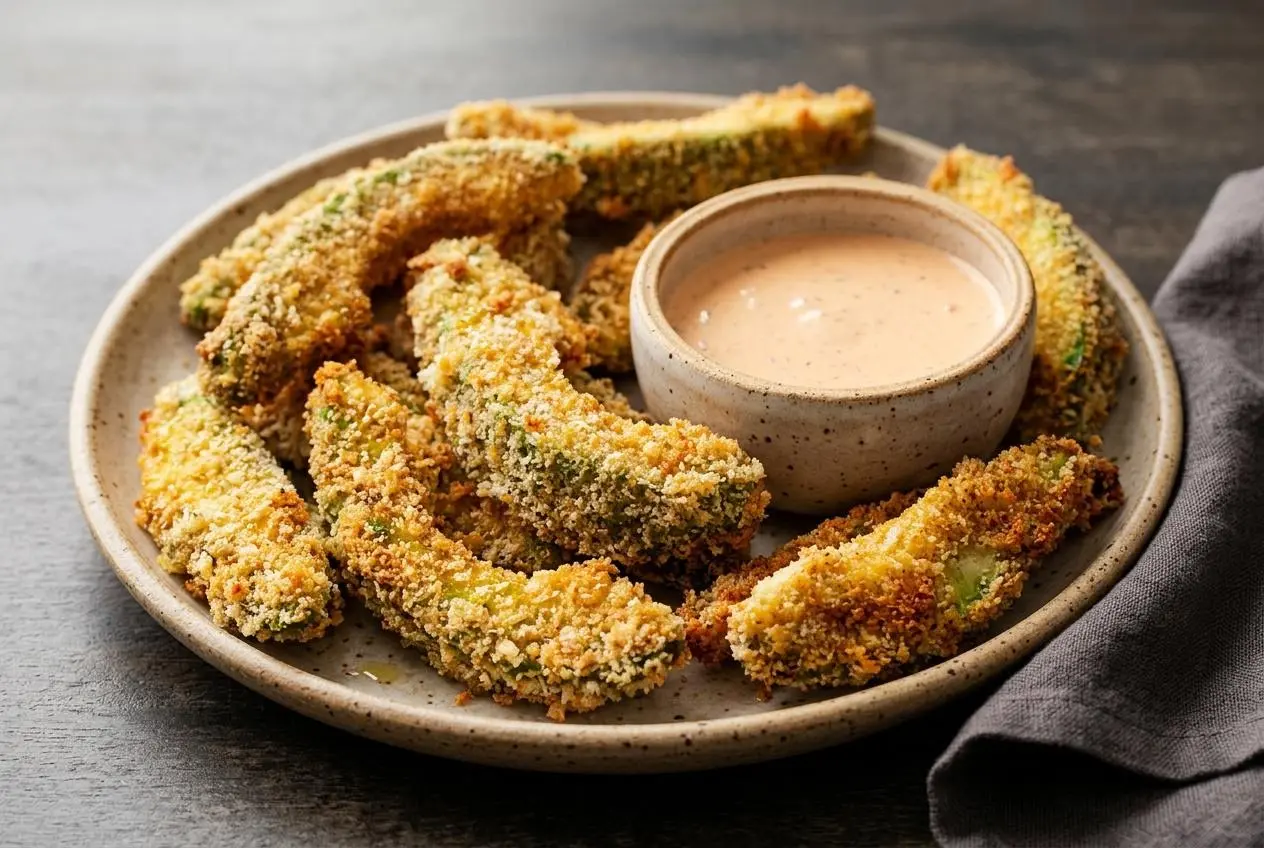
- Crispy zucchini fries if you want a lighter side with plenty of crunch
- A simple green salad to balance the cheesy beef filling
- Extra ketchup, mustard, ranch, or fry sauce for dipping
Storage, Freezing, and Reheating Guide
If you want the best texture later, think in components first. The beef filling holds up better than fully assembled wraps with fresh toppings inside.
How to Store and Reheat
You can refrigerate leftover cooked beef filling separately for up to 3 days, which makes make-ahead lunches or quick dinners much easier. Keep it chilled in a covered container and reheat it before assembling fresh wraps, following leftovers and food safety practices.
If you have fully assembled leftover wraps, store them without lettuce if possible so the tortilla stays firmer. Reheat in the oven, skillet, or air fryer instead of the microwave if you want the outside to crisp up again.
How to Freeze for Meal Prep
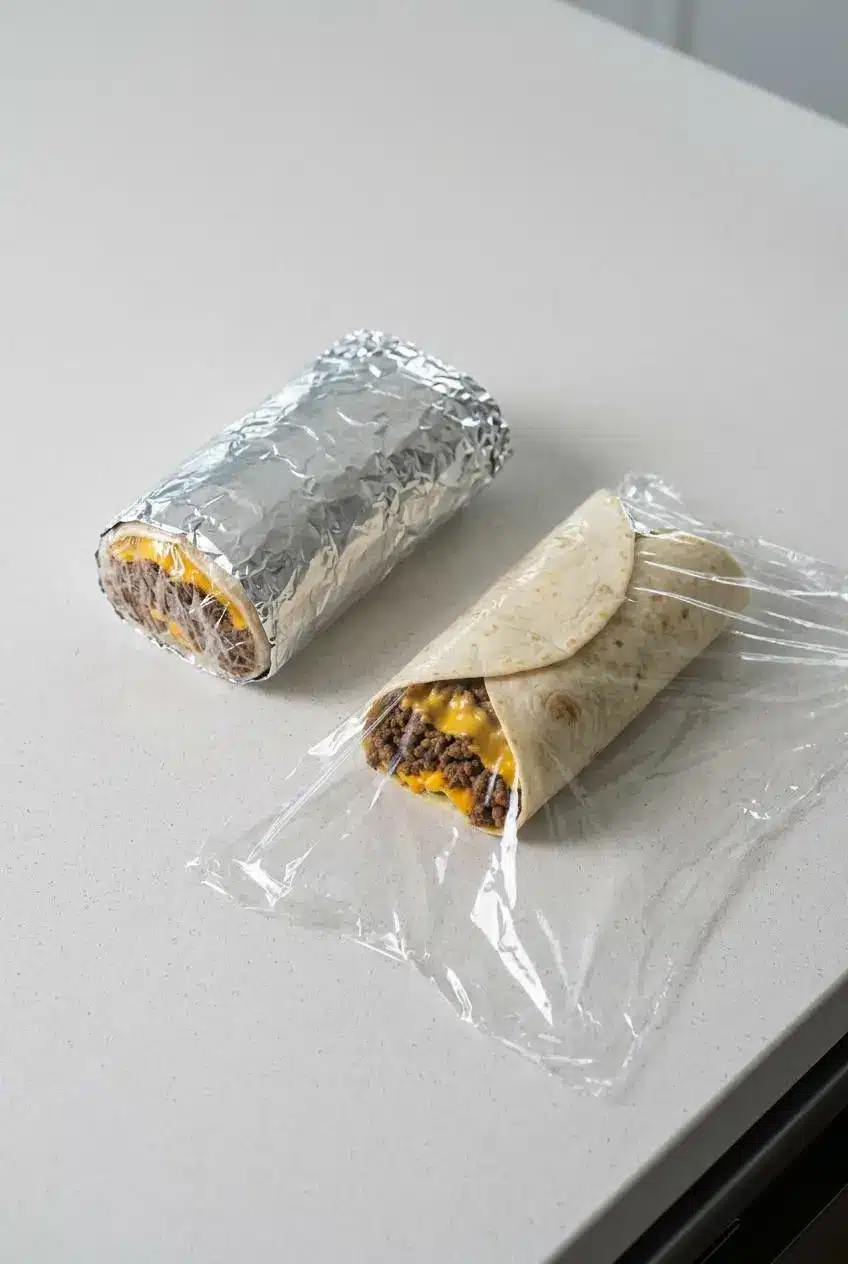
For freezing, assemble the wraps with only the cooked beef and cheese. Wrap each one tightly in plastic wrap, then foil, and freeze for up to 3 months to help protect texture and quality, with more detailed frozen leftover handling covered in safe freezing and thawing of leftovers.
To reheat, unwrap and bake at 375°F for 20 to 25 minutes until heated through and crisp on the outside. Add lettuce, tomato, and onion after reheating so they stay cool and crunchy instead of limp.
Conclusion
These wraps are one of the easiest ways to get cheeseburger flavor on the table fast, with a crisp tortilla standing in for the bun and plenty of room for your favorite toppings.
Keep the beef well drained, don’t overstuff the tortillas, and save the fresh toppings for the end. That one move makes every bite better.
Frequently Asked Questions
Can I make cheeseburger wraps ahead of time?
Yes. For the best texture, cook the beef filling ahead and keep it separate. Assemble and grill the wraps just before serving so the tortilla stays crisp. Wait to add lettuce, tomato, and onion until the end.
How do you freeze and reheat cheeseburger wraps?
The best method is to freeze them with only the beef and cheese inside. Wrap each assembled wrap tightly in plastic wrap, then foil. Freeze for up to 3 months. Reheat in a 375°F oven until hot and crisp, then add fresh toppings after reheating.
What’s the best way to cook these wraps without a grill?
Any of the other methods work well, so it depends on what texture you want most. A skillet gives a deeply golden crust and good control. The oven is great for cooking a full batch at once. The air fryer is fast and gives an extra-crispy finish.
How do I keep my cheeseburger wraps from getting soggy?
Two small steps matter most here. Drain the cooked beef thoroughly so grease doesn’t soak the tortilla. Add wet toppings like lettuce, tomato, and extra sauce after grilling. Preheat your cooking surface so the tortilla crisps quickly instead of steaming.
What are some good variations for cheeseburger wraps?
There are plenty of easy ways to change them up. Add cooked bacon for a bacon cheeseburger version. Use a burger sauce for more tangy, creamy flavor. Try sautéed mushrooms with Swiss cheese for a diner-style twist.
Can I use ground turkey or chicken instead of beef?
Yes, both work well. Ground turkey makes a lighter wrap with a similar texture. Ground chicken also works, though it has a milder flavor. The cooking method stays the same, but keep an eye on moisture so the filling doesn’t dry out.
Grilled Cheeseburger Wraps

Equipment
- Large non-stick skillet
- Indoor or outdoor grill
Ingredients
- 1 pound lean ground beef
- 1 Tablespoon Worcestershire sauce
- 2 Tablespoons ketchup
- 1 teaspoon dried minced onion
- pepper and salt to taste
- 4 large flour tortillas
- shredded cheddar cheese
- lettuce
- tomato slices
- sliced red onion
- mustard
Instructions
- Cook the ground beef in a large non-stick skillet over medium-high heat, breaking it into crumbles as it browns, then drain off the grease and stir in the Worcestershire sauce, ketchup, dried minced onion, salt, and pepper before lowering the heat for about 5 minutes. The beef should be fully browned with no pink left, and the pan will smell rich and savory as the seasonings warm through.
- Lay out the tortillas and add shredded cheddar down the center of each one, then divide the beef mixture evenly over the cheese, drizzle with a little mustard, add tomato slices, and roll each tortilla up burrito-style. Keep the filling centered and not too thick so the wraps stay closed and don’t split once they hit the heat.
- Place the wraps on a preheated indoor or outdoor grill, working two at a time, and cook for 3 to 5 minutes until the outside is golden brown. The tortillas should show clear grill marks, and the cheese inside should be soft and melted.
- Transfer the wraps to a plate, gently open each one enough to add lettuce and sliced red onion, then roll them back up and cut them diagonally before serving. You’ll get the best contrast here: hot cheesy filling inside, cool crisp vegetables on top, and a nice crunch when you bite in.