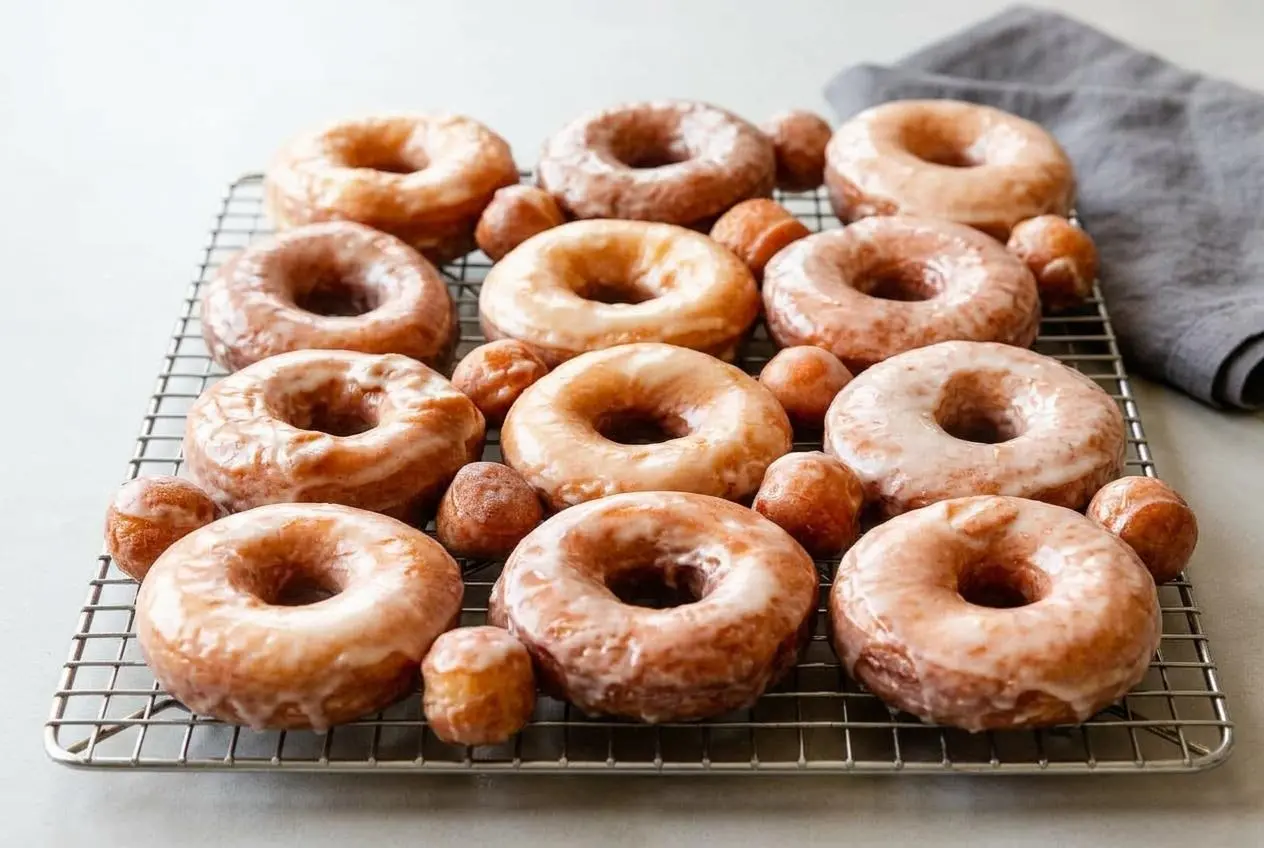
This recipe shows you how to make classic fried yeast doughnuts at home with a soft, airy crumb and a thin vanilla glaze. The keys are proper kneading, patient proofing, and frying at the right temperature.
This Glazed Doughnuts Recipe is the kind of weekend bake that feels extra special without being fussy. You get pillowy doughnuts, a glossy sweet coating, and that unmistakable bakery-style aroma from warm milk, yeast, vanilla, and nutmeg.
What makes it worth the time is how approachable the process becomes once you know what to look for. The dough tells you a lot if you know the cues.
Keep a thermometer clipped to the pot before you start frying, because steady oil temperature makes the difference between light doughnuts and greasy ones.
Why You’ll Love This Glazed Doughnut Recipe
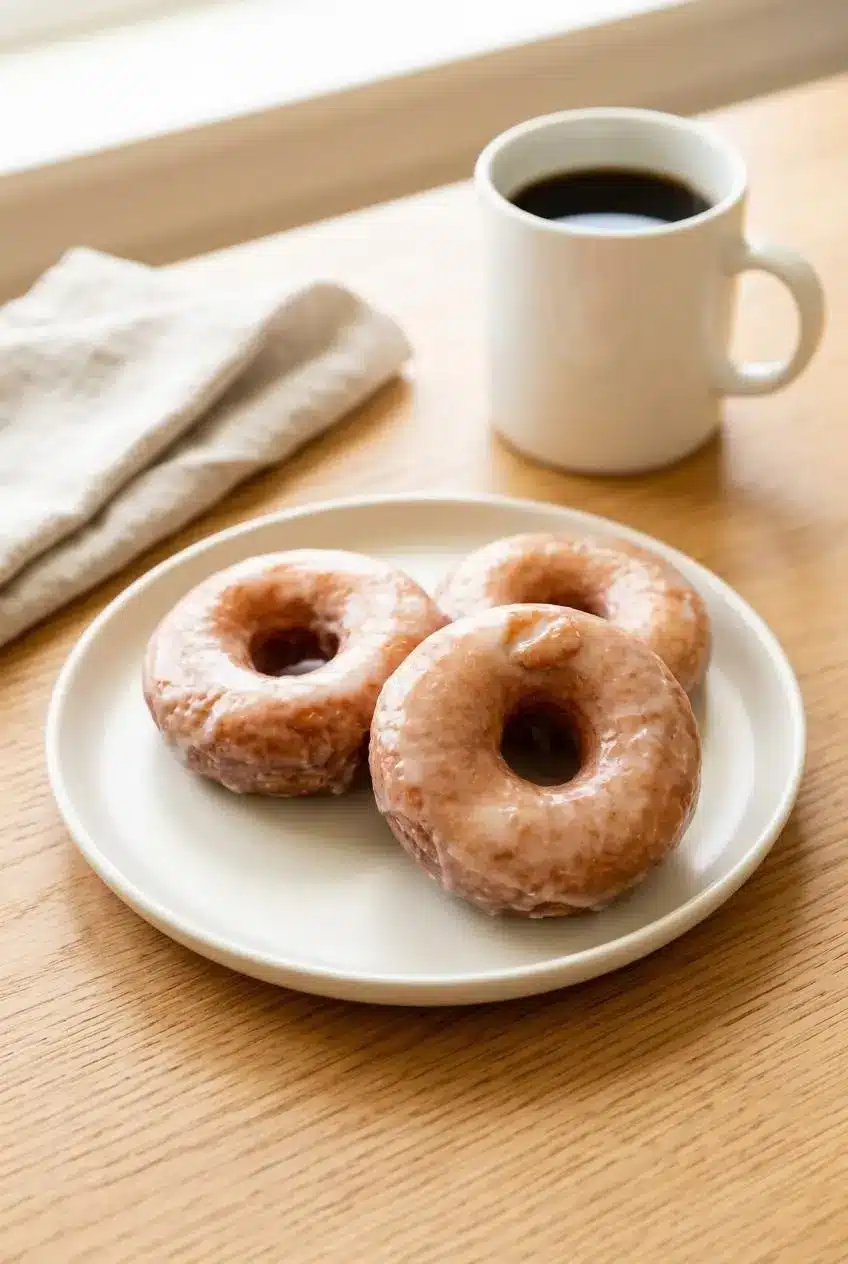
If you want homemade doughnuts that actually taste like doughnut-shop doughnuts, this recipe delivers. The texture stays soft and airy, the glaze sets in a thin shiny layer, and the method gives you clear cues so you know what success looks like at every stage.
- Pillowy soft texture with a tender interior and lightly crisp edge
- Classic bakery flavor from vanilla, butter, and a pinch of nutmeg
- Beginner-friendly guidance for kneading, proofing, shaping, and frying
- A simple glaze that clings well and sets best on warm doughnuts
Key Ingredients for Perfect Doughnuts
Each ingredient has a real job here, from building structure and tenderness to creating that familiar doughnut-shop aroma and smooth glaze.
Doughnuts
- 1 cup (240ml) whole milk, warmed to about 110°F (43°C)
- 2 and 1/4 teaspoons (7g) instant or active dry yeast (1 standard packet)
- 1/3 cup (65g) granulated sugar, divided
- 2 large eggs
- 6 Tablespoons (85g) unsalted butter, melted and slightly cooled
- 1 teaspoon pure vanilla extract
- 1/4 teaspoon ground nutmeg
- 1/2 teaspoon salt
- 4 cups (500g) all-purpose flour (spooned & leveled), plus more as needed
- 1–2 quarts vegetable oil
Donut Glaze
- 2 cups (240g) confectioners’ sugar, sifted
- 1/3 cup (80ml) heavy cream, half-and-half, or whole milk
- 1/2 teaspoon pure vanilla extract
Yeast is what gives these doughnuts their lift and airy interior. If you’re using active dry yeast, proofing it in the warm milk helps you confirm it’s alive and ready. After 5 to 10 minutes, the surface should look foamy and smell pleasantly yeasty.
Whole milk gives the dough more richness and a softer crumb than lower-fat milk. Real butter adds tenderness and flavor, which is especially noticeable once the doughnuts cool slightly. Eggs help with structure and color, while salt keeps the sweetness from tasting flat.
That small amount of nutmeg matters more than it looks. It gives the dough a classic bakery-style flavor that reads as familiar right away, even if nobody can quite name it.
I always warm the milk gently until it feels warm, not hot, because yeast works best when it gets a cozy start instead of a shock.
Active Dry Yeast vs. Instant Yeast
Both work well here, but they behave a little differently in the bowl.
| Yeast Type | How to Use It | What It Means for This Recipe |
|---|---|---|
| Active dry yeast | Best checked in the warm milk mixture first | Helps you confirm the yeast is active before mixing the full dough |
| Instant yeast | Mixes in easily and usually activates a bit faster | Still works with the same recipe timing, but the dough may move along a little quicker |
How to Make Glazed Doughnuts Step-by-Step
This method stays straightforward once you break it into stages. The main things to watch are dough texture, rise cues, and oil temperature.
Make and Knead the Dough
- Whisk the warm milk, yeast, and 1 Tablespoon of the sugar in the bowl of a stand mixer, then cover loosely and let it stand for 5 to 10 minutes.
The mixture should turn foamy and frothy on top, and the yeast should smell active and bready. - Add the remaining sugar, eggs, melted butter, vanilla, nutmeg, salt, and 2 cups of the flour, then mix on low speed for 1 minute.
The mixture will look thick and shaggy at first, which is exactly what you want before the rest of the flour goes in. - Add the remaining flour and mix on medium speed for about 2 minutes, scraping the bowl as needed and adding more flour 1 Tablespoon at a time only if the dough will not pull in from the sides.
The dough should come together into a soft mass that still feels slightly sticky rather than dry or stiff. - Knead the dough in the mixer for 5 to 7 minutes, or knead by hand on a lightly floured surface for 5 to 7 minutes, adding only tiny sprinkles of flour if it gets too sticky to handle.
It should feel soft, slightly tacky, and spring back slowly when poked, and a small piece should stretch thin enough for a windowpane test without tearing right away.
If you do not have a stand mixer, this dough can be made by hand. Stir with a sturdy spoon until it becomes too thick, then knead on a lightly floured surface until smooth and elastic.
First Rise (Proofing)
- Lightly grease a large bowl, place the dough inside, and turn it so the surface is lightly coated, then cover the bowl.
The light coating helps prevent drying, which keeps the outside of the dough soft as it rises. - Set the bowl in a warm spot and let the dough rise for 1.5 to 2 hours, or until doubled in size.
The dough should look puffed and airy, and this first rise can take the full time, so patience really matters here.
A slightly warm, draft-free spot helps a lot. An off oven with the light on or a microwave next to a mug of hot water can create the kind of gentle warmth yeast likes.
Shape the Doughnuts
- Press down the risen dough to release the air, then turn it onto a lightly floured surface and roll it to 1/2 inch thick.
The dough should roll easily and still feel soft, not tight or heavily floured. - Cut the dough with a 3 to 3.5-inch doughnut cutter and gather the scraps to cut more pieces.
Try not to overwork the scraps, because the rerolled batch is the first place toughness tends to show up.
For the easiest transfer, place each cut doughnut on its own small square of parchment. That lets you lower them into the oil with less handling, so they keep their shape and don’t deflate on the way in.
Second Rise
- Arrange the cut doughnuts and holes on parchment-lined baking sheets, cover loosely, and let them rest for 30 minutes while the oil heats.
They should puff a bit and look lighter, which helps them fry up with a softer interior. - Set a cooling rack over a baking sheet before frying begins.
This gives the hot doughnuts a place to drain without trapping steam underneath.
Fry the Doughnuts
- Pour the vegetable oil into a large heavy pot, attach an oil thermometer, and heat over medium until the oil reaches 375°F (191°C).
This temperature is the sweet spot for quick browning and a cooked-through center without an oily finish. - Fry 2 to 3 doughnuts at a time for 1 minute on the first side, then flip and fry 1 minute on the second side.
They should turn evenly golden brown and feel light when lifted from the oil. - Lift the doughnuts out with a slotted metal spoon or spatula and place them on the prepared rack, then repeat with the rest and turn off the heat when finished.
If the oil temperature drops or climbs too much, pause briefly and let it return to range before frying the next batch.
Many home cooks wonder what oil works best for frying doughnuts. A neutral oil such as vegetable oil is a solid choice because it stays in the background and lets the butter, vanilla, and nutmeg come through.
Make the Glaze and Finish
- Whisk the confectioners’ sugar, cream, and vanilla until smooth and pourable.
The glaze should look silky and thin enough to coat without turning translucent and watery. - Dip each warm doughnut into the glaze, coating both sides, then return it to the rack to let the excess drip off.
Warm doughnuts help the glaze melt slightly into a thin even layer that sets after about 20 minutes.
Tips for Bakery-Quality Results
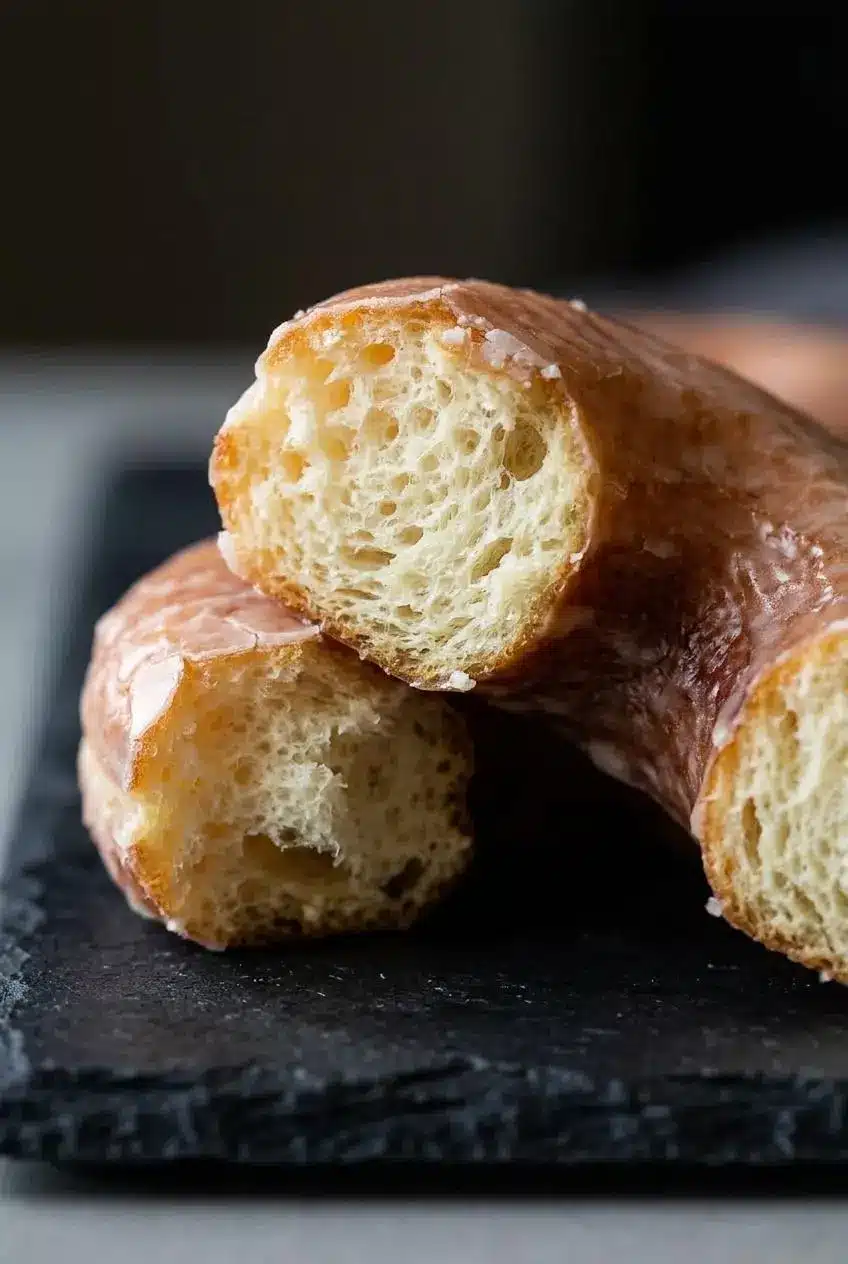
These are the details that make the difference between good homemade doughnuts and the kind that disappear while still warm.
- Measure flour with the spoon-and-level method. Scooping straight from the bag can pack in too much flour, which makes the dough heavy.
- Stop adding flour as soon as the dough is soft and workable. It should be slightly sticky, not dry.
- Knead until the dough is elastic and passes the windowpane test. That gluten development is what helps the doughnuts fry up light and fluffy.
- Do not let the shaped doughnuts over-proof. If they get too puffy before frying, they can collapse when moved or when they hit the oil.
- Handle scrap dough gently and reroll it only as much as needed. The more you work it, the less tender those later doughnuts become.
- For a thin, even glaze, dip the doughnuts while they are still warm and let the excess run off on a rack.
- Let the frying oil cool completely before dealing with it. If you want to discard it, pouring it into a sealable container and placing that container in the trash is the method described by the USDA’s deep fat frying guidance.
Common Doughnut Problems and How to Fix Them
Yeast dough can be a little dramatic, but most doughnut problems trace back to a small handful of causes. Once you know what to watch for, they’re much easier to fix.
| Problem | Likely Cause | Solution |
|---|---|---|
| Doughnuts are tough or dense | Too much flour, too much handling, or overworked scraps | Keep the dough soft and slightly tacky, measure flour by spooning and leveling, and reroll scraps as little as possible |
| Doughnuts are greasy | Oil temperature too low or too many doughnuts added at once | Keep the oil in the 360 to 375°F range and fry in small batches so the temperature stays steady |
| Doughnuts didn’t rise | Yeast was inactive, milk was too hot, or the dough was left in a cool spot | Start with warm, not hot, milk and make sure the yeast mixture foams before moving on, then proof in a warm draft-free place |
| Glaze is too thin or runny | Too much liquid or doughnuts dipped when the glaze was too loose | Whisk until smooth but thick enough to cling, and dip warm doughnuts so the coating sets into a thin layer instead of sliding off |
| Doughnuts brown too fast | Oil temperature too high | Lower the heat slightly and wait for the oil to settle before frying the next batch |
| Dough collapses when moved | Shaped doughnuts over-proofed or were handled too roughly | Transfer them gently, ideally on parchment squares, and fry once they look lightly puffed rather than oversized |
Variations and Customizations
Once you have the core dough down, you can branch out in a few fun directions. Keep these as optional twists so the main recipe stays true to its classic texture and flavor.
Brown Butter and Sea Salt Glaze
For a deeper, nuttier finish, brown the butter first, then let it cool slightly before whisking it into a glaze base. A light sprinkle of flaky sea salt on top helps balance the sweetness and makes the flavor feel more grown-up.
Classic Chocolate Glaze
For a chocolate version, whisk confectioners’ sugar with cocoa powder and enough milk or cream to make a smooth, dippable glaze. The result is richer and a little more fudge-like, while still giving you that shiny doughnut-shop finish.
How to Make Filled Doughnuts (Jelly or Cream)
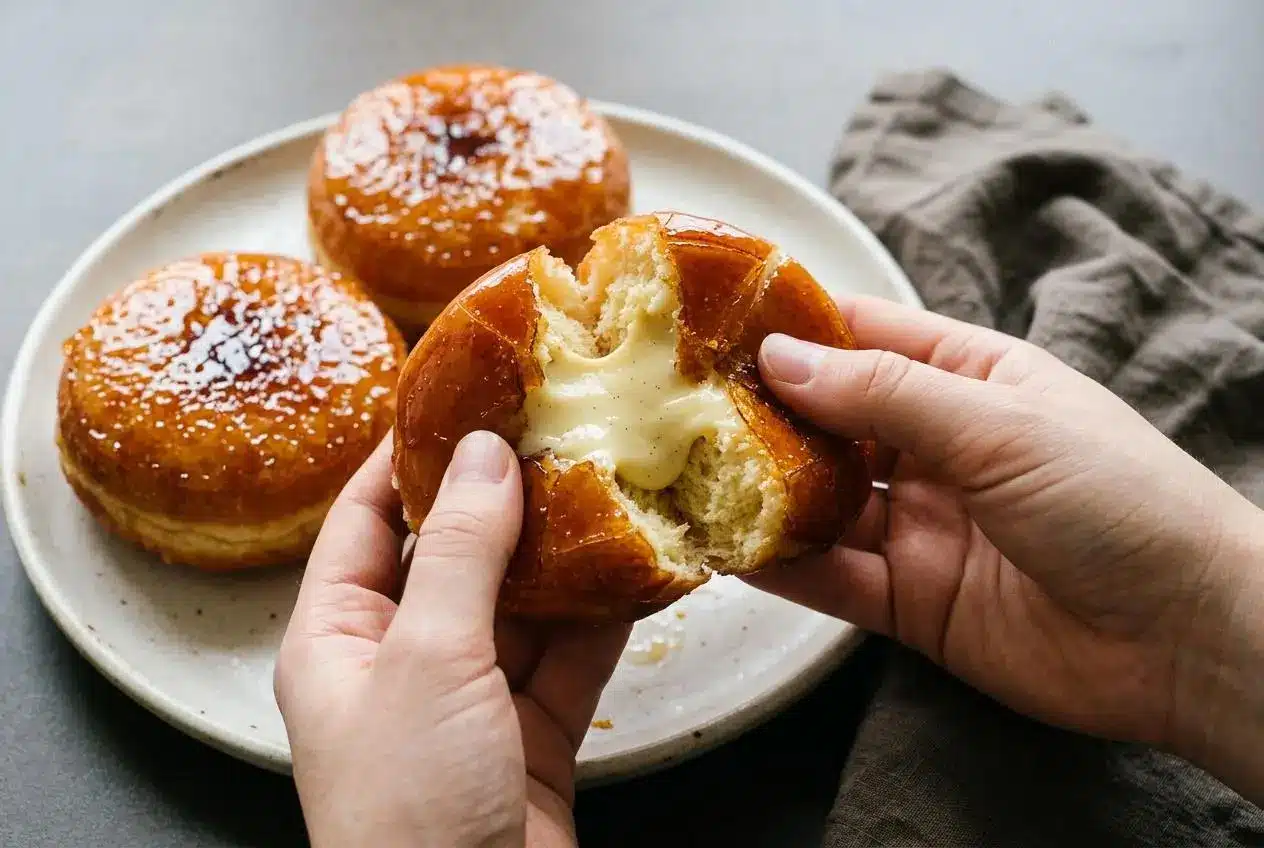
Skip the center hole and use a round cutter for full circles. After frying and cooling slightly, use a piping bag to fill each one with jam, pastry cream, or another soft filling.
If you enjoy yeast dough projects and want another glossy pastry challenge later, Glazed Croissants are a fun next step.
Storage, Make-Ahead, and Freshness Tips
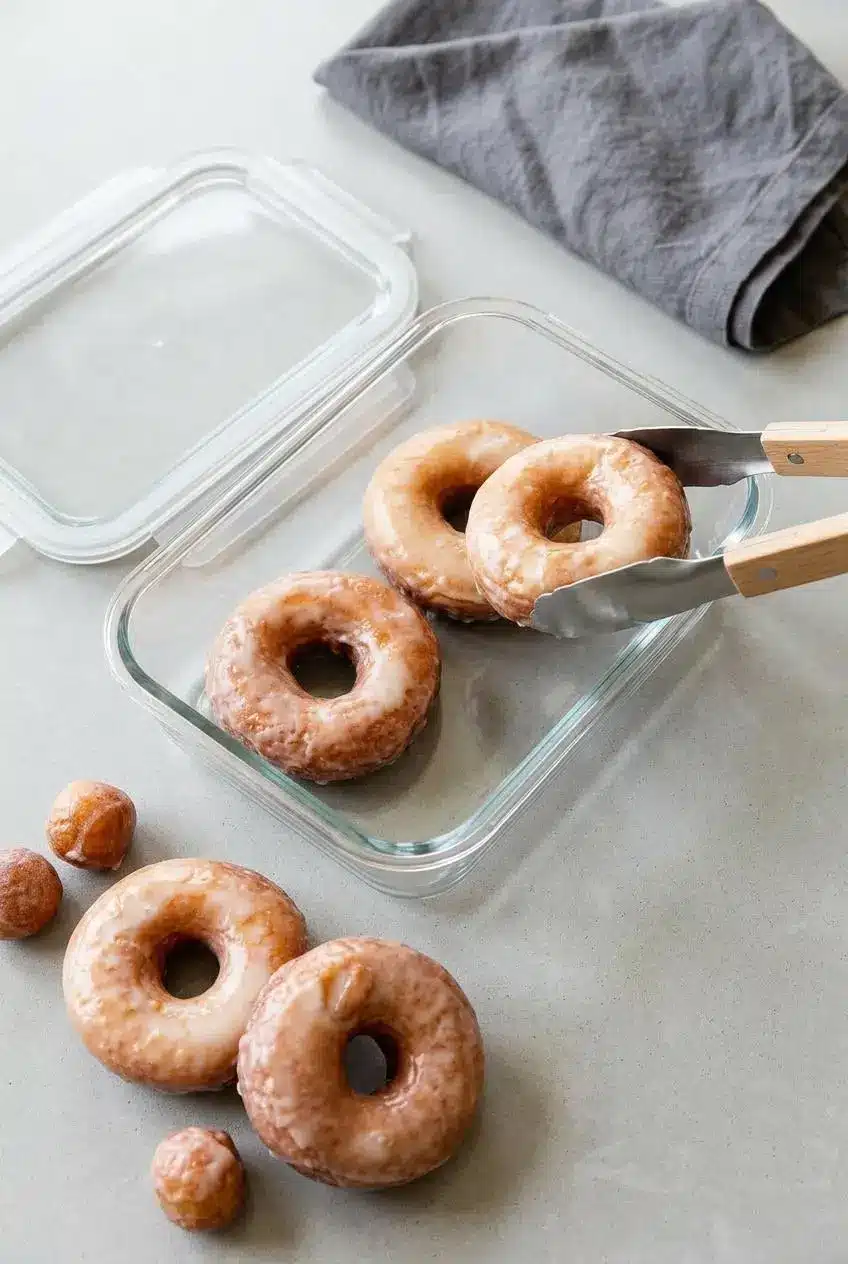
These doughnuts are at their absolute best the day they are made, especially while the glaze is fresh and the centers are still airy. If you have leftovers, keep them in an airtight container and avoid excess moisture, which can soften the glaze and dull the texture.
Refrigeration tends to make fried doughnuts stale faster, so room temperature is usually the better choice for short holding. The dough can also be mixed in advance and chilled for its first rise if you need to split the work between two parts of the day, then brought back to a cool room temperature feel before rolling and cutting.
If you have extra doughnut holes, serving them with Funfetti Dip turns them into a playful dessert snack instead of an afterthought.
Conclusion
Making glazed doughnuts from scratch takes a little time, but the payoff is big. You get warm, airy doughnuts with a sweet vanilla shell and that classic bakery flavor that feels special right out of your own kitchen.
Focus on soft dough, patient proofing, and steady oil temperature, and the whole process becomes much more approachable. Fresh coffee nearby doesn’t hurt either.
Frequently Asked Questions (FAQ)
Can I Bake These Doughnuts Instead of Frying Them?
This dough is designed for frying, which is what gives it that light, airy doughnut texture. If you bake it, the result will be more bread-like and noticeably denser. For baked doughnuts, use a formula made specifically for the oven.
Why Are My Doughnuts Tough or Dense?
The most common cause is too much flour. Tough doughnuts can also come from over-kneading or reworking the scraps too many times. Keep the dough soft and slightly sticky for the best texture.
What Is the Best Way to Know When the Dough Has Risen Enough?
Look for the dough to roughly double in size. Press it gently with a fingertip. If the indentation springs back right away, it needs more time. If it comes back slowly and leaves a slight mark, it is ready. If it sinks or deflates, it has likely gone too far.
How Do I Store Homemade Doughnuts?
They are best the same day, when the crumb is softest and the glaze still has a fresh finish. For leftovers, keep them covered in an airtight container at room temperature rather than chilling them if you want the texture to stay more pleasant.
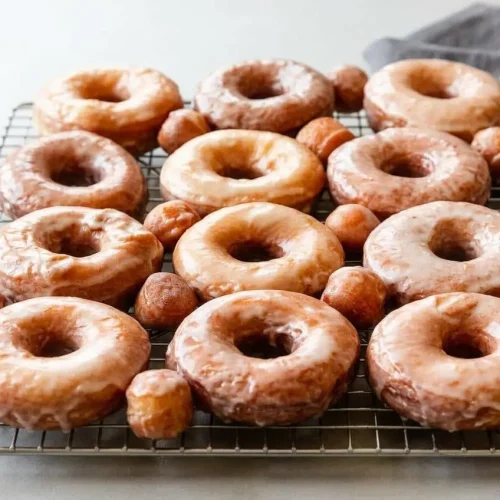
Glazed Doughnuts Recipe

Equipment
- Stand mixer
- Large heavy-bottomed pot or Dutch oven
- Oil Thermometer
- Doughnut Cutter
- Baking Sheets
- Cooling Rack
Ingredients
Doughnuts
- 1 cup whole milk, warmed to about 110°F (43°C) (240ml)
- 2 1/4 teaspoons instant or active dry yeast (1 standard packet) (7g)
- 1/3 cup granulated sugar, divided (65g)
- 2 large eggs
- 6 Tablespoons unsalted butter, melted and slightly cooled (85g)
- 1 teaspoon pure vanilla extract
- 1/4 teaspoon ground nutmeg
- 1/2 teaspoon salt
- 4 cups all-purpose flour (spooned & leveled), plus more as needed (500g)
- 1-2 quarts vegetable oil
Donut Glaze
- 2 cups confectioners’ sugar, sifted (240g)
- 1/3 cup heavy cream, half-and-half, or whole milk (80ml)
- 1/2 teaspoon pure vanilla extract
Instructions
Make and Knead the Dough
- Whisk the warm milk, yeast, and 1 Tablespoon of the sugar in the bowl of a stand mixer, then cover loosely and let it stand for 5 to 10 minutes. The mixture should turn foamy and frothy on top, and the yeast should smell active and bready.
- Add the remaining sugar, eggs, melted butter, vanilla, nutmeg, salt, and 2 cups of the flour, then mix on low speed for 1 minute. The mixture will look thick and shaggy at first, which is exactly what you want before the rest of the flour goes in.
- Add the remaining flour and mix on medium speed for about 2 minutes, scraping the bowl as needed and adding more flour 1 Tablespoon at a time only if the dough will not pull in from the sides. The dough should come together into a soft mass that still feels slightly sticky rather than dry or stiff.
- Knead the dough in the mixer for 5 to 7 minutes, or knead by hand on a lightly floured surface for 5 to 7 minutes, adding only tiny sprinkles of flour if it gets too sticky to handle. It should feel soft, slightly tacky, and spring back slowly when poked, and a small piece should stretch thin enough for a windowpane test without tearing right away.
First Rise (Proofing)
- Lightly grease a large bowl, place the dough inside, and turn it so the surface is lightly coated, then cover the bowl. The light coating helps prevent drying, which keeps the outside of the dough soft as it rises.
- Set the bowl in a warm spot and let the dough rise for 1.5 to 2 hours, or until doubled in size. The dough should look puffed and airy, and this first rise can take the full time, so patience really matters here.
Shape the Doughnuts
- Press down the risen dough to release the air, then turn it onto a lightly floured surface and roll it to 1/2 inch thick. The dough should roll easily and still feel soft, not tight or heavily floured.
- Cut the dough with a 3 to 3.5-inch doughnut cutter and gather the scraps to cut more pieces. Try not to overwork the scraps, because the rerolled batch is the first place toughness tends to show up.
Second Rise
- Arrange the cut doughnuts and holes on parchment-lined baking sheets, cover loosely, and let them rest for 30 minutes while the oil heats. They should puff a bit and look lighter, which helps them fry up with a softer interior.
- Set a cooling rack over a baking sheet before frying begins. This gives the hot doughnuts a place to drain without trapping steam underneath.
Fry the Doughnuts
- Pour the vegetable oil into a large heavy pot, attach an oil thermometer, and heat over medium until the oil reaches 375°F (191°C). This temperature is the sweet spot for quick browning and a cooked-through center without an oily finish.
- Fry 2 to 3 doughnuts at a time for 1 minute on the first side, then flip and fry 1 minute on the second side. They should turn evenly golden brown and feel light when lifted from the oil.
- Lift the doughnuts out with a slotted metal spoon or spatula and place them on the prepared rack, then repeat with the rest and turn off the heat when finished. If the oil temperature drops or climbs too much, pause briefly and let it return to range before frying the next batch.
Make the Glaze and Finish
- Whisk the confectioners’ sugar, cream, and vanilla until smooth and pourable. The glaze should look silky and thin enough to coat without turning translucent and watery.
- Dip each warm doughnut into the glaze, coating both sides, then return it to the rack to let the excess drip off. Warm doughnuts help the glaze melt slightly into a thin even layer that sets after about 20 minutes.