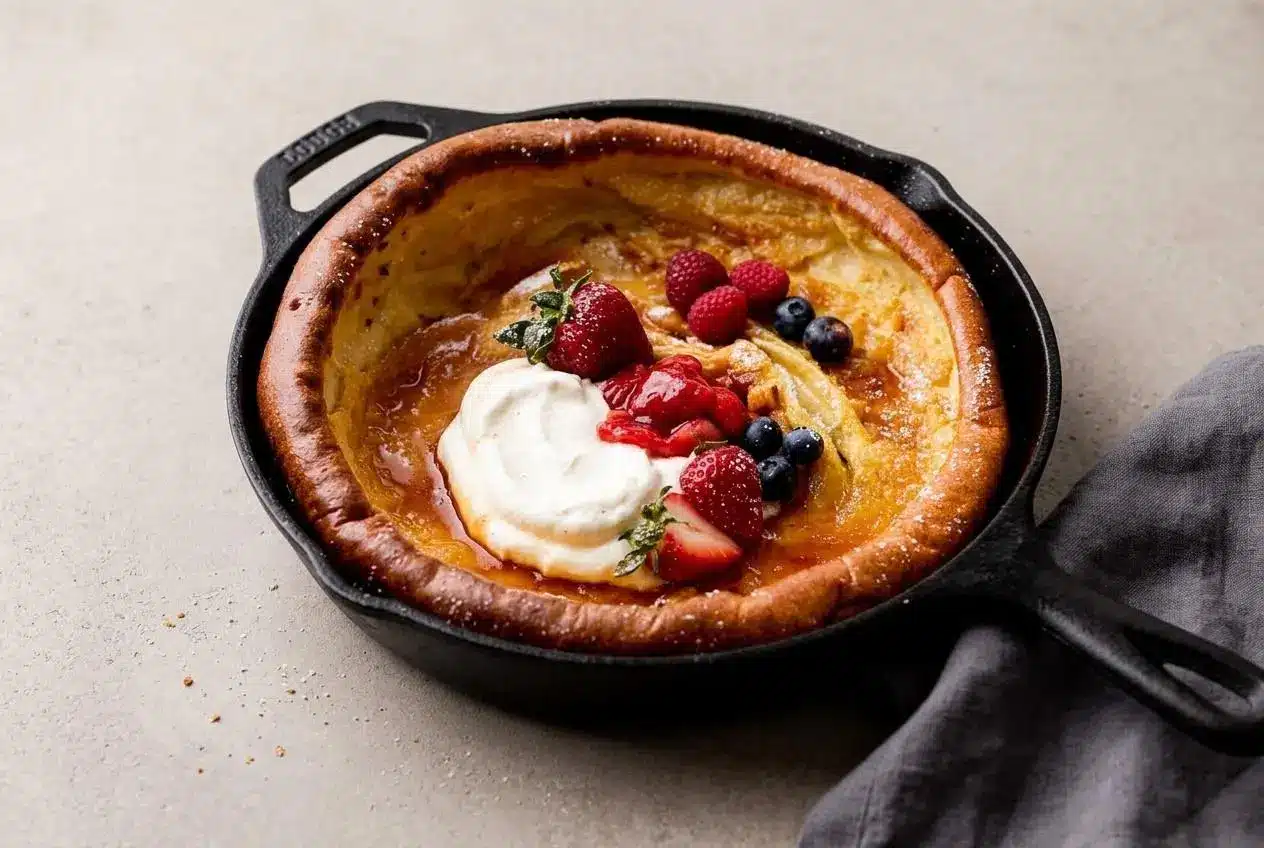
A Dutch pancake, also called a Dutch baby, is an oven-baked eggy pancake that puffs from steam in a hot buttered skillet, forming crisp golden edges around a soft custardy center.
This dutch pancakes recipe turns a thin, frothy blender batter into a dramatic breakfast pancake with browned butter aroma and tall, curled sides. It bakes in one pan, then settles into a natural bowl for toppings.
Room-temperature eggs and milk, a properly heated pan, and a closed oven door make the difference between a lofty puff and a flat pancake. That golden rim is worth the wait.
Set the eggs and milk on the counter while the oven heats so they lose their refrigerator chill before blending.
What Makes a Dutch Pancake Unique
A Dutch pancake is built for contrast: deeply browned edges, a tender middle, and a light eggy flavor that works with sweet or savory toppings. Instead of cooking individual rounds on a griddle, the batter bakes all at once in a very hot pan.
Dutch Baby vs. Traditional Pannenkoeken vs. American Pancakes
American pancakes are thick, griddle-cooked rounds that usually rely on baking powder or baking soda for lift. They stay fluffy throughout and are typically served in a stack.
Traditional pannenkoeken are much thinner and broader, closer in feel to crêpes, with toppings often cooked directly on the surface. For another flat European-style option, try traditional German pancakes.
A Dutch baby uses a loose, egg-rich batter and high oven heat. It climbs up the sides of the skillet, then gently deflates after baking, leaving crisp edges and a custard-like center rather than a stack of fluffy cakes.
The Science of Steam Rise Without Leavening Agents
This pancake needs no baking powder. As the milk and eggs heat quickly, their moisture turns to steam and pushes the thin batter upward. The flour and eggs set around those pockets of steam, holding the tall shape long enough for the edges to brown.
Blending matters because it disperses the flour smoothly and adds air to the batter. The frothy layer on top is a useful sign that the eggs have been aerated. The hot skillet gives that airy batter an immediate burst of heat, which starts the rise before the center has time to set.
Key Ingredients and Their Culinary Roles
Each ingredient supports the pancake’s rise, tender structure, buttery crispness, and bright balance, while the toppings bring sweetness and freshness to the warm custardy center.
Pancake Batter
- 3 large eggs, at room temperature
- 3/4 cup (94g) all-purpose flour
- 3/4 cup (180ml) whole milk, at room temperature (or nondairy)
- 1 teaspoon lemon zest
- 2 Tablespoons (25g) granulated sugar
- pinch salt
- 1/2 teaspoon vanilla extract
- 3 Tablespoons (43g) unsalted butter
Toppings
- 2 Tablespoons confectioners’ sugar, for sifting
- optional toppings: berries, whipped cream, maple syrup, and/or strawberry sauce
Eggs and whole milk supply the moisture that creates steam, so starting with room-temperature ingredients helps the pancake rise more readily. All-purpose flour gives the center enough structure to stay tender rather than heavy. Lemon zest, vanilla, sugar, and salt soften the rich egg flavor, while butter creates the crisp, browned edge.
I use a microplane for the lemon zest and stop before reaching the white pith, which can make the finished pancake taste bitter.
How to Make Dutch Pancakes
The method moves quickly once the skillet is hot, so blend and rest the batter before melting the butter. Watch for a foamy batter, sizzling butter, and a dark-golden rim that climbs high up the pan.
Preparation and Baking
- Blend the eggs on medium-high speed for about 45 seconds, then add the flour, milk, lemon zest, sugar, salt, and vanilla and blend until smooth.
The batter should look thin with a frothy layer on top; let it stand at room temperature for 15 minutes, or cover and refrigerate for up to 24 hours. - Heat the oven to 400°F (204°C), then place the butter in a 10-inch oven-safe skillet or 3-quart baking dish and heat it in the oven for 5 minutes.
Remove the pan when the butter has melted and is sizzling, then brush it over the bottom and sides without letting it brown too far. - Pour the rested batter into the center of the hot buttered pan and bake for 15 minutes without opening the oven door.
Keep the pan in the oven, lower the temperature to 350°F (177°C), and continue baking for 10 minutes, until the edges and center are browned. - Take the pancake from the oven and let it cool for 5 minutes before adding toppings and slicing.
The high sides will settle slightly, creating a soft center that holds confectioners’ sugar, fruit, or syrup. - Serve the pancake promptly, or cover leftover slices and refrigerate them for up to 5 days or freeze them for up to 2 months.
Cool the slices before storing so condensation does not soften the browned edges.
Blending and Resting the Batter
Blend the eggs first so they become noticeably foamy, then blend in the remaining batter ingredients just until smooth. Those tiny bubbles help set up the steam-driven lift, while the 15-minute rest gives the flour time to absorb liquid evenly.
Do not worry that the batter looks loose. A thin batter is exactly what allows it to rush into the hot buttered pan and rise against the skillet walls. If the batter has been chilled ahead, use it straight from the refrigerator as directed.
Preheating the Pan and Butter
Heating the skillet with the butter does two jobs at once: it greases the surface thoroughly and gives the batter an instant blast of heat. Brush the melted butter up the sides, where the pancake will climb and brown.
Cast iron is especially good at retaining heat, but any sturdy oven-safe skillet or 3-quart baking dish can work. The butter should sizzle when you remove the pan. If it looks quiet and barely melted, give the pan more heat before adding the batter.
The Two-Stage Oven Temperature Method
The initial 400°F (204°C) bake creates rapid steam, lifting the batter into tall, dramatic folds. Keep the door closed during those first 15 minutes. A rush of cool air can interrupt the rise before the structure firms.
Lowering the oven to 350°F (177°C) lets the center finish setting while the rim turns deeply golden. The pancake is ready when the edge looks browned and crisp, and the center has lost its wet sheen.
Troubleshooting and Rise Secrets
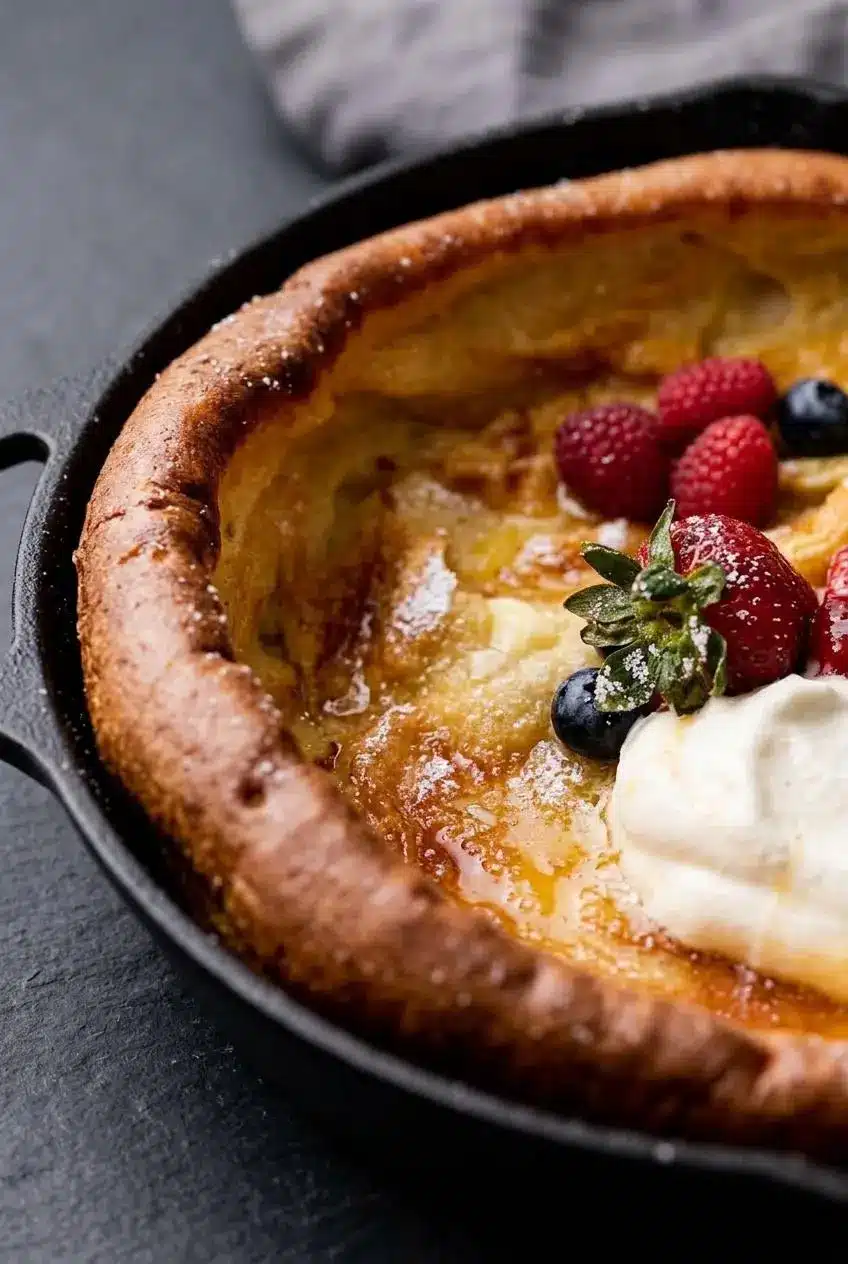
Most Dutch pancake problems come down to temperature, pan heat, or baking it before the batter has had time to set. A little attention to those details gives you a much more reliable puff.
Pan Options: Cast Iron Skillet vs. 9×13 Baking Dish
A 10-inch cast iron skillet holds heat exceptionally well, encouraging a taller rise and the crispiest butter-browned edges. It is the strongest choice when you want a dramatic, curled rim.
A heavy oven-safe stainless steel skillet also works well, though it may lose heat more quickly when the batter goes in. A metal cake pan or 3-quart enamel baking dish is a practical alternative. In a 9×13 baking dish, the batter spreads thinner, so expect a flatter pancake with more browned surface and less height. Ceramic dishes can work, but they heat more gradually and often produce a softer edge.
Avoiding Flat, Rubbery, or Soggy Centers
- Flat pancake: Cold eggs or milk reduce the early steam burst. Let both sit out briefly before blending, or warm the milk gently until it no longer feels chilled.
- Weak rise: A cool skillet cannot launch the batter upward. Heat the pan with butter until the butter is actively sizzling before pouring.
- Collapsed pancake too soon: Opening the oven during the first 15 minutes releases heat and steam. Use the oven light instead and wait until the temperature change.
- Rubbery center: Overbaking can tighten the egg structure. Remove it when the center is browned and set, rather than waiting for it to become dry.
- Soggy middle: Make sure the center has browned before removing the pan. Add juicy fruit, syrup, or sauce after baking so the crust stays crisp.
- Burnt butter: Melt the butter for the stated 5 minutes and watch closely. It should smell rich and buttery, not sharp or smoky.
Sweet and Savory Variations to Try
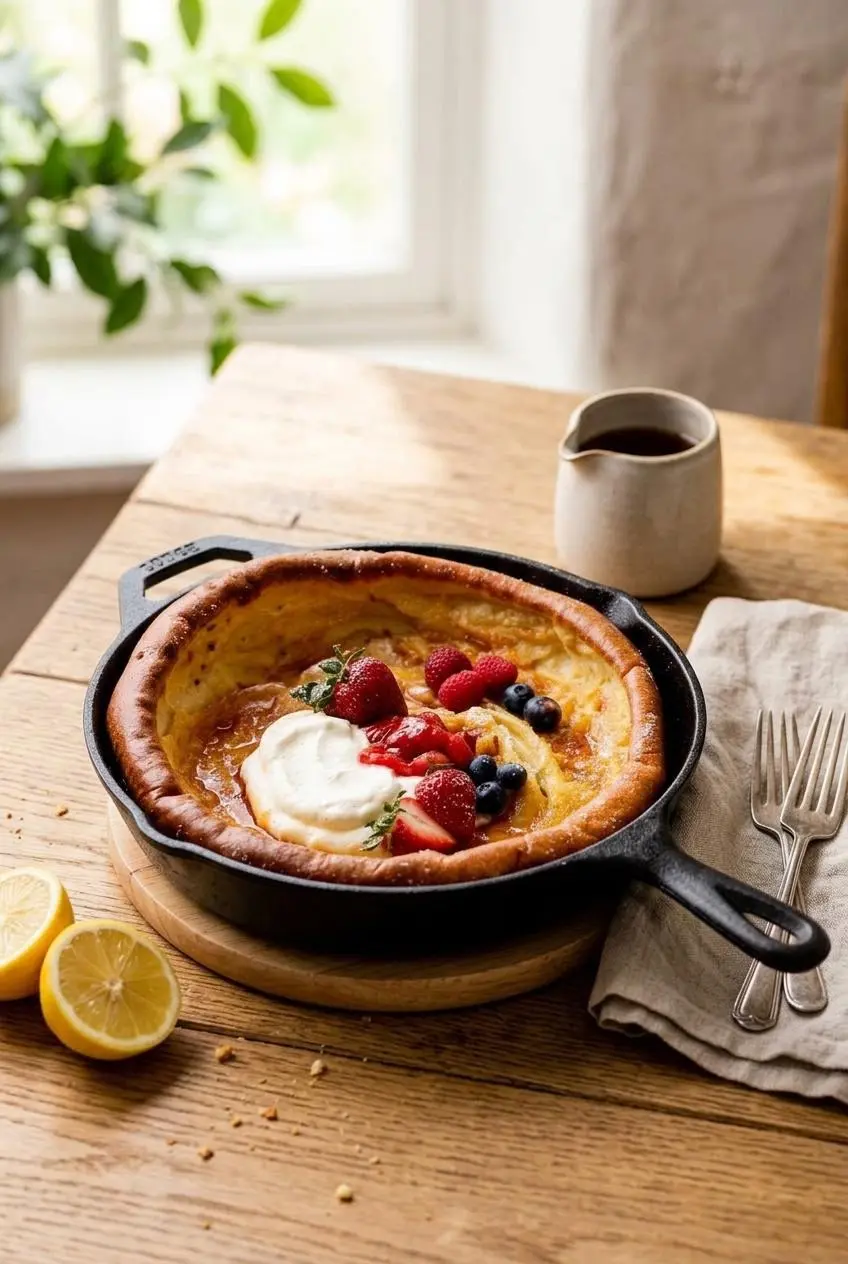
Once you understand the hot-pan technique, the same pancake can shift from a bright brunch treat to a savory lunch. Keep these changes optional and separate from the main batter directions.
Classic Lemon and Fresh Berry Toppings
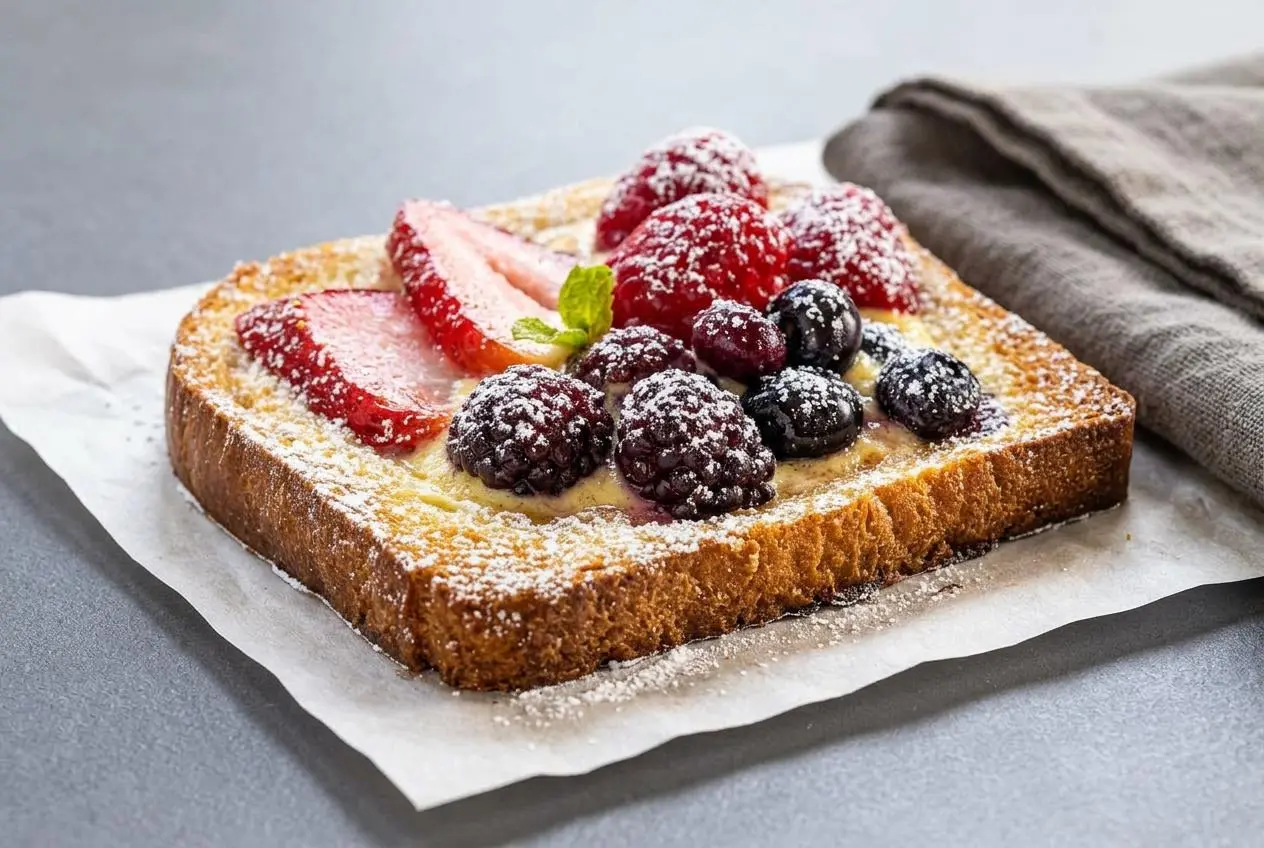
Sift confectioners’ sugar over the warm pancake, then add a squeeze of fresh lemon juice for the classic sweet-tart finish. Ripe berries, whipped cream, maple syrup, and warm strawberry sauce all suit the tender center.
For a fruit-forward version with citrus baked into the batter, make a blueberry lemon Dutch baby. Its berry-and-lemon combination is especially good when fresh blueberries are in season.
Savory Herb and Smoked Salmon Dutch Baby
For a savory brunch, fold chopped chives and dill into the batter before baking, then skip the sweet toppings. Finish the baked pancake with smoked salmon, sour cream, capers, and a little extra fresh herb.
The salty salmon and tangy sour cream work best against a less-sweet batter, so treat this as a separate variation rather than mixing sweet and savory toppings on the same pancake.
Caramelized Cinnamon Apple Dutch Baby
For a cozy apple version, lightly sauté sliced apples with cinnamon and brown butter until fragrant and beginning to soften. Add the apples to the hot skillet before pouring the batter over them, then bake as directed.
The apples become tender and jammy beneath the pancake, while the exposed edges still puff and crisp. A finishing dusting of confectioners’ sugar is usually all it needs.
Dietary Swaps: Gluten-Free and Dairy-Free Adjustments
A 1-to-1 all-purpose gluten-free baking blend can replace the all-purpose flour for a gluten-free option. The center may be slightly more delicate and the rise may be less dramatic, but a thoroughly heated pan still helps create browned edges.
Use unsweetened almond milk or oat milk in place of whole milk for a dairy-free version, and choose a suitable butter alternative for the skillet. The flavor remains pleasant, though whole milk and butter give the richest browning and most custardy texture.
Make-Ahead, Storage, and Reheating Guide
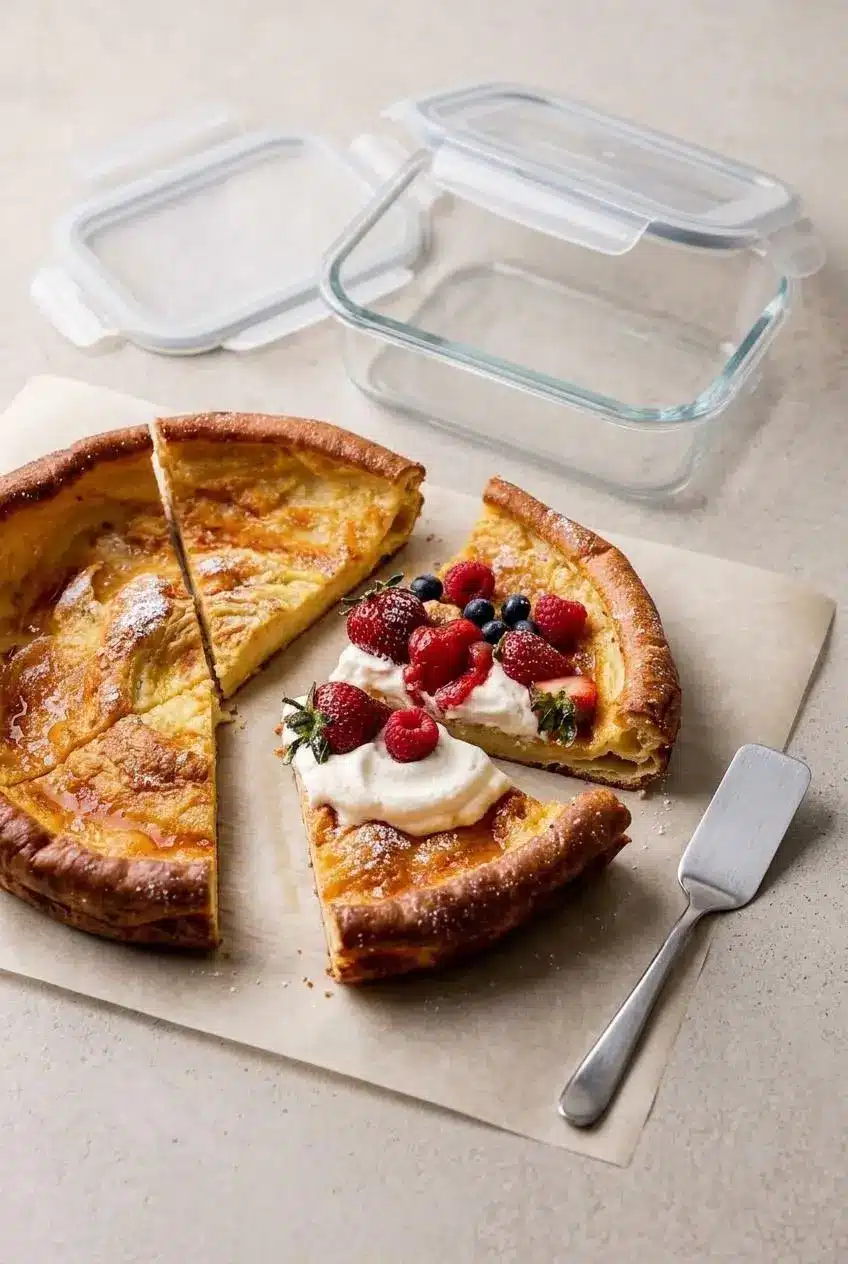
Preparing the batter ahead can make brunch much calmer, while gentle reheating helps leftover slices regain some of their buttery edge crunch.
Overnight Batter Prep
Blend the batter, cover it tightly, and refrigerate it for up to 24 hours. Pour it directly into the fully preheated, buttered skillet when ready to bake. Avoid extra blending after chilling, which can knock out some of the airy foam.
Refrigerator and Freezer Storage
Cool leftover slices, then keep them covered in an airtight container. The stated recipe storage window is up to 5 days in the refrigerator or up to 2 months in the freezer, though storing portions with parchment between them helps prevent sticking and protects the surface.
For a more cautious leftover window, prepared pancakes are commonly kept refrigerated for 3 to 4 days and frozen for up to 2 months. Keep toppings separate whenever possible so berries and syrup do not soak into the pancake.
Restoring Crispness Without Microwave Sogginess
Reheat wedges in a toaster oven at 350°F or in a warm buttered skillet until heated through and crisp at the edges. The dry heat revives the browned surface more effectively than a microwave, which tends to soften the eggy center.
Warm only the slices you plan to eat, then add confectioners’ sugar, fruit, syrup, or whipped cream afterward. This keeps the topping fresh and gives the pancake its best contrast of crisp rim and tender middle.
Conclusion
This Dutch pancake delivers a spectacular breakfast with a thin batter, hot buttered skillet, and two-stage oven bake. Room-temperature eggs and milk give the steam enough momentum to build those tall golden edges.
Keep the toppings classic with lemon and confectioners’ sugar, or try apples, herbs, or a pinch of cardamom for a new direction. Serve it warm and enjoy the crisp edges while they last.
Frequently Asked Questions
Why Didn’t My Dutch Pancake Puff Up?
Cold eggs or milk can limit the early burst of steam. A skillet that was not heated with butter will also reduce the lift. Keep the oven door closed during the first 15 minutes. The batter needs steady heat to inflate and begin setting around the edges.
Can I Make Dutch Pancake Batter the Night Before?
Yes. Blend the batter, cover it tightly, and refrigerate it for up to 24 hours. Pour it straight into the hot buttered skillet when ready to bake. There is no need to bring it back to room temperature first.
What Is the Difference Between a Dutch Pancake and an American Pancake?
American pancakes cook as separate thick rounds on a griddle and usually use chemical leaveners for lift. Their texture stays fluffy throughout. A Dutch pancake bakes in a hot oven skillet and rises mainly through steam. It has crisp edges and a tender, custardy center rather than a uniform fluffy crumb.
What Can I Use If I Do Not Have a Cast Iron Skillet?
Use a 10-inch heavy oven-safe stainless steel skillet, a metal cake pan, or a 3-quart metal or enamel baking dish. Make sure the pan is oven-safe at the required temperature. The pancake may spread differently in a wider dish, producing a lower puff and a larger browned surface. Heat the pan with the butter before adding the batter.
How Do I Reheat Leftover Dutch Pancakes?
Use a toaster oven at 350°F or warm a wedge in a lightly buttered skillet until hot and crisp at the edge. Add toppings after reheating. A microwave can make the center rubbery and the edges soft, so it is better saved for when speed matters more than texture.
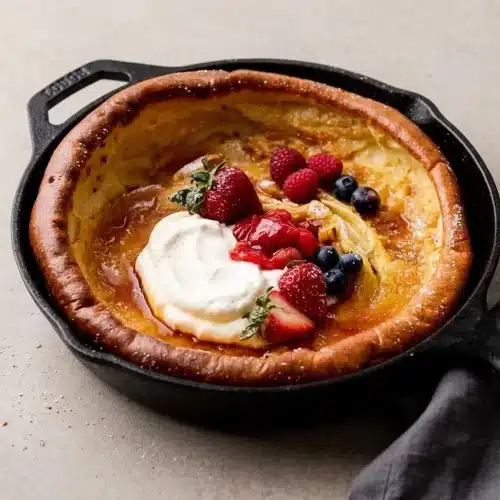
Dutch Pancakes Recipe

Equipment
- Blender
- Citrus Zester
- 10-inch Oven-Safe Skillet
- Pastry brush
Ingredients
Pancake Batter
- 3 large eggs at room temperature
- 3/4 cup all-purpose flour 94g
- 3/4 cup whole milk at room temperature (or nondairy, 180ml)
- 1 teaspoon lemon zest
- 2 Tablespoons granulated sugar 25g
- 1 pinch salt
- 1/2 teaspoon vanilla extract
- 3 Tablespoons unsalted butter 43g
Toppings
- 2 Tablespoons confectioners’ sugar for sifting
- optional toppings: berries, whipped cream, maple syrup, and/or strawberry sauce
Instructions
Preparation and Baking
- Blend the eggs on medium-high speed for about 45 seconds, then add the flour, milk, lemon zest, sugar, salt, and vanilla and blend until smooth. The batter should look thin with a frothy layer on top; let it stand at room temperature for 15 minutes, or cover and refrigerate for up to 24 hours.
- Heat the oven to 400°F (204°C), then place the butter in a 10-inch oven-safe skillet or 3-quart baking dish and heat it in the oven for 5 minutes. Remove the pan when the butter has melted and is sizzling, then brush it over the bottom and sides without letting it brown too far.
- Pour the rested batter into the center of the hot buttered pan and bake for 15 minutes without opening the oven door. Keep the pan in the oven, lower the temperature to 350°F (177°C), and continue baking for 10 minutes, until the edges and center are browned.
- Take the pancake from the oven and let it cool for 5 minutes before adding toppings and slicing. The high sides will settle slightly, creating a soft center that holds confectioners’ sugar, fruit, or syrup.
- Serve the pancake promptly, or cover leftover slices and refrigerate them for up to 5 days or freeze them for up to 2 months. Cool the slices before storing so condensation does not soften the browned edges.