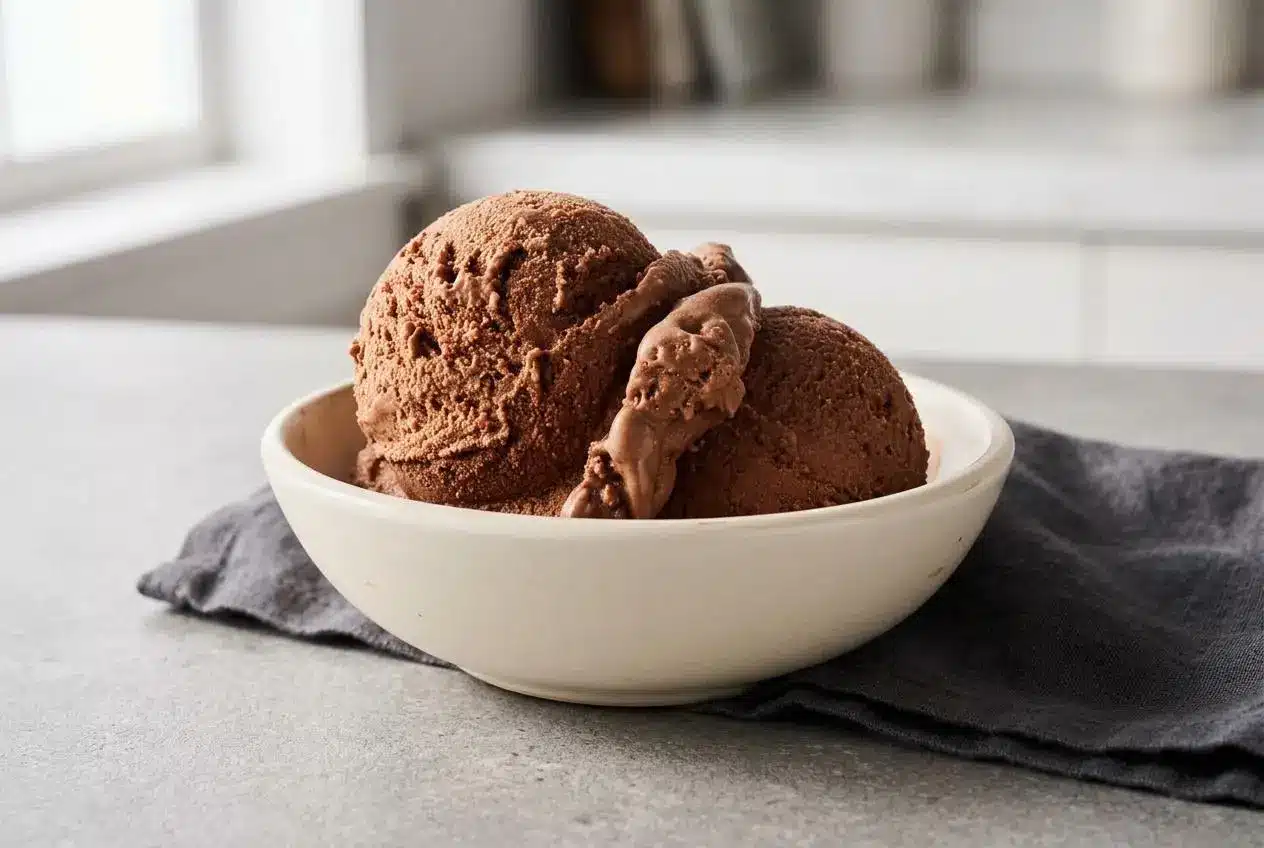
To make chocolate ice cream, simmer cream with cocoa, sugar, and salt, whisk in dark chocolate off the heat, add milk and vanilla, then chill the base completely before churning until soft serve thick.
Chocolate ice cream made this way lands right between fudgy and silky, with a deeper flavor than cocoa alone can give. The chopped dark chocolate melts into the warm base and rounds out the cocoa for a fuller scoop.
The best part is that the method is straightforward once you know where texture can go wrong. Cold base, fully frozen bowl, gentle heat, smooth whisking. That’s the whole game.
Freeze your ice cream maker bowl solid for 12 to 24 hours before you start, or the base won’t churn fast enough to stay creamy.
The Secret to Rich Creamy Chocolate Ice Cream
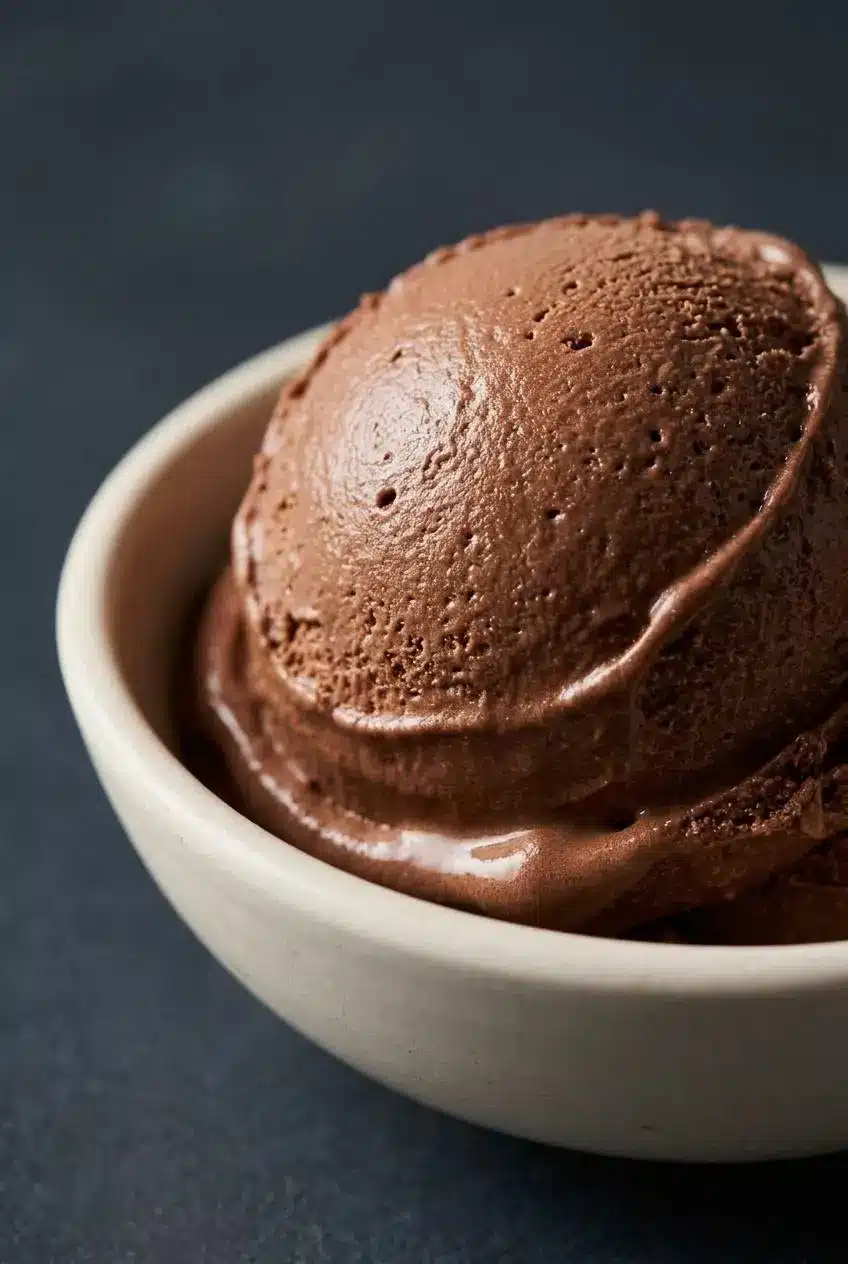
If you want homemade ice cream that tastes plush instead of icy, the answer is structure. This recipe gets that structure from heavy cream, whole milk, sugar, cocoa powder, and real chocolate working together.
Heavy cream brings the highest share of milk fat, which helps interrupt large ice crystal formation and gives the finished scoop a softer, smoother mouthfeel. Whole milk matters too because it balances the richness so the texture stays creamy instead of greasy. Use low fat or skim milk here and the base loses that balance fast. The result is usually thinner, icier, and less satisfying.
Cocoa powder and dark chocolate do different jobs. Cocoa powder builds an immediate, bold chocolate flavor and deep color, while chopped dark chocolate adds cocoa solids plus cocoa fat for a rounder, fudgier finish. That combination gives the base more body than cocoa alone. When you’re melting real chocolate into warm dairy, taking the pan off the heat first helps it blend in smoothly instead of turning grainy.
Sugar is doing more than sweetening. It also lowers the freezing point of the mixture, which helps the scoop stay softer after freezing. Salt sharpens the chocolate flavor, and vanilla smooths the edges so the cocoa tastes fuller rather than flat.
If you have ever made ice cream that froze like a brick, this is why ingredient ratios matter so much. Rich dairy and chocolate fat help block big crystals, while proper churning adds tiny pockets of air that keep the texture light enough to scoop.
Eggless vs Custard Chocolate Ice Cream
Both styles can be excellent, but they behave a little differently in the freezer and on the spoon.
Philadelphia style is the eggless version, and that is what this recipe uses. It relies on heavy cream and whole milk for richness, so it tastes clean, deeply chocolaty, and slightly lighter on the palate. It is also simpler to make because you do not have to cook egg yolks into a custard base.
French custard style uses egg yolks as natural emulsifiers. Those yolks help water and fat stay more tightly blended, which creates an especially dense, fudgy, almost truffle-like scoop. If you want the most classic premium ice cream parlor texture, custard style usually gets you closer.
The tradeoff is effort. An eggless base is quicker and easier. A custard base needs closer heat control so the yolks thicken without scrambling. For a cooked custard, look for the mixture to coat the back of a spoon in a thin even layer. If you run a finger through it, the line should stay clear. If you make a custard version, cook the yolk base gently until it reaches 165 °F, and use pasteurized egg products for uncooked egg preparations when needed because USDA guidance specifically recommends them for recipes such as homemade ice cream that are not fully cooked before freezing for uncooked foods like homemade ice cream.
There is also a practical shelf life difference in the freezer. Eggless bases tend to taste brightest right after the first firm freeze, while custard bases often hold their creamy structure a little better over time because of the added emulsifiers. Still, temperature swings in a home freezer can rough up either style.
Ingredients
Each ingredient has a job here, from building chocolate depth and aroma to keeping the texture smooth, rich, and scoopable.
- 1 1/2 cups heavy cream
- 1/4 cup unsweetened cocoa powder
- 2/3 cup cane sugar
- 1/8 teaspoon sea salt
- 3 ounces dark chocolate (70% to 85% cacao, chopped (about 1/2 cup))
- 1 1/2 cups whole milk
- 2 teaspoons vanilla extract
Heavy cream supplies the richness that keeps the scoop plush. Whole milk loosens that richness just enough so the texture stays creamy instead of heavy. Cocoa powder gives the base its dark chocolate backbone, while the chopped dark chocolate adds a rounder, fudgier finish and extra body.
Sugar sweetens, of course, but it also helps the ice cream stay more scoopable once frozen. Sea salt wakes up the chocolate, and vanilla fills in the edges so the flavor tastes complete.
I like to chop the chocolate fairly small so it melts fast into the warm base and whisks smooth before it has a chance to clump.
How to Make Homemade Chocolate Ice Cream
This method is easy to manage, but the texture depends on patience in two places: chilling the base fully and starting with a thoroughly frozen churn bowl.
Step 1: Prep and Simmer the Base
- Whisk the heavy cream, cocoa powder, cane sugar, and sea salt together in a medium saucepan over the stove.
The mixture should look smooth and glossy, with no dry cocoa pockets left around the edges. - Bring the pan to a gentle boil while whisking occasionally, then lower the heat and let it simmer for exactly 30 seconds.
This short simmer dissolves the sugar and hydrates the cocoa, and the base will look darker and slightly fuller.
That first whisking stage matters more than it looks. When cocoa is mixed well from the beginning, you avoid dusty lumps later and get a smoother finish in the final scoop.
Step 2: Incorporate the Chocolate
- Take the saucepan off the heat and add the chopped dark chocolate right away, then whisk until the mixture is completely smooth.
You should smell a stronger chocolate aroma almost immediately, and the base should turn glossy and uniform. - Whisk in the whole milk and vanilla extract until fully blended.
The mixture will loosen slightly and look silky rather than thick or pasty. - Pour the base into a heatproof bowl and let it cool to room temperature, then cover and refrigerate for at least 2 hours or overnight.
By the time it is ready to churn, it should be thoroughly cold with no lingering warmth in the center.
Many home cooks rush this chilling step and then wonder why the churn takes forever. A cold base freezes faster in the machine, which means smaller crystals and a creamier result. If the mixture still feels even a little warm, give it more time.
Step 3: Churn and Freeze
- Whisk the chilled base well before pouring it into your ice cream maker.
This brings everything back together so the texture stays even from the first minute of churning. - Churn according to your machine’s directions, usually 20 to 30 minutes, until the ice cream reaches a soft serve consistency.
It should mound softly on itself and hold gentle ridges from the paddle. - Serve it right away for the softest texture, or transfer it to an airtight container and freeze for 2 to 4 hours for a firmer scoop.
After the final freeze, it should look dense, smooth, and easy to portion with a slightly softened edge.
If you want clean scoops, dip the scoop in warm water, shake off the excess, and glide through the surface rather than digging straight down. It makes a surprisingly big difference.
How to Churn Like a Pro With or Without a Machine
Good churning is really about speed and cold. The base should be below 40 °F before it goes into the machine, or it will take too long to freeze and the texture can turn coarse.
With a standard ice cream maker, make sure the bowl is frozen solid before you begin. If you hear liquid sloshing inside the wall of the bowl, it is not ready yet. Once you start churning, the base should move from loose and glossy to thicker and lighter looking. Stop when it resembles soft serve with visible ridges.
If you do not have a classic machine, you still have options. A no churn blender path works well with this cooked base: freeze the chilled mixture in ice cube trays, then blend the frozen cubes in a high powered blender with a small splash of cream until smooth and thick. For the best texture, stop, scrape, and blend again. That double blend helps break up stubborn frozen bits and gives you a creamier soft serve finish.
For another appliance route, a Ninja Creami recipe style approach can also help if you prefer small batch frozen desserts with a re-spin option.
No matter which method you use, the visual cue is the same. You want a thick, airy mixture that folds softly, not a thin liquid still splashing around the bowl.
Troubleshooting Common Ice Cream Mistakes
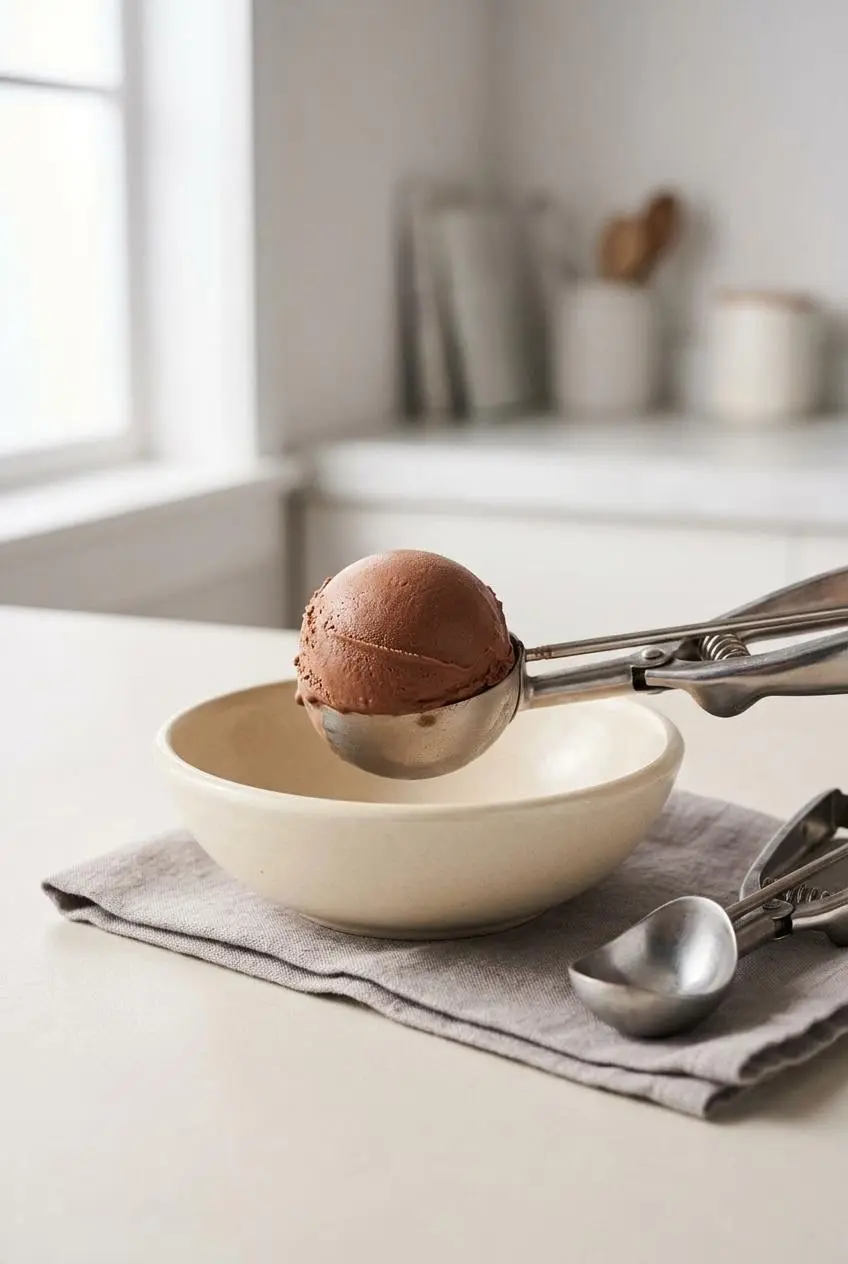
Most homemade ice cream problems come down to temperature, fat balance, or storage. The good news is that each one has a clear fix.
- Icy texture: The usual causes are low fat dairy, a churn bowl that was not frozen long enough, or a base that went into the machine too warm. Stick with heavy cream and whole milk, chill the base completely, and start with a fully frozen bowl.
- Rock hard texture: Home freezers warm and cool slightly every time the door opens, and those temperature swings encourage larger crystals. Pressing wrap or parchment directly on the surface and keeping the container tightly closed helps protect the texture.
- Grainy chocolate base: Chocolate can seize or stay rough if it hits excessive heat or is not whisked in fully. Add it off the heat and whisk until the base looks glossy and even.
- Separated mixture: If the warm base looks oily or split, the emulsion likely loosened. Whisk it thoroughly while still warm, then chill well before churning so the fat redistributes more evenly.
- Weak chocolate flavor: Cocoa alone can taste flat once frozen. Using both cocoa powder and dark chocolate creates deeper flavor and better body.
If you want a simple stabilizer trick, whisk a tablespoon of softened cream cheese into the warm chocolate base before chilling. It helps bind some of the free water, which can reduce large grainy crystals and make the finished scoop a bit smoother. It is optional, but helpful if your freezer tends to be rough on homemade ice cream.
One more fix worth remembering: do not swap in low fat or skim milk. It sounds harmless, but it is one of the fastest ways to end up with a watery mouthfeel.
Allergen Swaps and Dairy-Free Variations
This base is naturally eggless, which makes it useful for anyone avoiding eggs. For a dairy free version, keep the main method but swap the heavy cream for coconut cream and the whole milk for oat milk. The flavor will shift slightly, but you will still get a rich chocolate result with good body.
If you use that dairy free route, vegan cream cheese can help in the same way regular cream cheese does by improving texture and limiting iciness a bit. Choose a plain one without strong tang if you want the chocolate to stay front and center.
If you are deciding between styles, here is the quick version:
- Eggless Philadelphia style: easier, cleaner chocolate flavor, and great for a straightforward homemade batch.
- French custard style: richer, denser, and more fudgy, but it needs more careful cooking.
- Dairy free variation: still creamy if you use richer plant based ingredients, though the finish is a little less classic.
For serving, this ice cream is especially good tucked into dark cookies for homemade ice cream sandwiches or spooned over hot espresso if you like an affogato style dessert.
Storage and Freezer Tips
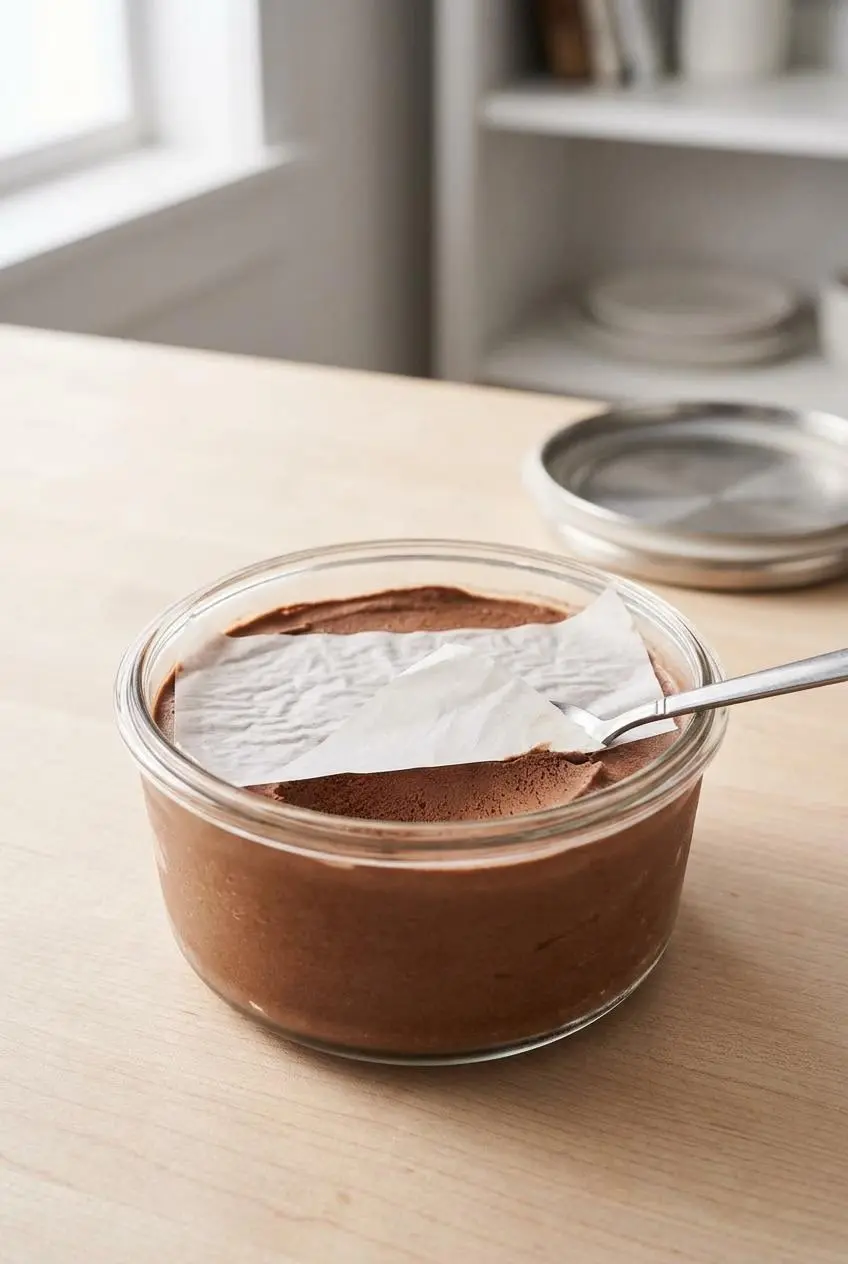
Once the ice cream is churned, move it into an airtight container and press plastic wrap or parchment directly against the surface before closing the lid. That extra barrier helps limit ice crystals and keeps the ice cream from picking up stray freezer odors.
This recipe can be kept in the freezer for up to a month. If your freezer runs cold or the container has been sitting undisturbed for a while, let the tub rest at room temperature for about 5 minutes before scooping so the texture loosens gently.
Keep the container toward the back of the freezer where the temperature is steadier. The door is the roughest spot for homemade ice cream because it warms up every time you open it.
Conclusion
This chocolate ice cream delivers a deep cocoa flavor and a velvety texture with a method that stays very doable at home. The mix of cocoa powder and dark chocolate gives it that rich, fudgy edge people usually want from a real chocolate scoop.
Chill the base completely, freeze the churn bowl thoroughly, and do not cut corners on the dairy. Those three choices do most of the heavy lifting, and they make the first scoop much more rewarding.
Frequently Asked Questions
How to prevent my ice cream from being too icy?
Use full fat dairy, not low fat or skim milk. Make sure the churn bowl is frozen solid for 12 to 24 hours before churning. Chill the liquid base completely before it goes into the machine. If your freezer tends to make homemade ice cream coarse, a spoonful of softened cream cheese in the warm base can help smooth the texture.
Can I make eggless chocolate ice cream?
Yes. This recipe is already an eggless Philadelphia style chocolate ice cream. It gets its creamy texture from heavy cream, whole milk, sugar, and chocolate rather than egg yolks. That makes it simpler to prepare and a good fit for anyone avoiding eggs.
How much caffeine is in chocolate ice cream?
One cup of classic chocolate ice cream contains about 6 milligrams of caffeine. That caffeine comes naturally from the cocoa powder and dark chocolate in the base. The exact amount can vary a bit depending on the chocolate you use.
How do I store this chocolate ice cream?
Transfer it to an airtight container once it finishes churning or after the final firm freeze. Press plastic wrap or parchment directly onto the surface before sealing the lid to help prevent freezer burn. You can keep it in the freezer for up to a month, and letting it sit out briefly makes scooping easier.
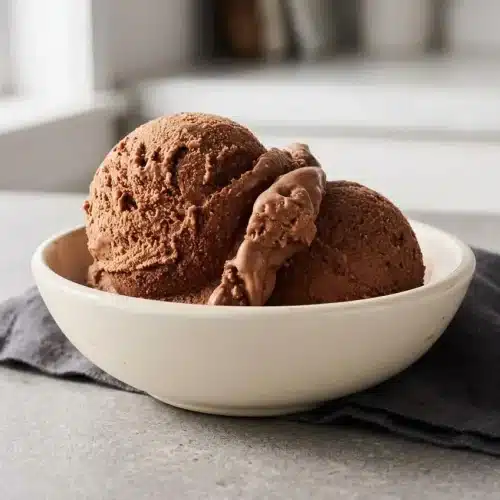
Chocolate Ice Cream

Equipment
- KitchenAid Ice Cream Maker Attachment
- Medium saucepan
- Whisk
- Heatproof bowl
Ingredients
- 1 1/2 cups heavy cream
- 1/4 cup unsweetened cocoa powder
- 2/3 cup cane sugar
- 1/8 teaspoon sea salt
- 3 ounces dark chocolate 70% to 85% cacao, chopped (about 1/2 cup)
- 1 1/2 cups whole milk
- 2 teaspoons vanilla extract
Instructions
- Whisk the heavy cream, cocoa powder, cane sugar, and sea salt together in a medium saucepan over the stove. The mixture should look smooth and glossy, with no dry cocoa pockets left around the edges.
- Bring the pan to a gentle boil while whisking occasionally, then lower the heat and let it simmer for exactly 30 seconds. This short simmer dissolves the sugar and hydrates the cocoa, and the base will look darker and slightly fuller.
- Take the saucepan off the heat and add the chopped dark chocolate right away, then whisk until the mixture is completely smooth. You should smell a stronger chocolate aroma almost immediately, and the base should turn glossy and uniform.
- Whisk in the whole milk and vanilla extract until fully blended. The mixture will loosen slightly and look silky rather than thick or pasty.
- Pour the base into a heatproof bowl and let it cool to room temperature, then cover and refrigerate for at least 2 hours or overnight. By the time it is ready to churn, it should be thoroughly cold with no lingering warmth in the center.
- Whisk the chilled base well before pouring it into your ice cream maker. This brings everything back together so the texture stays even from the first minute of churning.
- Churn according to your machine’s directions, usually 20 to 30 minutes, until the ice cream reaches a soft serve consistency. It should mound softly on itself and hold gentle ridges from the paddle.
- Serve it right away for the softest texture, or transfer it to an airtight container and freeze for 2 to 4 hours for a firmer scoop. After the final freeze, it should look dense, smooth, and easy to portion with a slightly softened edge.