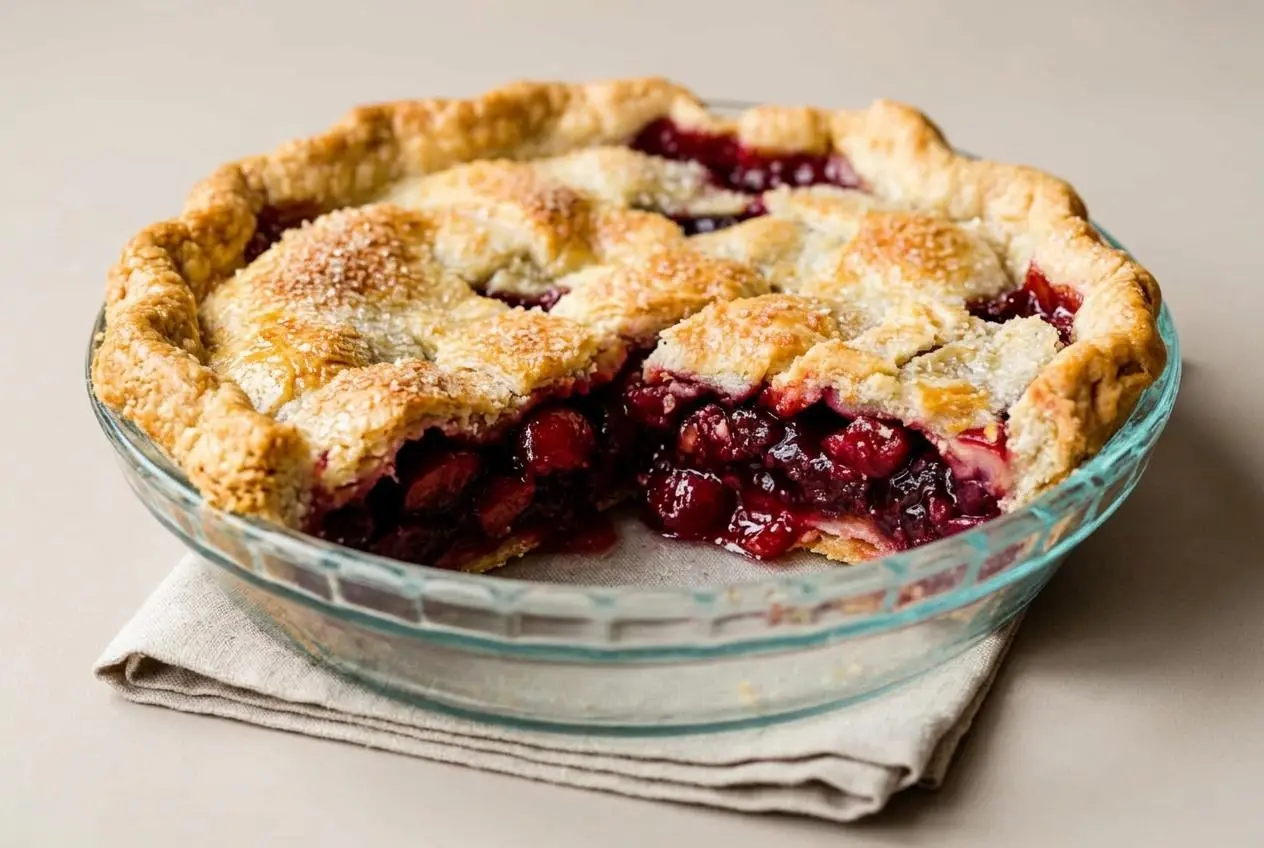
A successful cherry pie combines ripe pitted cherries, sugar, cornstarch, lemon, and extracts in a buttery double crust. Bake until the filling bubbles steadily through the lattice, then cool completely so the fruit filling sets into clean, jammy slices.
This cherry pie balances sweet-tart fruit with a crisp, deeply golden crust and a hint of almond that makes the cherries taste even more like themselves.
Warm cherries and butter perfume the kitchen long before the first slice is ready. The reduced cherry juices are the small detail that keeps the filling lush instead of loose.
Keep one dough disc chilled while rolling the other so the butter stays firm and the crust bakes flaky.
Essential Ingredients for Bakery-Style Cherry Pie
Every ingredient has a job here: cherries provide body, cornstarch creates structure, lemon sharpens the fruit, extracts build aroma, and butter rounds out the filling with richness.
- Homemade Pie Crust or All Butter Pie Crust (both recipes make 2 crusts, 1 for bottom and 1 for top)
- 4 and 1/2 cups halved & quartered pitted fresh cherries
- 2/3 cup (135g) granulated sugar
- 1/4 cup (28g) cornstarch
- 1 Tablespoon (15ml) lemon juice
- 1 teaspoon pure vanilla extract
- 1/4 teaspoon almond extract
- 1 Tablespoon (14g) cold unsalted butter, cut into small cubes
- egg wash: 1 large egg beaten with 1 Tablespoon (15ml) milk
- optional: coarse sugar for sprinkling on crust
Choose firm, ripe cherries with bright flavor. The cornstarch thickens the juices once the filling reaches a sustained boil, while lemon keeps the sweetness from tasting flat. Vanilla softens the tart edge, and almond extract adds a classic stone-fruit aroma without overwhelming the cherries. Dotting cold butter over the fruit enriches the sauce and helps the bubbling filling stay more controlled beneath the lattice. The egg wash gives the crust its glossy golden finish, while coarse sugar adds a delicate crunch.
If you want a brighter citrus edge, finely grated orange zest is a lovely optional addition to the fruit mixture.
I prefer to pit cherries over a bowl and cut about half into quarters while leaving the rest halved, which gives the filling a dense texture without turning every bite into jam.
Choosing the Right Cherries: Sweet vs. Sour
Sweet Bing cherries work beautifully with the listed sugar amount because they bring plenty of natural sweetness and a dark, rounded flavor. Use cherries that feel firm rather than soft or wrinkled, since very ripe fruit releases more juice as it bakes.
Tart Montmorency cherries make a brighter, more old-fashioned pie with a vivid tang. They need more sweetness to balance their acidity, so increase the granulated sugar to 3/4 or 1 cup when using sour cherries. Keep the cornstarch, lemon juice, and extracts the same unless the fruit seems unusually dry or wet after macerating.
The mix of halved and quartered cherries matters more than it may seem. Halves give the pie recognizable fruit pieces, while quarters settle into the gaps and create a filling that cuts neatly instead of leaving hollow pockets under the crust.
Adapting for Canned or Frozen Fruit
Frozen cherries are a useful off-season option, but thaw them completely and drain away excess liquid before measuring. Otherwise, extra water can dilute the filling and make the bottom crust work much harder to crisp.
Water-packed canned tart cherries also work well. Drain them thoroughly, reserve some of the packing liquid, and blend that liquid with cornstarch until smooth before heating it into a thickened sauce. Taste the cherries before assembling the pie and raise the sugar to 3/4 or 1 cup if their tartness needs more balance. Syrup-packed cherries can be noticeably sweeter, so drain them especially well and avoid adding their syrup to the filling.
How to Make Cherry Pie
The method keeps the fruit mostly intact while concentrating its juices separately. That means more cherry flavor in every slice and less liquid soaking into the bottom crust.
- Prepare either pie crust recipe through step 5, then refrigerate the dough for at least 2 hours before rolling.
The dough should feel cold and firm, not soft or greasy, when you begin shaping it. - Combine the cherries, sugar, cornstarch, lemon juice, vanilla, and almond extract in a large bowl, then cover and refrigerate while you work with the dough or for up to 24 hours.
The sugar will draw out cherry juices and create a glossy liquid in the bottom of the bowl. - Roll one chilled dough disc on a floured surface into a 12-inch circle, rotating it a quarter turn after every few passes of the rolling pin, and fit it into a 9-inch pie dish.
Press the dough gently into the dish so it lies smooth against the bottom and sides without stretching. - Lift the cherries into the crust with a slotted spoon, leaving the accumulated liquid behind, then refrigerate the filled shell uncovered.
Keeping the fruit separate from the excess juice protects the raw bottom pastry while you thicken the liquid. - Cook the reserved cherry liquid in a small saucepan over low heat for about 3–4 minutes, stirring until it reduces and thickens, then let it cool for 5 minutes before pouring it over the fruit and adding the cold butter cubes.
The syrup should look glossy and coat the back of a spoon; it may firm up when it meets the cold cherries. - Roll the second chilled dough disc into a 12-inch circle, cut it into strips, and weave the strips over the filling to form a lattice.
Fold back alternate strips as you weave so the pattern stays even, then press the ends into the bottom crust to seal. - Trim the excess dough, flute or crimp the edge, brush the top and rim lightly with egg wash, and sprinkle with coarse sugar if using.
Chill the assembled pie for 20–30 minutes while the oven heats so the lattice and fluted edge hold their shape. - Set the pie on a large baking sheet and bake at 400°F for 20 minutes, then reduce the oven to 375°F and continue baking for 30–40 minutes.
After the first 20 minutes, cover the edge with a pie crust shield, and keep baking until the crust is golden and thick bubbles rise through the center lattice for at least 5 minutes. - Transfer the pie to a cooling rack and leave it undisturbed for at least 3–4 hours before cutting.
The filling thickens as it cools, changing from loose bubbling fruit to a sliceable, jammy center.
For the cleanest lattice, work briskly but gently. If the strips become soft or sticky, return the pie to the refrigerator until the dough feels firm again. Warm dough can tear, stretch, and slump at the edges before it has a chance to bake.
Baking Temperatures and Doneness Cues
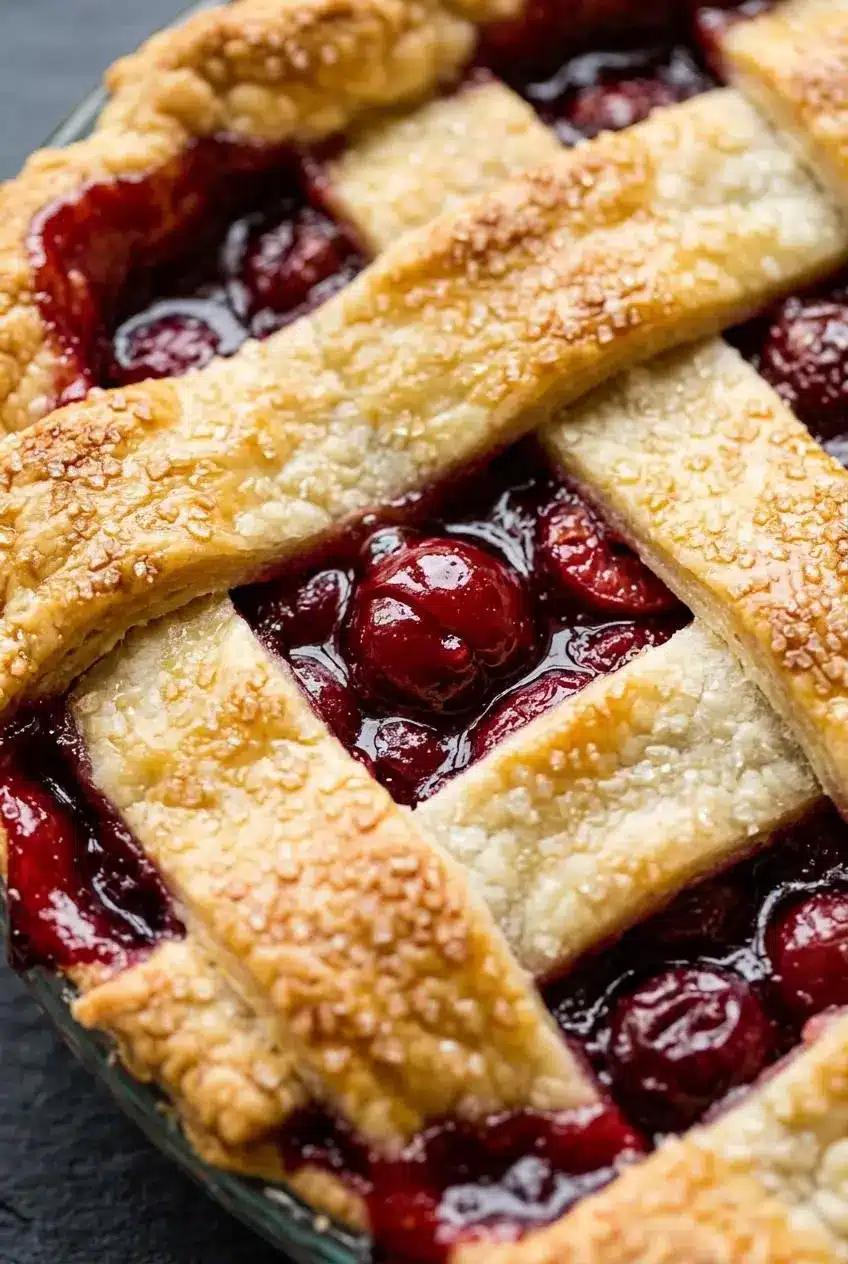
The two-temperature bake gives the crust a head start before the fruit has time to release all its juices. Begin at 400°F with the pie on a lower-middle oven rack to quickly set the bottom pastry, then lower the heat to 375°F so the filling can cook steadily without over-browning the lattice.
Add the pie crust shield after the first 20 minutes. The narrow fluted edge colors faster than the center lattice, and shielding it lets the filling keep bubbling without turning the rim too dark.
Do not judge doneness by edge bubbling alone. Steam can make the outer filling fizz before the middle is ready. Look for slow, heavy bubbles pushing through the lattice near the center and listen for thick pops rather than a faint hiss. Let those center bubbles continue for at least 5 minutes before removing the pie.
If you are baking in a glass pie dish, check the lower rim near the end of baking. The bottom crust should look set and lightly browned where it meets the glass, rather than pale and doughy.
Troubleshooting Common Cherry Pie Mistakes
Fruit pie rewards patience, especially during cooling. Most problems come down to excess liquid, dough that warmed too much, or a pie removed before the filling fully bubbled.
How to Avoid a Soupy or Runny Filling
- The pie runs across the plate after slicing: It was likely cut while still warm. Leave it on the cooling rack for at least 3–4 hours so the cornstarch-thickened juices can settle into a stable filling.
- The filling looks loose under the lattice: The center may not have bubbled long enough. Return the pie to the oven only while it is still baking, and wait for slow, substantial center bubbles before removing it.
- The fruit releases a lot of liquid before baking: Do not pour that raw liquid straight into the crust. Cook the reserved juices briefly first, then add the glossy reduction over the cherries.
- The filling turns cloudy or slightly pasty: Stir the fruit gently after adding the reduced syrup. Aggressive mixing can break down the cherries and disturb the thickened juices.
The cooling period is part of the finish, not dead time. As the pie loses heat, the fruit juices become less fluid and the cornstarch network firms up around the cherries. Cutting early interrupts that process, even when the crust looks perfectly baked.
Preventing a Soggy Bottom Crust
- The bottom is pale and soft: Bake on a lower-middle rack so the base receives stronger heat from below.
- The crust feels greasy or tough: The butter in the dough may have warmed during rolling. Keep unused dough chilled and return the assembled pie to the refrigerator before baking.
- The pastry is soaked beneath the fruit: Transfer the cherries with a slotted spoon and reduce the leftover juices separately before adding them to the shell.
- The edge browns before the center bubbles: Use a pie crust shield after the first 20 minutes, then allow the filling to finish cooking at the lower temperature.
A little fruit juice will always meet the pastry, but the goal is to keep that contact controlled. Cold dough, a hot opening bake, and reduced juices create the best conditions for a flaky base.
Storage and Reheating Instructions
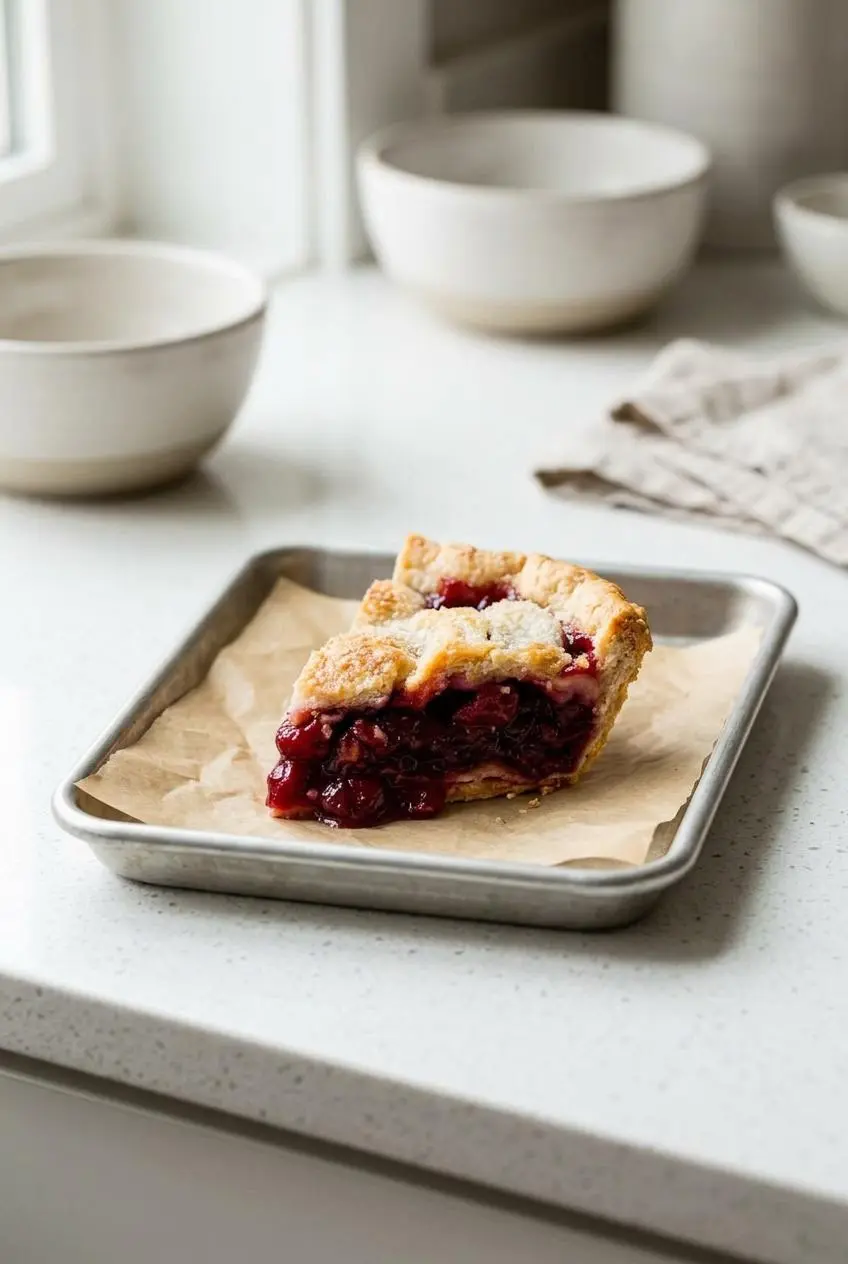
Once the pie has cooled completely, cover leftovers tightly and store them in the refrigerator for up to 5 days. Keep the pie covered so the exposed lattice does not dry out and the filling stays glossy.
To bring back some crust crispness, warm individual refrigerated slices gently in the oven until the pastry feels heated through and the filling is warm. Avoid overheating, which can dry the cherry filling or darken the crust before the center warms.
If you need a dessert in smaller portions for a gathering, mini cherry pies offer the same sweet-tart flavor in an easy-to-serve format.
Serving Suggestions for Homemade Cherry Pie
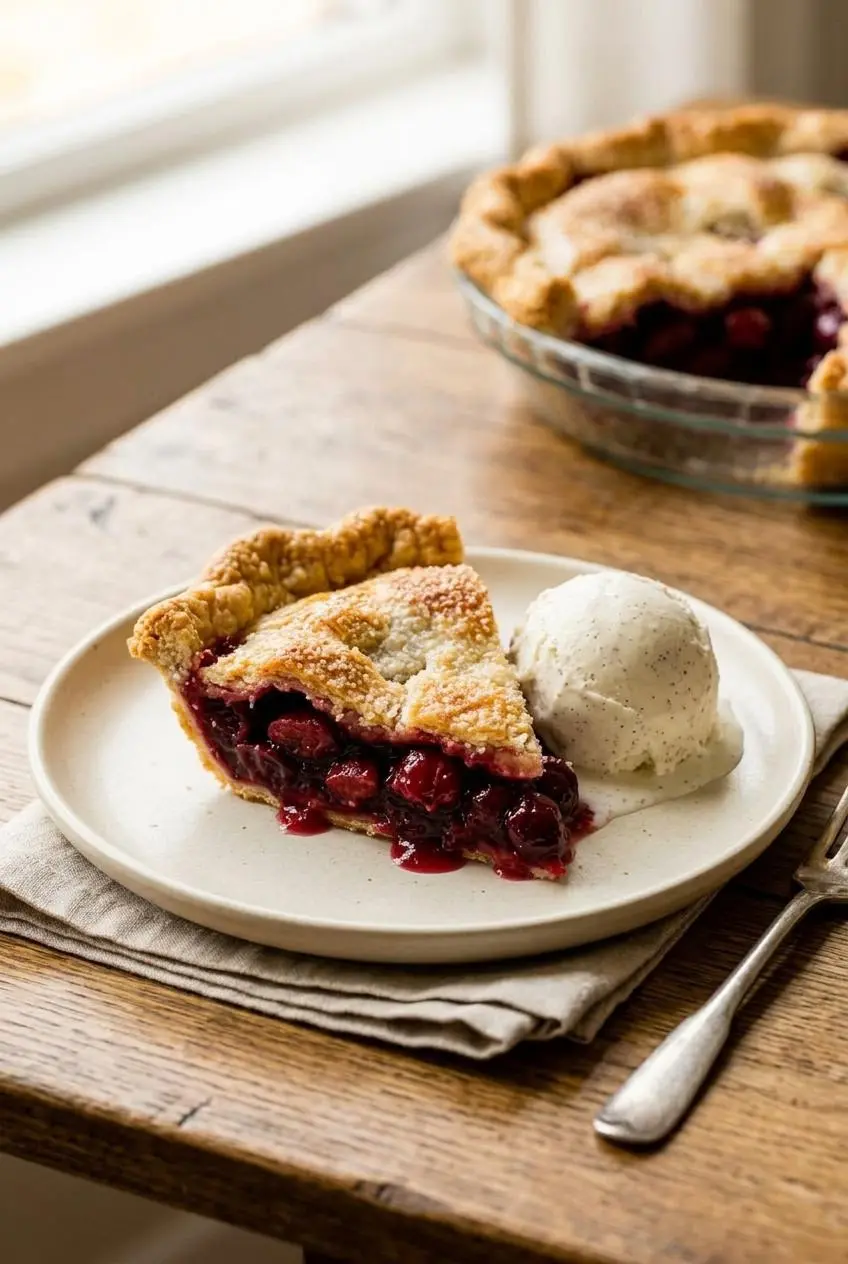
Serve a slice slightly warm with cold vanilla bean ice cream for that classic contrast of buttery crust and melting cream. Freshly whipped cream with a touch of pure vanilla is just as good when you want the cherries to stay front and center.
For a summer dessert table, pair the pie with a glass of cherry ginger iced tea. Its gentle spice and bright finish cut through the richness of the double crust without competing with the fruit.
If fresh cherries are in season and you have extras to use, a traditional cherry clafoutis makes a soft, custardy companion for another dessert night.
Conclusion
A great pie comes down to a few patient choices: keep the pastry cold, reduce the cherry juices before filling the crust, bake until the center bubbles steadily, and let the pie cool fully.
Once you recognize the glossy syrup, golden lattice, and heavy center bubbles, fruit pie feels far less mysterious. Give the filling time to set, and every slice will be worth the wait.
Frequently Asked Questions
Why Is My Cherry Pie Filling Watery After Slicing?
Warm filling has not finished setting, even if the crust is fully baked. Let the pie cool on a rack for at least 3–4 hours before slicing. Also make sure the filling bubbled actively through the center lattice before the pie left the oven.
Can I Substitute Sour Canned Cherries for Fresh Sweet Cherries?
Yes. Thoroughly drained canned sour cherries make a bright, tangy pie. Reserve some of the drained liquid and combine it smoothly with cornstarch before heating it into a thickened sauce. Increase the granulated sugar to 3/4 or 1 cup to balance the stronger tart flavor.
Do I Need to Pre-Bake the Bottom Pie Shell?
No. This double-crust pie does not require blind baking. Start at 400°F on a lower-middle rack to set and brown the bottom crust before lowering the temperature. Reducing the macerated cherry juices before filling the shell also helps protect the base from excess moisture.
How Far in Advance Can Cherry Pie Be Made and Stored?
Bake the pie before you plan to serve it so it has time to cool fully and set into neat slices. After cooling, cover leftovers tightly and refrigerate them as described above. Warm individual slices gently when serving if you prefer a soft, fragrant filling and crisper pastry.
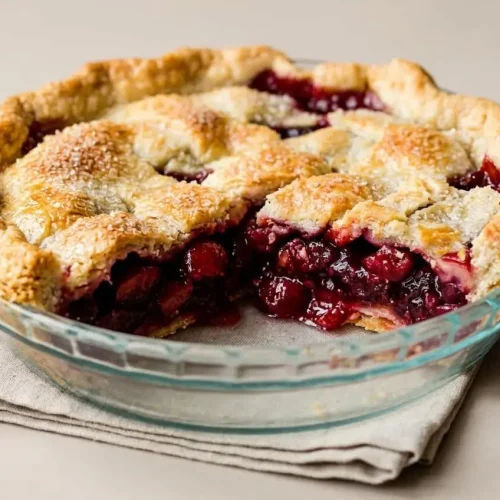
Cherry Pie

Equipment
- Cherry Pitter
- Glass Mixing Bowl
- Rolling Pin
- 9-inch Pie Dish
- Pastry Wheel or Pizza Cutter
- Pastry brush
- pie crust shield
- Cooling Rack
Ingredients
- Homemade Pie Crust or All Butter Pie Crust both recipes make 2 crusts, 1 for bottom and 1 for top
- 4 1/2 cups halved & quartered pitted fresh cherries
- 2/3 cup granulated sugar 135g
- 1/4 cup cornstarch 28g
- 1 Tablespoon lemon juice 15ml
- 1 teaspoon pure vanilla extract
- 1/4 teaspoon almond extract
- 1 Tablespoon cold unsalted butter, cut into small cubes 14g
- egg wash: 1 large egg beaten with 1 Tablespoon (15ml) milk
- coarse sugar for sprinkling on crust optional
Instructions
- Prepare either pie crust recipe through step 5, then refrigerate the dough for at least 2 hours before rolling. The dough should feel cold and firm, not soft or greasy, when you begin shaping it.
- Combine the cherries, sugar, cornstarch, lemon juice, vanilla, and almond extract in a large bowl, then cover and refrigerate while you work with the dough or for up to 24 hours. The sugar will draw out cherry juices and create a glossy liquid in the bottom of the bowl.
- Roll one chilled dough disc on a floured surface into a 12-inch circle, rotating it a quarter turn after every few passes of the rolling pin, and fit it into a 9-inch pie dish. Press the dough gently into the dish so it lies smooth against the bottom and sides without stretching.
- Lift the cherries into the crust with a slotted spoon, leaving the accumulated liquid behind, then refrigerate the filled shell uncovered. Keeping the fruit separate from the excess juice protects the raw bottom pastry while you thicken the liquid.
- Cook the reserved cherry liquid in a small saucepan over low heat for about 3–4 minutes, stirring until it reduces and thickens, then let it cool for 5 minutes before pouring it over the fruit and adding the cold butter cubes. The syrup should look glossy and coat the back of a spoon; it may firm up when it meets the cold cherries.
- Roll the second chilled dough disc into a 12-inch circle, cut it into strips, and weave the strips over the filling to form a lattice. Fold back alternate strips as you weave so the pattern stays even, then press the ends into the bottom crust to seal.
- Trim the excess dough, flute or crimp the edge, brush the top and rim lightly with egg wash, and sprinkle with coarse sugar if using. Chill the assembled pie for 20–30 minutes while the oven heats so the lattice and fluted edge hold their shape.
- Set the pie on a large baking sheet and bake at 400°F for 20 minutes, then reduce the oven to 375°F and continue baking for 30–40 minutes. After the first 20 minutes, cover the edge with a pie crust shield, and keep baking until the crust is golden and thick bubbles rise through the center lattice for at least 5 minutes.
- Transfer the pie to a cooling rack and leave it undisturbed for at least 3–4 hours before cutting. The filling thickens as it cools, changing from loose bubbling fruit to a sliceable, jammy center.