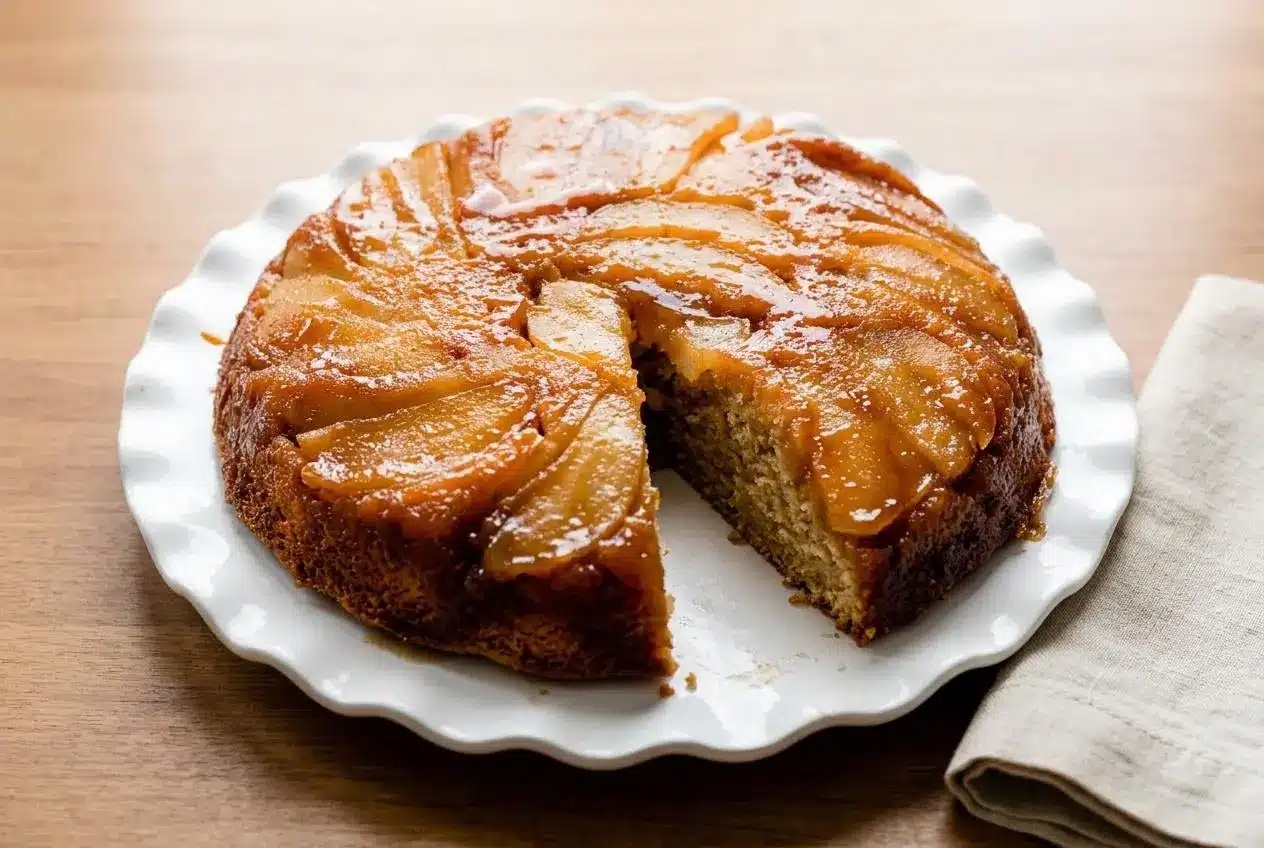
Caramel Apple Upside Down Cake bakes up with glossy caramelized apples, a warmly spiced crumb, and the kind of flip that works when you time it right.
This is a classic scratch cake with a buttery brown sugar topping and tender apple slices baked right into the crown. It tastes like fall, but in a polished, dinner-party way.
The big wins here are practical ones: apples that hold their shape, a batter that stays moist, and a stress-free inversion while the caramel is still loose enough to release. The ten-minute window matters.
Slice the apples to an even 1/4 inch so they soften at the same rate and keep the top looking neat after you flip.
Choosing the Best Apples for Baking
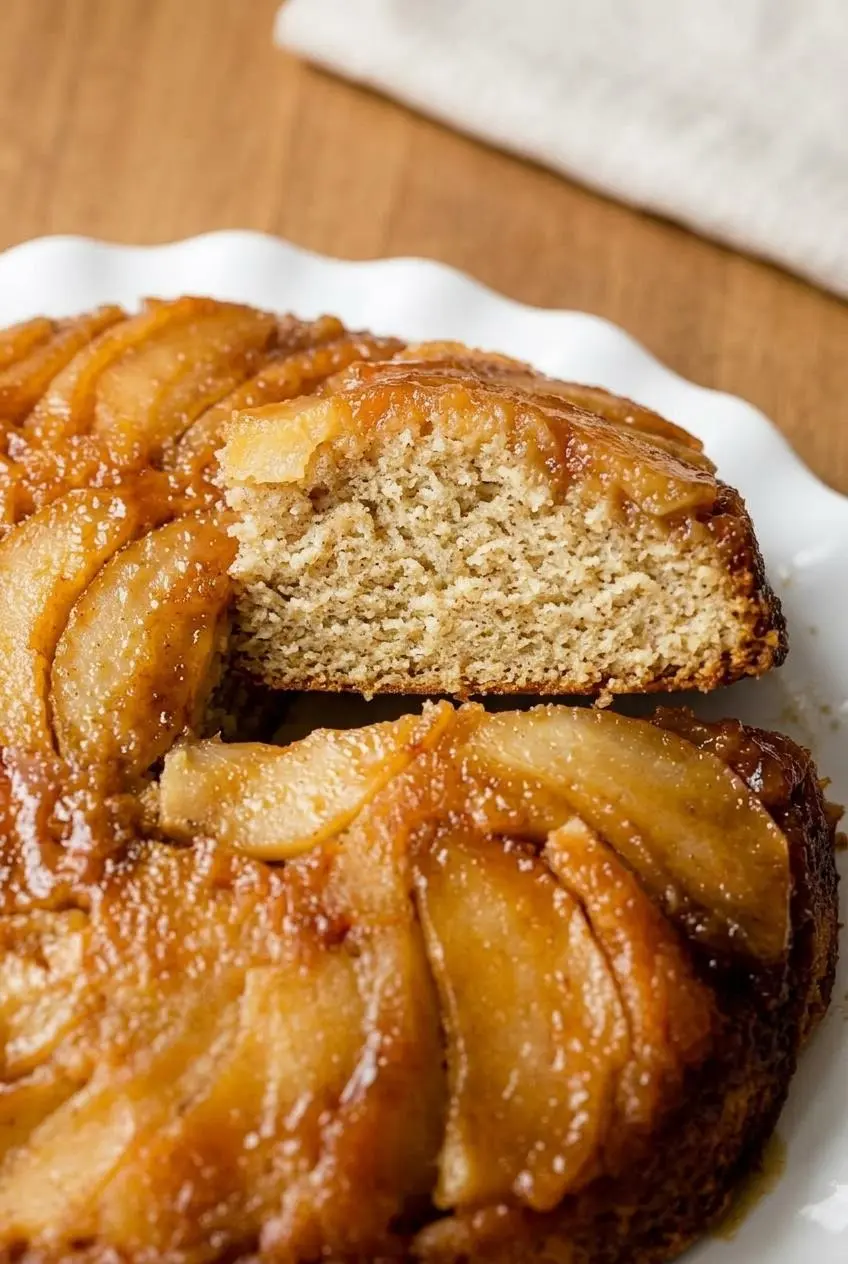
The apple choice decides whether this cake comes out glossy and defined or soft and watery. For an upside-down cake, baking apples need to hold their shape under heat and balance the sweetness of the caramel.
Firm, tart apples are the safest bet. Granny Smith stays sturdy and bright, Pink Lady gives a sweet-tart balance with good structure, and Honeycrisp keeps a pleasant bite while baking. Those varieties stand up well to brown sugar and butter, so the topping stays distinct instead of melting into a mushy layer.
Soft eating apples behave differently. McIntosh and Red Delicious tend to collapse faster, release more moisture, and can thin the caramel underneath. That extra liquid can leave the fruit layer slippery and the top of the cake a little soggy.
Thickness matters too. The 1/4-inch slices in this recipe are ideal because they cook through without disappearing. Go much thinner and the apples can slump into the caramel. Go much thicker and the slices may stay too firm by the time the cake is done.
Tart apples also taste sweeter after caramelizing because the brown sugar rounds out their sharp edge. That contrast is what keeps each bite from turning flat or overly sugary.
If you like this sweet-tart apple profile in a faster dessert, caramel apple puff pastries lean into the same flavor combination with a flakier finish.
Should You Peel Your Apples?
For this cake, peeling is worth it. Peeled apples soften into a tender layer that slices neatly and sits closely against the caramel.
Unpeeled apples can look pretty, especially with pink-skinned varieties, but the skins often stay slightly chewy after baking. In an upside-down cake, that texture stands out more because the apples are front and center.
If you want the cleanest presentation, peel them. The finished top looks smoother, the knife glides through more easily, and the fruit layer feels more luxurious.
The Science of Room Temperature Ingredients
Room temperature ingredients are one of the quiet reasons this cake bakes evenly. They help the batter come together as a smooth emulsion, which means the butter, eggs, and milk blend instead of fighting each other in the bowl.
Softened butter creams more effectively with sugar, trapping air that helps the cake rise. Room temperature eggs slide into that mixture more cleanly, and room temperature milk keeps the batter from tightening up when it is added at the end.
Cold dairy can make the mixture look curdled or grainy. Once that happens, the batter usually loses some of its smooth structure, and the baked cake can turn denser than you want. Overmixing makes it worse because the flour develops more gluten, which leads to a tougher crumb.
When the butter, eggs, and milk are all at the same general temperature, the batter stays thick but cohesive. That is exactly what you want here. It should spread over the apples without running straight into the caramel.
The texture payoff is noticeable. The crumb bakes up moist and tender, and a toothpick pressed into the center meets a little resistance before coming out with a few moist crumbs instead of wet streaks.
Ingredients
Each ingredient earns its place here, building caramel depth, apple structure, warm spice, and a soft cake crumb that can support the glossy topping.
Topping
- 6 Tablespoons (85g) unsalted butter
- 1/2 cup (100g) packed light or dark brown sugar
- 1/4 teaspoon ground cinnamon
- 1/4 teaspoon pure vanilla extract
- 2 medium apples, peeled and sliced into 1/4-inch slices (1.5–2 cups, or 188–250g, apple slices)
Cake
- 1 and 1/2 cups (188g) all-purpose flour (spooned & leveled)
- 1 and 1/2 teaspoons baking powder
- 1 and 1/2 teaspoons ground cinnamon
- 1/4 teaspoon ground nutmeg
- 1/2 teaspoon salt
- 1/2 cup (8 Tbsp; 113g) unsalted butter, softened to room temperature
- 1/2 cup (100g) granulated sugar
- 1/2 cup (100g) packed light or dark brown sugar
- 2 large eggs, at room temperature
- 1 teaspoon pure vanilla extract
- 6 Tablespoons (90ml) whole milk, at room temperature
Brown sugar gives the topping its deeper caramel flavor and dark amber color. Cinnamon and nutmeg bring warm aroma without overpowering the apples, and baking powder helps lift a fairly rich batter so the cake stays tender instead of heavy.
I always spoon and level flour for cakes like this because even a little extra flour can turn a plush crumb into a tighter one.
How to Make Caramel Apple Upside Down Cake
This method is straightforward, but a few small cues make it much easier to nail on the first try. Watch the caramel for a glossy, thickened look, and stop mixing the batter as soon as it comes together.
Preparation
- Heat the oven to 350°F (177°C).
The cake bakes most evenly when the oven is fully preheated before the pan goes in. - Warm the butter and brown sugar in a small saucepan over medium heat, whisking now and then until melted, then whisk constantly for 1 minute as the mixture thickens before stirring in the cinnamon and vanilla.
The topping should look smooth, glossy, and amber colored, more like a loose glaze than a thin syrup. - Pour the caramel into an ungreased 9×2 inch pie dish or round cake pan, arrange the apple slices on top in slightly overlapping layers, and chill the pan for a few minutes while you mix the batter.
This brief chill helps set the design so the apples stay in place when the batter is added. - Whisk together the flour, baking powder, cinnamon, nutmeg, and salt in a bowl.
Mixing the dry ingredients first helps the spice and leavening distribute evenly through the cake. - Beat the softened butter on high speed for about 1 minute until creamy, beat in both sugars for about 1 minute, then mix in the eggs and vanilla, scraping the bowl as needed.
The mixture should look lighter and smoother before the dry ingredients go in. - Add the dry ingredients to the bowl, turn the mixer to low, and slowly pour in the room temperature milk until the batter is just combined, finishing by hand if needed to catch any flour pockets.
The batter will be slightly thick, and that thickness helps it sit over the apples instead of sinking straight through. - Take the pan from the refrigerator and spread the batter evenly over the apple layer.
Use a gentle hand so the apple pattern stays in place under the batter. - Bake for 40–46 minutes, loosely tenting foil over the top halfway through so the surface does not brown too fast.
The center is ready when a toothpick comes out mostly clean with a couple of moist crumbs, and you should feel slight resistance rather than wet drag. - Set the cake on a wire rack for 15 minutes, then invert it onto a serving plate or cake stand.
A little caramel may run down the sides, which is normal and part of the appeal. - Cool the cake completely at room temperature before slicing for the neatest portions, or serve it warm if you do not mind messier slices.
Cooling at room temperature keeps the crumb from turning overly dense. - Cover any leftover slices and refrigerate or freeze them as needed, thawing frozen slices at room temperature before serving.
Freeze slices rather than the whole cake if you want the topping to look better after thawing.
Choosing the Right Pan and Preventing Oven Spills
This is the section that saves a lot of oven cleanup. Caramel bubbles, fruit gives off juices, and upside-down cakes need a pan that can hold both without leaking.
The safest move is to set a baking sheet on the lower oven rack before baking. If a little caramel bubbles over the edge, the sheet catches it before it hits the oven floor and burns.
Depth matters too. A shallow pan leaves less room for bubbling topping and rising batter, while a deeper vessel gives the cake more space to finish cleanly.
The Solid Cake Pan Advantage
A solid round cake pan or a deep pie dish is the most reliable choice for this recipe. There are no seams at the bottom, so the caramel stays where it belongs.
Springform pans are risky here because the liquid butter and sugar mixture can seep through the base before it fully sets. Once that leaks into the oven, the sugar can scorch fast and create a smoky mess.
If a springform pan is your only option, wrap the outside bottom tightly with heavy-duty foil before adding the topping and batter. It may help contain minor leakage, but a solid pan is still the safer option.
The Cast Iron Skillet Alternative
A cast iron skillet gives this cake a more rustic look and slightly crisper edges. It also lets you build the topping directly in the pan, which is handy if you like fewer transfers.
To use one, melt the topping butter in the skillet, stir in the brown sugar until it dissolves and thickens, then add the cinnamon and vanilla and arrange the apples right in the pan. Spread the prepared batter over the top and bake as directed.
The result feels a little more old-fashioned, in a good way. Just make sure the skillet is well seasoned and sized appropriately so the batter and bubbling topping have room.
How to Flip Your Cake with Absolute Confidence
The flip is the part that makes people hesitate, but it is much easier when you treat it like a sequence instead of a dramatic event. Timing and confidence matter more than strength.
The Golden Ten-Minute Window
The sweet spot is about 10 minutes after the cake comes out of the oven, with a workable range of 5 to 15 minutes. At that point, the caramel is still fluid enough to release, but the cake has set enough to hold together.
Flip it too early and the topping can slide. Wait until the cake is fully cold and the sugar firms up, making sticking much more likely.
If you are ever unsure, err slightly warm rather than completely cool. Upside-down cakes are much more cooperative that way.
Step-by-Step Mechanics of the Plate Flip
Use a large, flat serving plate or cake stand that fully covers the top of the pan. Set it over the cake, hold plate and pan tightly together with oven mitts or thick towels, then turn both over in one steady motion.
Once inverted, set everything down and give the bottom of the pan a gentle tap. Then lift the pan straight up instead of tilting it away. That little pause and tap often helps the caramel and apples release cleanly.
Confidence really helps here. A hesitant half-turn is usually messier than one committed flip.
How to Fix Sticking Apples
If one or two apple slices stay in the pan, the cake is not ruined. Use a small spatula or offset spatula to loosen the pieces gently, then place them back on top while the caramel is still warm.
Press them lightly into place and smooth over any gaps with a bit of the caramel left in the pan. Once the cake is sliced, the patch is nearly invisible.
This is one of those repairs that looks bigger in the moment than it does on the plate.
Flavor Twists and Easy Variations
These are all optional, and each one changes the cake in a slightly different way without altering the main recipe.
- Salted Maple and Toasted Pecan: Add a little maple flavor and a pinch of flaky sea salt to the glaze, then scatter toasted chopped pecans over the apples for a nuttier, richer top.
- Easy Shortcut Version: If you want a faster route, use a boxed yellow cake mix and swap the water for apple juice to keep the fruit flavor forward. For a scratch-style reference point, classic yellow cake gives you a good sense of the flavor profile behind the shortcut.
- Greek Yogurt Swap: Replacing the milk with plain Greek yogurt creates a slightly tangier crumb and an especially moist texture.
Serving Ideas and Warm Presentation
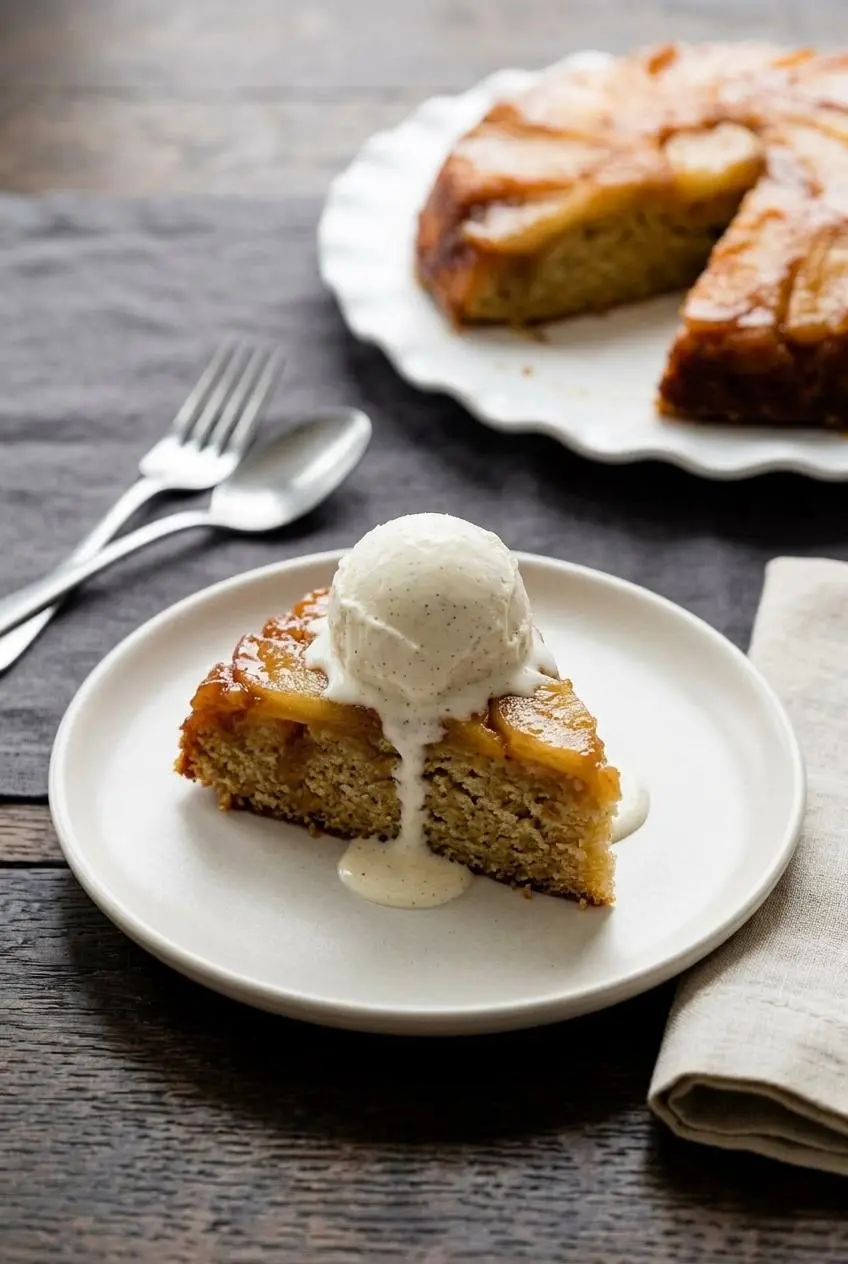
This cake shines brightest when served a little warm, once the caramel has relaxed and the apple slices are glossy. It is a natural fit for holiday dinners, weekend baking, or any dessert table that needs something cozy but polished.
- Serve slices with vanilla bean ice cream if you want the hot-and-cold contrast.
- Drizzle a little warm salted caramel sauce over each piece for extra richness.
- Add unsweetened whipped cream when you want a lighter finish that balances the sweetness.
If buttery caramel cakes are your lane, kentucky butter cake is another good one to keep on your list.
Cake Storage and Reheating Tips
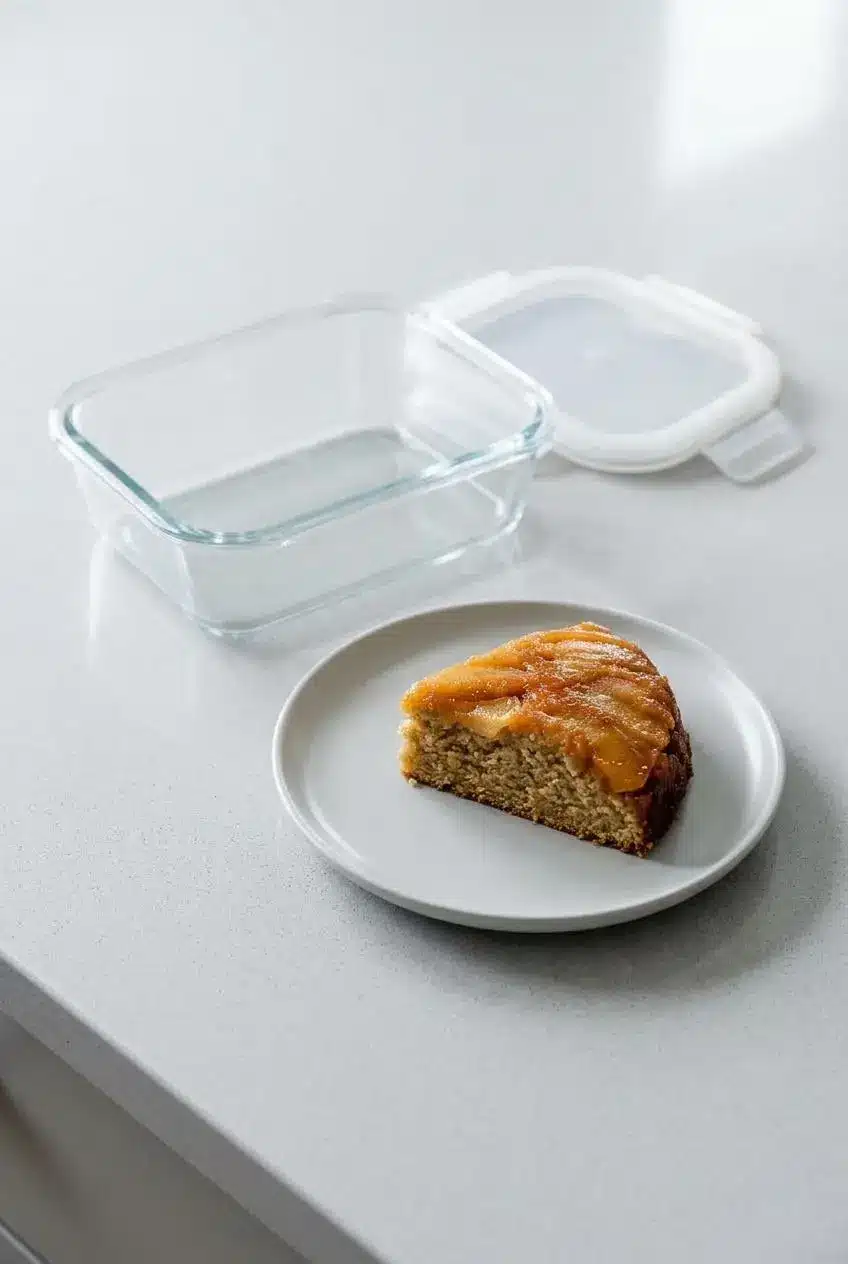
Once the cake is fully cooled, cover leftover slices well so the crumb does not dry out and the caramel stays soft. Refrigeration is the easiest option for this cake because of the fruit topping.
The official method allows you to refrigerate leftover slices for up to 3 days or freeze slices for up to 3 months. If you freeze any, thaw the slices at room temperature before serving.
Reheat individual slices briefly in the microwave to loosen the caramel and bring back some of that just-baked softness. A short burst is enough here.
The whole cake is not the best candidate for freezing because the apple design can lose its clean look after thawing. If appearance matters, freeze portions instead of the full cake.
Conclusion
This cake works because every part supports the next: firm apples hold their shape, the brown sugar topping turns glossy and deep, and the spiced batter stays tender underneath.
If you choose sturdy apples and flip during that golden ten-minute window, you are very close to success already. Warm caramel on the plate is a pretty nice reward.
Frequently Asked Questions
Can I use store-bought caramel sauce instead?
Yes, as long as it is thick and rich enough to sit under the apples without soaking straight into the cake. Avoid thin caramel ice cream toppings. They tend to loosen too much in the oven and can leave the fruit layer soggy. If you use store-bought sauce, the texture should resemble a spoonable caramel, not a pourable syrup.
Why did my caramel leak in the oven?
The usual culprit is a springform pan. The butter and brown sugar mixture can seep through the bottom seam before it has a chance to bake and set. A solid round cake pan or deep pie dish is much safer for this recipe. If you must use a springform pan, wrap the outside bottom very tightly with heavy-duty foil and place a baking sheet on the lower rack.
How do I fix my cake if the apples stick to the pan?
Lift the stuck slices out gently with a spatula while the caramel is still warm. Set them back onto the top of the cake and nudge them into the open spots. A little extra caramel from the pan helps hide the repair. Once you cut the cake, that patch-up is usually hard to notice.
How should I store and reheat leftovers?
Cover the slices well after they have cooled, then keep them chilled so the fruit topping stays in good shape. For the best texture, warm individual slices briefly in the microwave before serving so the caramel softens again. If you froze slices, let them thaw at room temperature first, then warm them gently if you like.
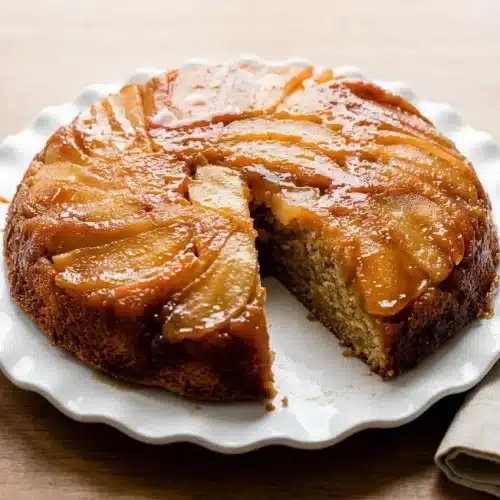
Caramel Apple Upside Down Cake

Equipment
- Saucepan
- Whisk
- 9-inch Pie Dish
- Glass Mixing Bowl
- Electric Mixer
- Cooling Rack
Ingredients
Topping
- 6 Tablespoons (85g) unsalted butter
- 1/2 cup (100g) packed light or dark brown sugar
- 1/4 teaspoon ground cinnamon
- 1/4 teaspoon pure vanilla extract
- 2 medium apples, peeled and sliced into 1/4-inch slices (1.5-2 cups, or 188-250g, apple slices)
Cake
- 1 and 1/2 cups (188g) all-purpose flour (spooned & leveled)
- 1 and 1/2 teaspoons baking powder
- 1 and 1/2 teaspoons ground cinnamon
- 1/4 teaspoon ground nutmeg
- 1/2 teaspoon salt
- 1/2 cup (8 Tbsp; 113g) unsalted butter, softened to room temperature
- 1/2 cup (100g) granulated sugar
- 1/2 cup (100g) packed light or dark brown sugar
- 2 large eggs, at room temperature
- 1 teaspoon pure vanilla extract
- 6 Tablespoons (90ml) whole milk, at room temperature
Instructions
Preparation
- Heat the oven to 350°F (177°C). The cake bakes most evenly when the oven is fully preheated before the pan goes in.
- Warm the butter and brown sugar in a small saucepan over medium heat, whisking now and then until melted, then whisk constantly for 1 minute as the mixture thickens before stirring in the cinnamon and vanilla. The topping should look smooth, glossy, and amber colored, more like a loose glaze than a thin syrup.
- Pour the caramel into an ungreased 9×2 inch pie dish or round cake pan, arrange the apple slices on top in slightly overlapping layers, and chill the pan for a few minutes while you mix the batter. This brief chill helps set the design so the apples stay in place when the batter is added.
- Whisk together the flour, baking powder, cinnamon, nutmeg, and salt in a bowl. Mixing the dry ingredients first helps the spice and leavening distribute evenly through the cake.
- Beat the softened butter on high speed for about 1 minute until creamy, beat in both sugars for about 1 minute, then mix in the eggs and vanilla, scraping the bowl as needed. The mixture should look lighter and smoother before the dry ingredients go in.
- Add the dry ingredients to the bowl, turn the mixer to low, and slowly pour in the room temperature milk until the batter is just combined, finishing by hand if needed to catch any flour pockets. The batter will be slightly thick, and that thickness helps it sit over the apples instead of sinking straight through.
- Take the pan from the refrigerator and spread the batter evenly over the apple layer. Use a gentle hand so the apple pattern stays in place under the batter.
- Bake for 40-46 minutes, loosely tenting foil over the top halfway through so the surface does not brown too fast. The center is ready when a toothpick comes out mostly clean with a couple of moist crumbs, and you should feel slight resistance rather than wet drag.
- Set the cake on a wire rack for 15 minutes, then invert it onto a serving plate or cake stand. A little caramel may run down the sides, which is normal and part of the appeal.
- Cool the cake completely at room temperature before slicing for the neatest portions, or serve it warm if you do not mind messier slices. Cooling at room temperature keeps the crumb from turning overly dense.
- Cover any leftover slices and refrigerate or freeze them as needed, thawing frozen slices at room temperature before serving. Freeze slices rather than the whole cake if you want the topping to look better after thawing.