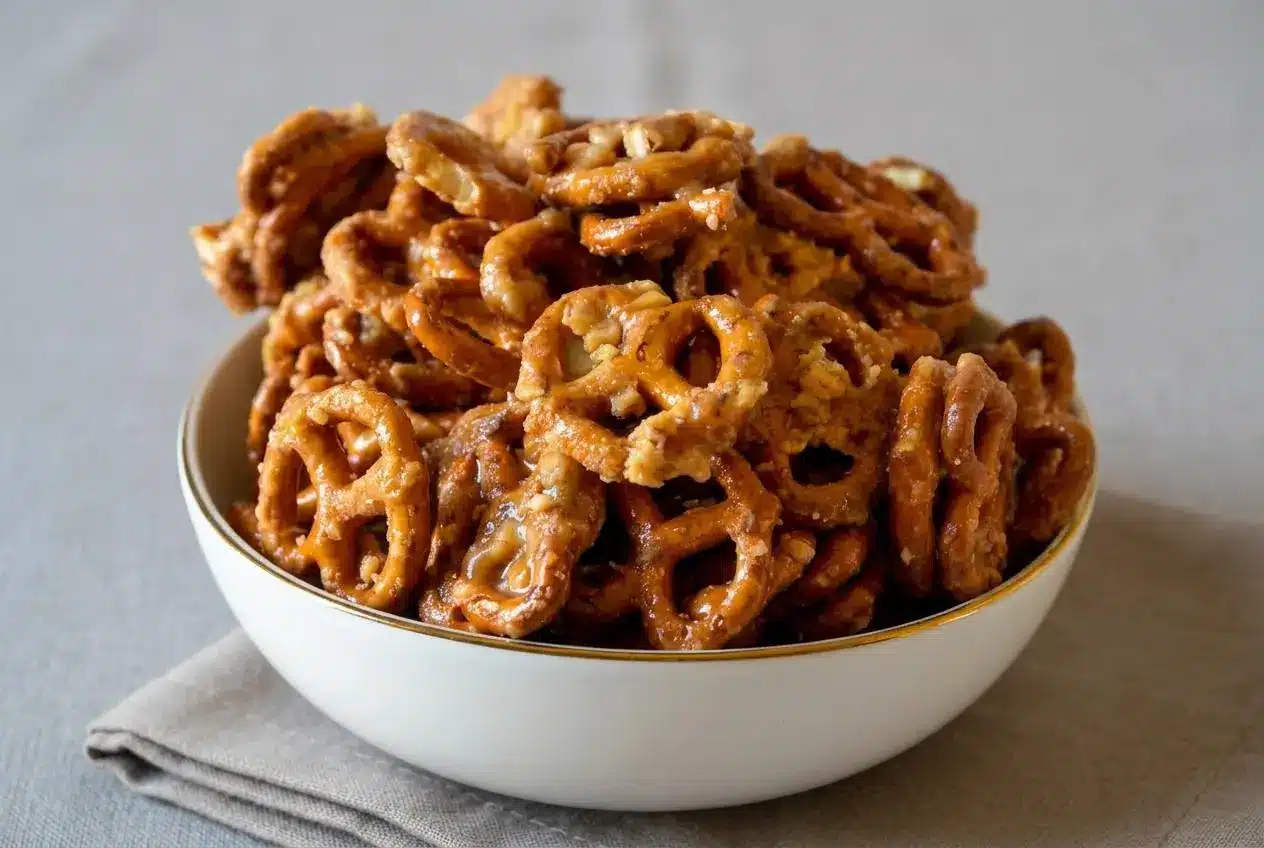
Butter toffee pretzels are salty pretzel twists coated in a boiled brown sugar and butter glaze, aerated with baking soda, then baked at 200 °F for one hour. Regular stirring spreads the coating, and cooling turns the batch into crisp, buttery clusters.
These butter toffee pretzels bring together toasted pretzel crunch, caramel sweetness, and little bursts of salt. Plain toffee bits add another layer of snap, making each cluster feel like a homemade candy shop treat.
If you enjoy the holiday-style snack sold at Trader Joe’s, this homemade version delivers that familiar sweet-and-salty contrast without individual dipping or a candy thermometer. The oven does much of the work. Watch the glaze turn foamy.
Choose a roasting pan with enough room to lift and fold the pretzels without crushing their loops.
Essential Ingredients and Their Specific Roles
Pretzels supply crunch and salt, while brown sugar and butter build the rich coating. Corn syrup helps the glaze stay smooth, vanilla rounds out its aroma, baking soda adds airiness, and toffee bits provide extra texture.
- 10 cups (One 16 oz bag) mini pretzel twists
- 1 cup lightly packed light brown sugar
- 1/2 cup (1 stick) unsalted butter (cubed)
- 1/4 cup light corn syrup
- 1 tsp vanilla extract
- 1/2 tsp baking soda
- 1 bag Heath toffee bits
Mini pretzel twists: Their curves and openings catch the glaze, while their sturdy shape holds up to gentle tossing. Use the specified twists for this batch rather than swapping in large rods, which coat and cluster differently.
Brown sugar and butter: Light brown sugar brings a mellow molasses flavor, and unsalted butter adds richness without adding more salt to the pretzels. Keep the listed proportions intact; changing the balance can change how the coating spreads and sets. Cubed butter melts more evenly into the sugar mixture.
Corn syrup and baking soda: Light corn syrup supports a smooth coating without adding a pronounced flavor. Baking soda has a different job: it makes the hot glaze foam and become lighter in texture. Neither ingredient replaces the moisture-drying work of the oven.
Vanilla and toffee bits: Vanilla softens the edge of the cooked-sugar flavor. For the bits, choose plain Heath Bits O’ Brickle, not the milk chocolate-coated variety. Chocolate-coated pieces melt during baking and can leave smeared or scorched patches instead of distinct toffee crunch.
I’d check the toffee bag for “Bits O’ Brickle” before opening it; the plain and chocolate-coated versions are easy to confuse.
How to Make Butter Toffee Pretzels
The coating develops in stages, so don’t expect perfect coverage on the first toss. Have the roasting pan, saucepan, whisk, stirring spatula, and wax paper ready before you start cooking the glaze. This batch yields about 10 cups.
- Set the oven to 200 °F, lightly coat a large roasting pan with cooking spray, and fill it with the pretzels.
The pan should leave enough working room to turn the pretzels without spilling them over the sides. - Heat the brown sugar, cubed butter, and corn syrup together in a medium saucepan over medium heat, stirring continuously through a full 5-minute boil.
The butter should disappear into a bubbling, cohesive syrup rather than remain in separate pieces. - Take the saucepan off the burner and whisk the vanilla and baking soda into the hot syrup.
Expect the mixture to expand rapidly into a paler foam, and keep your hands clear of the rising glaze. - Distribute the hot glaze across the pretzels, add half the toffee bits, and gently fold everything together.
Some pieces may look heavily coated while others look nearly bare, but the oven stirring will help even out the mixture. - Keep the pan in the oven for 1 hour, lifting and folding the pretzels every 15 minutes.
Each turn should bring glaze from the bottom of the pan back onto the pretzels without crushing their loops. - Empty the baked mixture onto a wax paper-lined countertop, spread it out, and scatter the remaining toffee bits over it immediately.
The warm coating will help the fresh bits cling as the clusters begin to set. - Leave the pretzels undisturbed for about 1 hour to cool and harden before breaking them into smaller clusters and packaging them.
Ready clusters feel cool and firm rather than warm, flexible, or tacky.
Boiling the Caramel and Whisking the Soda
Start counting the boil once the mixture is actively bubbling, not while the butter is still melting. Stir throughout so the sugar mixture heats evenly and doesn’t sit against the bottom of the saucepan.
After removing the pan from the heat, add the vanilla and baking soda carefully. The baking soda releases tiny carbon dioxide bubbles in the hot glaze, causing the sudden expansion and lighter color. That foam gives the coating a less dense texture.
Use a saucepan with space above the syrup. Keep your face back while whisking, and don’t touch or taste the hot glaze. A low oven temperature does not make the freshly boiled sugar cool enough to handle.
The Low-Heat Stirring Schedule
Low heat lets the coating spread and gradually dry without relying on an individually dipped candy shell. During the first part of baking, sticky clumps and pooled glaze are normal. Fold them back through the pretzels rather than scraping them out and discarding them.
- At 15 minutes: Lift pretzels from the bottom and gently turn them over, bringing pooled glaze with them.
- At 30 minutes: Move the outer pretzels toward the center and separate loose clumps without forcing them apart.
- At 45 minutes: Check the corners and bottom for concentrated coating, then fold it through again.
- At 60 minutes: Give the batch its final gentle turn before spreading it onto wax paper.
A wide silicone spatula helps lift the mixture instead of chopping through it. If you want a larger batch, avoid crowding everything into one pan; cramped pretzels are harder to turn and coat evenly.
Roasting Pan Method Versus Dipping Pretzels
The roasting pan method coats the whole batch at once and produces irregular, bite-sized clusters. It doesn’t require a candy thermometer, though it does require the full baking time and regular attention to stirring.
Individual dipping usually aims for a firmer candy shell and relies on a thermometer-controlled syrup. It gives more control over each pretzel, but involves repeated handling near hot sugar. Both approaches require care; batch tossing simply avoids the repetitive dipping work.
Troubleshooting Common Glaze and Texture Mistakes
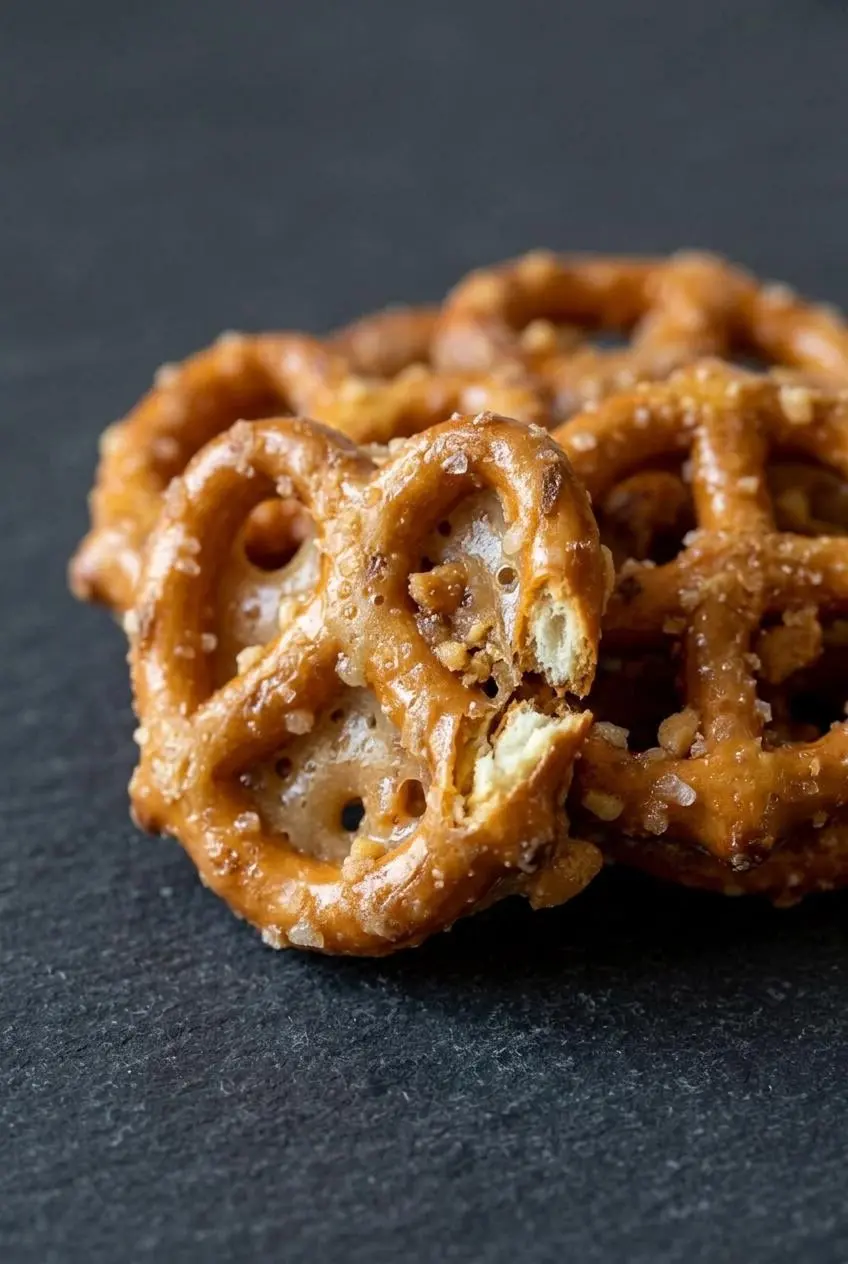
Judge the coating after it cools, not while it’s still warm and soft. Appearance alone won’t tell you whether the batch has the right crunch.
- Uneven coating: Glaze has collected underneath the pretzels; lift from the bottom at every stirring checkpoint instead of moving only the top layer.
- Broken pretzels: Forceful stirring can snap the loops; fold with a broad spatula rather than pressing or chopping.
- Scorched or smeared bits: Chocolate-coated toffee pieces may be the cause; choose plain brickle bits and keep the oven at the specified low setting.
- Oily-looking pools: Check whether you skipped stirring or changed ingredient proportions; during baking, gently work the pooled coating back through the batch.
Fixing Sticky or Soft Pretzels
Sticky cooled clusters can mean the coating retained moisture or absorbed humidity. First, make sure the pretzels are fully cool. Warm sugar coating naturally feels softer, so testing it too soon can make a successful batch look unfinished.
- Still tacky after cooling: Additional low-heat drying may help; return the batch to the same low oven setting, stir gently, and watch closely rather than turning up the heat.
- Soft after packaging: Warm clusters may have trapped moisture inside the container; spread them out and let them cool completely before closing the lid again.
- Soft in humid conditions: Keep finished clusters covered once cool and limit exposure to damp kitchen air.
Allow any further-dried batch to cool again before judging its texture. Don’t package tacky clusters for gifts and hope the container will finish setting them.
Understanding the Matte Finish
A matte or slightly cloudy coating is normal. This aerated glaze doesn’t need to resemble glossy caramel to work well.
Look for a firm coating and a crisp bite instead. A dull surface with good crunch is a successful result; a dull surface that still feels sticky needs more attention. Shine is not a doneness test.
How to Store Pretzels and Protect Their Crunch
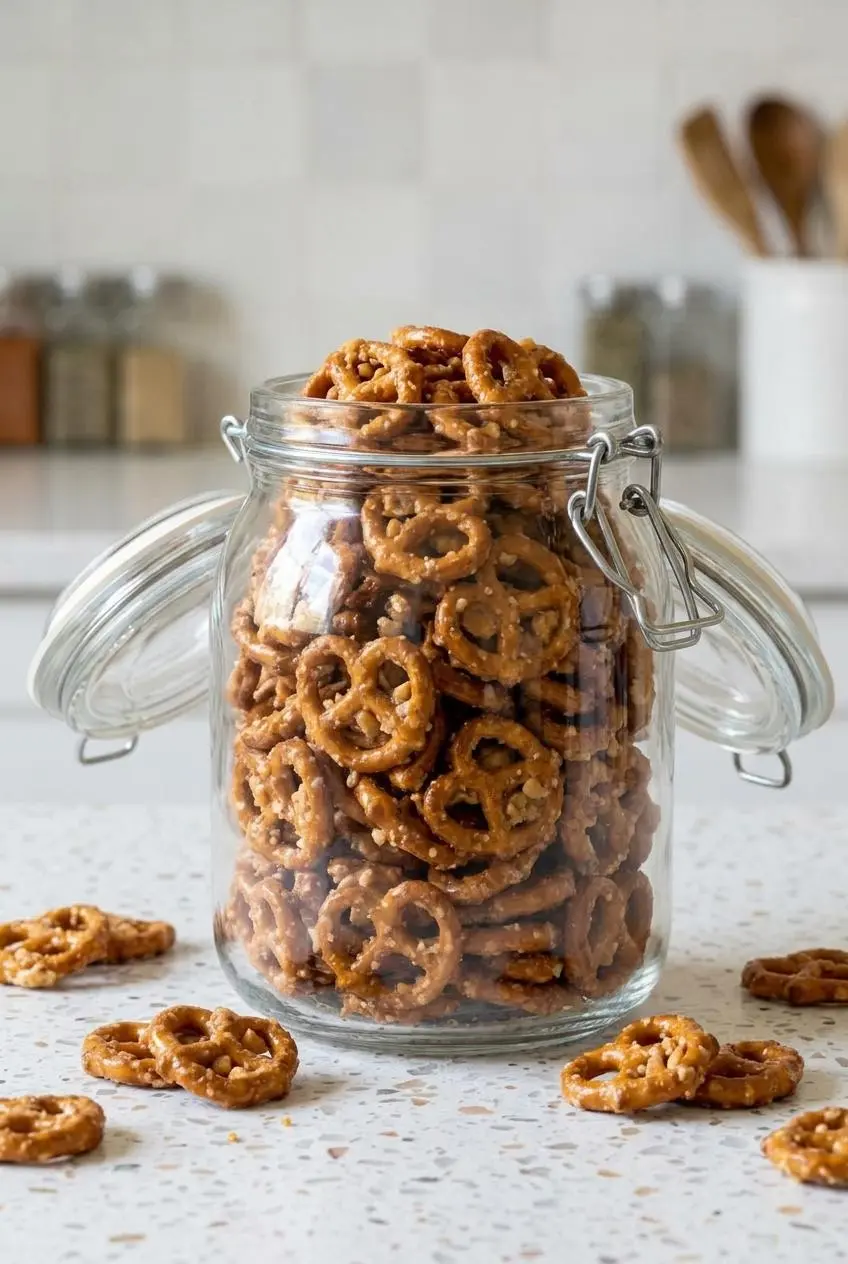
Cool the clusters completely before placing them in an airtight jar, tightly sealed container, or well-fitting tin. Moisture control matters more than decorative packaging.
Keep them at room temperature in a dry place, away from a steamy stovetop, dishwasher, or sunny window. Refrigeration isn’t needed for this snack and can expose the coating to condensation when the container comes back into a warmer room.
For humid conditions, an intact moisture-absorbing packet specifically labeled for food packaging may help. Follow its packaging directions and keep it separate from the edible clusters; don’t use loose desiccant or an unidentified packet.
There isn’t a verified shelf-life duration for this batch, so avoid promising a multiweek freshness window on gift labels. Finish cooling and sealing the pretzels before assembling gifts, and keep serving portions covered until needed.
Creative Flavor Variations
Keep these additions optional and separate from the recipe above. The pretzels and toffee bits already provide plenty of flavor, so small accents work better than burying the coating.
- Cinnamon and flaky sea salt: Add a little ground cinnamon to the glaze for warmth, then use flaky salt sparingly as the coating sets; for another spiced snack, try cinnamon sugar pretzels.
- Dark chocolate drizzle: Drizzle melted bittersweet chocolate over fully cooled clusters, then let it firm before packaging.
- Roasted nut mix: Combine finished clusters with roasted pecans or toasted almond slivers for nutty contrast without changing the baking method.
- Smoked salt accent: A light sprinkle while the coating is setting adds a savory edge, but taste cautiously because the pretzels are already salted.
No Corn Syrup Alternative
For the most predictable result, keep the light corn syrup. Honey and brown rice syrup are possible ingredients for experimenting with a different glaze, but they aren’t verified direct substitutes here.
Honey can add a noticeable floral flavor, and either alternative may change how the coating dries and sets. Don’t assume an equal-volume swap will produce the same crunch, especially for a batch intended as gifts.
Serving Ideas and Gifting Tips
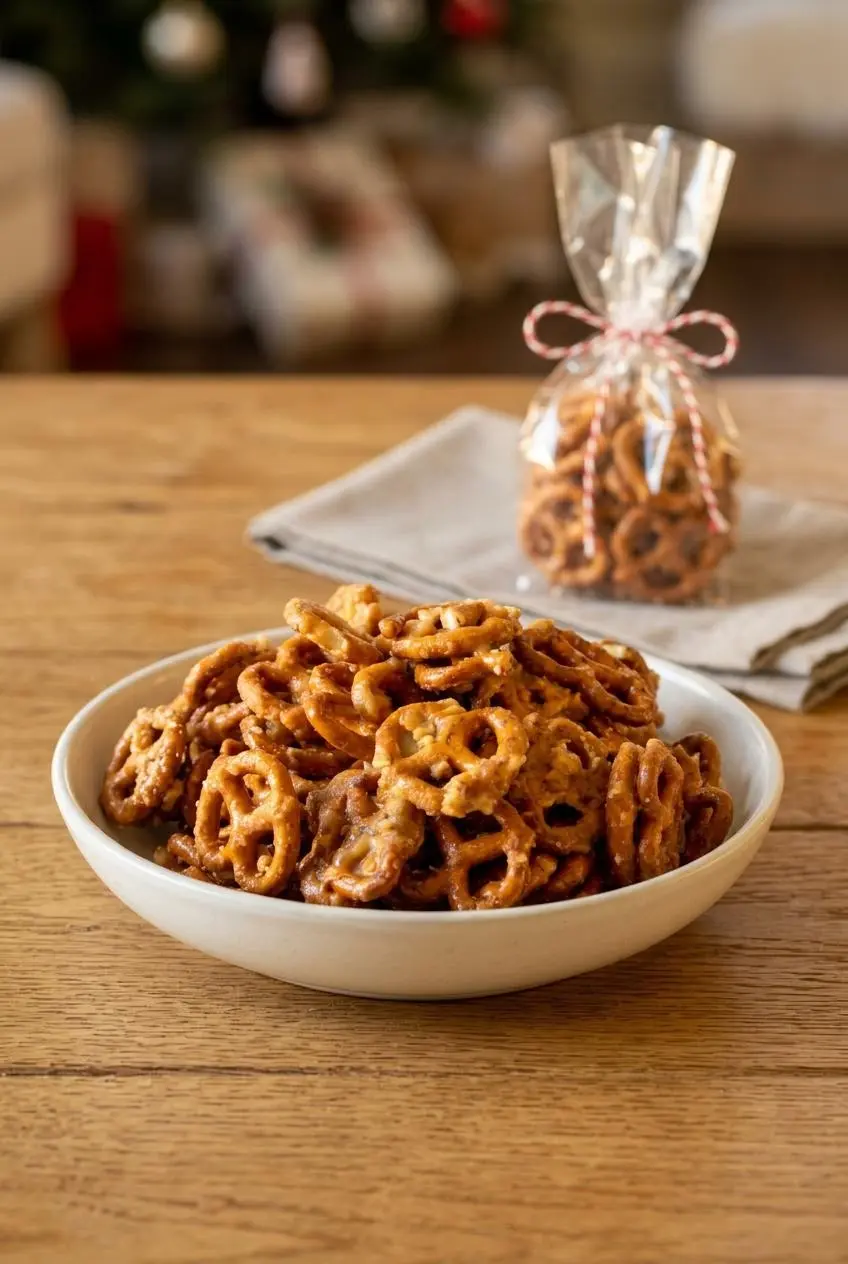
Package clusters only after they feel cool and firm all the way through. Clear food-safe cellophane bags tied with baker’s twine work for individual treats; parchment-lined tins give larger portions some protection from bumps.
For a mixed holiday box, pair a separately sealed portion with Christmas butter cookies. Separate packaging helps preserve each treat’s texture and keeps loose toffee crumbs contained.
For game nights or holiday gatherings, toss clusters with cooled roasted peanuts and salted popcorn just before serving. Let freshly popped popcorn cool first so its steam doesn’t soften the candy coating.
Label gifts with the ingredients, including any optional nuts or chocolate you added, so recipients can check them against their dietary needs.
Conclusion
Buttery toffee, salty pretzels, and crisp brickle bits make a satisfying homemade snack with plenty of crunch. The low oven bake turns an initially uneven coating into clusters worth sharing.
Stir every 15 minutes, then give the batch time to cool completely before packing it. Gentle folding and patient cooling are the habits that make this treat work.
Frequently Asked Questions
Why Are My Butter Toffee Pretzels Sticky After Cooling?
The coating may still contain moisture or may have absorbed humidity. Check that the clusters are fully cool, then follow the low-heat drying guidance above if they remain tacky. Pack only cool, firm clusters in a tightly sealed container.
Can I Make Butter Toffee Pretzels Without Corn Syrup?
A different glaze is possible, but this recipe is written for light corn syrup. Honey or brown rice syrup may change both flavor and texture, so they aren’t guaranteed direct swaps. Use the listed ingredients when you need a predictable batch for gifting.
Are Trader Joe’s Butter Toffee Pretzels Seasonal?
They’re generally associated with holiday-season shopping, though availability can vary by store and year. Check your local store for current stock; making a homemade batch avoids depending on store availability.
What Type of Toffee Bits Should I Buy?
Choose plain toffee bits, such as Heath Bits O’ Brickle. Avoid the milk chocolate-coated version for the oven bake because it melts and can scorch. If you want chocolate, add it as an optional drizzle after the clusters cool.
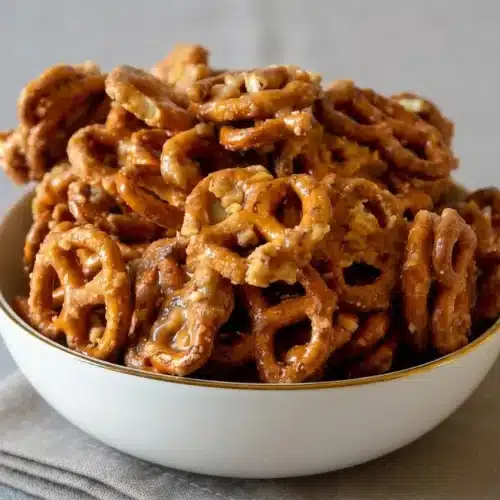
Butter Toffee Pretzels

Equipment
- Large roasting pan
- Medium saucepan
- Whisk
- Wax paper
Ingredients
- 10 cups mini pretzel twists One 16 oz bag
- 1 cup light brown sugar lightly packed
- 1/2 cup unsalted butter 1 stick, cubed
- 1/4 cup light corn syrup
- 1 tsp vanilla extract
- 1/2 tsp baking soda
- 1 bag Heath toffee bits
Instructions
- Set the oven to 200 °F, lightly coat a large roasting pan with cooking spray, and fill it with the pretzels. The pan should leave enough working room to turn the pretzels without spilling them over the sides.
- Heat the brown sugar, cubed butter, and corn syrup together in a medium saucepan over medium heat, stirring continuously through a full 5-minute boil. The butter should disappear into a bubbling, cohesive syrup rather than remain in separate pieces.
- Take the saucepan off the burner and whisk the vanilla and baking soda into the hot syrup. Expect the mixture to expand rapidly into a paler foam, and keep your hands clear of the rising glaze.
- Distribute the hot glaze across the pretzels, add half the toffee bits, and gently fold everything together. Some pieces may look heavily coated while others look nearly bare, but the oven stirring will help even out the mixture.
- Keep the pan in the oven for 1 hour, lifting and folding the pretzels every 15 minutes. Each turn should bring glaze from the bottom of the pan back onto the pretzels without crushing their loops.
- Empty the baked mixture onto a wax paper-lined countertop, spread it out, and scatter the remaining toffee bits over it immediately. The warm coating will help the fresh bits cling as the clusters begin to set.
- Leave the pretzels undisturbed for about 1 hour to cool and harden before breaking them into smaller clusters and packaging them. Ready clusters feel cool and firm rather than warm, flexible, or tacky.