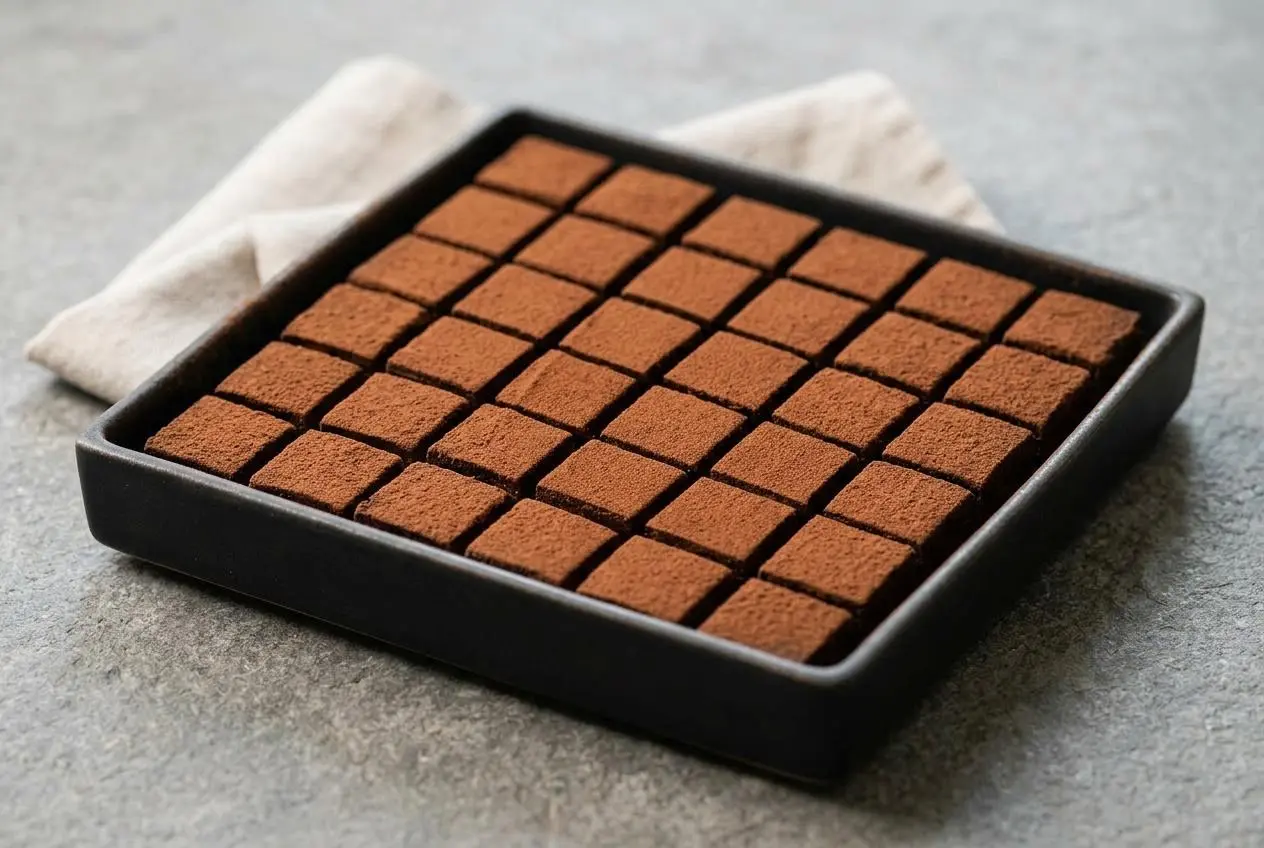
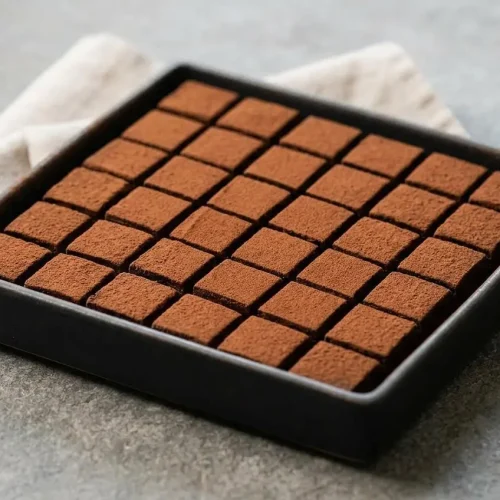
This nama chocolate recipe makes 49 fudgy Japanese ganache squares with a velvety, melt-on-the-tongue texture. Dark chocolate, fresh heavy cream, and butter form the chilled filling, while cocoa powder adds a bittersweet finish. Brandy or cognac is optional.
Think of nama chocolate as soft chocolate truffles poured into a pan instead of rolled by hand. The cream-rich center stays tender, with enough chocolate intensity to make each small square satisfying.
You don’t need to temper chocolate or dip individual pieces. Most of the work happens in a bowl, followed by a refrigerator rest and careful slicing. The warm knife makes the difference.
Set out a heatproof bowl and a flexible spatula before heating the cream so you can work without rushing.
What Is Nama Chocolate and Why It Melts So Smoothly
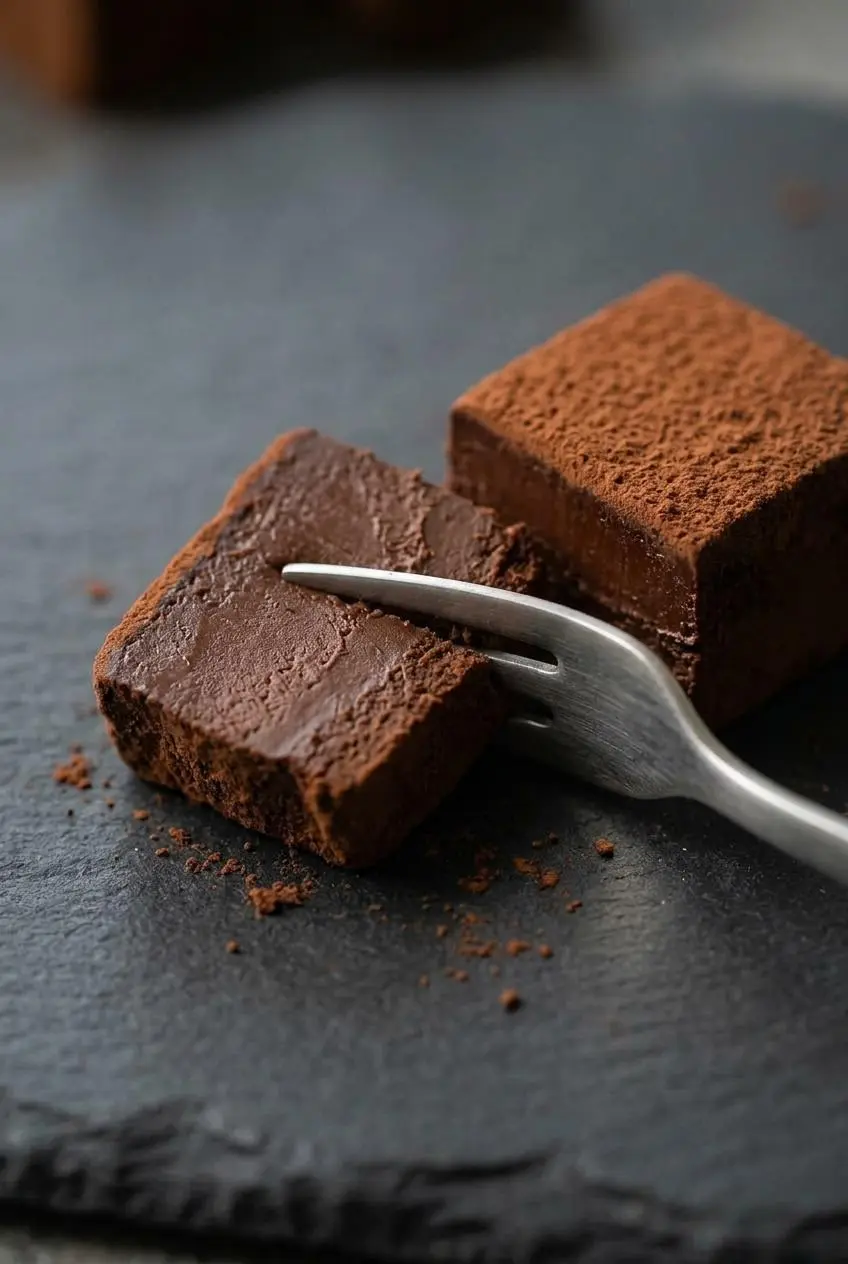
Nama chocolate gets its distinctive texture from a generous proportion of fresh cream. “Nama” means fresh or raw in Japanese; here, it describes the fresh, cream-rich character of the confection, not an uncooked chocolate ingredient.
Compared with classic chocolate truffles, these squares have a softer, more yielding bite. Chocolate supplies structure, while cream keeps the ganache tender rather than snappy like a chocolate bar.
The cocoa-dusted squares recall the boxed Japanese style popularized by Royce. At home, pouring one slab saves the work of portioning and rolling individual centers. You still get an elegant finish, especially when the parchment corners and knife cuts are neat.
Key Ingredients and Smart Substitutions
Chocolate gives the squares flavor and structure, cream supplies moisture and tenderness, and butter adds richness and gloss. Optional brandy or cognac contributes aroma, while cocoa powder balances the creamy center with a dry, bittersweet coating.
- 12 ounces 60% cacao bittersweet chocolate chopped into small pieces (good quality baking chocolate bars or chips)
- 1½ cups heavy cream
- 2 tablespoons unsalted butter cut into small pieces
- 2 tablespoons brandy or cognac (optional, but if omit, use 2 more tablespoon of heavy cream)
- Cocoa powder as needed for dusting
Use heavy cream rather than milk or half-and-half. Its fat contributes to the rich mouthfeel, while its liquid helps disperse the chocolate into a smooth ganache. Changing the dairy changes the balance that allows the mixture to set.
Unsalted butter adds a glossy finish and a clean, soft melt without introducing an unpredictable amount of salt. For dusting, Dutch-process cocoa offers a mellow, rounded chocolate flavor; natural cocoa gives a sharper finish. Either should go through a fine sieve to remove lumps.
I’d chop the chocolate into evenly sized small pieces, paying particular attention to any thick corners that could remain unmelted.
Choosing the Best Chocolate
Start with 60% cacao bittersweet chocolate for the intended balance of sweetness and intensity. Chocolate type matters as well as cacao percentage.
- Couverture: Its fluid melting qualities make it a good choice for a smooth ganache.
- Bittersweet baking bars: Finely chopped 60% bars offer reliable melting and balanced flavor without additional sugar.
- Chocolate chips: Good-quality chips can work, but some contain formulations designed to retain their shape and need more coaxing to melt smoothly.
Switching to 70% chocolate usually produces a more intense, less sweet bite and can change firmness. Cacao percentage alone doesn’t describe the entire formula, so use 60% when you want the closest match to this recipe’s texture.
How to Make Nama Chocolate Without Alcohol
Leave out the 2 tablespoons of brandy or cognac and use 2 extra tablespoons of heavy cream instead. Add that replacement cream to the saucepan with the rest of the cream.
The substitution maintains the amount of added liquid while leaving the chocolate flavor unaccented by liquor. Alcohol is entirely optional, not a requirement for setting the ganache.
How to Make Nama Chocolate Step by Step
Allow about 20 minutes for preparation and 5 minutes for heating, plus at least 3 to 4 hours for chilling. The ganache’s firmness, rather than the clock alone, determines when it is ready to slice.
Prepare the baking pan and chocolate
- Fit parchment into a 9×9-inch square pan, then gather the chopped chocolate and butter in a heatproof bowl and gently shake them into an even layer.
A level layer lets the hot cream reach the pieces more evenly.
Make the chocolate ganache
- Warm the heavy cream in a saucepan over medium heat, stopping when small bubbles begin appearing around the edge.
The cream should look hot and steamy without reaching a rolling boil or scorching. - Cover the chocolate and butter with the hot cream, then leave the bowl undisturbed for about 5 minutes.
This pause gives the heat time to soften the chocolate throughout. - Work a spatula slowly through the center, gradually widening the circles until smooth, then gently incorporate the brandy or cognac if using.
The finished mixture should flow in a glossy ribbon without visible chocolate pieces or oily streaks.
Chill the ganache
- Transfer the ganache to the lined pan, gently shake it level, tap the pan a couple of times against the counter, and refrigerate for at least 3 to 4 hours until set.
The surface should settle evenly, release large bubbles, and become firm enough to hold a cut edge.
Cut, garnish, and serve
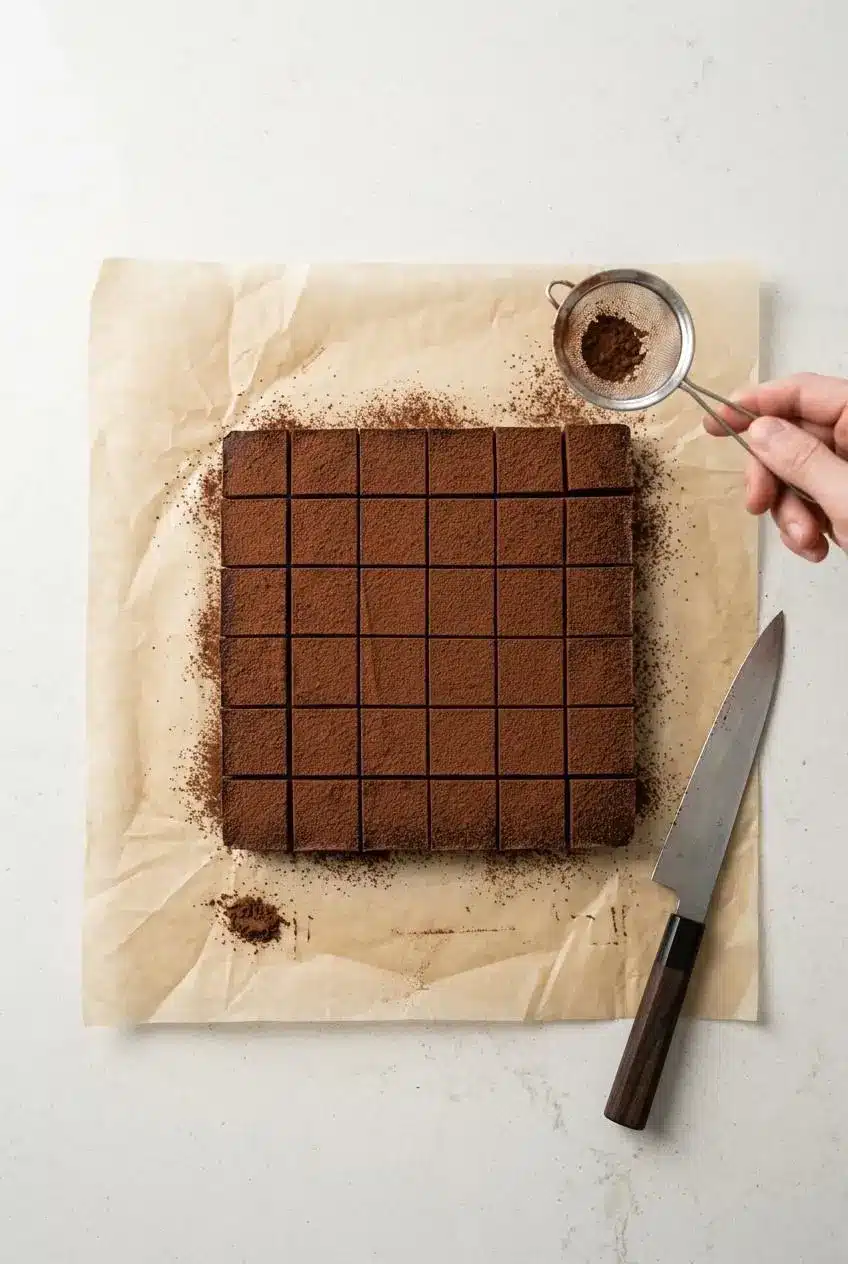
- Lift the firm slab from the pan and divide it into seven rows and seven columns with a sharp knife.
The resulting grid gives 49 squares, each approximately 3 by 3 centimeters. - Sift cocoa powder evenly over the cut pieces.
A thin, velvety coating should cover the tops without heavy clumps.
How to Fold Parchment Paper for Neat Edges
A flat liner keeps the outer squares from taking on deep wrinkles. Shape the paper before filling the pan:
- Center the parchment over the pan, leaving enough overhang to grip later.
- Press the paper along the bottom edges to mark the pan’s footprint.
- Crease the corners firmly and fold the excess against the sides rather than bunching it underneath.
- Use clean binder clips on the overhang, if helpful, to keep the liner from falling inward.
Heating Cream and Emulsifying the Ganache
Watch the saucepan’s perimeter for the first small bubbles. Don’t wait for the whole surface to bubble vigorously. Gentle heating gives you better control and reduces the chance of scorching the bottom.
After the full 5-minute rest, stir from the center outward. A small glossy patch should grow into a smooth mixture. Use a spatula rather than vigorous whisking, which introduces bubbles that can remain visible in the cut squares.
Chilling, Slicing with a Warm Knife, and Dusting
Grip the parchment overhang to lift the set slab onto a cutting board. Mark seven equal portions along each side before cutting. Six interior cuts in each direction create the seven-by-seven grid.
Dip a sharp, thin knife in hot water and wipe it completely dry before every cut. Warmth helps the blade pass through; drying keeps water off the chocolate. Clean away the chocolate smear between cuts instead of dragging it across the next row.
Dust after slicing so the blade doesn’t pull cocoa through the center. Separate the pieces gently to preserve their edges.
Expert Tips and Troubleshooting for Perfect Ganache
Check the ganache before pouring it into the pan. Fixing a texture problem in the bowl is much easier than dealing with a chilled, uneven slab.
- Unmelted chocolate pieces: Large pieces or cream that cooled too quickly can leave lumps. Set the heatproof bowl over a saucepan of barely simmering water, keeping its bottom above the water, and stir slowly until the pieces melt. Remove it from the heat promptly.
- Oily streaks or a split mixture: Excess heat can disrupt the emulsion. Take the bowl away from the heat and stir gently from the center as it cools slightly. Avoid adding more heat automatically, especially when the mixture already feels very hot.
- Air bubbles: Fast whisking traps air rather than improving smoothness. Switch to a spatula and use slow circles, then tap the filled pan as directed to release larger bubbles.
- Cracks during slicing: A very cold slab may resist the knife. Let it soften slightly until a warmed, dry blade passes through without breaking the edge.
- Smearing or sagging squares: The ganache has become too warm to cut neatly. Return it to the refrigerator until firm, then continue with a clean blade.
For extra help controlling gentle heat, this guide to how to melt chocolate explains the water-bath approach. Keep steam and splashes away from the bowl.
Flavor Variations and Customizations
Keep these variations separate from the ingredient list and method above. For a subtle change, optional flaky sea salt and vanilla paste can round out the chocolate flavor without covering it up. Add vanilla to the warm cream and use salt sparingly as a finishing accent.
Matcha Nama Chocolate
For a green tea accent without changing the ganache formula, try a light matcha dusting instead of cocoa. Start lightly because matcha can taste assertive against dark chocolate.
A fully green matcha nama chocolate typically uses white chocolate. That requires a different chocolate-to-cream balance, so don’t substitute white chocolate directly into these quantities. Choose a formula developed specifically for white chocolate, then finish with good-quality matcha.
Condensed Milk and Flaky Sea Salt Variation
Sweetened condensed milk and semisweet chocolate create a sweeter, denser, fudgier style. Condensed milk is concentrated and sweetened, so it isn’t an equal replacement for heavy cream here.
Use a dedicated condensed-milk formula for that version. A restrained topping of flaky sea salt provides contrast to its sweetness.
Spice and Citrus Cream Infusions
Infusing the cream changes the aroma while keeping the chocolate at the center. Optional choices include:
- Vanilla bean: Warm a split bean in the cream for a rounded, fragrant flavor.
- Whole warm spices: Infuse gently, then strain out the solids before pouring.
- Orange peel: Use strips with little white pith, then strain for a brighter citrus accent.
- Espresso powder: Dissolve it thoroughly in the warm cream for a coffee note.
How to Store and Serve Nama Chocolate
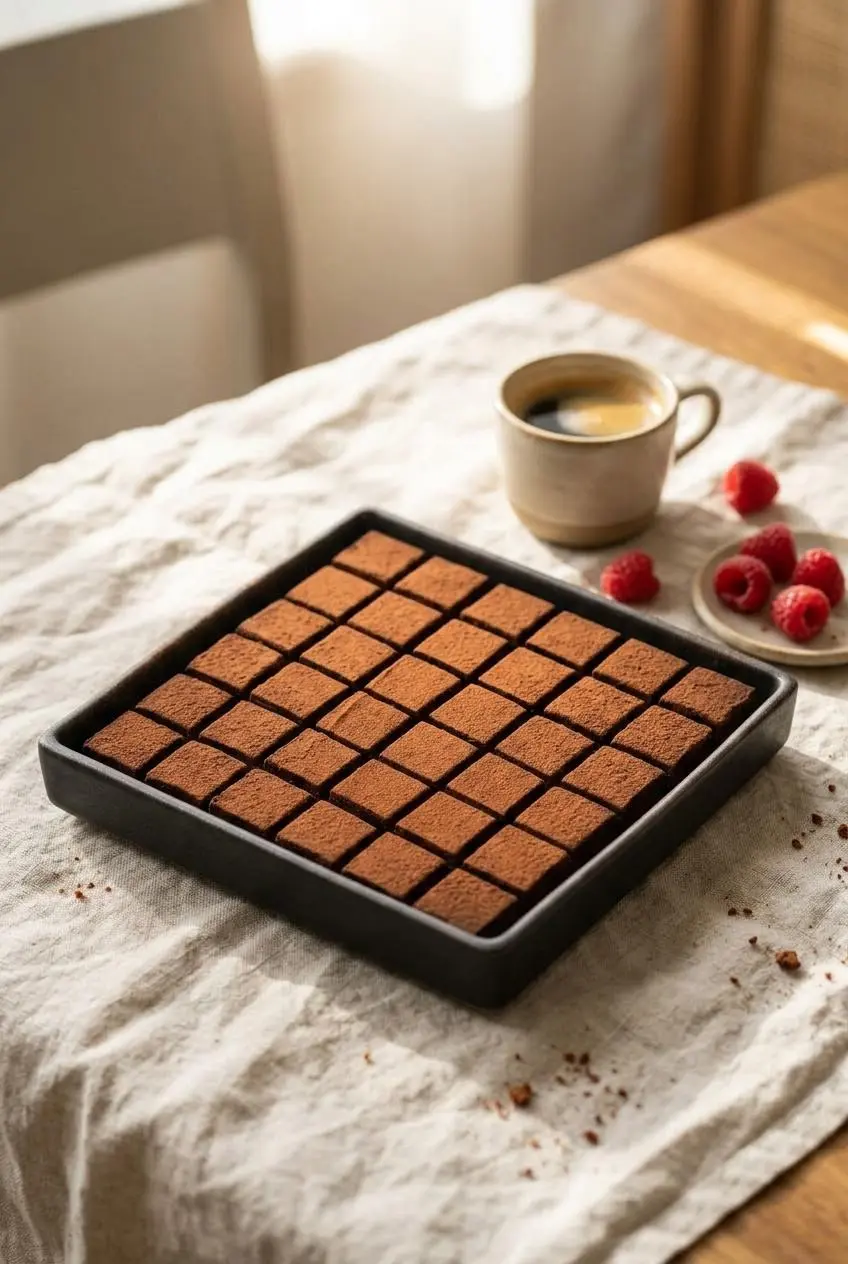
Keep these fresh-cream confections refrigerated in a tightly closed container. Arrange the squares in a single layer when possible so their soft edges and cocoa coating don’t rub against one another.
Moisture makes cocoa powder look dark and patchy. Use a clean, dry container, avoid enclosing warm chocolate, and limit repeated trips between the refrigerator and a warm kitchen. Dusting close to serving gives the driest-looking finish.
If the coating becomes damp, sift a light fresh layer over the tops before presenting them. Fresh cocoa improves appearance, but it doesn’t extend storage life. For gifts, package the squares in a container that can remain chilled and tell the recipient to refrigerate them.
Before serving, let only the portion you plan to eat soften slightly outside the refrigerator. Look for a tender bite that still holds its square shape, rather than a glossy, slumping surface.
Serve with espresso, black coffee, or unsweetened Japanese green tea to contrast with the rich chocolate. Fresh raspberries or strawberries add tartness without making the plate feel heavier.
Conclusion
Silky nama chocolate comes down to gentle heat, a smooth ganache, and patient chilling. Heat the cream without boiling, then use a warm, completely dry knife for neat edges.
Once you’re comfortable with the method, try the optional vanilla and flaky salt accents. Keep the pieces chilled until serving, and let their soft chocolate center do the talking.
Frequently Asked Questions
Do You Have to Refrigerate Nama Chocolate?
Yes. Keep it in an airtight container in the refrigerator because of its fresh cream content and soft texture. Take out the portion you plan to serve and let it soften slightly before eating.
Can I Make Nama Chocolate Without Alcohol?
Yes. Replace the 2 tablespoons of brandy or cognac with 2 extra tablespoons of heavy cream. Heat the replacement cream with the rest of the cream.
What Is the Best Chocolate to Use for Nama Chocolate?
Use a high-quality 60% cacao bittersweet baking bar or couverture, chopped evenly. A 70% chocolate gives a darker, less sweet flavor but may change the final firmness.
How Long Does Homemade Nama Chocolate Last?
There isn’t a verified refrigerator shelf life for this particular formula. Keep it sealed and chilled, make it close to when you plan to serve it, and avoid treating a dry cocoa coating as proof that the chocolate is still fresh.
Why Did My Nama Chocolate Split or Turn Grainy?
Excess heat can separate the emulsion, while incomplete melting can leave grainy pieces. Heat the cream gently and stir slowly; use the gentle water-bath fix only if unmelted chocolate remains.
Nama Chocolate Recipe

Equipment
- 9×9 square pan
- Scale
- Glass Mixing Bowl
- Powdered Sugar Duster
Ingredients
- 12 ounces 60% cacao bittersweet chocolate chopped into small pieces (good quality baking chocolate bars or chips)
- 1½ cups heavy cream
- 2 tablespoons unsalted butter cut into small pieces
- 2 tablespoons brandy or cognac (optional, but if omit, use 2 more tablespoon of heavy cream)
- Cocoa powder as needed for dusting
Instructions
Prepare the baking pan and chocolate
- Fit parchment into a 9×9-inch square pan, then gather the chopped chocolate and butter in a heatproof bowl and gently shake them into an even layer. A level layer lets the hot cream reach the pieces more evenly.
Make the chocolate ganache
- Warm the heavy cream in a saucepan over medium heat, stopping when small bubbles begin appearing around the edge. The cream should look hot and steamy without reaching a rolling boil or scorching.
- Cover the chocolate and butter with the hot cream, then leave the bowl undisturbed for about 5 minutes. This pause gives the heat time to soften the chocolate throughout.
- Work a spatula slowly through the center, gradually widening the circles until smooth, then gently incorporate the brandy or cognac if using. The finished mixture should flow in a glossy ribbon without visible chocolate pieces or oily streaks.
Chill the ganache
- Transfer the ganache to the lined pan, gently shake it level, tap the pan a couple of times against the counter, and refrigerate for at least 3 to 4 hours until set. The surface should settle evenly, release large bubbles, and become firm enough to hold a cut edge.
Cut, garnish, and serve
- Lift the firm slab from the pan and divide it into seven rows and seven columns with a sharp knife. The resulting grid gives 49 squares, each approximately 3 by 3 centimeters.
- Sift cocoa powder evenly over the cut pieces. A thin, velvety coating should cover the tops without heavy clumps.