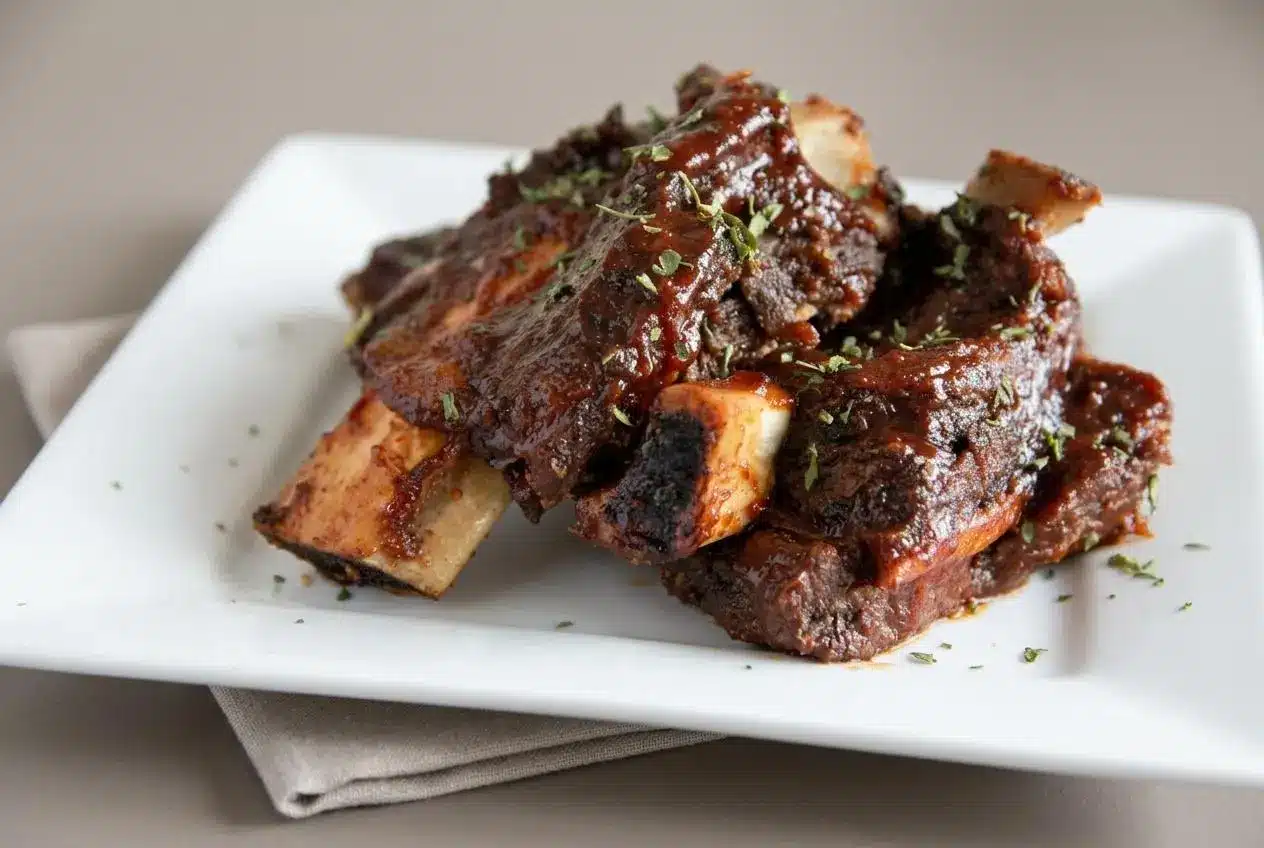
Bake beef ribs tightly sealed in a foil pouch at 250°F for 3 1/2 to 4 hours, until probe tender, then brush with barbecue sauce and broil until sticky and caramelized.
This beef ribs recipe turns meaty short ribs into smoky, tender barbecue without needing a smoker. The low oven heat and sealed foil pouch give the beef time to soften while holding onto its rich juices.
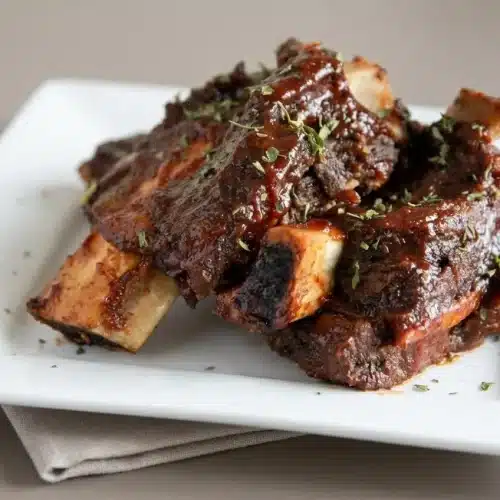
The rub forms a savory crust, and the final glaze clings to every ridge of meat. That bubbling sauce edge is worth watching.
Set the ribs in a single layer so the foil can seal snugly around them without tearing.
Choosing the Right Beef Ribs at the Butcher
Buying the right cut makes a bigger difference than any seasoning trick. Look for thick meat, visible marbling, and bones that are covered rather than bare.
Plate Ribs vs Chuck Ribs vs Back Ribs
Plate short ribs, often called 123A ribs, are the showstoppers. They have broad, straight bones topped with thick layers of beef and generous fat marbling. That marbling slowly renders during low-and-slow cooking, keeping the meat rich and succulent.
Chuck short ribs are usually a little smaller and may be cut into individual pieces, but they still have plenty of meat and work beautifully for this method. Choose them when plate ribs are unavailable or when you want portions that are easier to serve.
Beef back ribs come from the same general rib area used for classic roast beef, so much of the meat may already have been removed with the rib roast. They can be flavorful, but expect more curved bone and less meat between each rib. For this oven method, meaty short ribs are the most dependable choice.
- Choose plate ribs for the thickest meat and richest, barbecue-style result.
- Choose chuck ribs for substantial portions with good beef flavor.
- Choose back ribs when you prefer a lighter, bone-forward rack and can find one with plenty of meat left on it.
Preparing the Membrane and Trimming Fat
Check the underside for a tough, papery membrane. Slide a dull knife under one corner, grip it with a dry paper towel, and pull it away if it releases easily. Removing it gives the rub more direct contact with the meat.
If the membrane is stubborn, score it in a shallow crosshatch pattern instead. The cuts help seasoning reach the surface and give rendered fat a path to escape. Leave the soft outer fat cap in place because it protects the ribs during their long oven cook, but trim away any large, hard pieces that will not render pleasantly.
Essential Ingredients for Beef Ribs
Each ingredient builds a different layer of flavor, from smoky aroma and beefy richness to a caramelized crust and tangy barbecue finish.
- 3 lbs beef short ribs (Choose meaty ribs with good marbling and with the bottom membrane scored or removed)
- Liquid smoke (optional for added smoky flavor)
- 2-4 tablespoons olive oil
Spice Rub
- 1 tablespoon garlic powder
- 1 tablespoon onion powder
- 1 tablespoon cajun seasoning
- 2 tablespoons dark brown sugar (packed)
- 1 teaspoon chili powder
- 1 teaspoon salt (I prefer smoked salt. Can add more salt if desired)
- 1 teaspoon paprika
- 2 teaspoons oregano
BBQ Sauce
- Favorite BBQ Sauce (I only used a few tablespoons of Sweet Baby Ray’s)
Olive oil gives the seasoning a surface to cling to, while garlic, onion, Cajun seasoning, chili powder, paprika, and oregano create a savory, smoky backbone. Dark brown sugar melts into a deep crust instead of tasting overtly sweet. Smoked salt and optional liquid smoke bring a pit-style aroma indoors. Add barbecue sauce only after the ribs are tender so its sugars can glaze instead of burn.
I prefer pressing the brown sugar through any clumps before mixing the rub, which helps it coat the ribs evenly and caramelize without patchy spots.
For an optional tangy finish, brush the cooked bark with a quick mixture of equal parts apple cider vinegar and honey just before the barbecue sauce. It brightens the rich beef and encourages a glossy glaze under the broiler.
How to Cook Beef Ribs in the Oven Step by Step
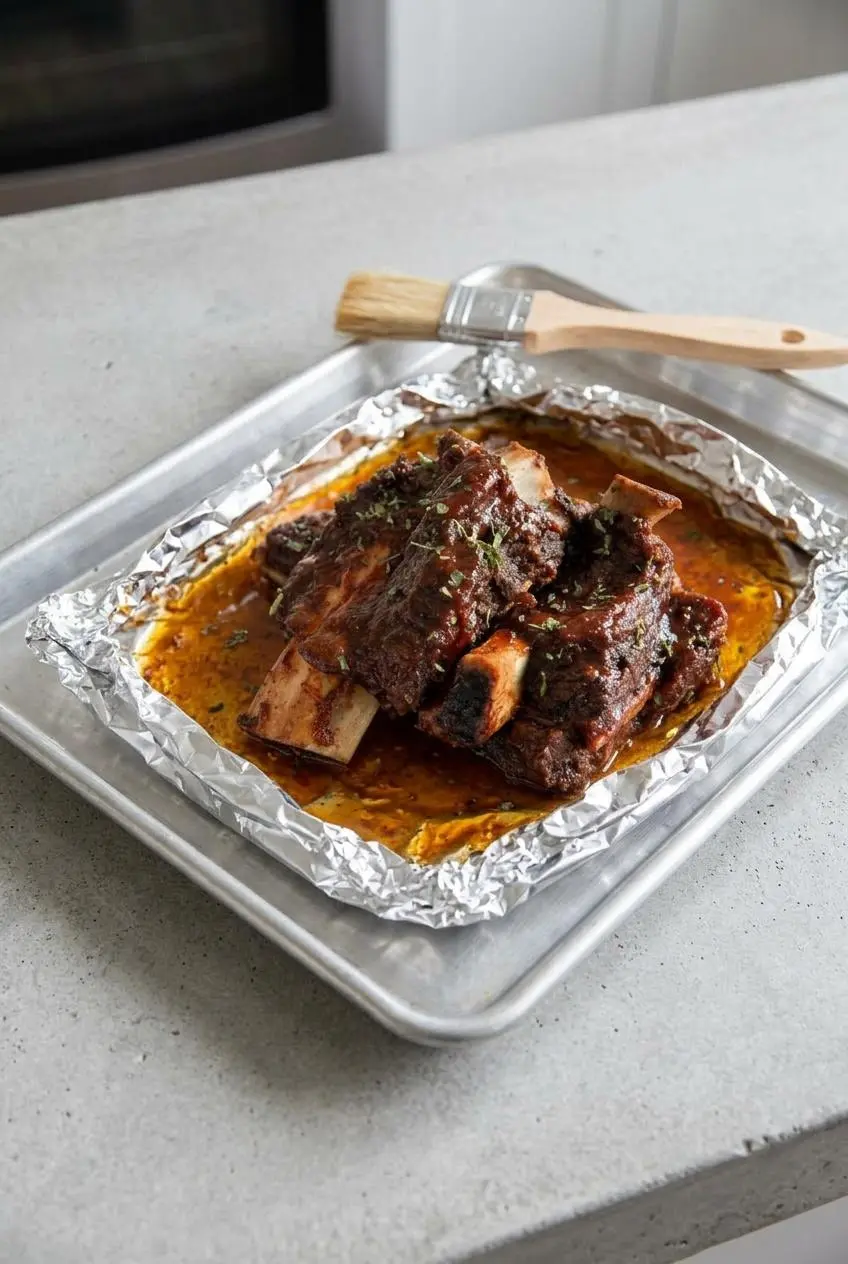
The method is straightforward: season the ribs, give the rub time to settle in, then trap the ribs in a tightly sealed foil pouch. The enclosed moisture gently braises the meat while the low heat works on the connective tissue.
- Rinse the ribs, then pat every surface completely dry with paper towels.
Dry meat holds the oil and spice rub better instead of letting them slide off. - Rub the ribs with liquid smoke if using, coating both sides lightly.
The surface should smell gently smoky without looking wet or pooled. - Brush the ribs with a light coating of olive oil.
The oil should leave a thin sheen that helps the seasoning adhere. - Combine the spice rub ingredients in a small bowl, then sprinkle the mixture over both sides of the ribs.
Use as much of the rub as needed until the meat has an even, speckled coating. - Massage the seasoning into the ribs, adding more olive oil if needed to help it spread.
The rub should cling in a uniform layer with no dry floury patches. - Place the seasoned ribs in a large ziplock bag or covered bowl and refrigerate for 1-2 hours.
This resting time lets the spices settle into the meat before cooking. - Preheat the oven to 250°F.
A low, steady oven temperature gives the ribs time to become tender without tightening the meat. - Line a baking sheet with aluminum foil and arrange the ribs in a single layer.
Leave enough foil around the edges to form a sealed pouch. - Cover the ribs with another sheet of foil and crimp all edges tightly to close the pouch.
Press the seams firmly, then fold them again so steam and braising juices stay inside. - Bake on the middle rack for 3 1/2-4 hours, checking after 3 1/2 hours.
Look for bone ends beginning to show and meat that has pulled back slightly from the bones. - Carefully open the foil pouch and drain away excess rendered fat.
Keep the flavorful juices separate if you plan to reheat leftovers later. - Brush the ribs with your preferred amount of BBQ sauce.
Coat the meat evenly, especially the exposed edges where the sauce can caramelize. - Broil the ribs uncovered on low until the sauce turns sticky.
Watch closely for bubbling sauce edges and remove the pan before the sugars scorch. - Let the ribs rest for a few minutes before serving.
The meat should stay juicy as it settles and pull easily from the bone.
Loose foil is the most common route to dry ribs. Treat the pouch like a small braising chamber: double-crimp the edges, keep the ribs in one layer, and avoid opening it early unless you need to check tenderness.
How to Know When Beef Ribs Are Tender
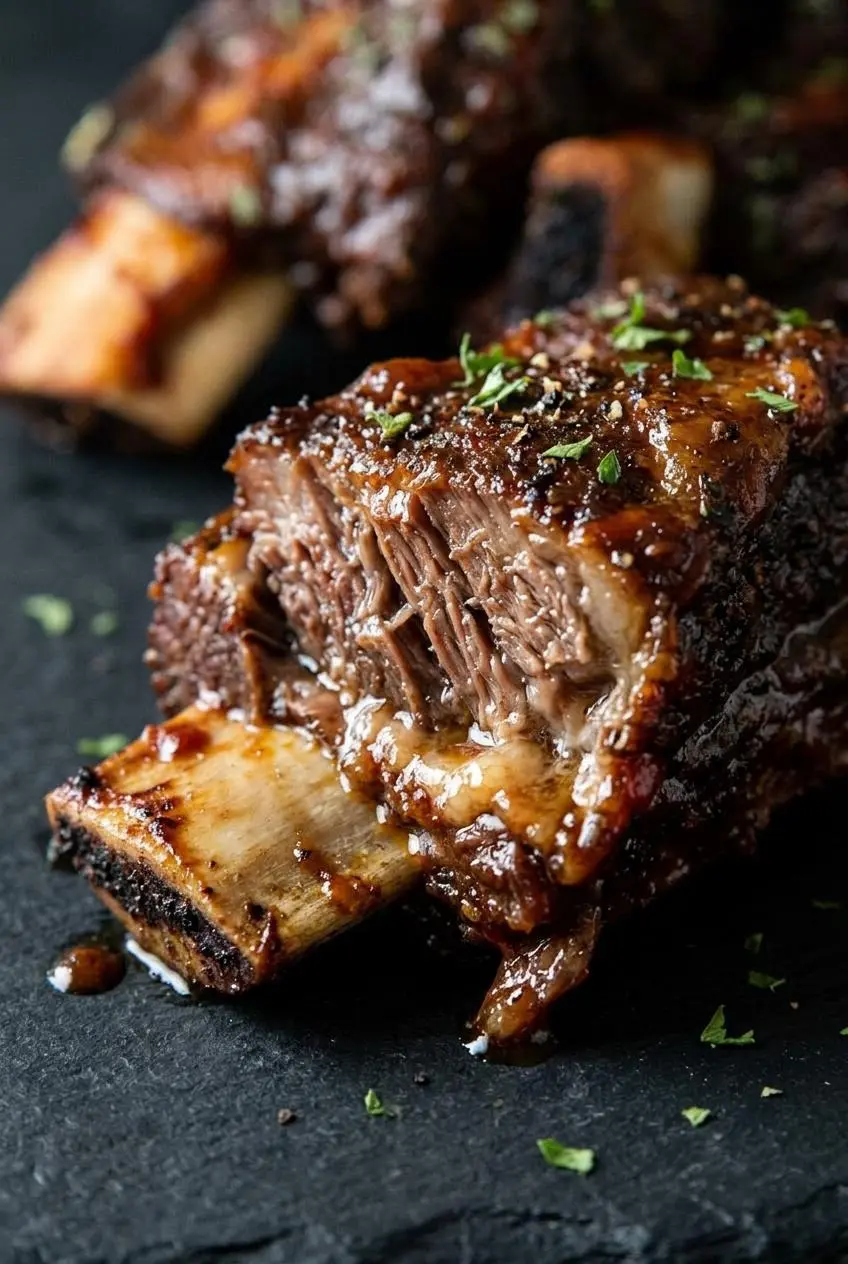
Time gives you a useful starting point, but tenderness decides when the ribs are done. Beef ribs are ready when a thin metal probe or wooden skewer slips between the bones with almost no resistance, much like pushing into warm butter.
The internal temperature often falls between 195°F and 205°F when the collagen has softened enough to make the meat tender. Use that range as a checkpoint rather than a finish line. A rib can reach the number and still need more time if the probe catches or the meat feels tight.
- Probe feel: Insert the probe in several spots between the bones. It should glide in smoothly rather than push through firm meat.
- Bone pullback: The meat should shrink enough to expose roughly half an inch of bone at the ends.
- Meat movement: Lift the rack gently with tongs. Tender ribs will have a soft, relaxed wobble without falling apart before serving.
Slow cooking changes tough connective tissue into a silky texture, much like it does with beef cheek meat. That transformation needs gentle heat and patience, not a hotter oven.
What to Do If Your Ribs Are Still Tough
Tough ribs usually need more time, not a higher temperature. Return them to their foil pouch, seal the edges tightly again, and continue baking at 250°F in 30-minute increments until the probe slides through easily.
- The meat feels chewy: The connective tissue has not softened fully. Reseal and continue the low oven braise.
- The ribs look dry: Steam likely escaped through a loose foil seam. Seal the pouch more firmly and spoon reserved pan juices over the ribs before returning them to the oven.
- The sauce darkens too fast: The broiler is working quickly. Move the pan farther from the heat or remove the ribs as soon as the glaze bubbles.
Alternative Cooking Methods: Smoker and Grill
The dry rub works beyond the oven if you want a stronger wood-smoke flavor or a hands-off countertop option. These methods are optional variations, so keep the oven version as your go-to when you want the reliable foil-pouch braise.
Smoked Texas Style Ribs
Season the ribs with the same dry rub, then cook them in a pellet grill or offset smoker at 225°F to 250°F with post oak or hickory. Keep the ribs over indirect heat so the fat renders gradually rather than flaring up.
For a classic 3:2:1 approach, smoke the ribs unwrapped for 3 hours, wrap them for 2 hours once the bark has set, then unwrap and sauce them during the final hour. Peach butcher paper gives the bark a firmer finish, while foil holds more moisture. Aim for a tender probe feel around 203°F rather than relying on the clock alone.
A two-zone charcoal grill can work the same way: keep coals on one side and the ribs on the cooler side, then wrap once the exterior is dark and dry to the touch.
Slow Cooker Adaptation
- Arrange seasoned ribs upright along the walls of the slow cooker with the bone sides facing outward.
- Cook on low for 7 to 8 hours, until the meat feels tender when pierced between the bones.
- Move the cooked ribs to a foil-lined baking sheet, brush with barbecue sauce, and broil for about 5 minutes until the glaze becomes sticky.
For another hands-off beef dinner, this slow cooker beef stew uses the same gentle approach to bring out the richness in a tougher cut.
Storing, Reheating, and Serving Suggestions
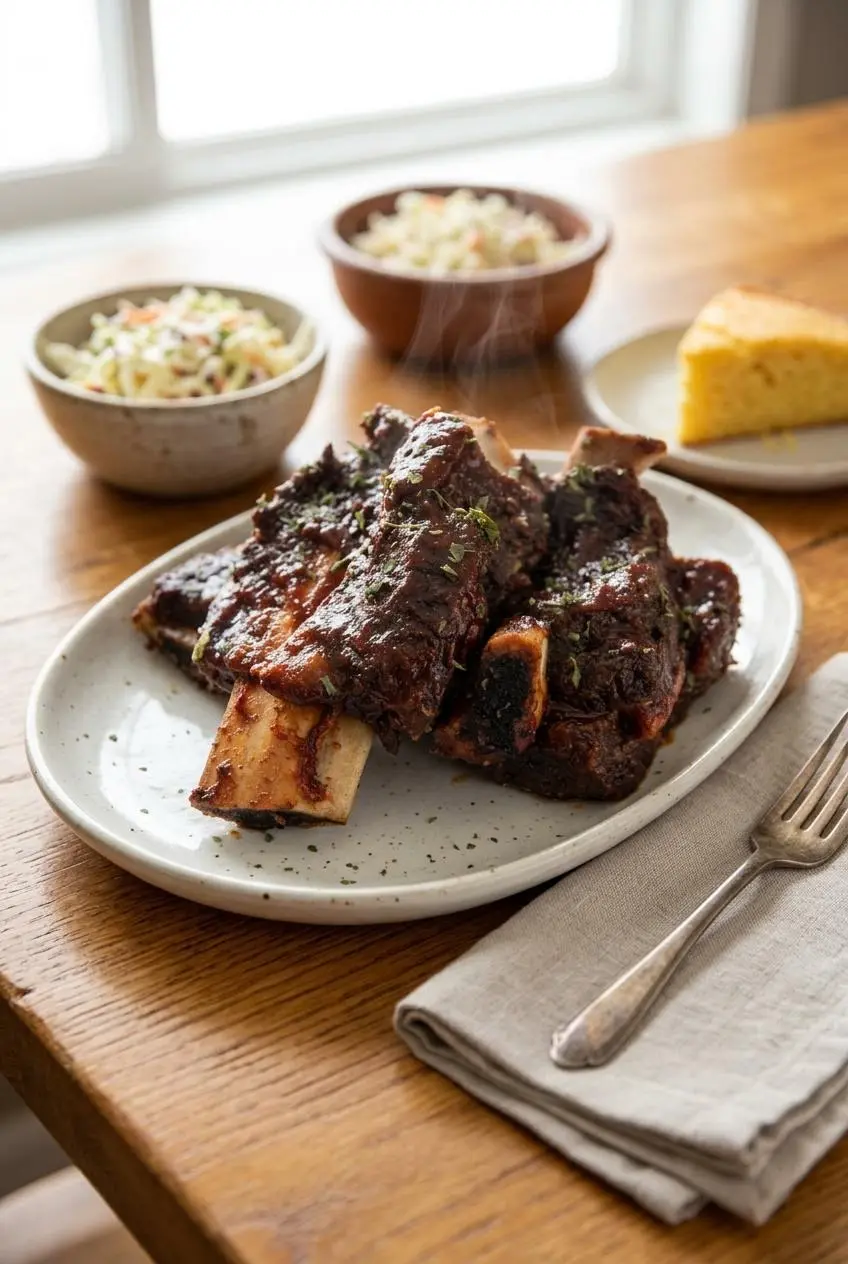
Save the rendered juices when storing cooked ribs. They add back moisture during reheating and keep the beef from tasting flat after it has chilled.
Reheating Without Drying Out
Cool the ribs, then store them in an airtight container with the pan juices. Keep cooked beef chilled at 40°F or below and plan to use leftovers within four days, following refrigerating beef at 40°F or below.
For reheating, place the ribs in foil with a spoonful of their juices and warm them gently in the oven until hot throughout. Unwrap only at the end if you want to add fresh barbecue sauce and restore the sticky glaze. A microwave can heat the meat unevenly and make the exterior tough, so use it only when necessary.
Classic Side Dishes to Complete the Meal
- Tangy vinegar coleslaw: The crisp acidity cuts through the rich rendered fat.
- Skillet buttermilk cornbread: Its mellow sweetness pairs naturally with smoky barbecue sauce.
- Slow-simmered green beans: Their savory softness matches the comfort-food feel of the ribs.
- Roasted sweet potatoes: Their caramelized edges echo the brown sugar in the rub.
- Grilled corn on the cob: A charred, buttery side that belongs right next to a sticky rib glaze.
Conclusion
Low heat, a tightly sealed foil pouch, and a patient finish are what turn beef short ribs from firm and chewy into tender, smoky comfort food. The broiler gives the barbecue sauce its final glossy, caramelized edge.
Watch the ribs for probe tenderness, not just the timer, and reseal them if they need more time. A good rack rewards patience.
Frequently Asked Questions
What Temperature Should Beef Ribs Reach to Be Tender?
Beef ribs commonly become tender between 195°F and 205°F. That range is where the connective tissue has had time to soften into a rich, silky texture. Check several spots with a probe because the smooth, low-resistance feel matters as much as the temperature.
Why Are My Beef Ribs Still Tough After Cooking?
Tough ribs usually need more time at low heat. Reseal them tightly in aluminum foil and return them to a 250°F oven. Keep cooking until a probe slides between the bones without resistance.
Should You Remove the Membrane on Beef Ribs?
Removing the membrane is optional, but it can help the rub contact more of the meat. If it will not peel away cleanly, score it in a shallow crosshatch pattern instead. Scoring helps rendered fat escape and gives the seasoning a better path into the surface.
Can I Make Oven Beef Ribs Ahead of Time?
Cook the ribs through the foil-braise stage, then cool and refrigerate them with their rendered juices in an airtight container. Warm them gently in foil with the juices before serving. Brush on barbecue sauce and broil briefly at the end so the glaze tastes freshly caramelized.
Beef Ribs Recipe

Equipment
- Paper towels
- Small bowl
- ziplock bag or covered bowl
- aluminium foil
- Baking Sheet
Ingredients
- 3 lbs beef short ribs Choose meaty ribs with good marbling and with the bottom membrane scored or removed
- Liquid smoke optional for added smoky flavor
- 2-4 tablespoons olive oil
Spice Rub
- 1 tablespoon garlic powder
- 1 tablespoon onion powder
- 1 tablespoon cajun seasoning
- 2 tablespoons dark brown sugar packed
- 1 teaspoon chili powder
- 1 teaspoon salt I prefer smoked salt. Can add more salt if desired
- 1 teaspoon paprika
- 2 teaspoons oregano
BBQ Sauce
- Favorite BBQ Sauce I only used a few tablespoons of Sweet Baby Ray’s
Instructions
- Rinse the ribs, then pat every surface completely dry with paper towels. Dry meat holds the oil and spice rub better instead of letting them slide off.
- Rub the ribs with liquid smoke if using, coating both sides lightly. The surface should smell gently smoky without looking wet or pooled.
- Brush the ribs with a light coating of olive oil. The oil should leave a thin sheen that helps the seasoning adhere.
- Combine the spice rub ingredients in a small bowl, then sprinkle the mixture over both sides of the ribs. Use as much of the rub as needed until the meat has an even, speckled coating.
- Massage the seasoning into the ribs, adding more olive oil if needed to help it spread. The rub should cling in a uniform layer with no dry floury patches.
- Place the seasoned ribs in a large ziplock bag or covered bowl and refrigerate for 1-2 hours. This resting time lets the spices settle into the meat before cooking.
- Preheat the oven to 250°F. A low, steady oven temperature gives the ribs time to become tender without tightening the meat.
- Line a baking sheet with aluminum foil and arrange the ribs in a single layer. Leave enough foil around the edges to form a sealed pouch.
- Cover the ribs with another sheet of foil and crimp all edges tightly to close the pouch. Press the seams firmly, then fold them again so steam and braising juices stay inside.
- Bake on the middle rack for 3 1/2-4 hours, checking after 3 1/2 hours. Look for bone ends beginning to show and meat that has pulled back slightly from the bones.
- Carefully open the foil pouch and drain away excess rendered fat. Keep the flavorful juices separate if you plan to reheat leftovers later.
- Brush the ribs with your preferred amount of BBQ sauce. Coat the meat evenly, especially the exposed edges where the sauce can caramelize.
- Broil the ribs uncovered on low until the sauce turns sticky. Watch closely for bubbling sauce edges and remove the pan before the sugars scorch.
- Let the ribs rest for a few minutes before serving. The meat should stay juicy as it settles and pull easily from the bone.