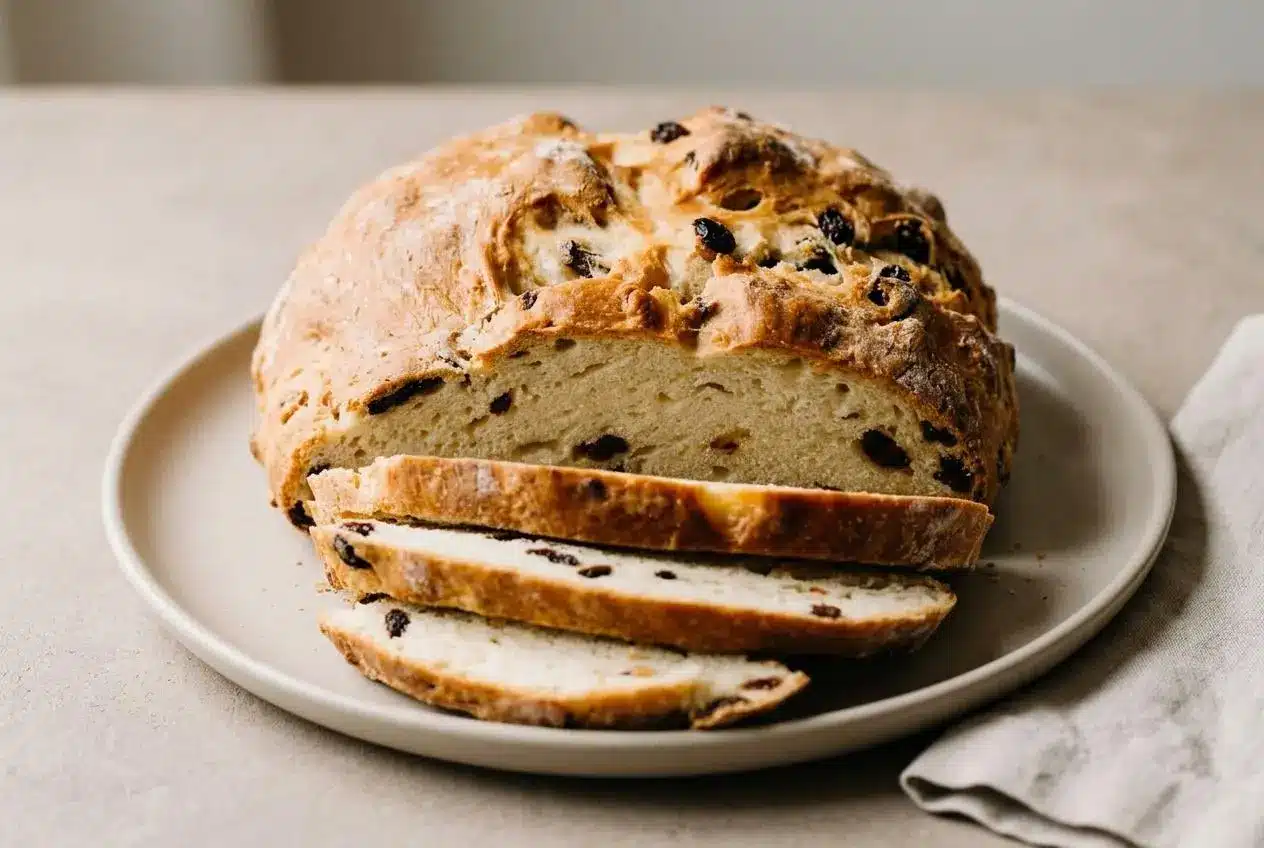
Irish soda bread is a quick bread made with baking soda instead of yeast, so it comes together fast and bakes into a rustic loaf with a crusty outside and soft, dense crumb.
Irish soda bread is the kind of homemade bread that feels especially satisfying because there’s no rising time and no waiting around. You mix, shape, score, and bake.
This version is the richer American-style loaf, with butter, egg, a little sugar, and optional raisins for a softer, more scone-like bite. The shaggy dough is the trick.
Have your pan ready before you combine the wet and dry ingredients, because the dough moves quickly once the buttermilk meets the baking soda.
What Is Irish Soda Bread?
Irish soda bread is a quick bread, which means it rises with baking soda instead of yeast. There’s no proofing time, no kneading marathon, and no need to wait for a dough to double.
The classic idea is simple: flour, buttermilk, baking soda, and salt come together into a rustic loaf with a firm crust and hearty crumb. In the US, many home bakers also know a sweeter, richer version that includes butter, egg, sugar, and dried fruit.
That’s the style here. It still keeps the character of soda bread, but the crumb is a little more tender, the flavor is a little richer, and the raisins add pockets of sweetness if you use them.
Key Ingredients Explained
Each ingredient here does real work, from giving the loaf lift and tenderness to building its tangy flavor and rustic structure.
- 1 and 3/4 cups (420ml) buttermilk
- 1 large egg
- 4 and 1/4 cups (531g) all-purpose flour, plus more for your hands and counter
- 3 Tablespoons (38g) granulated sugar
- 1 teaspoon baking soda
- 1 teaspoon salt
- 5 Tablespoons (71g) unsalted butter, cold and cubed
- 1 cup (150g) raisins (optional)
Buttermilk is the backbone of soda bread. Its acidity reacts with the baking soda, which is what gives this no-yeast bread its lift. It also brings moisture and that gentle tang that keeps the loaf from tasting flat.
Baking soda is the leavener here, not yeast and not baking powder. If your baking soda is old, the loaf can bake up dense, heavy, and a little crumbly because it never gets the boost it needs.
Cold butter changes the texture in an important way. When you cut cold cubes into the flour, you leave tiny pieces throughout the dough that melt in the oven and create a more tender, slightly scone-like crumb. Melted butter would give you richness too, but the loaf would bake up denser and more cake-like.
The egg is one of the clearest signs that this is an American-style soda bread. It adds richness, helps with structure, and softens the crumb compared with a traditional four-ingredient loaf.
Sugar and raisins move the flavor in a sweeter direction, but neither one turns the bread into dessert. The sugar rounds out the tang of the buttermilk, and the raisins add little bursts of sweetness that work especially well with butter or marmalade.
I like to chill the butter well before I start, because firm cubes are much easier to cut into the flour and they give the baked loaf a nicer texture.
How to Make Irish Soda Bread
This dough is fast and forgiving, but a few details matter. Mix the wet and dry ingredients separately first, stop while the dough still looks shaggy, and score the top deeply so the center bakes through evenly.
- Heat the oven to 400°F (204°C) and prepare your pan by lining a baking sheet with parchment paper or a silicone baking mat, or by greasing a seasoned 10 to 12 inch cast iron skillet, a 9 to 10 inch cake pan or pie dish, or a 5 quart or larger dutch oven.
The pan choice affects the shape and crust, with a baking sheet allowing more spread and cast iron giving a crisper exterior. - Whisk the buttermilk and egg together in a small bowl, then whisk the flour, granulated sugar, baking soda, and salt in a large bowl.
Starting with separate wet and dry mixtures helps the dough come together evenly without overworking it. - Cut the cold butter into the flour mixture with a pastry cutter, a fork, or your fingers until the butter pieces are about pea-size, then stir in the raisins if using.
The bowl will still look flour-heavy at this stage, which is exactly right. - Pour the buttermilk mixture into the dry ingredients and fold gently until the dough becomes too stiff to stir, then turn it out onto a lightly floured surface.
It should look like a shaggy, sticky mass rather than a smooth bread dough, so don’t worry if it looks a bit messy. - With floured hands, bring the dough together into a ball and knead it briefly for about 30 seconds, just until all the flour is moistened, adding a little more flour only if it feels unmanageably sticky.
Minimal kneading keeps the loaf tender instead of tough. - Move the dough to your prepared pan and cut a deep slash or X about 1/2 inch deep across the top with a very sharp knife or bread lame.
This cut is more than decoration, because it helps the dense center bake through and gives the loaf room to expand cleanly. - Bake for 45 to 55 minutes, and if the top is browning too quickly, loosely tent it with aluminum foil.
The bread should look deeply golden and feel set through the center. - Check for doneness by inserting an instant-read thermometer into the center and looking for 195°F (90°C), or by lifting the loaf carefully and tapping the bottom for a hollow sound.
That hollow knock is one of the best old-school signs that the loaf is baked through. - Let the bread cool in the pan for 10 minutes, then transfer it to a wire rack before slicing and serving warm, at room temperature, or toasted.
The crumb settles as it cools, so the slices cut more neatly after a short rest.
Traditional vs. American-Style: What’s the Difference?
This is one of the biggest points of confusion, especially around St. Patrick’s Day. The short answer is that traditional Irish soda bread is plainer and more savory, while the American-style version is richer and often sweeter.
- Traditional Irish soda bread: Usually made with just flour, buttermilk, baking soda, and salt. It has a more pronounced tang, a firmer texture, and a simpler, more savory flavor.
- American-style Irish soda bread: Often includes butter, egg, and sugar, plus raisins or currants. The crumb is softer, the flavor is richer, and the overall feel is closer to a hearty scone loaf.
- This recipe: Falls firmly in the American-style camp. The butter and egg soften the crumb, and the optional raisins add sweetness without making the loaf overly rich.
If you’ve had soda bread in Ireland and wondered why a US version tastes sweeter, this is why. They’re related, but they’re not identical loaves.
Tips for the Best Irish Soda Bread
Small choices make a big difference with soda bread because the method is so short. These are the ones that matter most.
- Use cold ingredients. Cold butter is especially important for texture, and cold buttermilk helps keep the dough easier to handle before baking.
- Don’t overmix. Once the liquid hits the flour, gluten starts building. Stop when the dough is combined and shaggy, then knead only enough to moisten the flour.
- Bake it right away. The baking soda starts reacting as soon as it meets the buttermilk, so you want that loaf shaped and headed into the oven without delay.
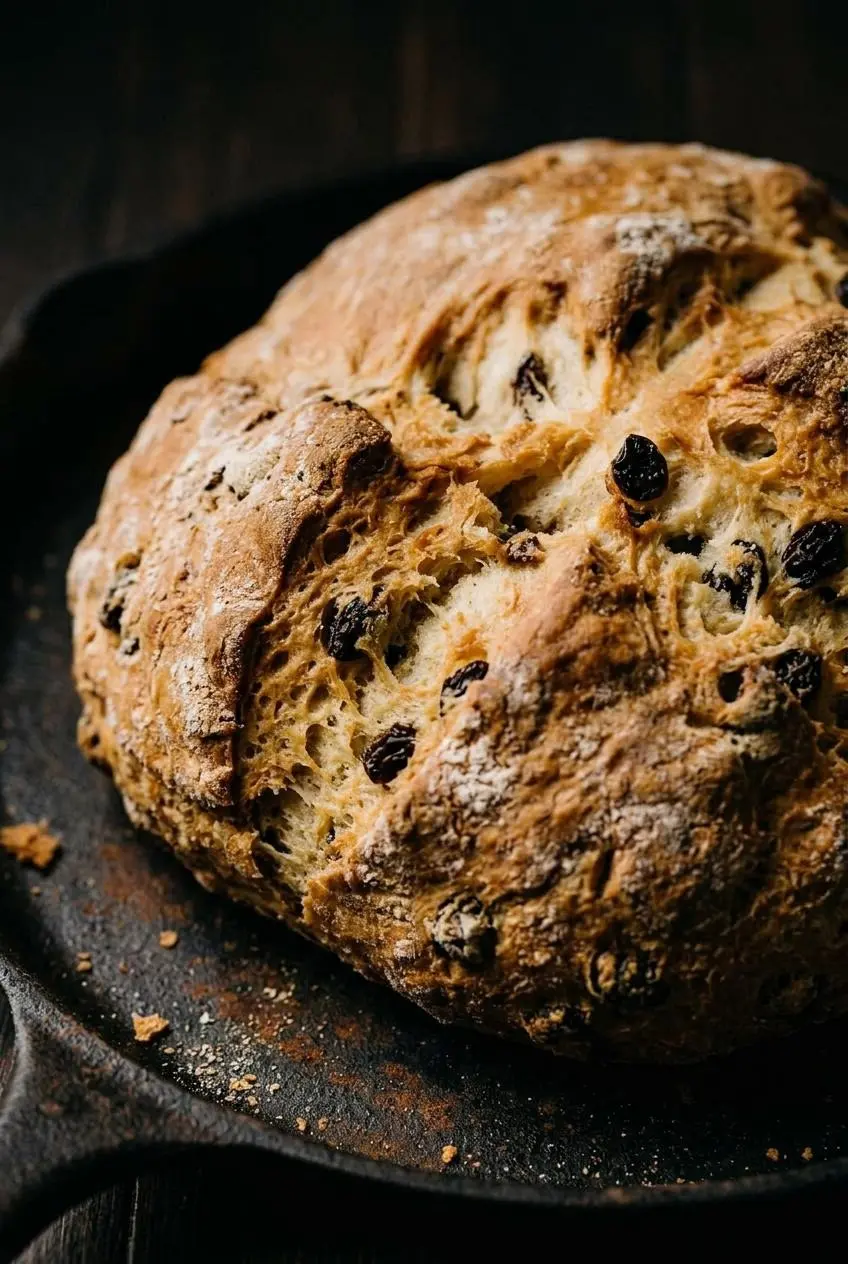
- Choose your pan on purpose. A cast iron skillet gives you a thicker, crisper crust, while a baking sheet makes a more freeform loaf that spreads a bit more. If you like hearty rustic loaves, you may also enjoy another crusty bread.
- Cut the X deeply. A faint scratch won’t do much. A deeper score helps the center cook evenly and keeps the loaf from bursting unpredictably.
- Measure baking soda carefully. Too little and the loaf stays heavy. Too much and the bread can taste bitter or soapy.
Common Problems and How to Fix Them
If soda bread goes sideways, it usually happens for a very specific reason. The good news is the fixes are straightforward.
- The bread is dense and heavy. The usual cause is overmixing or overkneading, which develops too much gluten. Another common culprit is old baking soda. Mix just until combined and check that your baking soda is fresh.
- The loaf is dry or crumbly. This often happens when too much flour gets worked in, especially during shaping. The dough should be shaggy and slightly sticky, not stiff and dry. If it truly won’t come together, add a small splash of buttermilk.
- The center seems gummy. That usually points to underbaking or a shallow score on top. Bake until the loaf sounds hollow on the bottom and give the center room to open with a proper X.
- The crust gets too dark before the inside finishes. Tent the top loosely with foil during the second part of baking. This slows browning without stopping the loaf from finishing.
- The bread tastes bitter or like soap. Too much baking soda is the likely reason, or it wasn’t evenly mixed into the flour. Measure carefully and whisk the dry ingredients well before adding the wet mixture.
- The dough is wildly sticky. That can happen with humidity or a slightly heavy pour of buttermilk. Flour your hands and counter lightly, then add just enough extra flour to shape the loaf without turning it tough.
Variations to Try
Once you’ve made the main loaf, there’s plenty of room to nudge it in a different direction. Keep these as optional twists, not changes to the core dough method.
Classic 4-Ingredient Traditional Irish Soda Bread
For a more traditional loaf, omit the egg, sugar, and raisins, and skip the rich American-style extras. You can also reduce the butter to move the texture closer to the classic style. The result is more savory, more tangy, and a bit firmer, which makes it especially good alongside soups and stews.
Whole Wheat Soda Bread
- Substitute up to half of the all-purpose flour with whole wheat flour for a heartier loaf.
- Expect a nuttier flavor and a slightly denser crumb.
- If the dough feels drier, handle it gently and avoid packing in extra flour during shaping.
Savory Cheddar and Herb Soda Bread
For a savory version, omit the sugar and raisins and add 1 cup of shredded sharp cheddar cheese with 2 tablespoons of chopped fresh chives or dill. It bakes up rich and fragrant, and it’s a great partner for stews. If savory breads are your thing, this kind of flavor profile lands in the same comfort-food zone as savory cheesy bread.
Another easy twist is to add 1 tablespoon of orange zest with the dry ingredients for a bright citrus note that plays especially well with the raisins. If that fruit-and-citrus combo sounds like your kind of bake, Cranberry Orange Bread is a lovely next one to try.
Serving Suggestions
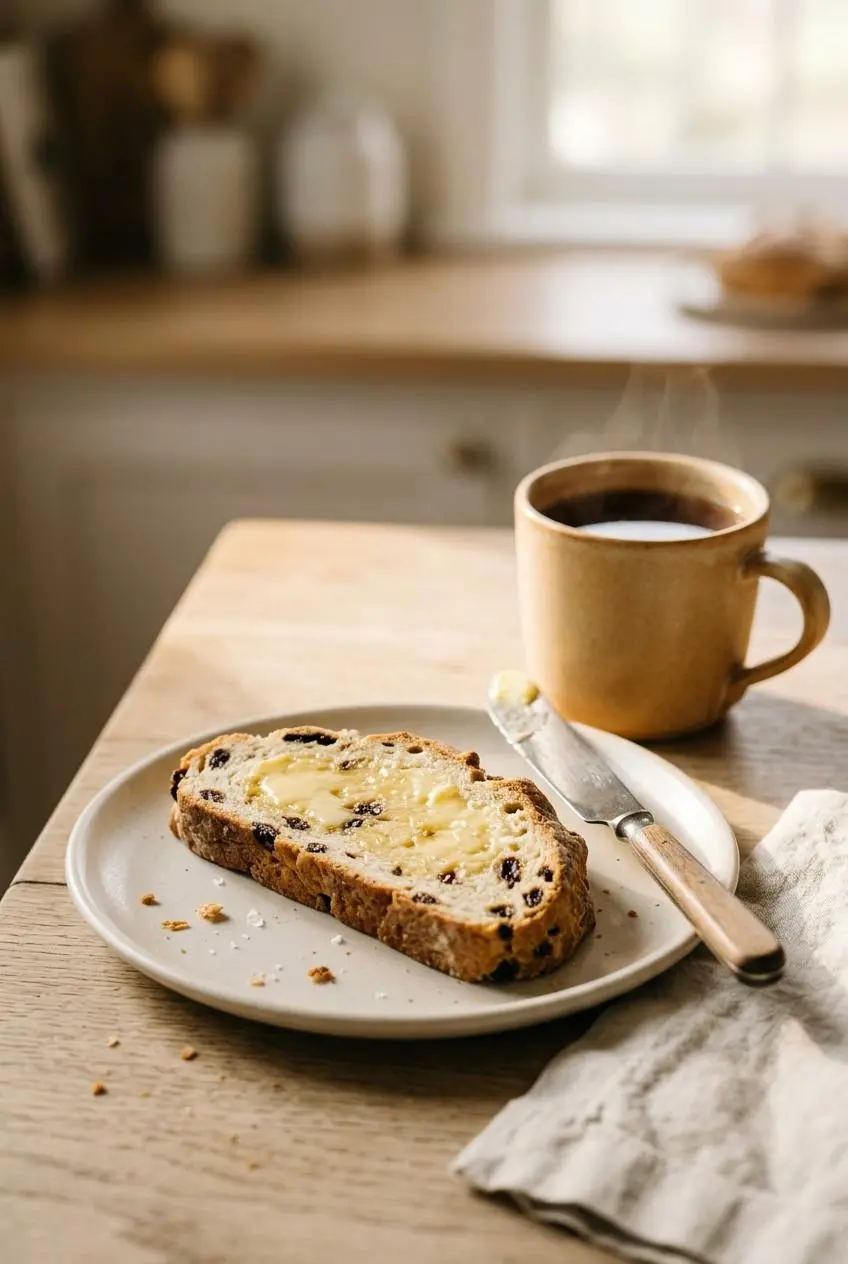
This bread is versatile enough for breakfast, dinner, or a plain slice with butter while it’s still a little warm.
- Serve it warm with good salted butter for the classic move.
- Spread it with jam, marmalade, or a little honey if you like the sweeter side of soda bread.
- Toast slices and pair them with beef stew, potato soup, or chili. If chili night calls for another quick bread idea, a Mexican cornbread recipe fits that same cozy role.
- Use toasted slices for breakfast with tea or coffee.
- Top a warm piece with butter and a pinch of flaky salt if you want to lean into the savory notes.
How to Store and Reheat
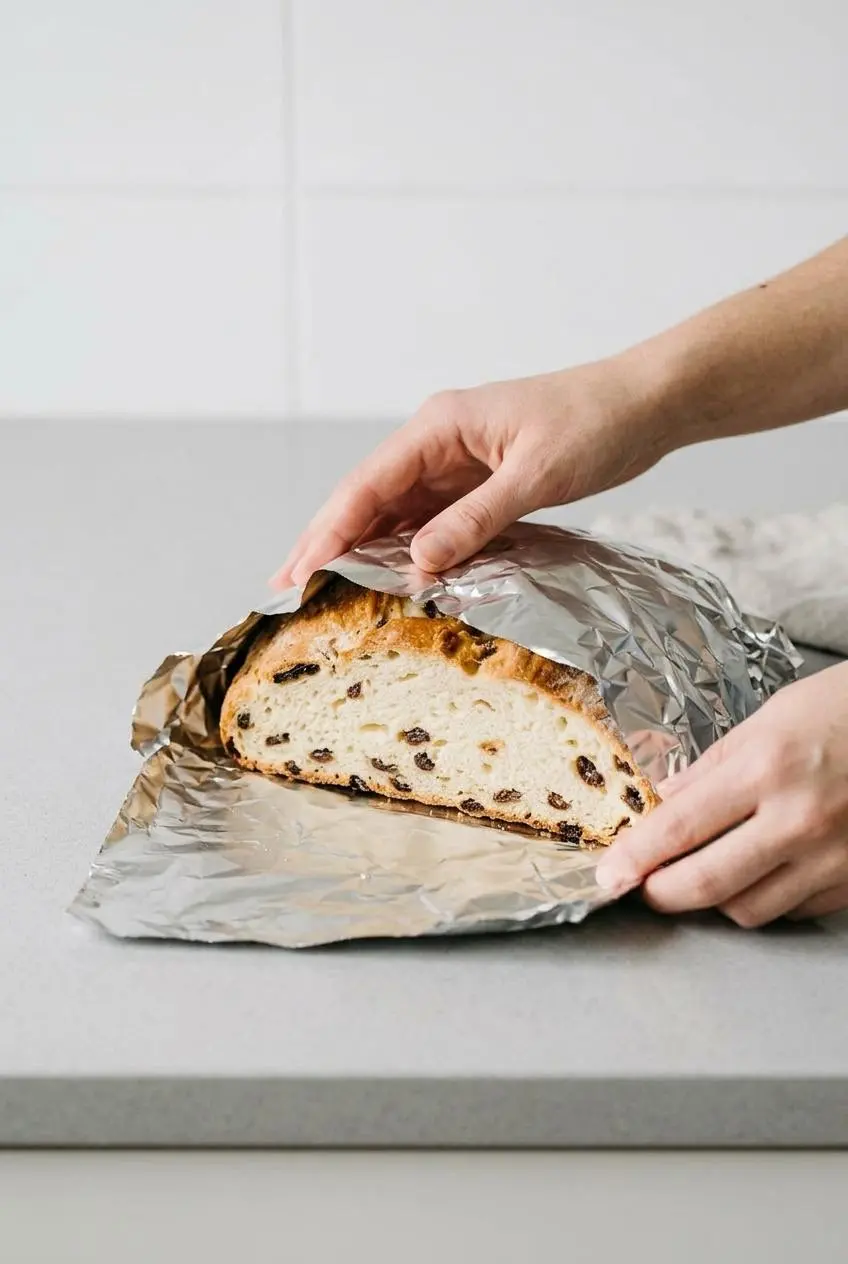
Soda bread is at its absolute best on the day it’s baked, when the crust is crisp and the crumb is still slightly warm. After that, the crust naturally softens, but the bread is still very good for slicing and toasting.
Once the loaf is fully cool, wrap it well and keep it at room temperature for up to 2 days. If your kitchen is especially warm, humid, or if you want to be more cautious because this loaf contains egg, it’s better to chill it promptly after it cools, following USDA egg safety advice for prompt refrigeration and thorough cooking.
Refrigeration can dry bread out faster, so it’s usually not the best choice for texture. If you do chill it, warm slices in the toaster or toast them in a skillet to bring back some life.
For a whole loaf, a short stay in a low oven helps refresh the crust and warm the center without drying it too much. If the bread gets a bit stale rather than spoiled, it’s also excellent for making homemade breadcrumbs.
Conclusion
This is the kind of bread that gives you a real homemade payoff in under an hour. You get a golden crust, a tender dense crumb, and that fresh-baked smell without dealing with yeast.
The biggest key is to leave the dough a little rough and not overwork it. Keep it shaggy, score it well, and the loaf will reward you.
Frequently Asked Questions
Why Is My Irish Soda Bread So Dense and Heavy?
Overmixing is the most common cause, because it develops too much gluten. Mix only until the dough comes together, then knead very briefly. Old baking soda can also leave the loaf heavy, flat, or crumbly.
Can I Use Regular Milk Instead of Buttermilk?
Not by itself. Regular milk does not have the acidity needed to activate the baking soda properly. If needed, make a quick substitute by adding 1 tablespoon of lemon juice or white vinegar to a measuring cup. Then add milk until you reach the 1 3/4 cup line and let it sit for 5 to 10 minutes before using.
Should Soda Bread Be Eaten Warm or Cold?
Warm is hard to beat, especially when the crust is still crisp. It’s also very good at room temperature once the crumb settles. The next day, toasting is often the best move because it brings back texture.
Why Does My Soda Bread Have a Bitter or Chemical Taste?
Too much baking soda is the usual reason. If the soda is not measured accurately or not mixed well into the flour, the flavor can turn bitter or soapy. Fresh buttermilk helps balance the soda so the loaf tastes clean and pleasantly tangy.
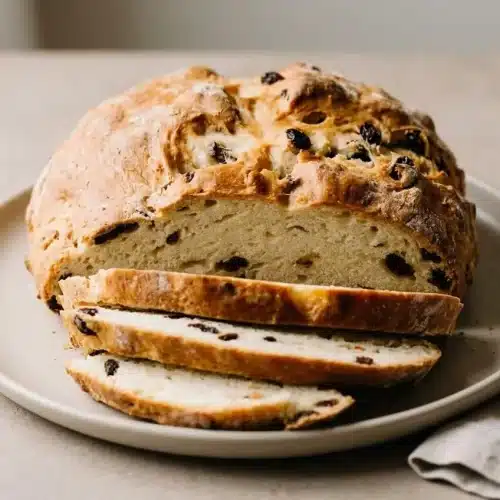
Irish Soda Bread

Equipment
- Baking Sheet
- 10-12 inch cast iron skillet
- 9-10 inch cake pan or pie dish
- 5 quart dutch oven
- Pastry Cutter
- Bread lame
- Instant-read thermometer
Ingredients
- 1 3/4 cups buttermilk (420ml)
- 1 large egg
- 4 1/4 cups all-purpose flour, plus more for your hands and counter (531g)
- 3 Tablespoons granulated sugar (38g)
- 1 teaspoon baking soda
- 1 teaspoon salt
- 5 Tablespoons unsalted butter, cold and cubed (71g)
- 1 cup raisins (optional) (150g)
Instructions
- Heat the oven to 400°F (204°C) and prepare your pan by lining a baking sheet with parchment paper or a silicone baking mat, or by greasing a seasoned 10 to 12 inch cast iron skillet, a 9 to 10 inch cake pan or pie dish, or a 5 quart or larger dutch oven. The pan choice affects the shape and crust, with a baking sheet allowing more spread and cast iron giving a crisper exterior.
- Whisk the buttermilk and egg together in a small bowl, then whisk the flour, granulated sugar, baking soda, and salt in a large bowl. Starting with separate wet and dry mixtures helps the dough come together evenly without overworking it.
- Cut the cold butter into the flour mixture with a pastry cutter, a fork, or your fingers until the butter pieces are about pea-size, then stir in the raisins if using. The bowl will still look flour-heavy at this stage, which is exactly right.
- Pour the buttermilk mixture into the dry ingredients and fold gently until the dough becomes too stiff to stir, then turn it out onto a lightly floured surface. It should look like a shaggy, sticky mass rather than a smooth bread dough, so don’t worry if it looks a bit messy.
- With floured hands, bring the dough together into a ball and knead it briefly for about 30 seconds, just until all the flour is moistened, adding a little more flour only if it feels unmanageably sticky. Minimal kneading keeps the loaf tender instead of tough.
- Move the dough to your prepared pan and cut a deep slash or X about 1/2 inch deep across the top with a very sharp knife or bread lame. This cut is more than decoration, because it helps the dense center bake through and gives the loaf room to expand cleanly.
- Bake for 45 to 55 minutes, and if the top is browning too quickly, loosely tent it with aluminum foil. The bread should look deeply golden and feel set through the center.
- Check for doneness by inserting an instant-read thermometer into the center and looking for 195°F (90°C), or by lifting the loaf carefully and tapping the bottom for a hollow sound. That hollow knock is one of the best old-school signs that the loaf is baked through.
- Let the bread cool in the pan for 10 minutes, then transfer it to a wire rack before slicing and serving warm, at room temperature, or toasted. The crumb settles as it cools, so the slices cut more neatly after a short rest.