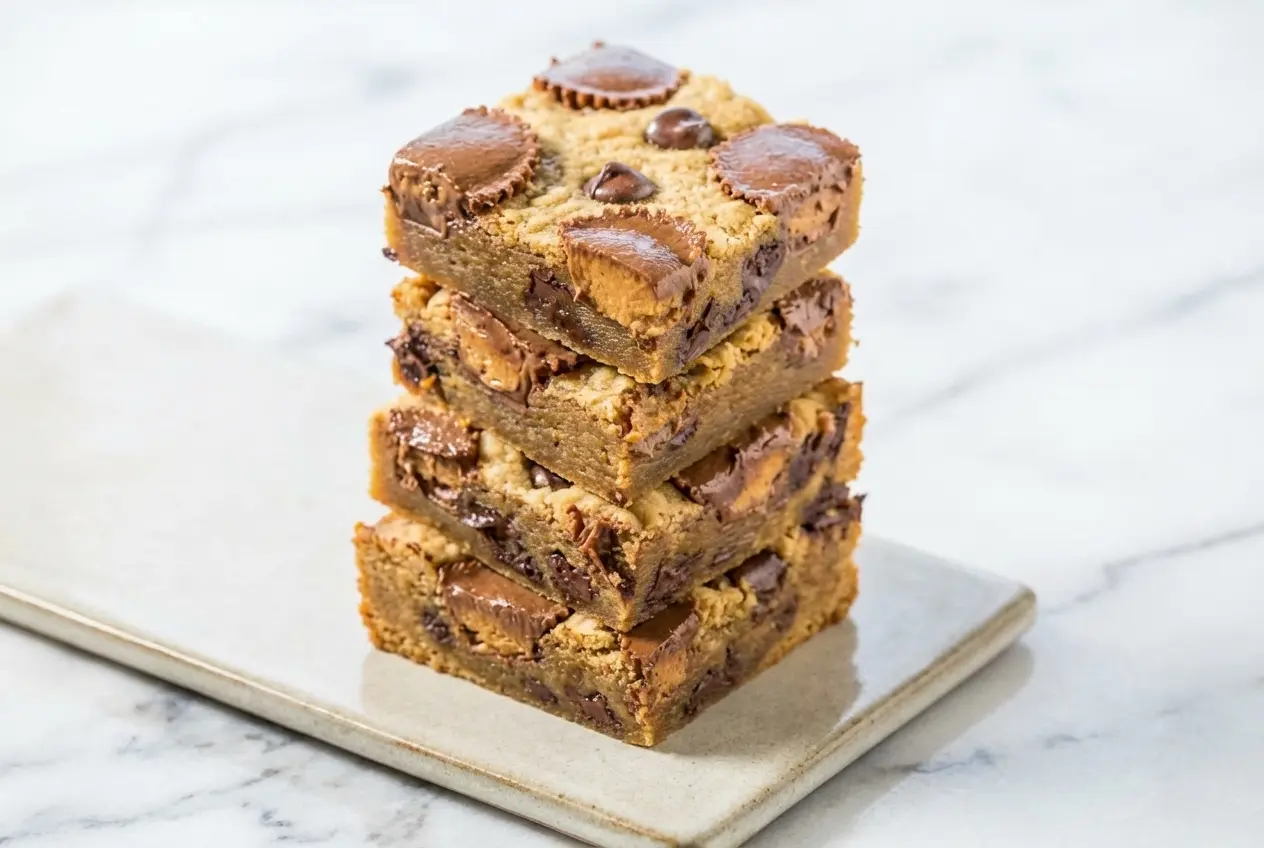
There is something about a pan of cookie bars cooling on the counter that feels like an old-school American bake sale in the best possible way. The smell alone, warm butter, brown sugar, chocolate, and peanut butter, can pull everyone into the kitchen before the timer even goes off.
These Peanut Butter Cup Gooey Cookie Bars are for the baker who wants a dessert that feels nostalgic but tastes a little more special. I use a foolproof blondie-style method, plus browned butter and a shower of flaky sea salt, to create bars that stay soft, gooey, and absolutely irresistible.
Why You’ll Love This Recipe
Big bakery flavor: Browning the unsalted butter first gives these bars a deep, toasty richness that makes the peanut butter taste even more roasted and full. It is a tiny extra step, but in my kitchen it changes the whole personality of the dessert.
The sweet-salty balance: A final sprinkle of flaky sea salt, especially something like Maldon, keeps the light brown sugar, semi-sweet chocolate chips, and miniature peanut butter cups from tipping into overly sweet territory. You get that perfect last bite where everything tastes sharper, warmer, and more balanced.
Easy cleanup: This blondie base comes together in one bowl after the butter is browned, so there is no fussy mixing and no mountain of dishes waiting for you later. It is the kind of recipe I reach for when I want maximum payoff with minimal mess.
Classic flavor, extra fun: If you love the familiar chocolate-and-peanut-butter combo, these bars hit that same cozy note as homemade peanut butter eggs, but in a softer, gooier bar made for slicing and sharing. They fit just as well on a holiday tray as they do at a weekend potluck.
Ingredients and Substitutions
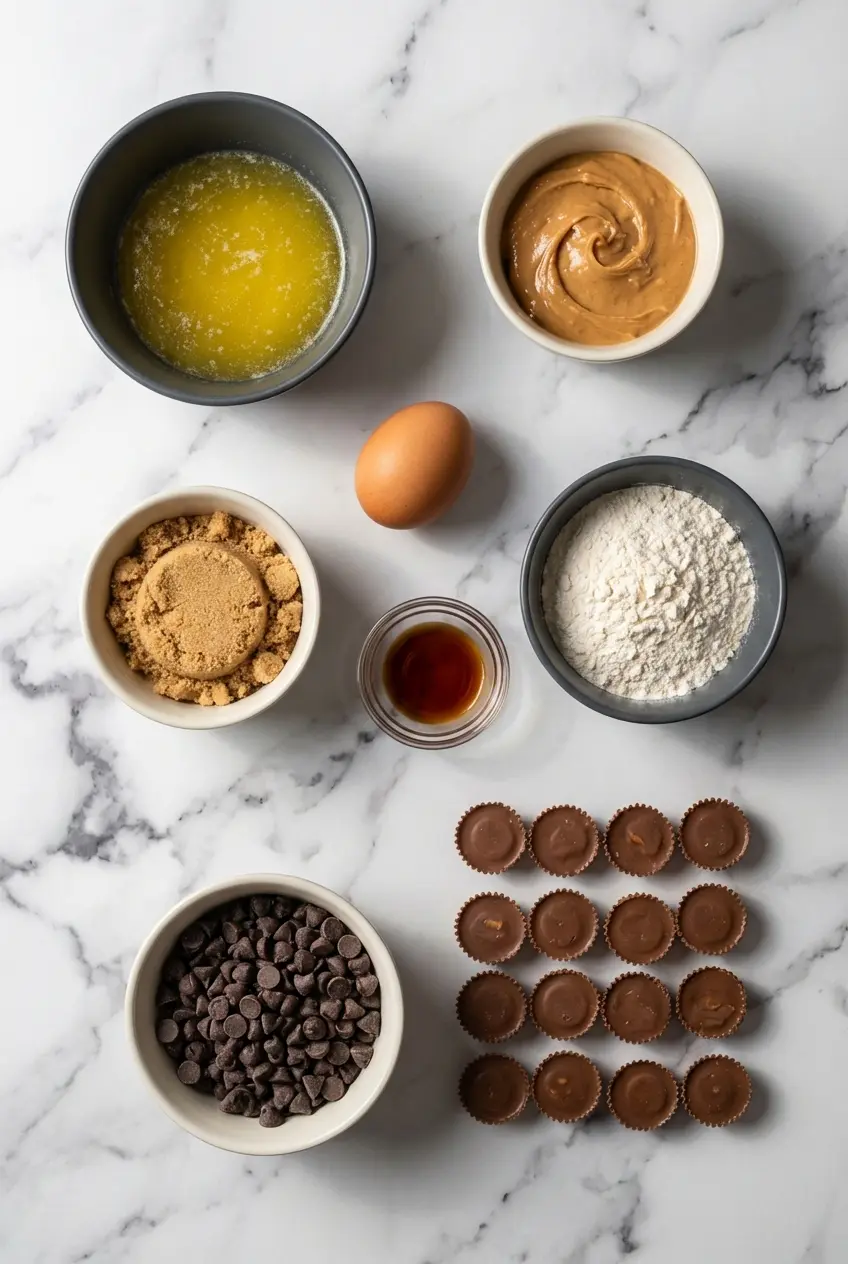
Every ingredient here pulls its weight, from the chewy blondie base to the melted pockets of chocolate and peanut butter tucked into every square.
Ingredients
- 1/2 cup unsalted butter, 1 stick, melted
- 1/3 heaping cup peanut butter
- 1 large egg
- 1 cup light brown sugar, packed
- 1 tablespoon vanilla extract
- 1 cup all-purpose flour
- 1/2 cup semi-sweet chocolate chips, plus more for sprinkling on top
- 16 miniature peanut butter cups, unwrapped
Ingredient Notes & Substitutions
Peanut Butter: I strongly prefer a processed commercial peanut butter here rather than natural peanut butter. The stabilized texture mixes more smoothly into the batter and helps prevent that greasy oil layer that can form on top of gooey bars.
Semi-Sweet Chocolate Chips: Semi-sweet is my favorite because it keeps the bars rich without becoming cloying. If you like a more grown-up, less sweet finish, dark chocolate chunks work beautifully and melt into bigger pockets throughout the blondie base.
Creamy vs. Crunchy Peanut Butter: Creamy gives you the smoothest, softest crumb, but crunchy peanut butter is a fun swap when you want a little extra texture. The bars still bake up tender, with tiny peanut bits tucked into each bite.
Miniature Peanut Butter Cups: Use the small, individually unwrapped cups so they press neatly into the batter and distribute evenly. If they are very warm or soft, I like to chill them for a few minutes first so they hold their shape better when pushed into the pan.
All-Purpose Flour: Regular all-purpose flour gives these bars the right structure without making them cakey. Measure lightly so the batter stays thick but soft, which is exactly what gives gooey bars their melt-in-your-mouth center.
How to Make Peanut Butter Cup Gooey Cookie Bars
Prep the Pan and Brown the Butter
- Start by heating your oven to 350F. Line an 8-by-8-inch baking pan with aluminum foil, leaving enough overhang to lift the bars out later, then coat it lightly with cooking spray so nothing sticks.
- Place the butter in a skillet over medium heat and let it cook for 3 to 5 minutes, swirling now and then, until it turns golden and smells nutty and caramel-like. Pour the browned butter into a large mixing bowl and let it cool for a moment so it is warm, not piping hot.
Mix the Blondie Batter
- Once the bowl is no longer scorching, whisk in the peanut butter, egg, brown sugar, and vanilla extract. Give it a good mix until the batter looks glossy, smooth, and fully combined, with no streaks of egg or peanut butter left behind.
- Add the all-purpose flour and stir just until the dry pockets disappear. This is one of those moments where a gentle hand matters, because overmixing can turn a tender cookie bar into something tougher than you want.
- Fold in the 1/2 cup of semi-sweet chocolate chips so they are evenly scattered through the batter. It will be thick, sticky, and rich, which is exactly right.
Assemble and Bake
- Spread the batter into the prepared pan and smooth the top lightly with a spatula. If it fights you a bit, that is normal, just nudge it into the corners without packing it down too hard.
- Arrange the 16 miniature peanut butter cups evenly over the top, then press each one down as far as it will comfortably go into the batter. Scatter about 1 tablespoon of extra chocolate chips over the surface, then finish with a generous, even sprinkle of flaky sea salt.
- Bake for about 22 to 25 minutes. The edges should look set and lightly golden, while the center should still seem a touch soft, and if you test a chocolate chip-free spot with a toothpick, it should come out clean or with a few moist crumbs, never wet batter.
Cool and Slice
Let the bars rest in the pan for at least 1 hour before slicing. As they cool, the buttery aroma settles into something deep and peanutty, the chocolate firms up just enough, and the texture turns soft, gooey, and almost melt-in-your-mouth in the center.
Secrets for Perfect Texture
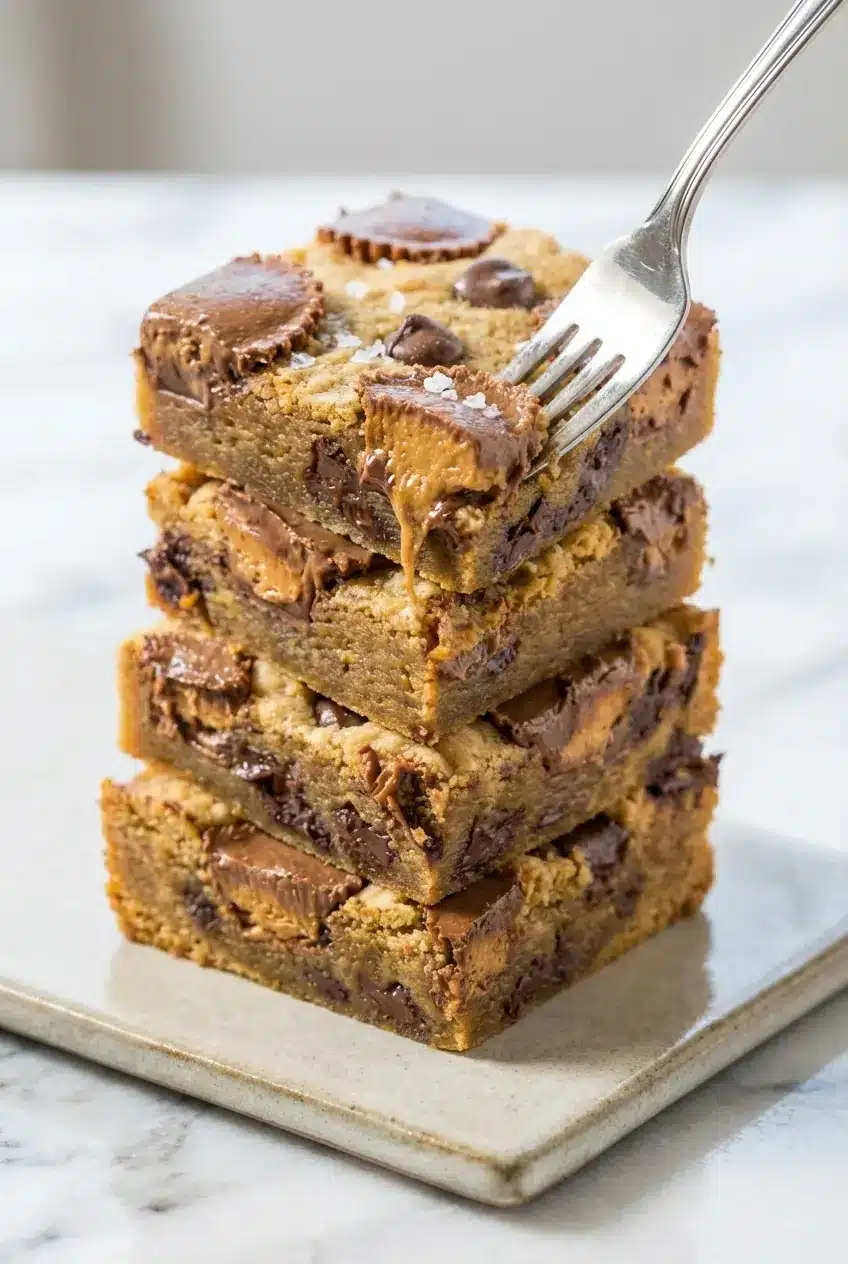
The trick with gooey bars is knowing that done does not mean dry. I pull the pan when the edges are set and the middle still looks slightly soft, because residual heat keeps working after the bars leave the oven, much like the luscious center you want in an ooey gooey cake.
Cooling is not just about patience, it is part of the recipe. Give the bars at least an hour in the pan so the melted chocolate and blondie base can settle, and if you want especially neat squares, chill the fully cooled bars before slicing.
An oily top layer usually points back to ingredient choice or mixing temperature. Because natural peanut butter is prone to oil separation, a commercial peanut butter is far more reliable here, and it also helps if the browned butter has cooled slightly before you whisk in the egg and sugar.
The Science Behind a Chewy Blondie Base
This recipe bakes up chewy rather than cakey because the butter is melted, or in this case browned, instead of being creamed with sugar. When you skip the creaming step, you also skip most of the air being whipped into the batter, so the blondie base stays denser, fudgier, and much more gooey.
Light brown sugar also does some quiet heavy lifting. It brings moisture and a deeper flavor, while the all-purpose flour gives just enough structure to hold the bars together without making them stiff or dry.
That browned-butter flavor is more than kitchen magic. The toasty, nutty notes come from the Maillard reaction when browning butter, which is one reason these bars taste so much more complex than a standard cookie bar with plain melted butter.
I use the same texture logic in other chewy bakes, and it is the very reason recipes like these bars and classic peanut butter brownies have that rich, close-grained bite instead of a fluffy cake-like crumb. If you love dense centers and crisp edges, this method is your friend.
Adapting Bake Times for Different Pan Sizes
If you want to bake these for a crowd, double every ingredient and use a 9×13 inch pan. That gives the batter room to spread more evenly, although the finished bars may be a touch thinner or slightly thicker depending on the exact dimensions and material of your pan.
When I double this recipe, I still bake at 350F, but I expect the timing to stretch by about 5 to 10 minutes beyond the original 22 to 25 minutes. The safest guide is still the toothpick test in a chocolate chip-free area, plus those visual cues of set edges and a center that looks softly baked rather than wet.
Pro Tips & Troubleshooting
Pro Tips
- Line the baking pan with foil or parchment paper and leave an overhang on two sides. It makes lifting the whole slab out of the pan much easier, which means cleaner slices and less sticking.
- If the dough feels too sticky to spread evenly, lightly flour your fingertips or the back of a spatula. A very light dusting is enough to help you press it into the corners without tearing the surface.
- Let the browned butter cool slightly before adding the egg. Warm butter is fine, but very hot butter can cook the egg on contact and leave little bits of scrambled egg in the batter.
- For picture-perfect squares, cool the bars fully, then refrigerate them for about an hour before slicing. A sharp knife wiped clean between cuts makes a big difference with gooey bars.
Common Mistakes to Avoid
- Adding the egg too soon is one of the easiest ways to throw off the batter. If the butter is steaming hot, wait a minute or two before whisking in the egg and other wet ingredients.
- Overmixing after the flour goes in can make the bars heavy and tough. Stir only until the all-purpose flour disappears and the batter comes together.
- Overbaking is the fastest route to losing that gooey center. Take the pan out when the edges are set and the middle still looks a little soft, because it will continue to firm up as it cools.
Serving & Storage
Serving Ideas
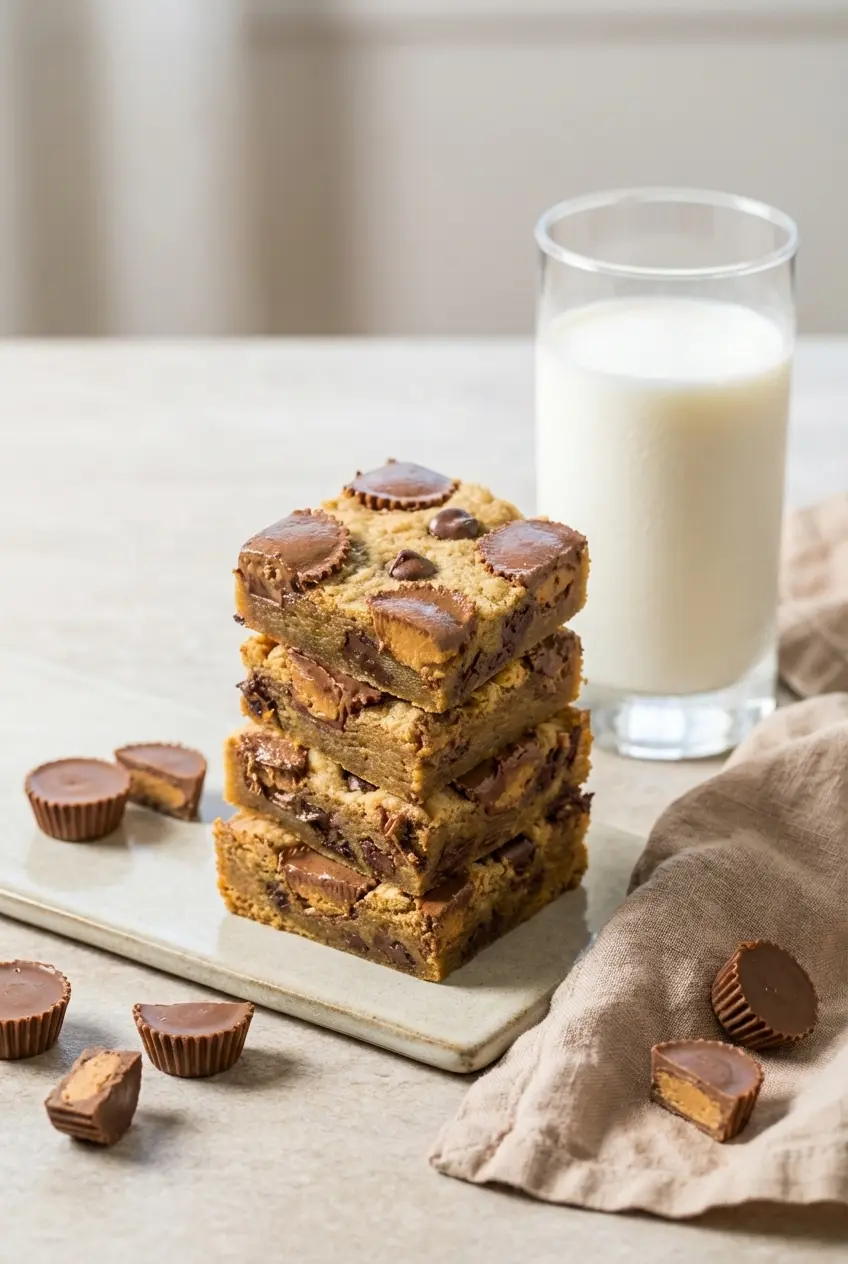
These bars are at their dreamiest just slightly warm, with a scoop of vanilla bean ice cream slowly melting into the cracks. If I am leaning full dessert-table energy, I add hot fudge or salted caramel sauce over the top and serve them on small plates with forks.
For a fun variation, you can swirl a sweetened cream cheese filling through the middle before baking and turn them into a cheesecake brownie hybrid. The peanut butter and chocolate still shine, but the tangy ribbon makes the bars taste even more decadent.
Storage & Make-Ahead
Once cooled, keep the bars in an airtight container at room temperature for a few days. If your kitchen runs warm, the refrigerator is a better option, especially if you want firmer chocolate and cleaner edges.
These freeze beautifully when wrapped one by one in plastic wrap and tucked into a freezer-safe container. Guidance on freezing baked goods safely for up to 3 months follows the same common-sense approach I use at home, wrap well, protect from air, and thaw before serving.
To bring back that warm, gooey center, let a frozen square thaw at room temperature, then give it a few seconds in the microwave. The peanut butter cups soften again, the chocolate turns glossy, and the whole bar tastes freshly baked.
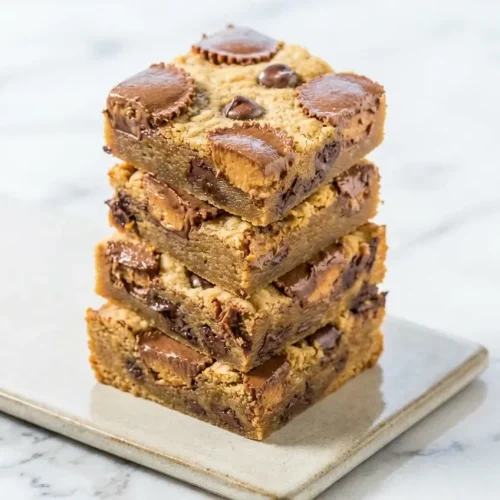
Peanut Butter Cup Gooey Cookie Bars

Equipment
- 8-by-8-inch baking pan
- Aluminum Foil
- Skillet
- Large Mixing Bowl
- Whisk
- Spatula
Ingredients
- 1/2 cup unsalted butter, 1 stick, melted
- 1/3 heaping cup peanut butter
- 1 large egg
- 1 cup light brown sugar, packed
- 1 tablespoon vanilla extract
- 1 cup all-purpose flour
- 1/2 cup semi-sweet chocolate chips, plus more for sprinkling on top
- 16 miniature peanut butter cups, unwrapped
Instructions
Prep the Pan and Brown the Butter
- Preheat your oven to 350F. Line an 8-by-8-inch baking pan with aluminum foil, leaving enough overhang to lift the bars out later, then coat it lightly with cooking spray.
- Place the butter in a skillet over medium heat and cook for 3 to 5 minutes, swirling occasionally, until it turns golden brown and smells nutty. Pour the browned butter into a large mixing bowl and let it cool slightly.
Mix the Blondie Batter
- Whisk the peanut butter, egg, light brown sugar, and vanilla extract into the browned butter until the mixture is glossy and smooth.
- Add the all-purpose flour and stir just until the dry pockets disappear. Do not overmix, as this ensures the bars stay tender.
- Fold in 1/2 cup of semi-sweet chocolate chips so they are evenly distributed through the thick batter.
Assemble and Bake
- Spread the batter into the prepared pan and smooth the top with a spatula. Arrange the 16 miniature peanut butter cups evenly over the top, pressing each one down into the batter.
- Scatter a few extra chocolate chips over the surface and finish with a generous sprinkle of flaky sea salt.
- Bake for 22 to 25 minutes. The edges should be set and lightly golden, while the center remains slightly soft. A toothpick should come out clean or with a few moist crumbs.
- Let the bars cool in the pan for at least 1 hour. This allows the buttery base and chocolate to set into a soft, gooey texture before slicing.
Notes
Conclusion
Peanut Butter Cup Gooey Cookie Bars are the kind of dessert that disappears fast, and for good reason. The browned butter brings nutty depth, the flaky salt sharpens every flavor, and the center stays soft, gooey, and full of chocolate-peanut-butter comfort.
If you have a free afternoon and a serious sweet tooth, this is the pan to bake. Once you try the base recipe, it is easy to make it your own with dark chocolate, crunchy peanut butter, or an extra drizzle of something warm on top.
Frequently Asked Questions
Can I use natural peanut butter?
How can I tell when they are done if they are supposed to be gooey?
How do I cleanly slice gooey cookie bars?
Can I make these in a 9×13 inch pan?
Can I freeze Peanut Butter Cup Gooey Bars?