In my American kitchen, a graham cracker crust is the quiet hero behind so many “wow” desserts, the kind you carry to a cookout and somehow come home with an empty plate. I used to think it was just crumbs and butter until I learned how one tiny technique changes everything.
This graham cracker crust is fast, reliable, and built for both cool no-bake pies and sturdy baked fillings. The best part is the flavor upgrade, a nutty brown-butter note that makes the whole pie taste like it came from a real bakery case.
Why You’ll Love This Recipe
Brown butter magic: In my kitchen, browning the melted butter turns a basic crust into something toasted and fragrant, thanks to that deep, nutty Maillard reaction vibe that plays so well with graham cracker crumbs.
Salted-caramel balance: A tiny pinch of sea salt (my favorite “secret”) makes the sweetness taste cleaner and more grown-up, especially under rich fillings like cheesecake and chocolate.
Crunch that still bites: This method gives you a crust that slices neatly and holds together, but won’t turn rock hard if you press with a steady hand instead of brute force.
Works baked or no-bake: Whether you are pre-baking for a custard or chilling for an icebox pie, this crust adapts easily to your plan.
Ingredients and Substitutions

These four pantry staples build a crust that’s buttery, sweet, and warmly spiced. The key is fine crumbs plus enough melted butter to act as the binding agent.
Ingredients
- 1 1/2 cups finely ground graham cracker crumbs
- 1/3 cup white sugar
- 6 tablespoons unsalted butter, melted
- 1/2 teaspoon ground cinnamon
Ingredient Notes & Substitutions
1 1/2 cups finely ground graham cracker crumbs: The best texture comes from crumbs that look like sandy beach grit, not pebbles. A food processor makes this quick, but a sealed bag and rolling pin work too as long as you keep going until the crumbs are very fine.
6 tablespoons unsalted butter, melted: Real butter is non-negotiable for a crisp finish, margarine tends to leave the crust soft. For the brown butter upgrade, I warm the butter in a small saucepan until it smells like toasted nuts and shows golden flecks, then let it sit briefly so it’s warm, not scorching.
1/3 cup white sugar: White sugar gives that clean snap once chilled or baked. If you want a deeper, molasses-like note, brown sugar can be swapped in the same amount, and it pairs beautifully with pumpkin-style fillings.
1/2 teaspoon ground cinnamon: Cinnamon keeps the crust classic and cozy. If your filling is already strongly spiced, you can dial the cinnamon back a touch next time, but keep the crust simple so it doesn’t fight the topping.
How to make graham cracker crust
Prep your mise en place
- Set out a medium mixing bowl and a 9-inch pie plate, then measure everything so the mixing goes fast. If your butter is freshly melted, let it cool just a little so it feels warm to the touch, not piping hot.
- If you are doing the brown butter upgrade, brown the butter first, then let it rest briefly so it doesn’t instantly dissolve the sugar when it hits the crumbs.
Mix until it looks like wet sand
- Stir the graham cracker crumbs, white sugar, and ground cinnamon together so the color looks evenly speckled. This quick dry mix helps prevent pockets of cinnamon.
- Pour in the melted butter and mix well, scraping the bowl, until every crumb looks moistened and the mixture clumps when you squeeze it. If it still looks dusty, keep mixing, the butter needs to coat the crumbs to bind properly.
Press into the pan with an even hand
- Spoon the crumb mixture into the pie plate and spread it roughly flat. Then press it firmly into the bottom and up the sides, using the bottom of a flat measuring cup or a small glass for a smooth, even layer.
- Pay special attention to the corner where the bottom meets the side, that ridge is where crusts love to crumble later. You want it compact and tidy, not thick and lumpy.
Pick your finish, baked or no-bake
For a baked crust, bake at 375 degrees F for 7 minutes, and you will smell a warm, toasted aroma when it’s ready. Let it cool completely before filling so the texture stays crisp and your filling sets properly.
For a no-bake crust, chill it in the refrigerator for 1 hour before filling so the butter firms up and locks the crumbs together. It should feel set and cool to the touch, not loose or greasy.
Secrets for a Perfect Texture

The grams matter: If you like consistency, 1 1/2 cups of crumbs is about 170 grams, and weighing helps avoid the “crumbly slice” problem. Too few crumbs can leave you with a greasy base, and too many can make it dry and fragile.
Pan size adjustments: This ratio is happiest in a 9-inch pie plate, with a nice thickness that cuts cleanly. For a 10-inch springform pan, bump everything up by about 25% so the sides reach high enough for a creamy cheesecake without thin, weak edges.
Blind baking strategy: Wet fillings like custards or anything that pours very loose do better with the baked method, because heat sets the sugar and butter into a firmer barrier. Drier fillings or mousse-style pies are perfect candidates for the no-bake chill.
Avoiding the rock-hard crust: The culprit is usually over-baking or pressing like you are packing concrete. Use a firm, steady press for stability, and keep the baked time exactly at 7 minutes so it stays crisp, not tooth-breaking.
Pro Tips & Troubleshooting
Pro Tips
- Freezing the pressed crust for 15 minutes before baking helps the sides hold their shape and reduces slumping.
- A flat-bottomed measuring cup or small juice glass gives the smoothest, most even compaction without overdoing it.
- If you use a springform pan, a parchment circle on the base makes clean removal much easier later.
- When mixing, aim for a “wet sand” look, and stop once the crumbs clump when squeezed.
Common Mistakes to Avoid
- Using crumbs that are too coarse, because big pieces don’t bind and slices fall apart.
- Mixing with butter that is boiling hot, which can make the crust oily and heavy.
- Forgetting to press the bottom-to-side corner, which creates a weak breaking point.
- Filling a baked crust while it is still warm, which can soften the crust and destabilize the filling.
Serving & Storage
Serving Ideas
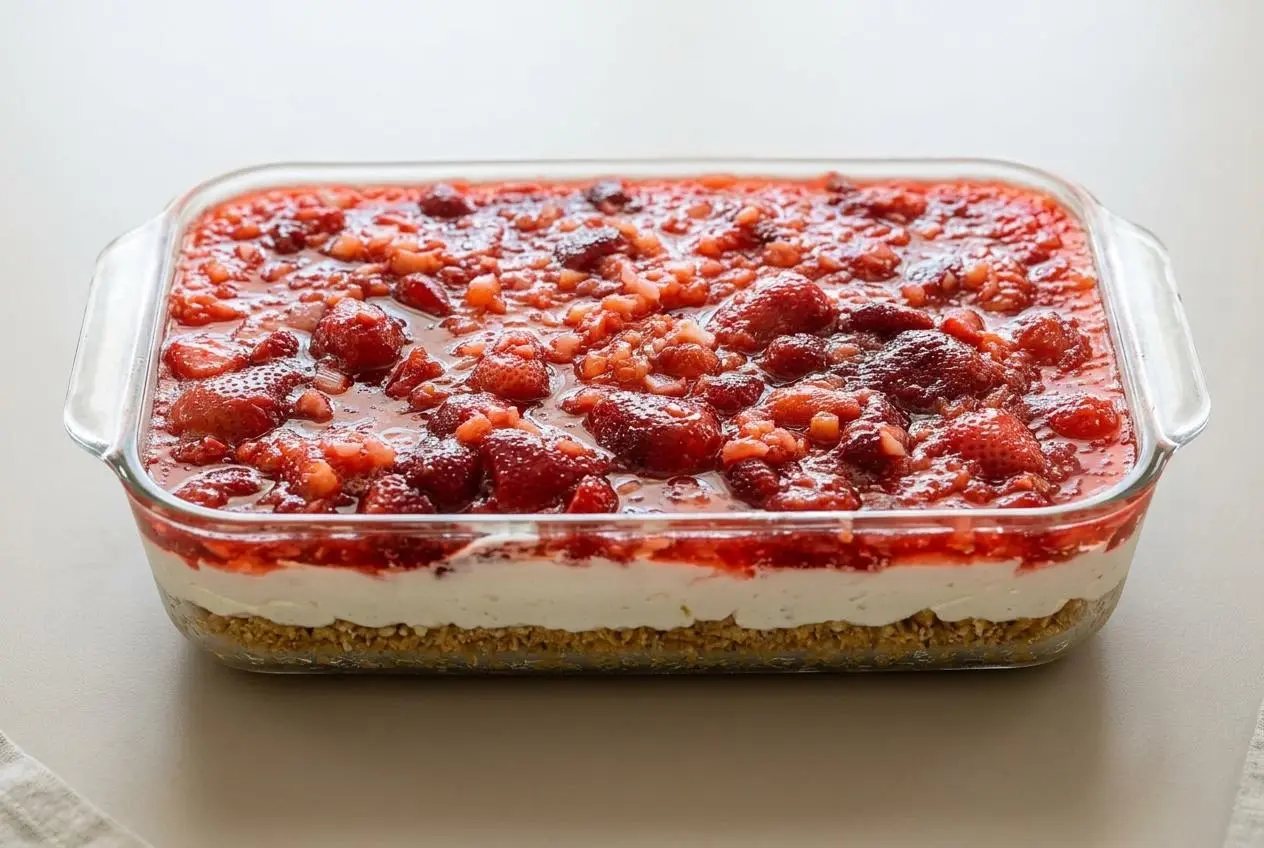
This is the base I reach for when the filling is the star, Key lime, pumpkin, silky chocolate, or a tall cheesecake. A slice of chocolate cream pie on this crust tastes like a diner classic, but cleaner and more buttery.
For a bakery-style finish, dust the rim with a whisper of cinnamon or press a few reserved crumbs around the edge. If you are making frozen treats, this crust stays pleasantly tender even straight from the freezer.
Storage & Make-Ahead
Covered tightly, the crust can be made up to 3 days ahead and kept in the fridge. I like to keep it wrapped so it doesn’t pick up “fridge smells” that dull the sweet, toasted aroma.
For longer storage, freeze it for up to 3 months, wrapped well in plastic wrap and then foil. Thaw in the fridge, and if it was baked, a few minutes at room temperature helps the texture feel less icy.
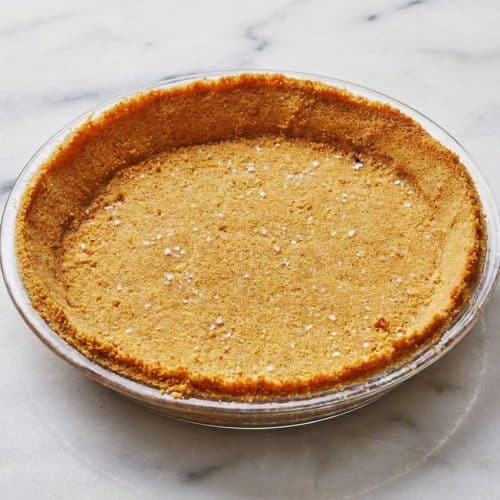
Buttery Homemade Graham Cracker Crust

Equipment
- Medium mixing bowl
- 9-inch pie plate
- Small saucepan
- Flat-bottomed measuring cup
- Food processor or rolling pin
Ingredients
- 1 1/2 cups finely ground graham cracker crumbs
- 1/3 cup white sugar
- 6 tablespoons unsalted butter, melted
- 1/2 teaspoon ground cinnamon
Instructions
Prep your mise en place
- Set out a medium mixing bowl and a 9-inch pie plate, then measure all ingredients. If your butter is freshly melted, let it cool slightly until it is warm to the touch rather than piping hot.
- For the brown butter upgrade, melt the butter in a small saucepan until it smells nutty and shows golden flecks, then let it rest briefly so it does not dissolve the sugar on contact.
Mix until it looks like wet sand
- Stir the graham cracker crumbs, white sugar, and ground cinnamon together in the mixing bowl until the color is evenly speckled to prevent cinnamon pockets.
- Pour in the melted butter and mix thoroughly, scraping the sides of the bowl, until every crumb is moistened and the mixture clumps together when squeezed.
Press into the pan with an even hand
- Spoon the crumb mixture into the pie plate and spread it flat. Press firmly into the bottom and up the sides using the bottom of a flat measuring cup or glass for a smooth, even layer.
- Ensure the corner where the bottom meets the side is compact and tidy to prevent the crust from crumbling later.
Pick your finish, baked or no-bake
- For a baked crust: Bake at 375 degrees F for 7 minutes until toasted and fragrant. Let it cool completely before adding any filling.
- For a no-bake crust: Chill the pressed crust in the refrigerator for at least 1 hour until the butter firms up and locks the crumbs together.
Notes
Nutrition
Conclusion
A graham cracker crust should taste like more than a background, buttery, toasted, and just sweet enough to make the filling shine. Once you try the brown butter upgrade, it’s hard to go back, because that nutty warmth makes the whole dessert feel intentional.
Play with the sugar choice or cookie swaps over time, and keep the pressing gentle but confident. When you are in the mood for that same buttery crumble in a different form, my shortbread cookies hit a similarly cozy note.