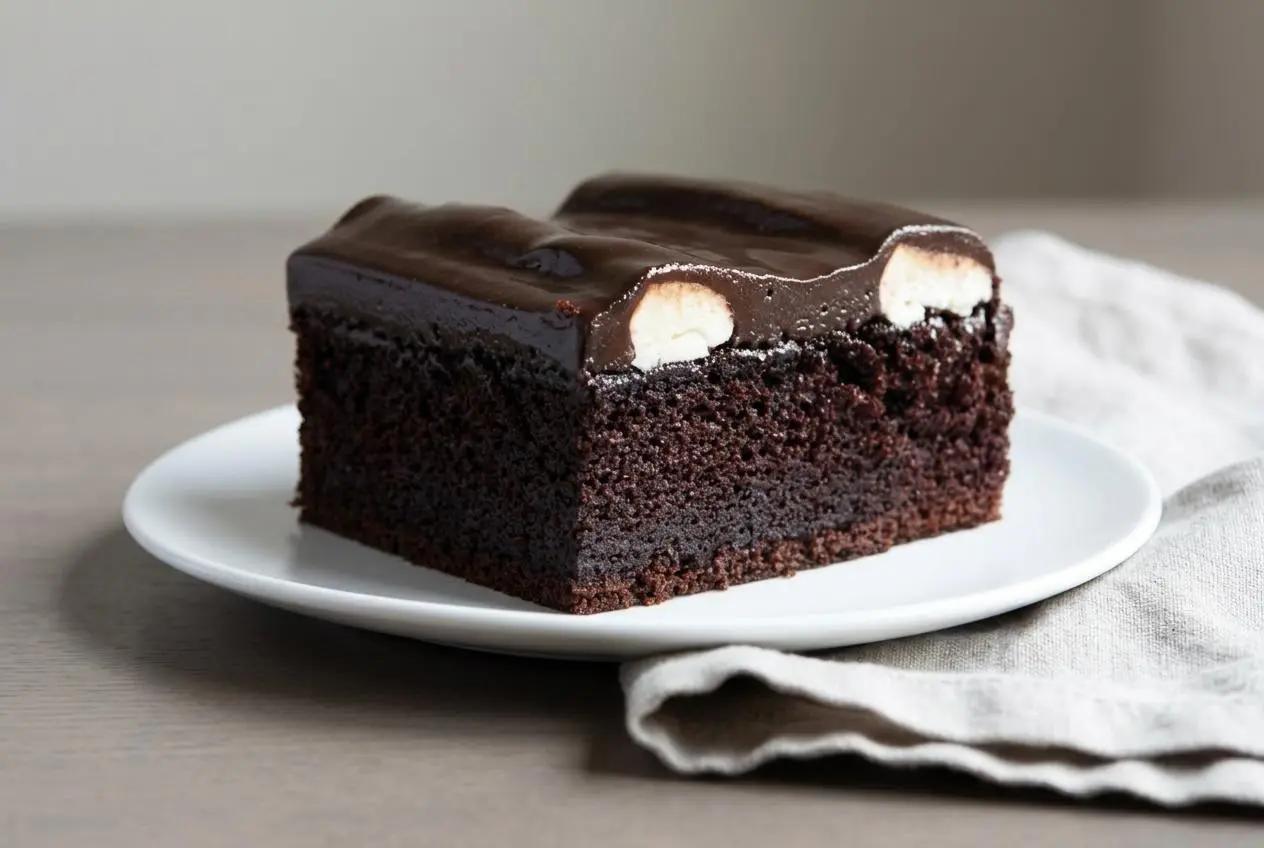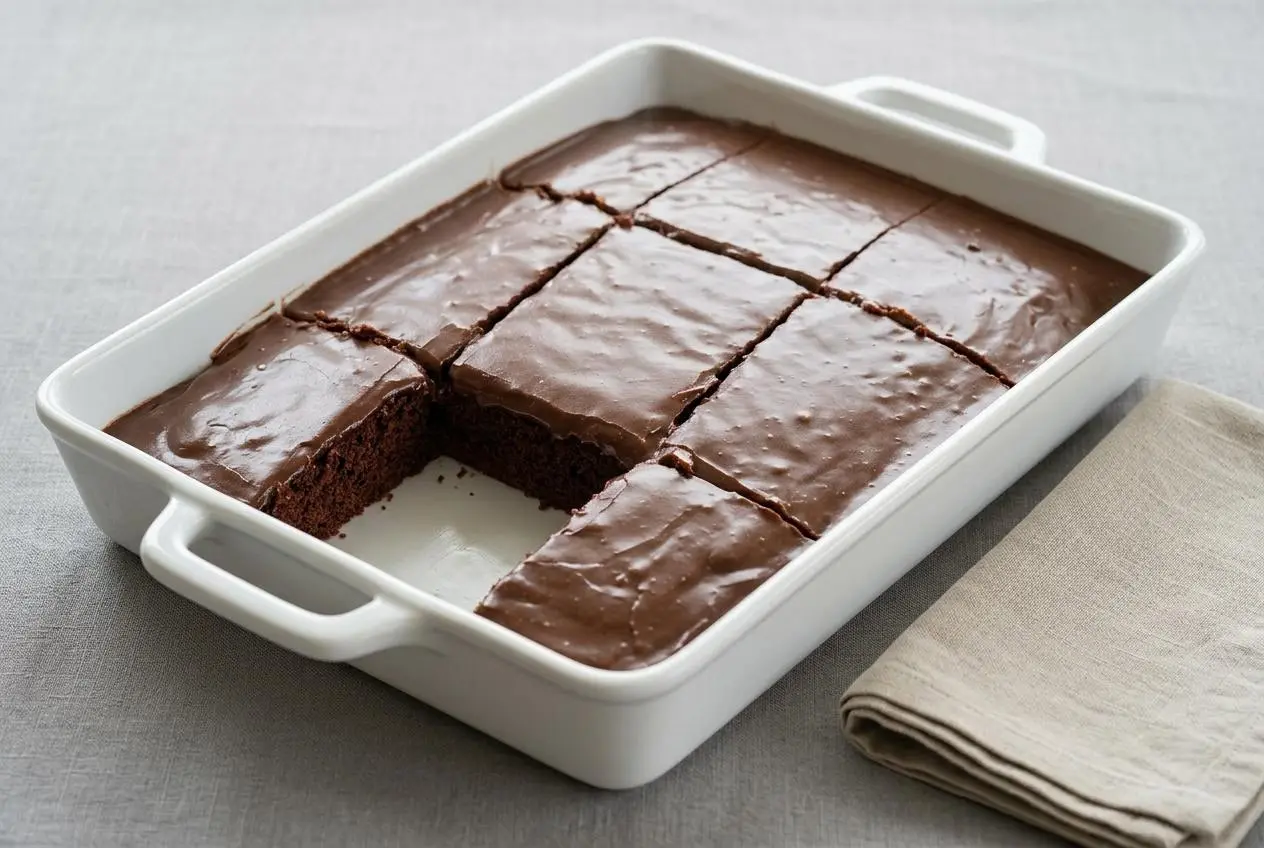
A Texas Chocolate Sheet Cake is a thin, ultra-moist chocolate cake baked in a wide pan and finished with warm pour-over fudge icing that sets into a soft crackly layer.
Texas Chocolate Sheet Cake is the kind of dessert that fills the kitchen with the smell of hot cocoa and melted butter before it even hits the oven. It bakes thin, stays tender, and carries more glossy chocolate icing per bite than a taller traditional chocolate cake.
It is a classic potluck cake for good reason. You get deep chocolate flavor, easy slicing, and that signature frosting that starts looking like poured fudge before it lightly crusts on top. The timing is the whole trick.
Set out the buttermilk and eggs before you start so they blend smoothly into the warm cocoa mixture.
What Is a Texas Chocolate Sheet Cake?
This cake matters because it is not just a chocolate cake baked in a rectangle. It is a very specific style of Southern sheet cake, baked thin in a wide pan and topped while still warm with a loose chocolate icing that spreads itself into every corner.
That wide, shallow shape changes everything. The cake bakes faster than a deeper layer cake, stays especially moist, and gives you a generous frosting-to-cake ratio in every square. That is one reason it became such a fixture in church suppers, community cookbooks, school events, and family potlucks across the South and beyond.
The name points to size and style more than strict geography. Most versions share the same hallmarks: a cocoa-based batter, a pourable warm icing, and a sheet-pan format that feeds a crowd without much fuss. It is practical, rich, and built for sharing.
If you have only made tall chocolate cakes before, this one feels different from the first slice. The crumb is thin and tender rather than lofty, and the icing becomes part of the cake instead of sitting like a separate layer on top.
The Chemistry of the Perfect Sheet Cake
The magic here comes from a batter that looks almost too fluid and still bakes up soft and structured. That happens because the ingredients are doing several jobs at once.
Natural cocoa and baking soda work as a team. Natural cocoa is acidic, and that acidity reacts with the baking soda to create lift. The result is a cake that feels light on the bite even though the batter includes melted butter and a good amount of liquid.
Hot liquid changes the flavor, not just the texture. When cocoa powder meets boiling coffee or water, the heat helps bloom the cocoa by releasing flavor compounds that stay muted in cooler batter. That is why the chocolate tastes deeper and fuller after the butter, cocoa, and liquid are heated together.
The high liquid-to-flour ratio is another part of the signature texture. A sheet cake batter like this spreads easily, bakes quickly in a shallow pan, and stays tender because it does not spend too long in the oven drying out.
Buttermilk helps on two fronts. Its acidity supports tenderness, and its tang keeps the sweetness and richness from feeling flat. That little bit of sharpness is why the finished cake tastes more chocolatey instead of just sugary.
Essential Ingredients and Their Roles
Each ingredient has a clear job here, from building a tender crumb to giving the icing its glossy finish and balanced chocolate depth.
For the Cake
- 2 cups all-purpose flour
- 2 cups sugar
- 1 teaspoon baking soda
- 1/2 teaspoon salt
- 2 sticks (1 cup) butter (real, salted)
- 1/2 cup cocoa powder
- 1 cup black coffee or water
- 1/2 cup buttermilk
- 2 eggs
- 2 teaspoons vanilla extract
For the Icing
- 1 1/2 sticks of butter (real, salted)
- 1/2 cup milk
- Dash of salt
- 1 teaspoon vanilla extract
- 1 1-lb box powdered sugar
- 1/2 cup cocoa powder
Flour and eggs give the cake structure, while sugar keeps the crumb soft and moist. Cocoa brings the main flavor, but the coffee or water is what wakes it up. Buttermilk adds tang and tenderness, and real salted butter gives both the cake and icing a deeper, rounder finish than margarine or shortening can match.
I always let the buttermilk and eggs lose their chill before mixing, because cold ingredients can make the warm cocoa mixture tighten up too quickly.
Buttermilk: The Ultimate Crumb Tenderizer
Buttermilk is one of the reasons this cake feels so soft. Its acidity helps weaken gluten development, which keeps the crumb tender instead of chewy. It also adds a subtle tang that cuts the sweetness and makes the chocolate taste more defined.
If you do not have buttermilk, you can use whole milk curdled with a teaspoon of white vinegar or lemon juice. Sour cream also works as an optional substitute, though it gives the cake a thicker batter and a denser, slightly tangier crumb. Another fermented dairy approach shows up in kefir sheet cake, where that same gentle acidity helps keep the texture soft.
For eggs, there is less room to improvise if you want the classic texture. They help bind the batter and support the cake as it bakes thin. If you need an egg-free version, expect a different crumb and a slightly less springy center.
Boiling Coffee vs. Water: The Cocoa Blooming Secret
If you want a stronger chocolate flavor, choose black coffee. The cake will not taste like mocha. Coffee mostly acts as a flavor amplifier, making the cocoa taste darker and fuller.
The real science is in the heat. When cocoa powder is stirred into boiling coffee or water with melted butter, the hot liquid blooms the cocoa and opens up more of its flavor and aroma. Before it boils, the mixture should look glossy, loose, and evenly brown with no dry cocoa streaks. Once it reaches a boil, the chocolate smell turns fuller and warmer almost immediately.
Water still works well, especially if that is what you have on hand. The cake keeps its classic texture either way. Coffee simply pushes the chocolate a bit further.
Salted Butter: The Rich Flavor Foundation
Real salted butter gives this cake its old-fashioned depth. Butter adds flavor, of course, but it also gives the batter and icing a richer mouthfeel and a cleaner finish on the palate.
Salted butter is especially useful here because it quietly balances the sweetness in both the cake and the frosting. Margarine can taste flatter, and vegetable shortening may change the feel of the icing and crumb even if the cake still bakes. For this style of cake, butter is worth it.
Natural Cocoa vs. Dutch-Process Cocoa
Natural cocoa is the traditional choice for this recipe because it is acidic. That acidity reacts with the baking soda and helps the cake rise properly in a shallow pan.
Dutch-process cocoa is less acidic, so it does not behave the same way in this formula. You can use it, but the lift may be different and the cake can turn out slightly denser unless the leavening is adjusted. Since the recipe already balances natural cocoa with baking soda, sticking with natural cocoa is the simplest path to the expected texture.
Why Sour Cream and Buttermilk Make a Difference
Both ingredients add tang and moisture, but they do not bake the same way. Buttermilk keeps the batter looser and the crumb lighter. Sour cream adds more fat, so the cake bakes with a thicker, slightly denser texture and a more pronounced tang.
If you are after the most classic Texas sheet cake feel, buttermilk is the better match. If you want a sturdier, richer crumb, sour cream is a good optional variation rather than a direct equal swap in texture.
Step-by-Step How to Make Texas Chocolate Sheet Cake
This method is fast once the pan is in the oven, so it helps to read through the icing steps before you begin. The key is to bake the cake until the center looks matte and lightly puffed, then make the icing while the cake cools just a little.
For the Cake
- Heat the oven to 350 °F and grease a 10×15 baking pan well.
The batter spreads thin, so a fully greased pan helps the cake release cleanly from edge to edge. - Whisk the flour, sugar, baking soda, and salt together in a large mixing bowl, then set the bowl aside.
Mixing the dry ingredients first helps the leavening and salt distribute evenly through the batter. - Melt the butter in a small saucepan, stir in the cocoa powder and black coffee or water, and bring the mixture to a boil over medium-high heat.
Before it boils, it should look glossy and fluid, and once it bubbles the cocoa aroma should smell noticeably deeper. - In a small bowl, mix the buttermilk, eggs, and vanilla extract until smooth.
Blending these together first helps the eggs combine quickly when they meet the warm chocolate mixture. - Pour the hot cocoa mixture into the dry ingredients and stir to combine, then add the buttermilk mixture and whisk for 1 minute.
Work steadily so the warm batter stays smooth, and stop when it looks silky and evenly mixed. - Spread the batter in the prepared pan and bake for 20-22 minutes.
The cake is done when the center looks matte and slightly puffed and a toothpick inserted in the middle comes out clean.
For the Icing
- Sift the powdered sugar and cocoa powder into a large mixing bowl.
This extra step prevents tiny dry lumps that stay stubborn in warm icing. - Warm the milk, butter, and salt in a small saucepan until the mixture reaches a simmer, then remove it from the heat and stir in the vanilla extract.
The butter should be fully melted and the surface should look smooth, not greasy or separated. - Pour the hot milk mixture over the sifted sugar and cocoa, then stir with a spoon until smooth.
Use a spoon rather than a whisk so the icing stays glossy and does not fill with little air bubbles. - Let the icing stand for 5 minutes, stirring now and then, then pour it over the warm cake.
It should look like fluid fudge at this point and spread easily without running too thin. - Leave the cake at room temperature until the icing firms enough to slice neatly.
Within about five minutes, the top should begin to lose some shine and start forming that classic delicate crust. - Once the cake is cool, cover it and keep it at room temperature.
The icing stays at its best when the cake is protected from air and not stacked under tight wrap that can mark the surface.
Do not make the icing too early. It sets quickly, and if it thickens in the bowl before the cake is ready, you lose that smooth poured finish that defines the cake.
Secrets to the Glossy Crackly Chocolate Frosting
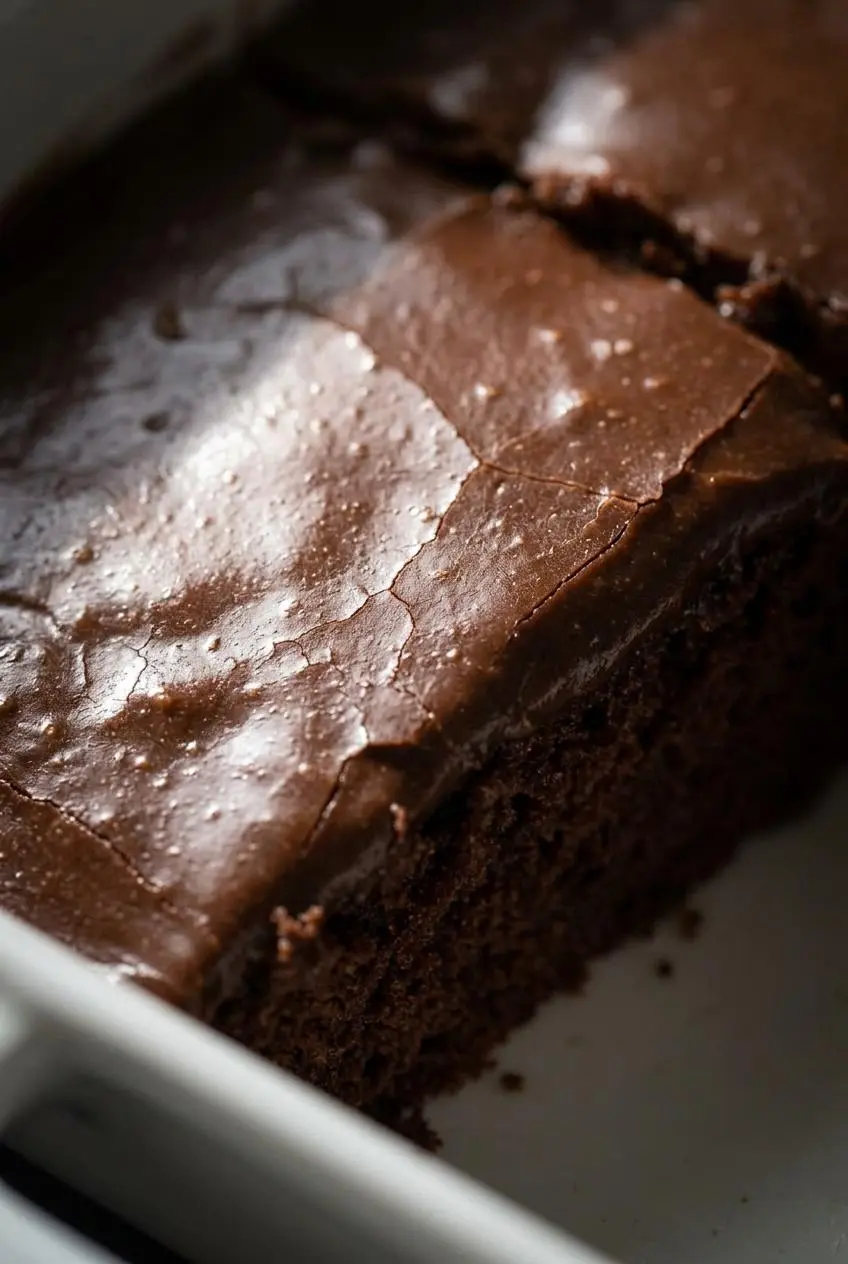
This is the part people remember. The icing should pour like warm fudge, settle into a smooth sheet, and begin to crust lightly on top while staying soft underneath.
Sifting matters more here than it does in many frostings. Powdered sugar often carries compacted bits, and cocoa powder loves to clump. If either goes in unsifted, the warm icing can trap tiny white sugar specks and dry cocoa lumps that never fully smooth out.
The stirring tool matters too. A whisk seems faster, but it whips air into the hot icing and leaves bubbles across the top of the cake. A spoon or spatula keeps the texture denser, shinier, and closer to poured fudge.
Timing is the final piece. If you pour the icing while the cake is still blazing hot from the oven, the crumb can soak it up too aggressively and turn the top gummy. If you wait too long, the icing starts setting in the bowl. That short 5-minute pause after mixing the icing is the sweet spot, especially when the cake has had a few minutes to lose its sharp oven heat.
If the icing seems too loose right away, keep stirring gently during that brief wait and watch the texture. It should move in a thick ribbon rather than splash like chocolate milk.
Baking Pan Conversions and Adjustments
Pan size changes both bake time and texture, so this is the place to be picky. Texas sheet cake works best in a shallow pan because the batter is designed to spread out and bake quickly.
A half sheet pan, usually 18×13 inches, is larger than the classic pan for this recipe. If you bake this exact amount of batter in a half sheet pan, the cake will be thinner and will finish sooner than the traditional version. Watch it closely and start checking early, because the reduced depth can push it past tender and into dry if you treat it like a 10×15 pan.
The Traditional 10×15 Jelly Roll Pan
This is the ideal choice for the recipe as written. A 10×15 jelly roll pan gives the cake enough room to stay thin without becoming flimsy, and the 20-22 minute bake time lines up with that depth.
The finished cake should have a level top with a center that looks matte rather than wet. A pan around 1 inch deep is a good fit, since it gives the batter room to rise without risking overflow.
Adapting for a Deep 9×13 Baking Dish
You can use a 9×13 pan, but the cake will be deeper and needs more oven time. Plan on 30-35 minutes so the middle has time to bake through.
This deeper pan changes the texture a bit too. You will get a thicker slice and a slightly different cake-to-frosting ratio. If the center tends to sink for you, this pan is often the reason, especially if the oven door gets opened early or the cake comes out before the middle is fully set.
A 9×13 dish deeper than about 2 inches also makes overflow more likely, so give yourself a little caution when filling it.
The Scaled-Down 12×10 Quarter Sheet Pan
A 12×10 quarter sheet pan is a good option when you want a smaller cake, but it works best if you scale the ingredient amounts rather than forcing the full batch into the smaller pan. If you do bake a reduced batch in that pan, expect the cake to bake quickly because the surface area is still broad and shallow.
What matters most is preserving the same general depth as the classic 10×15 version. If the batter sits much thicker, it needs longer. If it sits thinner, start checking sooner. That same shallow depth is what gives the cake its signature soft, fast-baked texture.
Success Tips and Texture Troubleshooting
Most Texas sheet cake problems come down to pan depth, frosting timing, or oven accuracy. The good news is that nearly all of them are fixable.
- If the icing turns grainy, the sugar or cocoa likely was not sifted well enough or the mixture sat too long before pouring. Stir gently over residual warmth until it loosens, then pour as soon as it looks smooth again.
- If the icing looks split or greasy, it usually got too hot or was beaten too aggressively. Keep stirring with a spoon, not a whisk, until it comes back together.
- If the icing seems runny, give it the full 5-minute wait and stir occasionally. It should thicken to a fudge-like pour before it goes on the cake.
- If the cake sinks in the center, the pan may be too deep, the baking soda may be old, or the oven door may have been opened too soon. A slight dip is still worth frosting and serving, because the texture can remain delicious.
- If the cake turns dry, it usually baked a little too long. Start checking at the early end of the time range, especially if your oven runs hot.
- If the center stays raw while the edges are done, the pan is likely narrower and deeper than the original 10×15 format. A deep 9×13 needs the longer bake window.
- If the batter threatens to overflow, check your pan depth before baking. Around 1 inch is right for a jelly roll pan, while very deep pans need extra caution because the batter sits differently.
- If results vary from one bake to the next, an independent oven thermometer can help. Many home ovens drift, and even a small temperature difference shows up quickly in a thin sheet cake.
Storage, Freezing, and Reheating Guide
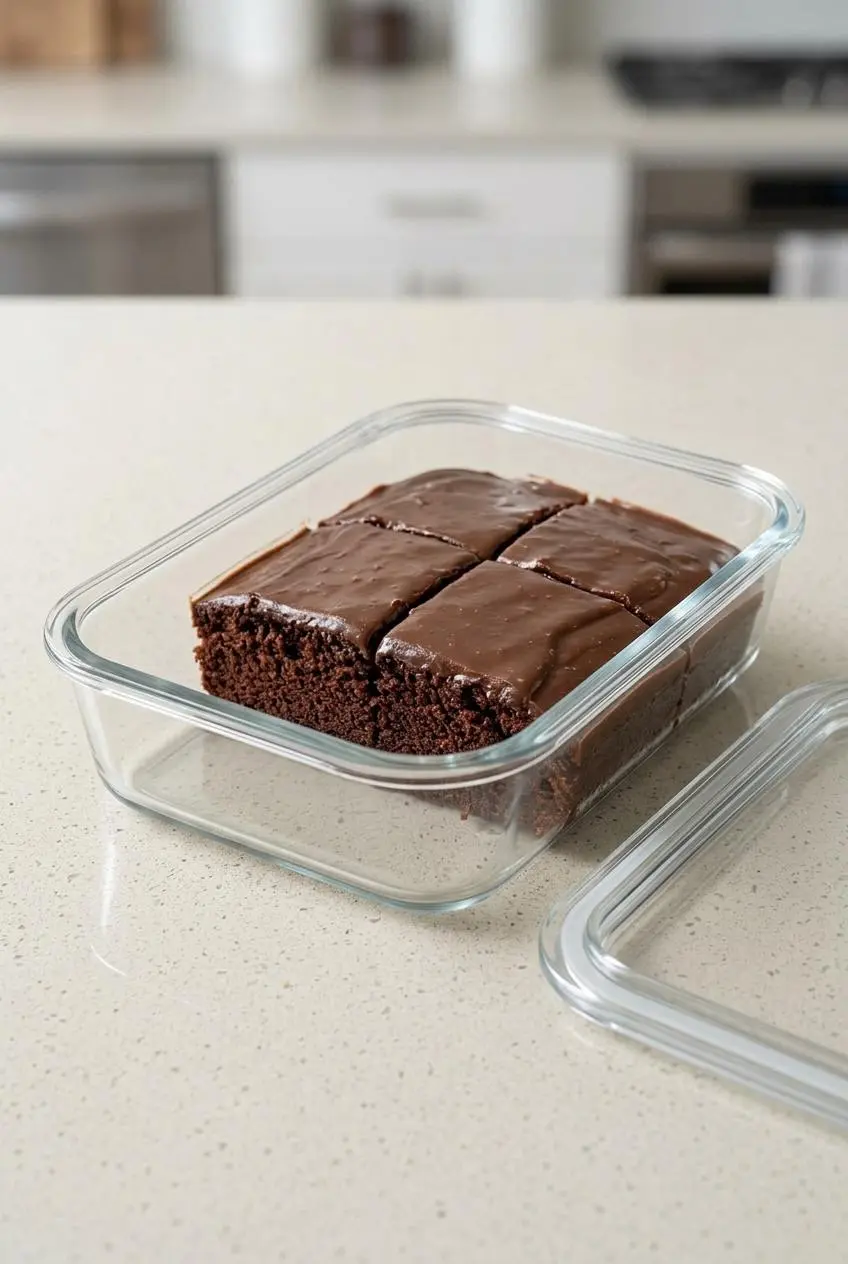
This cake keeps its texture best when the icing is allowed to set before you cover it. Once fully cooled, cover the pan well so the top stays soft with that light crackly finish instead of drying out.
The recipe is designed for room-temperature storage after cooling, which helps preserve the character of the icing. If you prefer to chill it because your kitchen runs warm or you are holding it longer, keep it covered and bring slices closer to room temperature before serving so the frosting softens again. For dairy ingredients you refrigerate separately before baking, keep the refrigerator at 40 °F or below for safe storage of perishables like milk and buttermilk using refrigerator temperatures for perishable foods.
You can freeze the fully frosted cake for up to 1 month. Let the icing set completely first, then chill the cake uncovered until the frosting firms, wrap it tightly, and freeze. For the cleanest texture on the frosting, thaw it loosely covered in the refrigerator, following freezing and thawing steps for frosted cakes.
For reheating, warm individual slices gently just until the frosting softens slightly. Too much heat can melt the top completely and take away the crackly finish.
How to Safely Transport and Serve at Potlucks
Let the icing set before covering the pan for travel. If foil or wrap touches the top too soon, it will pull the frosting and leave bare spots.
A high dome lid is ideal, but if you need foil, tent it so it does not rest directly on the cake. Once you arrive, cut the cake into small squares for easier serving. If you want an even more decadent party-pan version with caramel and pecans, Texas turtle sheet cake is a fun next bake.
Delicious Recipe Variations
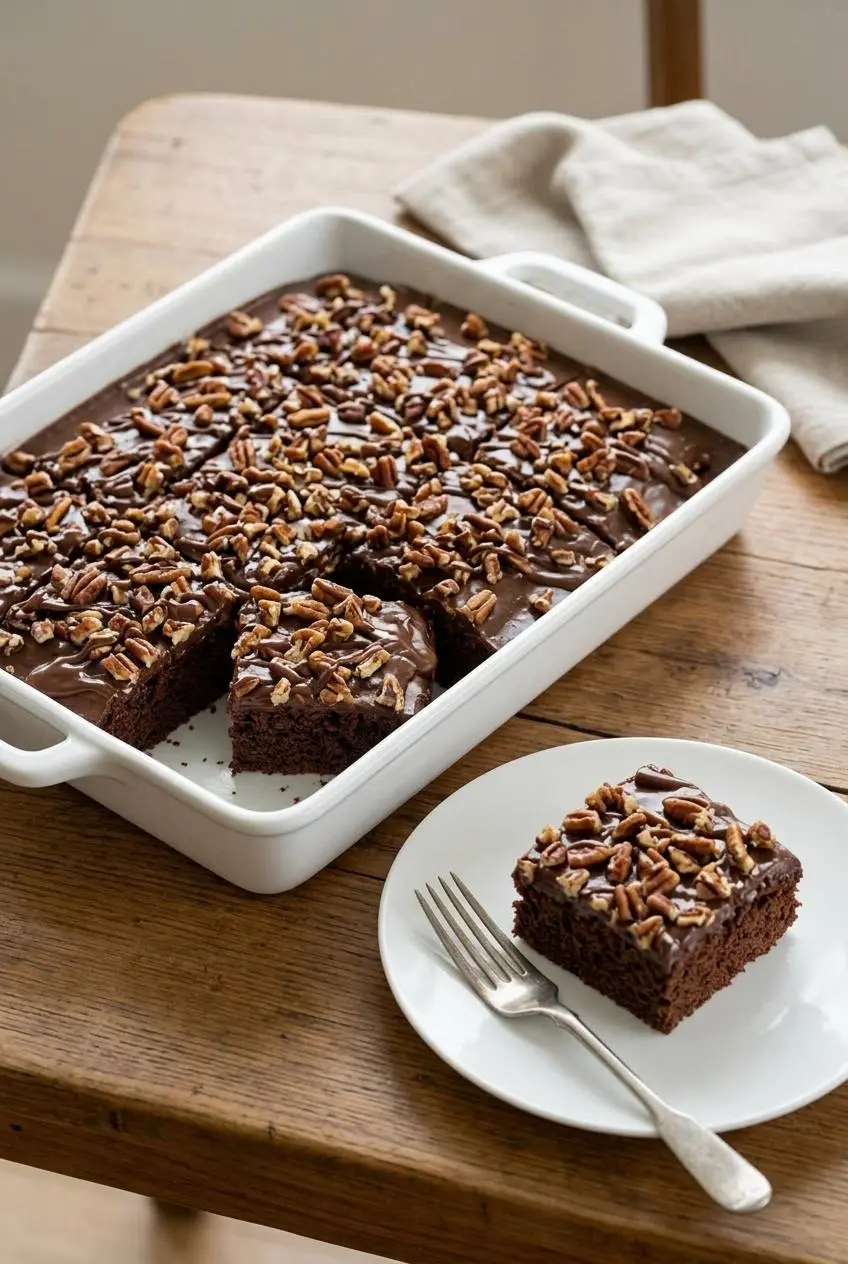
The classic version is plenty rich on its own, but a few optional tweaks can shift the flavor or texture without changing what makes the cake a Texas sheet cake.
The Coffee-Infused Chocolate Boost
Using black coffee in place of water already deepens the cocoa flavor. If you want an even darker profile, add a pinch of espresso powder to the hot liquid. It does not make the cake taste like coffee so much as it makes the chocolate taste more intense.
Grammy’s Smooth Cream Cheese Frosting Twist
If you find classic sheet cake icing very sweet, a cream cheese version can soften that edge. The texture becomes smoother, tangier, and a little thicker, so it feels less like a crackly poured glaze and more like a soft frosted topping. Keep it as an optional variation rather than swapping it into the main method.
The Traditional Toasted Pecan Topping
For a more old-school Southern finish, stir toasted chopped pecans into the warm icing right before pouring. Toasting first keeps the flavor nuttier and the texture crisper. If you like that pecan-rich style, keep the nuts evenly distributed so each square gets a little crunch.
Nut-Free and Walnut Alternatives
If you need to avoid pecans, simply leave the icing plain. You can also try toasted sunflower seed kernels for crunch, or chopped walnuts if pecans are not your favorite. Keep every option optional, since the base cake does not rely on nuts for structure.
Cinnamon and Salt: Balancing the Sweetness
A small pinch of cinnamon can add a warm background note that makes the chocolate feel rounder and less sugary. The same goes for that little bit of salt in the icing. Neither should stand out, but both help the dessert taste more balanced.
Conclusion
Texas chocolate sheet cake earns its place on every dessert table because it is fast, crowd-friendly, and deeply chocolatey without being fussy. The thin tender crumb and warm poured icing are what make it memorable.
If you remember one thing, let the cake cool briefly and pour the icing while both are still warm, not scorching. That timing gives you the smooth crackly top that makes every square worth cutting.
Frequently Asked Questions
What is the difference between a sheet cake and a regular cake?
Sheet cakes are baked in wide, shallow pans, while regular cakes are often baked in deeper round or square pans. The shallow shape helps a sheet cake bake faster. You also get a higher frosting-to-cake ratio, which is a big part of the appeal here.
Why did my Texas sheet cake sink in the middle?
A deep 9×13 pan is a common cause if the bake time was not extended. Expired baking soda can weaken the rise. Opening the oven door too early can make the center collapse before it sets. Even with a slight sink, the cake is usually still very good once frosted.
Can I use Dutch-process cocoa instead of natural cocoa?
You can, but it is not the most reliable choice for this exact formula. Natural cocoa is traditional because its acidity reacts with the baking soda to help lift the cake. Dutch-process cocoa is less acidic, so the crumb may bake up a bit denser.
Can you freeze Texas chocolate sheet cake?
Yes, you can freeze the frosted cake for up to 1 month. Wait until the icing has set completely before wrapping it. For the neatest frosting, firm it up first, then wrap and freeze. Thaw it loosely covered so the top keeps its texture as well as possible.
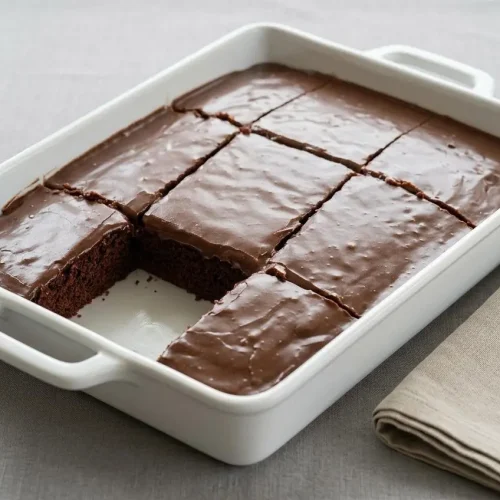
Texas Chocolate Sheet Cake

Equipment
- 10×15 baking pan
- Medium saucepan
- Large Mixing Bowl
- Sifter
- Whisk
Ingredients
For the Cake
- 2 cups all-purpose flour
- 2 cups sugar
- 1 teaspoon baking soda
- 1/2 teaspoon salt
- 2 sticks (1 cup) butter (real, salted)
- 1/2 cup cocoa powder
- 1 cup black coffee or water
- 1/2 cup buttermilk
- 2 eggs
- 2 teaspoons vanilla extract
For the Icing
- 1 1/2 sticks of butter (real, salted)
- 1/2 cup milk
- 1 Dash of salt
- 1 teaspoon vanilla extract
- 1 1-lb box powdered sugar
- 1/2 cup cocoa powder
Instructions
For the Cake
- Heat the oven to 350 °F and grease a 10×15 baking pan well. The batter spreads thin, so a fully greased pan helps the cake release cleanly from edge to edge.
- Whisk the flour, sugar, baking soda, and salt together in a large mixing bowl, then set the bowl aside. Mixing the dry ingredients first helps the leavening and salt distribute evenly through the batter.
- Melt the butter in a small saucepan, stir in the cocoa powder and black coffee or water, and bring the mixture to a boil over medium-high heat. Before it boils, it should look glossy and fluid, and once it bubbles the cocoa aroma should smell noticeably deeper.
- In a small bowl, mix the buttermilk, eggs, and vanilla extract until smooth. Blending these together first helps the eggs combine quickly when they meet the warm chocolate mixture.
- Pour the hot cocoa mixture into the dry ingredients and stir to combine, then add the buttermilk mixture and whisk for 1 minute. Work steadily so the warm batter stays smooth, and stop when it looks silky and evenly mixed.
- Spread the batter in the prepared pan and bake for 20-22 minutes. The cake is done when the center looks matte and slightly puffed and a toothpick inserted in the middle comes out clean.
For the Icing
- Sift the powdered sugar and cocoa powder into a large mixing bowl. This extra step prevents tiny dry lumps that stay stubborn in warm icing.
- Warm the milk, butter, and salt in a small saucepan until the mixture reaches a simmer, then remove it from the heat and stir in the vanilla extract. The butter should be fully melted and the surface should look smooth, not greasy or separated.
- Pour the hot milk mixture over the sifted sugar and cocoa, then stir with a spoon until smooth. Use a spoon rather than a whisk so the icing stays glossy and does not fill with little air bubbles.
- Let the icing stand for 5 minutes, stirring now and then, then pour it over the warm cake. It should look like fluid fudge at this point and spread easily without running too thin.
- Leave the cake at room temperature until the icing firms enough to slice neatly. Within about five minutes, the top should begin to lose some shine and start forming that classic delicate crust.
- Once the cake is cool, cover it and keep it at room temperature. The icing stays at its best when the cake is protected from air and not stacked under tight wrap that can mark the surface.