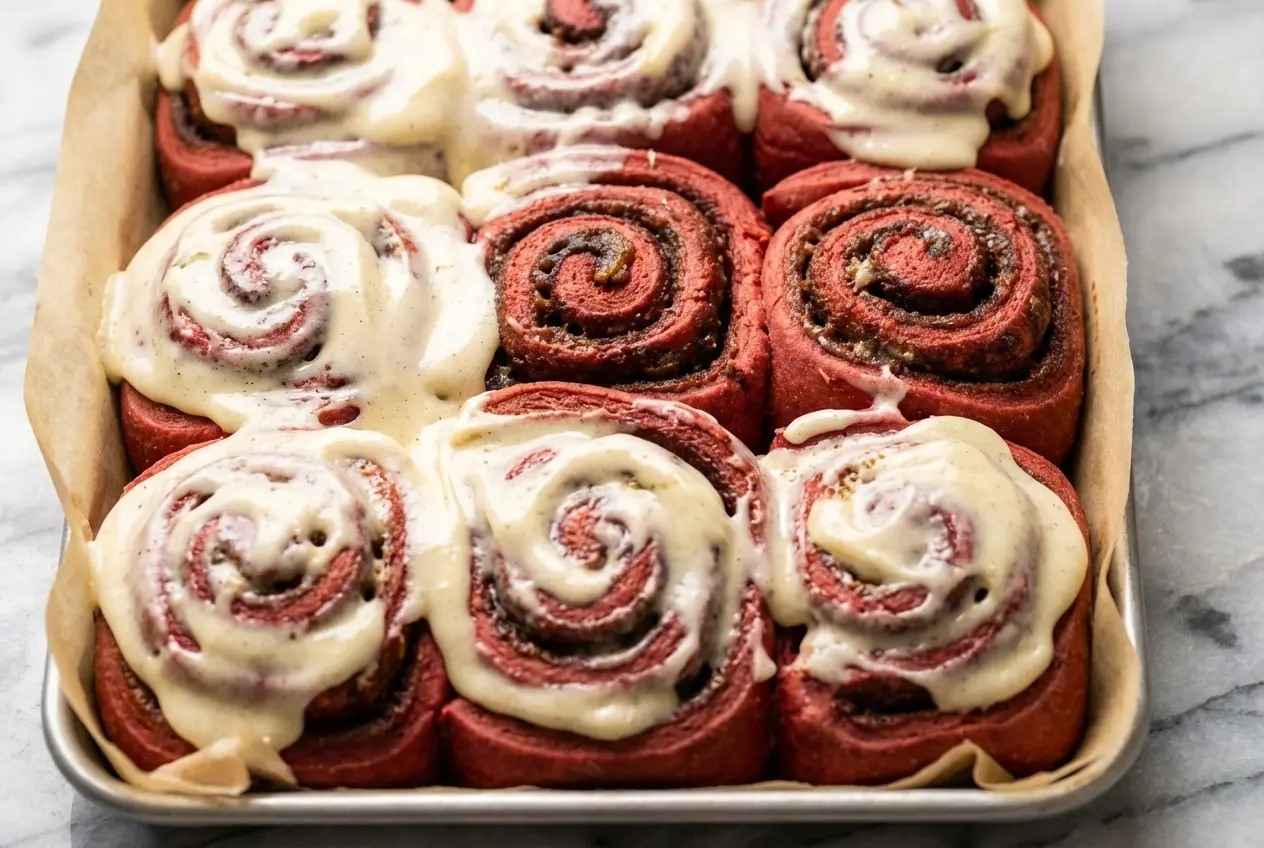
There is something about a pan of warm cinnamon rolls on a weekend morning that makes the whole house feel softer. In my kitchen, these Red Velvet Cinnamon Rolls hit that sweet spot between a classic bakery bun and a rich slice of cake, with a deep ruby color and a light cocoa aroma that drifts through the oven.
They are perfect for Christmas brunch, Valentine’s Day, birthdays, or any morning that deserves a little extra sparkle. If you have ever wanted a red velvet bake that tastes as good as it looks, this version brings together tender dough, swirls of cinnamon sugar, and a silky cream cheese frosting that melts into every spiral.
Why You’ll Love This Recipe
Tangy depth: In my kitchen, the buttermilk-style red velvet flavor is what makes these feel special instead of gimmicky. That subtle tang paired with Dutch-process cocoa powder gives the dough a more balanced, grown-up flavor.
Brown butter magic: The filling is where the real personality lives. Browned butter adds a nutty, toasty note that turns simple brown sugar and cinnamon into something that smells like a bakery at its best.
Pillow-soft texture: Good proofing and the right flour ratio give these rolls a tender, plush crumb. They stay soft enough to pull apart with your fingers, which is exactly what I want from a proper brunch roll.
Showstopper looks: That vivid red dough under a blanket of cream cheese frosting is hard to beat on a brunch table. If you love desserts with visual drama, the same charm that makes strawberry brownies stand out also makes these rolls feel celebration-ready.
Ingredients and Substitutions
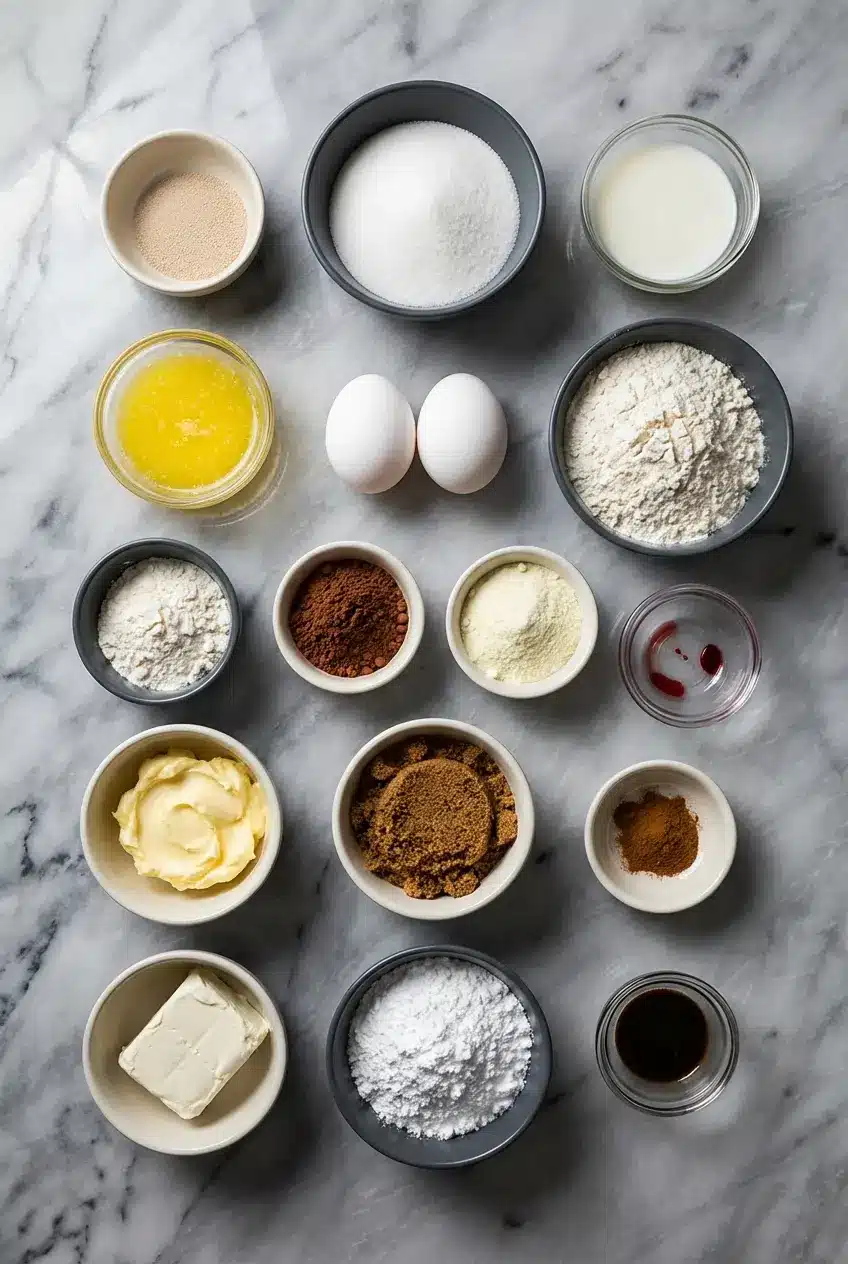
Each ingredient here has a job, from the yeast that creates lift to the cocoa and food coloring that build that unmistakable red velvet look and flavor.
Ingredients
For the dough:
- 2 1/4 teaspoons (1 packet) active dry yeast
- 1/2 cup granulated sugar
- 1 cup whole milk, warmed
- 1/2 cup unsalted butter, melted
- 2 large eggs, room temperature
- 4 1/4 cups all-purpose flour, plus more for dusting
- 3 tablespoons dutch-process cocoa powder
- 1 tablespoon nonfat milk powder
- 1 teaspoon kosher salt
- 2-3 teaspoons red food coloring
For the filling:
- 1/4 cup unsalted butter, softened to room temperature
- 1 cup dark brown sugar
- 2 tablespoons ground cinnamon
- 1/4 teaspoon kosher salt
For the vanilla bean cream cheese icing:
- 1/4 cup unsalted butter, softened to room temperature
- 4 ounces block-style cream cheese, softened to room temperature
- 1 1/2 cups powdered sugar
- 1 tablespoon vanilla bean paste
Ingredient Notes & Substitutions
Cocoa Powder: Dutch-process cocoa powder is my first choice here because it gives the dough a smoother chocolate note and a darker, more elegant base color. Natural cocoa can work in a pinch, but the flavor tends to be sharper and the final red can look less velvety.
Red Food Coloring: A gel color labeled no-taste red is usually the safest bet if you want that bold crimson without a faint metallic edge. Liquid grocery-store dyes can sometimes give red velvet bakes an artificial finish, especially when you need more than a tiny splash.
Yeast: Active dry yeast works beautifully as long as it blooms properly in the warm milk. If instant yeast is what you have on hand, you can skip the bloom time and mix it in directly, though I still like using warm milk to give the dough a gentle head start.
Milk Powder: Nonfat milk powder is one of those bakery tricks that quietly improves tenderness and color. If you do not have it, the rolls will still bake up well, but the crumb may be slightly less soft and rich.
Butter: For the filling, I strongly recommend browning the butter even though the core list says softened butter. Let it cool until spreadable, and you will get a deeper, nuttier swirl that makes these rolls taste a little more polished.
Flour: All-purpose flour keeps these buns soft and slightly cake-like, which suits red velvet perfectly. Bread flour can be used, but it creates a chewier bite and a stronger gluten structure.
Easy variations: If you like playful bakery twists, mini white chocolate chips scattered over the filling are lovely here. A chocolate hazelnut swirl can also stand in for the butter-sugar filling, though the classic cinnamon version lets the cocoa and vanilla bean paste shine best.
How to Make Red Velvet Cinnamon Rolls
Activate the Yeast and Mix the Dough
- Warm the milk to about 110°F, warm to the touch but not hot. In the bowl of a stand mixer, combine the active dry yeast, sugar, and warm milk, then let it sit for 7 to 10 minutes until the top looks foamy and the mixture smells lightly sweet and yeasty.
- Add the melted butter, room temperature eggs, flour, dutch-process cocoa powder, milk powder, salt, and 2 teaspoons of red food coloring. Using the dough hook, knead on medium speed for 6 to 8 minutes, until the dough looks smooth, stretchy, and slightly tacky rather than stiff, adding the final teaspoon of coloring only if you want a deeper red.
First Rise and Shape the Rolls
- Gather the dough into a ball and place it in a lightly greased large bowl. Cover it tightly with plastic wrap and a clean towel, then let it rise in a warm, draft-free spot for about 1 1/2 hours, or until it has doubled and feels airy when gently pressed.
- Turn the dough out onto a lightly floured surface and roll it into a 15×10 inch rectangle. Try to keep the thickness even so the rolls bake at the same pace from edge to center.
- Spread the softened butter, or cooled browned butter if you want the richest flavor, all over the surface, leaving a small border around the edges. Scatter the dark brown sugar over the butter and rub it in lightly, then finish with the cinnamon and salt, patting the filling so it clings to the dough instead of spilling out later.
- Starting from the long side, roll the dough into a snug log and pinch the seam closed. If the ends are uneven, trim them lightly so every roll bakes up neat and uniform.
- Slice the log into 12 even pieces using unscented dental floss or a very sharp knife. I prefer the floss trick because it slips under the dough and cuts cleanly without flattening those beautiful spirals.
Second Proof and Bake
- Line a 13×9 inch baking dish with parchment paper and arrange the rolls inside with a little space between them. Cover with plastic wrap and let them rise in a warm spot for 1 to 2 hours until puffy, or refrigerate them overnight for 8 to 10 hours if you want to split up the work.
- If the rolls have been chilled, set them out at room temperature for 1 to 2 hours until they look softly puffed again. Preheat the oven to 350°F while they lose their chill.
- Bake for about 30 minutes, until the tops are lightly golden and your kitchen smells like toasted cocoa, butter, and cinnamon. The centers should look set, not wet, and the middle roll should feel springy when touched.
Make the Icing and Finish
- While the rolls bake, beat the butter and cream cheese until light and fluffy, then mix in the powdered sugar and vanilla bean paste until the icing is smooth and creamy. Starting with room temperature dairy keeps the frosting silky instead of lumpy.
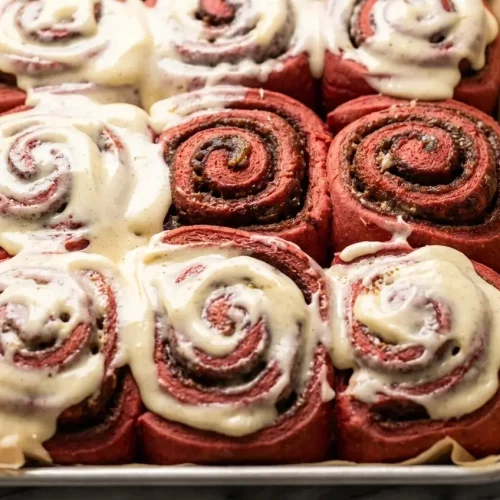
- Let the rolls cool for 5 minutes, then spread the icing over them while they are still slightly warm. That little bit of residual heat helps the frosting soften and slip into the swirls, which is exactly where the best bite lives.
Secrets for Bakery-Quality Perfection
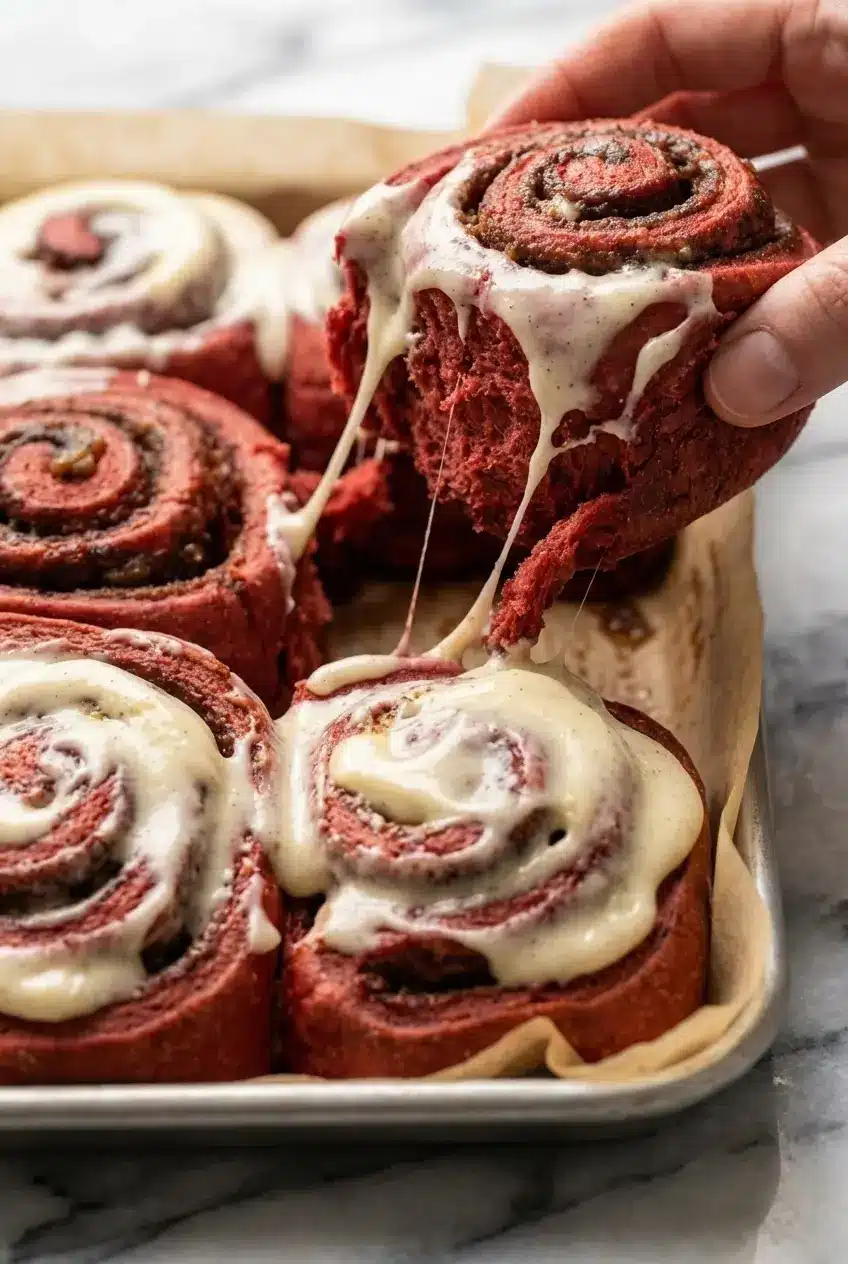
The most useful doneness check is not color, it is temperature. For soft but fully baked centers, aim for an internal temperature of 190°F in the middle roll, which helps you avoid doughy spirals without drying out the pan.
Red velvet should taste lightly cocoa-rich and gently tangy, never harsh or chemical. I stick to 3 tablespoons of cocoa because pushing the chocolate too far often means adding more red food coloring to compensate, and that is when the dough can pick up a bitter or metallic aftertaste.
If you like an ultra-gooey, mall-bakery texture, pour 1/2 cup of heavy cream over the risen rolls just before they go into the oven. The cream seeps down into the dough as they bake and gives the finished buns a lush, pull-apart softness.
The Science of Red Velvet Authenticity
Real red velvet is more than red food coloring and cocoa. Its signature character comes from the balance of mild chocolate flavor and tang, traditionally built through the chemical reaction between the acid in cocoa and buttermilk, which is part of why the flavor feels brighter and more layered than standard chocolate dough.
That history is one reason I love adapting the flavor into cinnamon rolls. You still get the soft, nostalgic charm of a brunch pastry, but the cocoa, tang, and cream cheese frosting nod clearly to classic American red velvet cake. If that same flavor profile is a favorite in your kitchen, these red velvet brownies show off the same sweet-tangy personality in a fudgier, dessert-first form.
Mastering the Cold Proofing Method
An overnight cold proof is one of my favorite ways to make yeasted dough fit into real life. Once the rolls are shaped and tucked into the pan, the refrigerator slows fermentation, giving the dough 8 to 10 hours to develop a deeper flavor while also making the structure a bit firmer and easier to bake evenly the next day.
This method is especially handy for holiday mornings and brunch gatherings. Instead of juggling mixing bowls at sunrise, you can let the rolls come to room temperature for 1 to 2 hours until puffy, then bake them fresh so the house still gets that warm cinnamon-and-cocoa aroma right on cue.
Pro Tips & Troubleshooting
Expert Tips
- Use room temperature eggs and cream cheese so the dough mixes smoothly and the frosting stays fluffy instead of turning curdled or lumpy.
- A slightly tacky dough is exactly what you want for soft rolls. If it clings a bit to your hands, resist the urge to keep adding flour unless it is truly unworkable.
- Unscented dental floss is the cleanest way to portion the log. It slices through the dough without crushing the spiral, which helps the rolls proof and bake more evenly.
- A stand mixer with a dough hook makes gluten development easier, but patient hand kneading works too if you stay with it until the dough turns smooth and elastic.
Common Mistakes to Avoid
- Killing the yeast: Milk hotter than 120°F can stop the yeast before the dough even gets started. Aim for 110°F so it feels warm and comfortable, not steaming hot.
- Using expired yeast: If the bloom step does not turn foamy and fragrant after 7 to 10 minutes, start over before adding butter, eggs, and flour.
- Over-flouring the dough: Too much extra flour creates dry, tough rolls instead of a tender crumb. Sticky dough usually bakes up softer than overly stiff dough.
- Using low-quality dye: Some red food coloring tastes metallic when used heavily. A better-quality gel color keeps the flavor cleaner and the hue more vibrant.
Serving & Storage
Serving Ideas
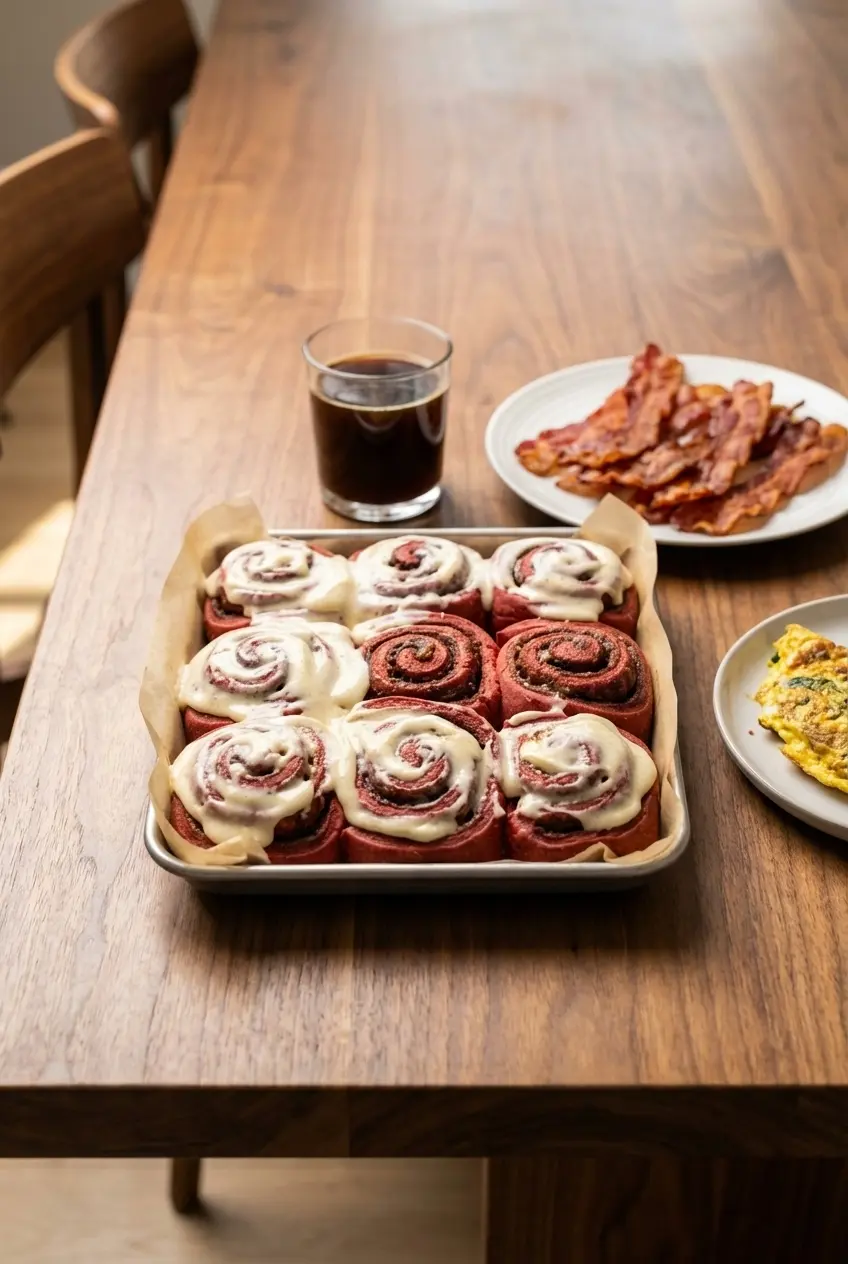
These rolls are rich, sweet, and deeply aromatic, so I like serving them with something that brings contrast. A dark roast coffee is classic, and a chilled freddo espresso is especially good if you are putting together a brunch spread with both hot and cold options.
For a more complete breakfast plate, pair them with crispy bacon or a savory egg dish so the salty notes balance the cream cheese frosting. A little garnish of red velvet cake crumbs over the icing also gives them that polished bakery-window look.
Storage & Reheating
Store leftover rolls in an airtight container for up to 3 days. They are best when kept sealed well so the exposed spirals and frosting do not dry out.
For the softest reheat, microwave a roll for 30 seconds at 50% power. That gentler heat warms the bread through without making the cream cheese frosting separate or turn greasy.
If you want to freeze them unbaked, cut and place the rolls in the pan, cover tightly, and freeze before the second rise. When you are ready to bake, thaw them overnight in the refrigerator, then let them sit at room temperature until puffy before baking as directed.
Soft Red Velvet Cinnamon Rolls

Equipment
- Stand mixer
- Dough hook
- 13×9 inch baking dish
- Unscented dental floss
- Parchment Paper
Ingredients
For the dough:
- 2 1/4 teaspoons (1 packet) active dry yeast
- 1/2 cup granulated sugar
- 1 cup whole milk, warmed
- 1/2 cup unsalted butter, melted
- 2 large eggs, room temperature
- 4 1/4 cups all-purpose flour, plus more for dusting
- 3 tablespoons dutch-process cocoa powder
- 1 tablespoon nonfat milk powder
- 1 teaspoon kosher salt
- 2-3 teaspoons red food coloring
For the filling:
- 1/4 cup unsalted butter, softened to room temperature
- 1 cup dark brown sugar
- 2 tablespoons ground cinnamon
- 1/4 teaspoon kosher salt
For the vanilla bean cream cheese icing:
- 1/4 cup unsalted butter, softened to room temperature
- 4 ounces block-style cream cheese, softened to room temperature
- 1 1/2 cups powdered sugar
- 1 tablespoon vanilla bean paste
Instructions
Activate the Yeast and Mix the Dough
- In the bowl of a stand mixer, combine the yeast, sugar, and warm milk (approx 110°F). Let the mixture sit for 7 to 10 minutes until it becomes foamy and fragrant.
- Add the melted butter, eggs, flour, cocoa powder, milk powder, salt, and 2 teaspoons of red food coloring. Using a dough hook, knead on medium speed for 6 to 8 minutes until the dough is smooth, stretchy, and slightly tacky. Add more coloring if a deeper red is desired.
First Rise and Shape the Rolls
- Place the dough in a lightly greased bowl, cover with plastic wrap, and let it rise in a warm spot for about 1.5 hours or until doubled in size.
- Turn the dough onto a floured surface and roll into a 15×10 inch rectangle. Spread with softened or browned butter, then scatter the brown sugar, cinnamon, and salt evenly over the surface.
- Roll the dough tightly into a log starting from the long side and pinch the seam. Slice into 12 even rolls using unscented dental floss for the cleanest cut.
Second Proof and Bake
- Arrange the rolls in a parchment-lined 13×9 inch dish. Cover and let rise for 1 to 2 hours until puffy (or refrigerate overnight and bring to room temperature before baking).
- Preheat your oven to 350°F. Bake the rolls for 30 minutes until the centers are set and the internal temperature reaches 190°F.
Make the Icing and Finish
- Beat the butter and cream cheese until fluffy, then mix in the powdered sugar and vanilla bean paste until smooth.
- Let the rolls cool for 5 minutes, then spread the icing over them while they are still slightly warm so it melts into the spirals.
Notes
Nutrition
Conclusion
These Red Velvet Cinnamon Rolls bring together everything I love about a special-occasion bake, soft dough, a hint of cocoa, tangy red velvet character, and that extra depth from brown butter in the filling. The dental floss trick keeps the spirals tidy, and the 190°F center temperature takes the guesswork out of baking.
If you are in the mood to make brunch feel a little more memorable, this is the kind of pan worth pulling out. Share them warm, lick a little frosting from the spatula, and feel free to make the recipe your own with small bakery-style touches.
Frequently Asked Questions
Can I make these without a stand mixer?
How do I prevent the red dye from staining my hands and counter?
Can I use instant yeast instead of active dry yeast?
Can I use bread flour instead of all-purpose flour?
Why didn’t my cinnamon rolls rise in the second proof?
Can I freeze unbaked red velvet cinnamon rolls?
How long can the dough stay in the fridge?
Why are my cinnamon rolls tough and dry?
How do I make these red without food coloring?