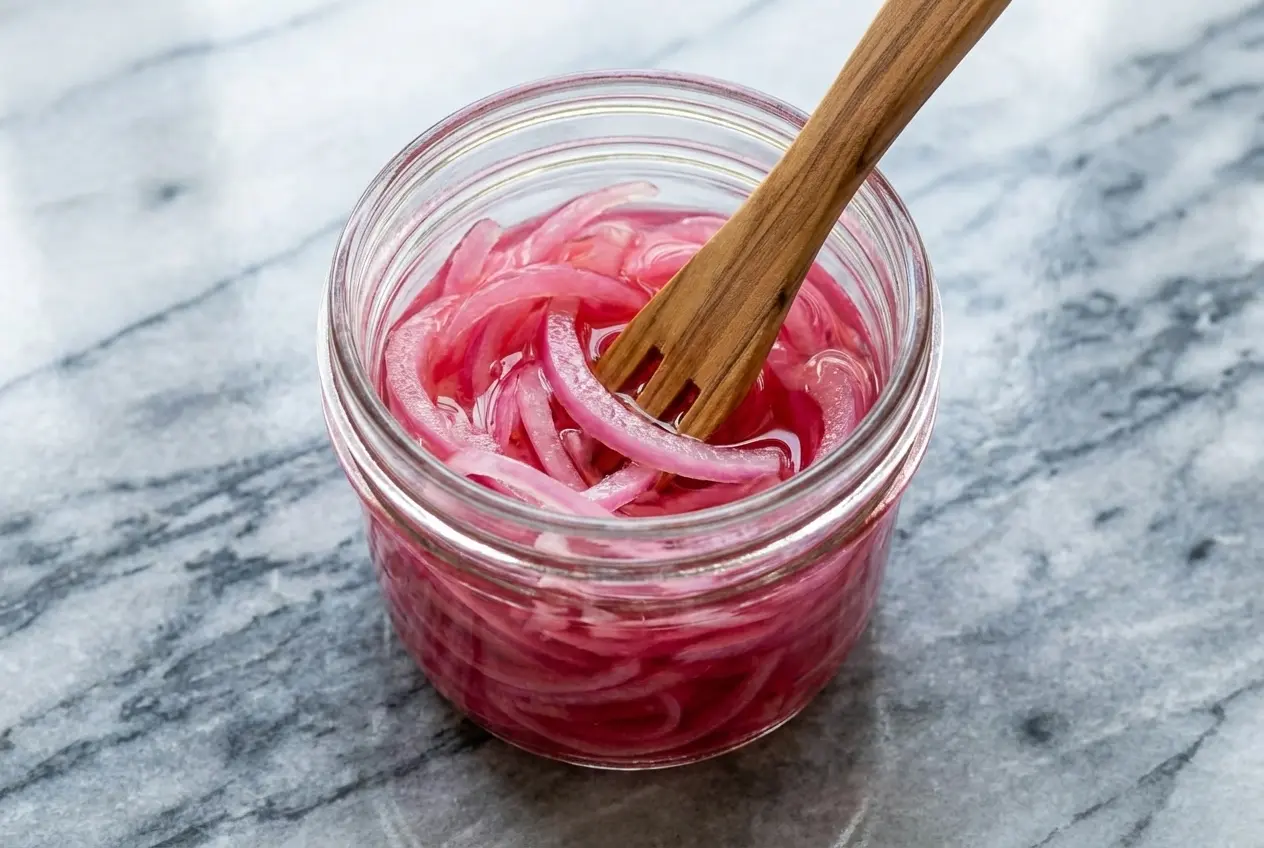
Taco night, a weekend breakfast sandwich, even a smoky backyard BBQ all get brighter with one cold, jewel-toned jar in the fridge. These quick pickled onions are the kind of kitchen staple I reach for when a meal needs crunch, tang, and a little spark without any extra fuss.
What I love most is how fast and foolproof they are. In about half an hour, you get onions that are crisp, vividly pink, and beautifully balanced, with a toasted-spice brine that tastes far more special than the effort suggests.
Why You’ll Love This Recipe
Big flavor, little effort: Quick pickled onions already bring sharpness and crunch, but dry-toasting coriander seeds, mustard seeds, and black peppercorns first gives the pickling brine a warm, aromatic depth that feels straight out of a restaurant kitchen.
The sumac finish: I discovered that stirring in a half teaspoon of sumac after simmering makes the brine taste brighter and more layered. It adds an earthy citrus note that plays beautifully with red onion, and it is especially lovely alongside a crisp fattoush salad.
A balanced bite: The blend of white vinegar with rice vinegar or apple cider vinegar gives these onions a clean tang without becoming harsh. That sweet-acidic snap is exactly what rich foods like tacos, burgers, and barbecue need.
Reliable texture: In my kitchen, the hot brine method always delivers the best crunch. The onions soften just enough to lose that raw bite while staying fresh, snappy, and vibrant.
Ingredients and Substitutions
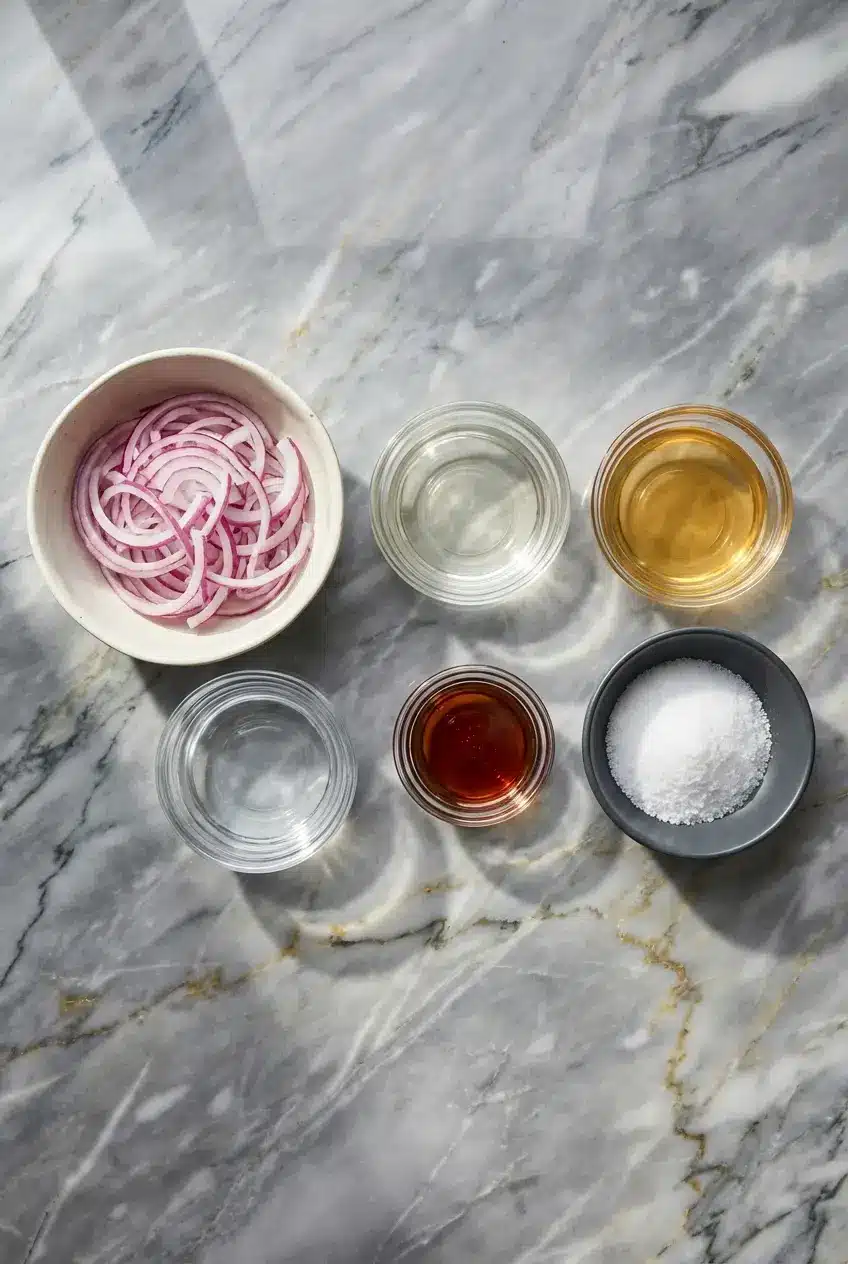
This short ingredient list is all about balance, sharp vinegar, gentle sweetness, clean salinity, and one beautiful red onion ready to soak up all that flavor.
Ingredients
- 1 large red onion thinly sliced – approximately 3/4 to 1 pound
- 2/3 cup white vinegar
- 2/3 cup rice vinegar or apple cider vinegar
- 2/3 cup water
- 3 tablespoons maple syrup
- 3 teaspoons fine sea salt
Ingredient Notes & Substitutions
Red onion: Red onion is the classic choice for quick pickling because it keeps a pleasant bite and turns that gorgeous electric pink once it meets the acidic brine. White or yellow onions also work, but the flavor is a little less sweet and you will not get the same vivid color.
Vinegar blend: I like mixing white vinegar with rice vinegar or apple cider vinegar because each one brings something useful. White vinegar gives a sharp, clean edge, while rice vinegar adds gentleness and apple cider vinegar brings a fruity depth that rounds everything out.
Maple syrup: Maple syrup gives the brine a subtle richness that plain sugar cannot quite match. If you want sugar-free pickling or a keto-friendly version, simply leave it out and expect a tangier, sharper finish.
Sea salt: Fine sea salt dissolves quickly and seasons the onions evenly. If you are using a coarser salt, make sure it fully dissolves in the hot brine so you do not end up with salty pockets.
Toasted spices: The coriander seeds, mustard seeds, and black peppercorns are the flavor twist that make this jar memorable. Toasting them briefly wakes up their essential oils, so the brine smells fragrant before it even touches the onions.
Sumac: A half teaspoon of sumac stirred in at the end gives the onions a tart, earthy-citrus lift. It also complements the ruby color beautifully and makes the whole jar feel a little more special.
How to Make Quick Pickled Onions
Slice and Pack the Onions
Slice the red onion as thinly as you can, ideally into delicate half-moons, then tuck the slices tightly into a mason jar. They may seem overpacked at first, but the onions quickly soften and shrink once the hot brine goes in.
Build the Toasted-Spice Brine
- Set a medium saucepan on the stove and add the whole coriander seeds, mustard seeds, and black peppercorns to the dry pan. Toast them briefly, just until they smell warm and fragrant, then pour in the white vinegar, rice vinegar or apple cider vinegar, water, maple syrup, and fine sea salt.
- Bring the mixture to a boil, then whisk so the salt and syrup dissolve completely. Let it simmer for 2 to 3 minutes, then take the pan off the heat and stir in the sumac while the liquid is still hot and aromatic.
Pour, Seal, and Pickle
- Carefully pour the hot pickling brine over the onions in the jar, making sure the slices are well covered. As the heat hits them, the onions begin to soften and their color starts shifting toward a bright pink almost immediately.
- Screw the lid on tightly and let the jar sit at room temperature for 20 to 30 minutes. During that time, the flavors meld, the sharp edge settles down, and the onions turn glossy and vibrant.
Serve or Chill
Once the onions have had their 20 to 30 minutes, you can use them right away for a fresh, punchy crunch. If you want them colder and a little more mellow, move the jar to the refrigerator and keep them there for up to 2 weeks.
Secrets for Perfection
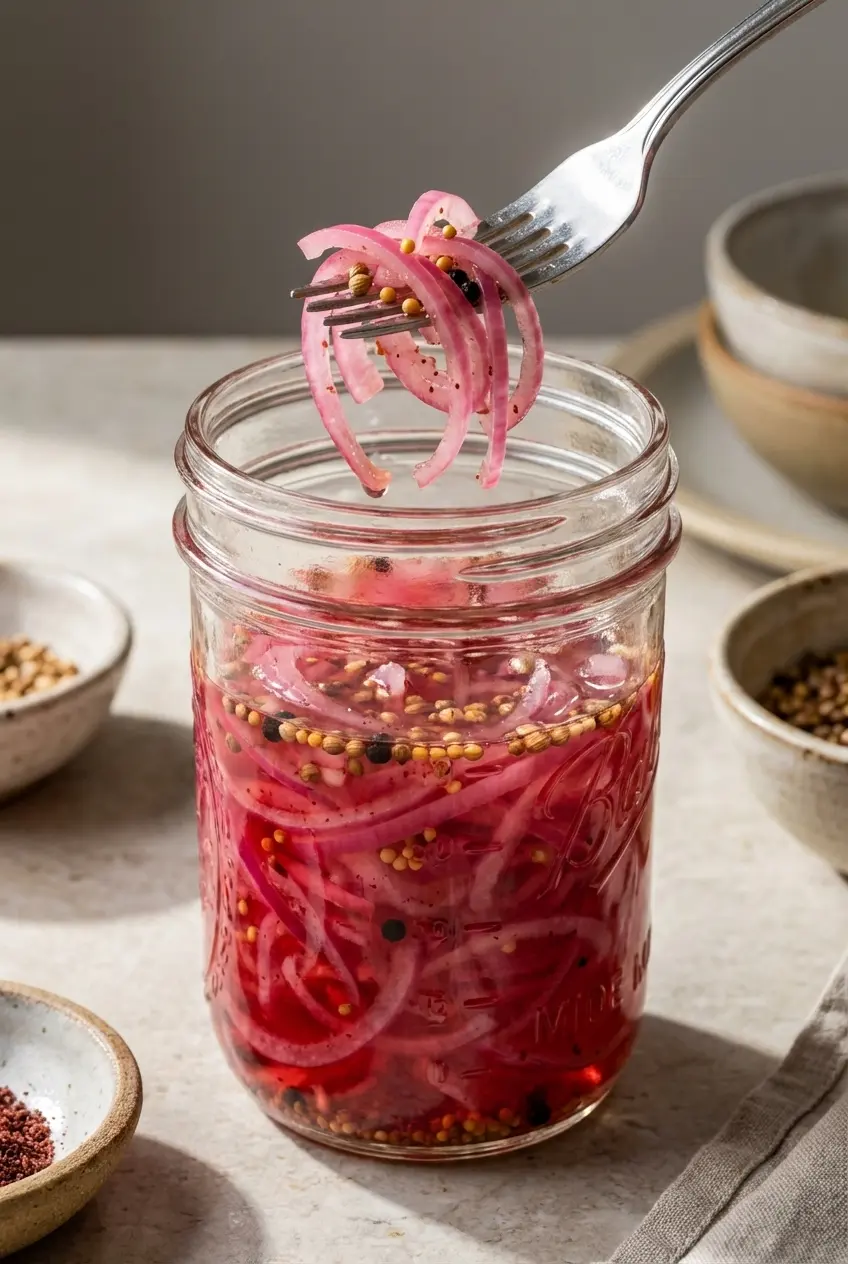
The thinnest slices make the best quick pickled onions, and this is one place where a mandoline slicer really earns its keep. If you can, aim for uniform 1/8-inch half-moon slices so every piece pickles at the same pace and keeps a delicate crunch, and safe handling matters just as much as precision when using a mandoline slicer in a home kitchen.
This recipe fills one 24-ounce wide-mouth mason jar very neatly. I always use a wide-mouth jar because it makes packing the onion slices easier, and it leaves enough room for the hot brine to settle around every layer.
Packing matters more than people think. Press the raw onions in firmly before you add the liquid, because they relax almost instantly and drop in volume as they pickle.
The Science Behind the Vibrant Pink Color
That dramatic color change is not kitchen magic, even though it looks like it. Red onions contain natural pigments called anthocyanins, and when acid hits them, those pigments shift into a brilliant ruby-pink shade that becomes even bolder as the onions sit.
The hot vinegar also helps speed things along by softening the onion’s cell walls just enough to release those pigments into the pickling brine. Sumac deepens the visual effect in a subtle way, so the finished jar looks as lively as it tastes.
Customizing Your Pickling Brine
If you love traditional Mexican cebollas encurtidas, swap part of the vinegar for bitter orange juice, or use a mix of lime and orange juice if bitter orange is hard to find. A pinch of Mexican oregano gives the brine a savory citrus note that is fantastic with tacos and grilled meats.
For heat, slip sliced jalapenos, habaneros, or a pinch of crushed red pepper flakes into the jar before pouring in the brine. The spice blooms as the onions pickle, and the result is especially good with rich pork, brisket, or smashed burgers.
A garlic and herb version is equally good, especially with a smashed clove or two and a little fresh dill. If those garlic cloves turn blue or green in the brine, there is no need to worry, that color change is a harmless reaction between garlic’s sulfur compounds and the acid in the vinegar.
Pro Tips & Troubleshooting
Pro Tips
- Use a mandoline or a very sharp knife to slice the onion into uniform, thin 1/8-inch half-moons for even quick pickling.
- Pack the onions tightly into the mason jar before adding the brine, because they shrink as they soften.
- Let the sealed jar cool at room temperature before transferring it to the refrigerator, which helps avoid temperature shock and keeps the texture crisper.
- A non-reactive saucepan is the best choice for heating the pickling brine, especially when working with vinegar and warm spices.
Common Mistakes to Avoid
- Using cold water and unheated vinegar for the brine can leave the salt and maple syrup undissolved, and the onions will not soften properly.
- Slicing the onions too thick leaves them harsh and overly pungent instead of crisp and pleasantly tangy.
- Boiling the onions directly in the liquid on the stove overcooks them and turns their texture limp and mushy.
- Choosing dark vinegars such as balsamic or malt vinegar muddies the color and takes away that bright pink look.
- Moving a very hot jar straight into the refrigerator can stress the glass, and practical guidance around temperature shock is worth keeping in mind when hot brine and glass jars meet.
Serving & Storage
Serving Ideas
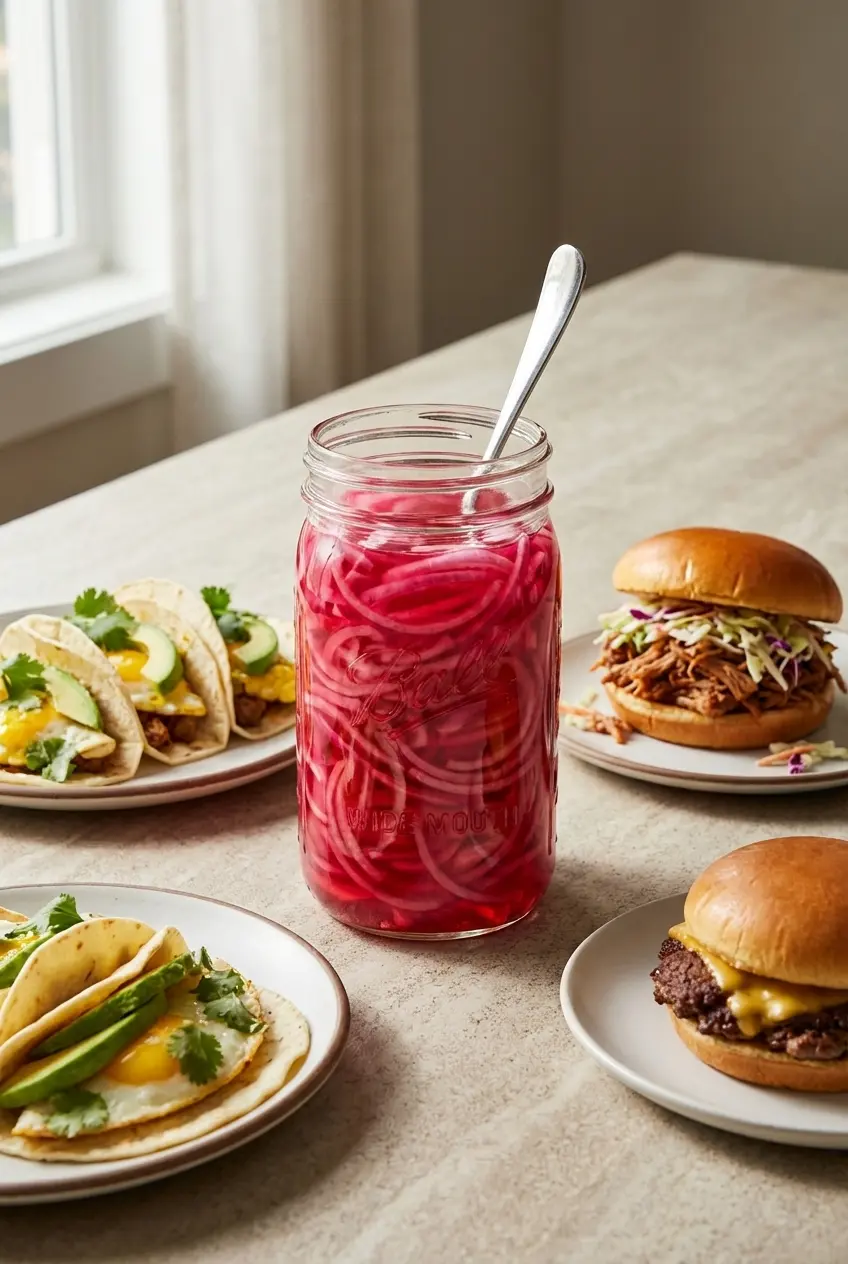
These onions belong anywhere a dish needs brightness. I pile them onto breakfast tacos, pulled pork sandwiches, and burgers, and they are especially good over melty cheesy tacos, where that crisp tang cuts straight through the richness.
They also wake up grain bowls, avocado toast, and hearty salads with almost no effort. A spoonful scattered over an orzo salad or even a simple cucumber salad adds color, crunch, and just enough acidity to make the whole plate feel fresher.
For summer gatherings, I love tossing them into a salad with watermelon and feta or laying them onto a charcuterie board beside rich cheeses and cured meats. That sweet-acidic crunch is a natural partner for anything salty, smoky, or creamy.
Storage & Make-Ahead
Stored in an airtight mason jar in the refrigerator, these quick pickled onions keep beautifully for up to 2 weeks. The flavor often gets even more rounded after the first day, so they are a smart make-ahead condiment for busy weeks.
Keep the onions fully submerged in the pickling brine so they stay crisp and evenly flavored. For practical guidance around safety and shelf life, it is helpful to remember that vinegar strength and proper refrigeration both matter with quick-process pickles.
Quick Pickled Onions

Equipment
- Mason jar (24-ounce wide-mouth)
- Medium saucepan
- Mandoline slicer or sharp knife
Ingredients
- 1 large red onion thinly sliced – approximately 3/4 to 1 pound
- 2/3 cup white vinegar
- 2/3 cup rice vinegar or apple cider vinegar
- 2/3 cup water
- 3 tablespoons maple syrup
- 3 teaspoons fine sea salt
Instructions
Slice and Pack the Onions
- Slice the red onion as thinly as possible into delicate half-moons, then tuck the slices tightly into a wide-mouth mason jar. They will soften and shrink once the brine is added.
Build the Brine
- In a medium saucepan over medium heat, combine the white vinegar, rice or apple cider vinegar, water, maple syrup, and fine sea salt.
- Bring the mixture to a boil and whisk until the salt and syrup dissolve completely. Let the liquid simmer for 2 to 3 minutes, then remove from the heat.
Pour, Seal, and Pickle
- Carefully pour the hot pickling brine over the onions in the jar, ensuring all slices are fully submerged. The onions will immediately begin to turn a vibrant pink.
- Screw the lid on tightly and let the jar sit at room temperature for 20 to 30 minutes to allow the flavors to meld and the texture to become glossy.
Serve or Chill
- The onions are ready for use after 30 minutes. For a colder, more mellow flavor, transfer the jar to the refrigerator.
Notes
Conclusion
A simple jar of quick pickled onions can change the whole mood of a meal, and this version gets an extra lift from toasted spices and a final pinch of sumac. That one small twist gives the brine a deeper aroma, brighter tang, and a little more personality.
Once you start keeping these in your fridge, tacos, sandwiches, salads, and barbecue feel incomplete without them. Play with the heat level, swap in apple cider vinegar, and make the jar your own.
Frequently Asked Questions
How long do quick pickled onions last in the fridge?
Do I need to boil the brine for quick pickled onions?
Can I use white or yellow onions instead of red onions?
Can I make this recipe sugar-free or keto-friendly?
Which type of vinegar is best for pickling onions?
Can I reuse the pickling brine once the onions are gone?