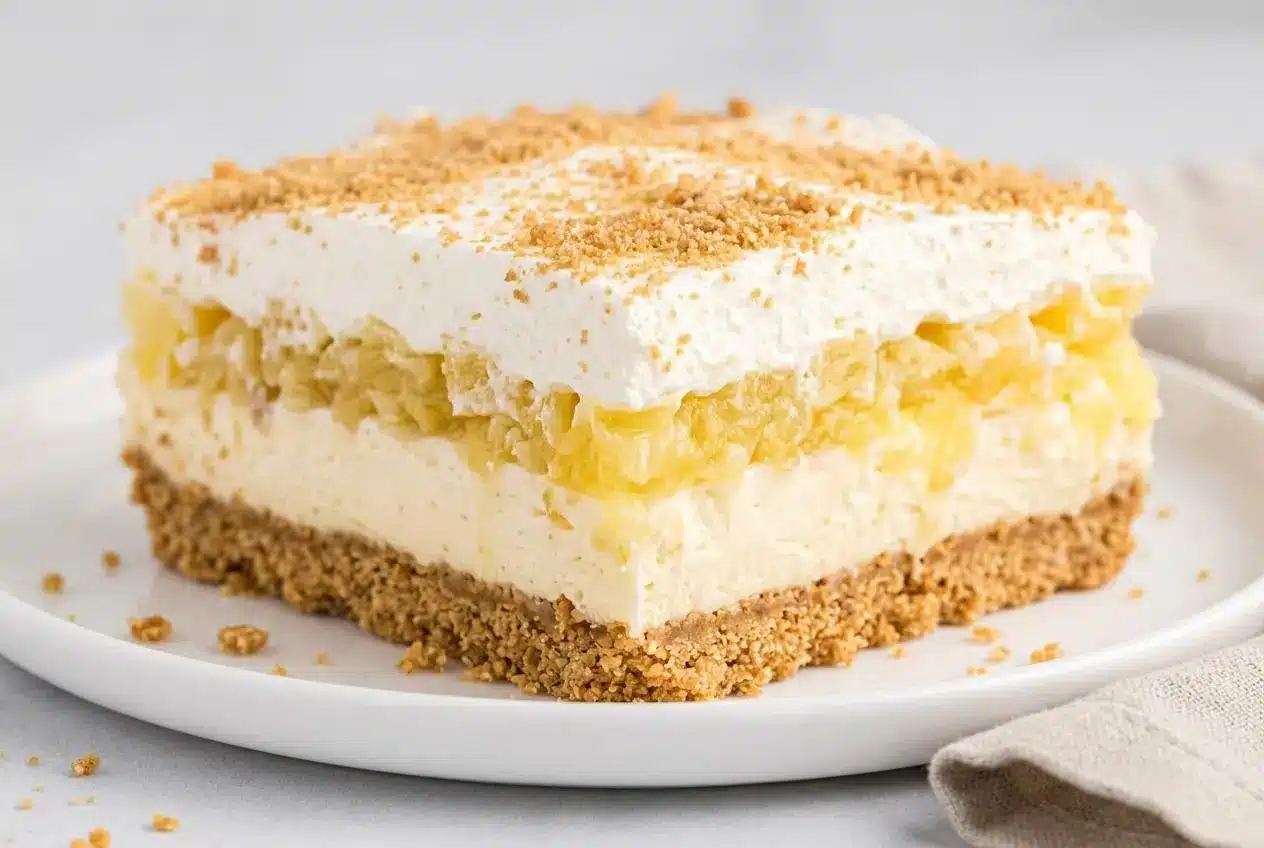
Pineapple Dream Dessert is a retro potluck favorite with a buttery graham cracker crust, a fluffy cream cheese layer, and a whipped pineapple topping that chills into neat, creamy bars.
Pineapple Dream Dessert tastes cool, creamy, and lightly tropical, with that sweet tang from crushed pineapple running through every layer. It’s the kind of make-ahead dessert that feels old-school in the best way.
The big win here is texture. Drain the pineapple well, chill the pan fully, and you’ll get squares that cut clean instead of slumping across the plate.
Use softened dairy and very well-drained pineapple before you start so the layers stay smooth and firm.
Essential Ingredients for Pineapple Dream Dessert
Each ingredient has a real job here, from building a crisp crust to keeping the filling fluffy, rich, and sliceable after chilling.
Crust
- 2 1/2 cups graham crumbs divided, 2 sleeves
- 1/2 cup unsalted butter
Layers
- 2 cups powdered sugar sifted
- 1/2 cup unsalted butter softened
- 4 oz cream cheese softened
- 8 oz Cool Whip fat-free
- 20 oz crushed pineapple drained well
Graham crumbs bring that toasty, sandy base that turns buttery and crisp in the oven. Unsalted butter is especially useful in the crust because it lets you control the flavor balance without adding extra saltiness to an already sweet dessert.
The powdered sugar sweetens the cream cheese layer, but the sifted part matters just as much as the sugar itself. Fine, lump-free sugar blends faster into softened butter and cream cheese, which gives you a velvety filling instead of tiny sugary bumps.
For the cream cheese, use full-fat brick cream cheese if you can. Tub-style whipped spreads are softer and hold more air, so they don’t give the same firm structure for clean dessert bars. Softened butter in the filling rounds out the richness and helps the layer whip up fluffy instead of dense.
Cool Whip gives the topping a stable, light texture that folds easily with pineapple. The crushed pineapple brings the tropical sweetness, but only if you drain it thoroughly first. If you need an alternative, gluten-free graham-style crumbs can work in the crust, and a dairy-free whipped topping with plant-based cream cheese can work as an optional adaptation, though the final texture may be a little softer.
I always sift the powdered sugar before it goes anywhere near the mixer bowl, because once lumps get into the cream cheese layer they’re annoyingly stubborn.
Step-by-Step Pineapple Dream Preparation
This method is straightforward, but a few texture cues make all the difference. You’re looking for a lightly golden crust, a completely smooth cream cheese base, and a full chill so the bars hold their shape.
- Heat the oven to 300 °F, melt the butter for the crust in the microwave, let it cool, then mix it with the graham crumbs until every crumb looks evenly moistened.
The mixture should look like damp sand and clump lightly when pressed in your hand. - Press 2 cups of the crumb mixture firmly into a 9×9 square pan and bake for 8 to 10 minutes, then set the pan on a wire rack to cool completely.
By the end, the crust should look lightly golden and smell buttery and toasted, not dark at the edges. - Beat the softened cream cheese and softened butter together until fully smooth, then add the sifted powdered sugar on low, 1 cup at a time, before beating again until fluffy.
The mixture should look pale, even, and creamy with no streaks or little lumps before you move on. - Fold 1 heaping tablespoon of the well-drained pineapple into the cream cheese mixture with a rubber spatula, then spread that layer over the cooled crust.
The filling should glide across the crust in a thick, even layer instead of sliding or pooling. - Fold the remaining drained pineapple into the Cool Whip, spread it over the cream cheese layer, and finish with the remaining 1/2 cup graham crumb mixture on top.
The top layer should stay airy and uniform, with the pineapple evenly distributed instead of settling into wet pockets. - Refrigerate the dessert for at least 4 hours before slicing.
When it’s ready, the layers should feel cold and set, and a knife should pass through with clean edges instead of dragging.
If you like other chilled layered desserts with a crumb base, banana split dessert uses the same crowd-pleasing style in a different flavor direction.
The Critical Art of Draining Pineapple
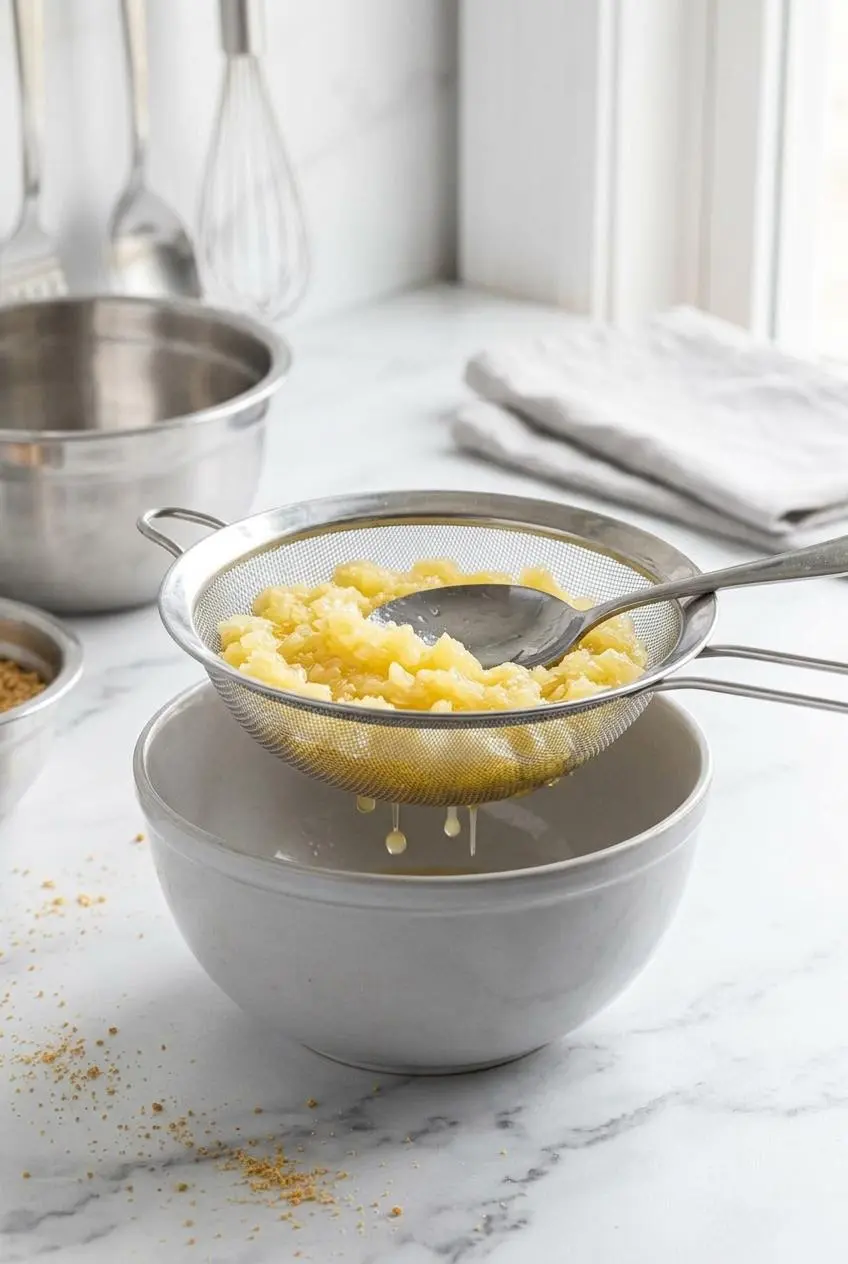
This is the step that decides whether your dessert turns out firm or frustratingly runny. Crushed pineapple carries a lot of juice, and that extra liquid can loosen both the cream cheese layer and the whipped topping.
Start with a fine-mesh strainer set over a bowl. Pour in the crushed pineapple, then press firmly with the back of a large spoon. Keep pressing and stirring until the juice stops flowing easily. You want the fruit to look moist, not dripping.
For an even drier result, transfer the strained pineapple to a stack of paper towels and gently blot the surface. If it still looks glossy-wet, fold another towel over the top and press lightly again. This extra press matters because whipped layers do not have much starch or egg to absorb stray liquid.
Why does this step matter so much? Water weakens structure. In the crust, it can soften the crumbs and make the base go soggy. In the cream cheese layer, it thins the fat-rich mixture so it spreads too loosely. In the topping, it can make the whipped layer slump and leak. That is why a thoroughly drained fruit gives you cleaner layers, neater slices, and a better chilled texture.
Canned crushed pineapple is usually the easiest choice here because it is already soft and evenly broken down. Fresh pineapple can work, but it tends to hold more moisture and can taste sharper, so it needs even more draining and blotting before you fold it in.
Don’t toss the juice. Stir it into sparkling water, blend it into a smoothie, or add it to a fruit salad dressing for a little extra tropical flavor.
How to Make the Ultimate Graham Cracker Crust
The Baked Crust Method
Baking gives this dessert its sturdiest base. A short trip through the oven helps the butter bind the crumbs together, so the crust slices more neatly and stays intact under the creamy layers.
Press the crumbs down firmly and evenly, especially into the corners. A flat measuring cup or drinking glass helps compact the mixture without digging grooves into it. If the crust is loosely packed, it will crumble when you lift out the bars.
The best visual cue is color. After 8 to 10 minutes at 300 °F, the surface should be lightly golden and smell toasty and buttery. If it still looks pale and dry, it may not hold together as well once chilled.
The No-Bake Chilled Crust Option
If you want to keep the oven off, you can use the same crust mixture as a no-bake option. The key is compression. Press it very firmly into the pan with the flat bottom of a glass or measuring cup until the surface feels tight and compact.
Chill the crust in the freezer for 30 minutes before adding the layers. That brief chill helps the butter firm up so the crumbs stay in place. This version is a little more delicate than the baked crust, but it still works well for a summer no-bake dessert when you want a cool kitchen.
If you enjoy this kind of chilled crumb-base dessert, banana split dessert is another fun way to use the same no-bake structure.
How to Achieve Perfectly Clean Slices
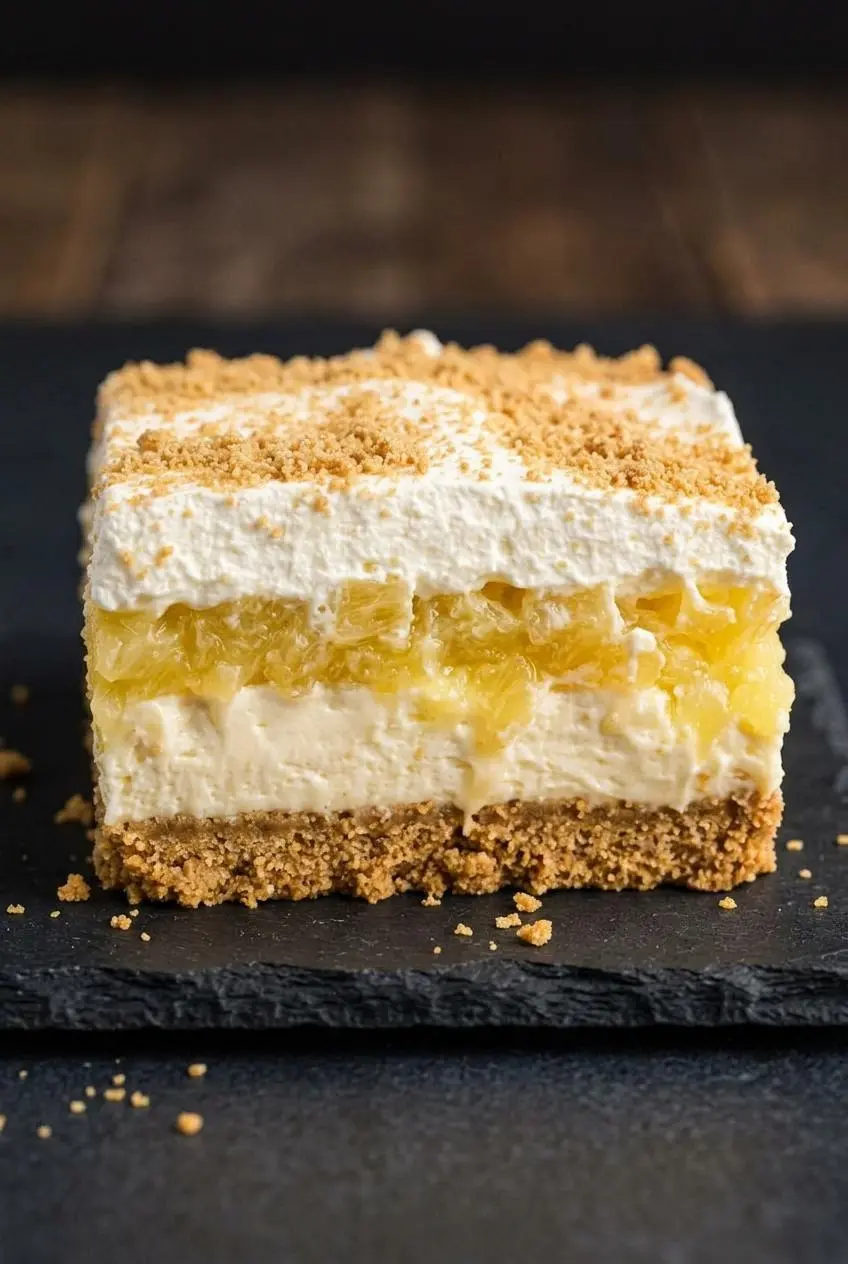
This dessert looks especially nice when the layers stay sharp and tidy. A few simple moves make the difference between bakery-style squares and a spoon-required situation.
- Line the pan with parchment before pressing in the crust, leaving overhang on two sides so you can lift the whole dessert out like a sling.
- Once fully chilled, grab the parchment overhang and slide the dessert onto a cutting board instead of cutting down in the pan.
- Use a large sharp knife dipped in hot water, then wipe it dry before every cut.
- Clean the blade between every slice. It feels fussy, but it works.
- Look for clear set cues before cutting. The topping should look fluffy but stable, the cream cheese layer should feel firm under gentle pressure, and the bars should hold a straight edge when the first cut is made.
The payoff is excellent: a cold, firm square with distinct layers and that soft crunch from the graham crumb finish. If neat fruit bars are your thing, pineapple bliss bars are another good one to bookmark.
Pan Size and Scaling Conversions
The original formula fits a 9×9 pan well and gives nicely balanced layers. If you change pan size, the goal is to keep roughly the same thickness so the crust supports the filling and the topping still feels generous.
- For an 8×8 pan, use the same recipe for slightly thicker bars. Expect a deeper dessert and a bit more richness in each square.
- For a 9×13 pan, plan to scale up the ingredients so the layers do not turn thin and skimpy. A good working approach is to make about 1 1/2 times the recipe.
- When scaling up, keep the same order and method. Mix the crust first, bake or chill it, then build the cream cheese layer and topping exactly the same way.
- In a larger pan, spread each layer all the way to the corners with an offset spatula or rubber spatula so the bars set evenly and slice cleanly.
If you are between sizes, it is better to have slightly thicker layers than a too-thin topping that disappears when sliced.
Delicious Variations to Try
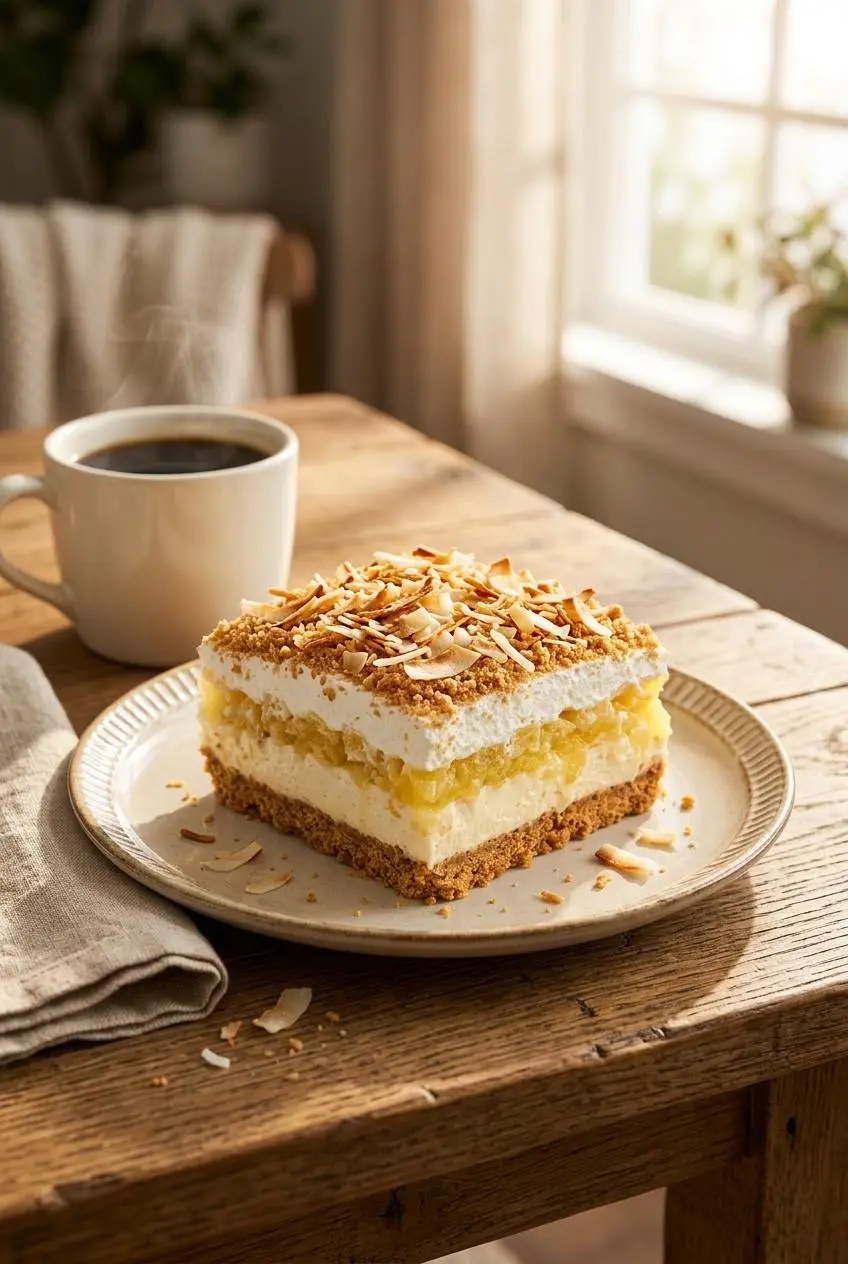
The classic version is great as is, but these optional twists can push it in a more tropical, homemade, or extra-firm direction without changing the core recipe.
Toasted Coconut Tropical Garnish
Toasted coconut adds crisp texture and a nutty flavor that plays well with sweet pineapple and creamy filling. Sprinkle it on just before serving so it keeps its crunch.
Toast shredded coconut in a dry skillet over medium-low heat, stirring often, until it turns golden in spots and smells fragrant. You can also spread it on a sheet pan and toast it in the oven, watching closely because it can go from pale to too dark very fast.
Want to take that flavor combo into a baked dessert? pineapple coconut cake leans into the same tropical pairing.
Stabilized Homemade Whipped Cream
If you want to swap the Cool Whip for fresh whipped cream, stabilize it first. Plain whipped cream tastes lovely but can loosen and weep as it sits, which makes this dessert softer and messier.
A practical formula is 1 cup cold heavy cream, 2 tablespoons powdered sugar, and 1 teaspoon unflavored gelatin bloomed in 1 tablespoon cold water, then melted just until fluid. Whip the cream to soft peaks, stream in the cooled gelatin mixture, and continue whipping to medium peaks before folding it with the drained pineapple.
- Store-bought whipped topping gives the most predictable structure and the longest hold.
- Stabilized homemade whipped cream tastes fresher and richer, with a softer, more natural finish.
- Unstabilized whipped cream is best avoided here if you want clean slices.
The Vanilla Pudding Thickening Method
For an even firmer topping, some cooks like to mix instant vanilla pudding into the whipped pineapple layer. It thickens the topping, adds a little vanilla sweetness, and gives the dessert more body.
Keep this as an optional variation rather than part of the main formula. Add a little at a time and stop once the topping looks thick, smooth, and easy to spread. Too much can make the top layer heavy instead of airy.
For a looser, spoonable cousin to this dessert, pineapple fluff dessert skips the crust and leans fully into the whipped texture.
Storage and Freezing Instructions
Because this dessert contains dairy, keep it covered and refrigerated when you are not serving it. For transport to a picnic or potluck, keep it well chilled and avoid leaving it out too long. For cold perishable dishes, potluck foods should stay at or below 40 °F and should not sit out longer than 2 hours.
You can refrigerate the finished dessert in the pan, tightly covered, until fully set and ready to slice. Texture is best while the crust is still crisp and the topping is fluffy.
Freezing is also an option for leftovers or party prep. Wrap individual squares tightly in plastic wrap and aluminum foil, then place them in a freezer-safe container for up to 2 months. Thaw the squares in the refrigerator before serving.
After thawing, expect the texture to be a little softer than freshly chilled bars. That’s normal for a creamy layered dessert.
Conclusion
This is the kind of dessert that earns its place at potlucks, holidays, and hot-weather dinners because it’s creamy, cool, and easy to serve in tidy squares. The buttery graham crust and fluffy pineapple layers hit that classic retro-dessert sweet spot.
If you remember only one thing, make it this: drain the pineapple far more than you think you need to. That one step keeps the whole dessert firm, clean-cut, and worth the wait.
Frequently Asked Questions
Can Pineapple Dream Dessert Be Frozen?
Yes. Wrap individual squares tightly in plastic wrap and aluminum foil. Store them in a freezer-safe container for up to 2 months. Thaw in the refrigerator before serving. Expect a slightly softer texture after thawing.
Can I Use Fresh Whipping Cream Instead of Cool Whip?
Yes, but stabilize it first or the topping can loosen as it sits. Unflavored gelatin is a reliable way to help fresh whipped cream hold its shape. Fresh whipped cream tastes richer, while whipped topping usually gives firmer slices.
Why Did My Pineapple Dream Dessert Turn Out Runny?
The most common cause is pineapple that was not drained well enough. Warm melted butter mixed into the filling can also soften the structure too much. Lumpy or under-mixed cream cheese can keep the layer from setting evenly. If the dessert was sliced too soon, more chill time usually helps it firm up.
How Long Can This Dessert Sit Out at a Potluck?
Keep it chilled as much as possible during serving. For dairy-based cold dishes, use the 2-hour limit mentioned in the storage section. If you’re serving outdoors, set the pan over ice or return it to the fridge between servings when possible.
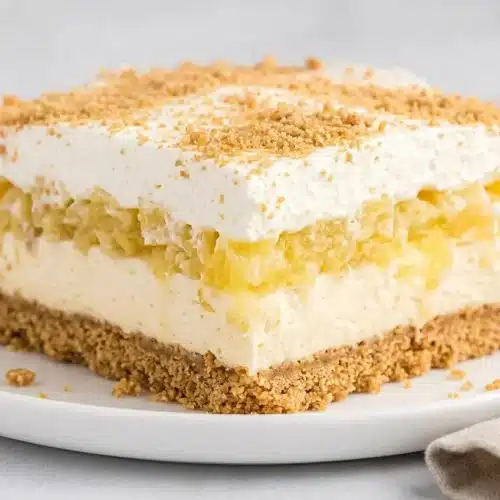
Pineapple Dream Dessert

Equipment
- 9×9 square pan
- Hand Mixer or Stand Mixer
- Rubber spatula
- Wire cooling rack
Ingredients
Crust
- 2 1/2 cups graham crumbs divided, 2 sleeves
- 1/2 cup unsalted butter
Layers
- 2 cups powdered sugar sifted
- 1/2 cup unsalted butter softened
- 4 oz cream cheese softened
- 8 oz Cool Whip fat-free
- 20 oz crushed pineapple drained well
Instructions
- Heat the oven to 300 °F, melt the butter for the crust in the microwave, let it cool, then mix it with the graham crumbs until every crumb looks evenly moistened. The mixture should look like damp sand and clump lightly when pressed in your hand.
- Press 2 cups of the crumb mixture firmly into a 9×9 square pan and bake for 8 to 10 minutes, then set the pan on a wire rack to cool completely. By the end, the crust should look lightly golden and smell buttery and toasted, not dark at the edges.
- Beat the softened cream cheese and softened butter together until fully smooth, then add the sifted powdered sugar on low, 1 cup at a time, before beating again until fluffy. The mixture should look pale, even, and creamy with no streaks or little lumps before you move on.
- Fold 1 heaping tablespoon of the well-drained pineapple into the cream cheese mixture with a rubber spatula, then spread that layer over the cooled crust. The filling should glide across the crust in a thick, even layer instead of sliding or pooling.
- Fold the remaining drained pineapple into the Cool Whip, spread it over the cream cheese layer, and finish with the remaining 1/2 cup graham crumb mixture on top. The top layer should stay airy and uniform, with the pineapple evenly distributed instead of settling into wet pockets.
- Refrigerate the dessert for at least 4 hours before slicing. When it’s ready, the layers should feel cold and set, and a knife should pass through with clean edges instead of dragging.